RT300 - Radio THOMSON - Free user manual and instructions
Find the device manual for free RT300 THOMSON in PDF.
User questions about RT300 THOMSON
0 question about this device. Answer the ones you know or ask your own.
Ask a new question about this device
Download the instructions for your Radio in PDF format for free! Find your manual RT300 - THOMSON and take your electronic device back in hand. On this page are published all the documents necessary for the use of your device. RT300 by THOMSON.
USER MANUAL RT300 THOMSON
Radio Portable - RT300
RADIO PORTABLE NUMÉRIQUE AM / FM / LW

MANUEL D'UTILISATION
LISEZ COMPLÉTEMENT CE MANUEL D'UTILISATION AVANT D'UTILISER CET APPAREIL ET CONSERVEZ CE LIVRET POUR VOUS Y RÉFÉRER ULTÉRIEUREMENT
AVERTISSEMENTS ET PRECAUTIONS

EN:https://www/bigben-interactive.co.uk/support/
IT: https://www/bigbeninteractive.it/supporto-technico/
AUTRES LANGUES : https://www/bigbeninteractive.com/support/
OPERATING THIS UNIT AND RETAIN FOR
FUTURE REFERENCE
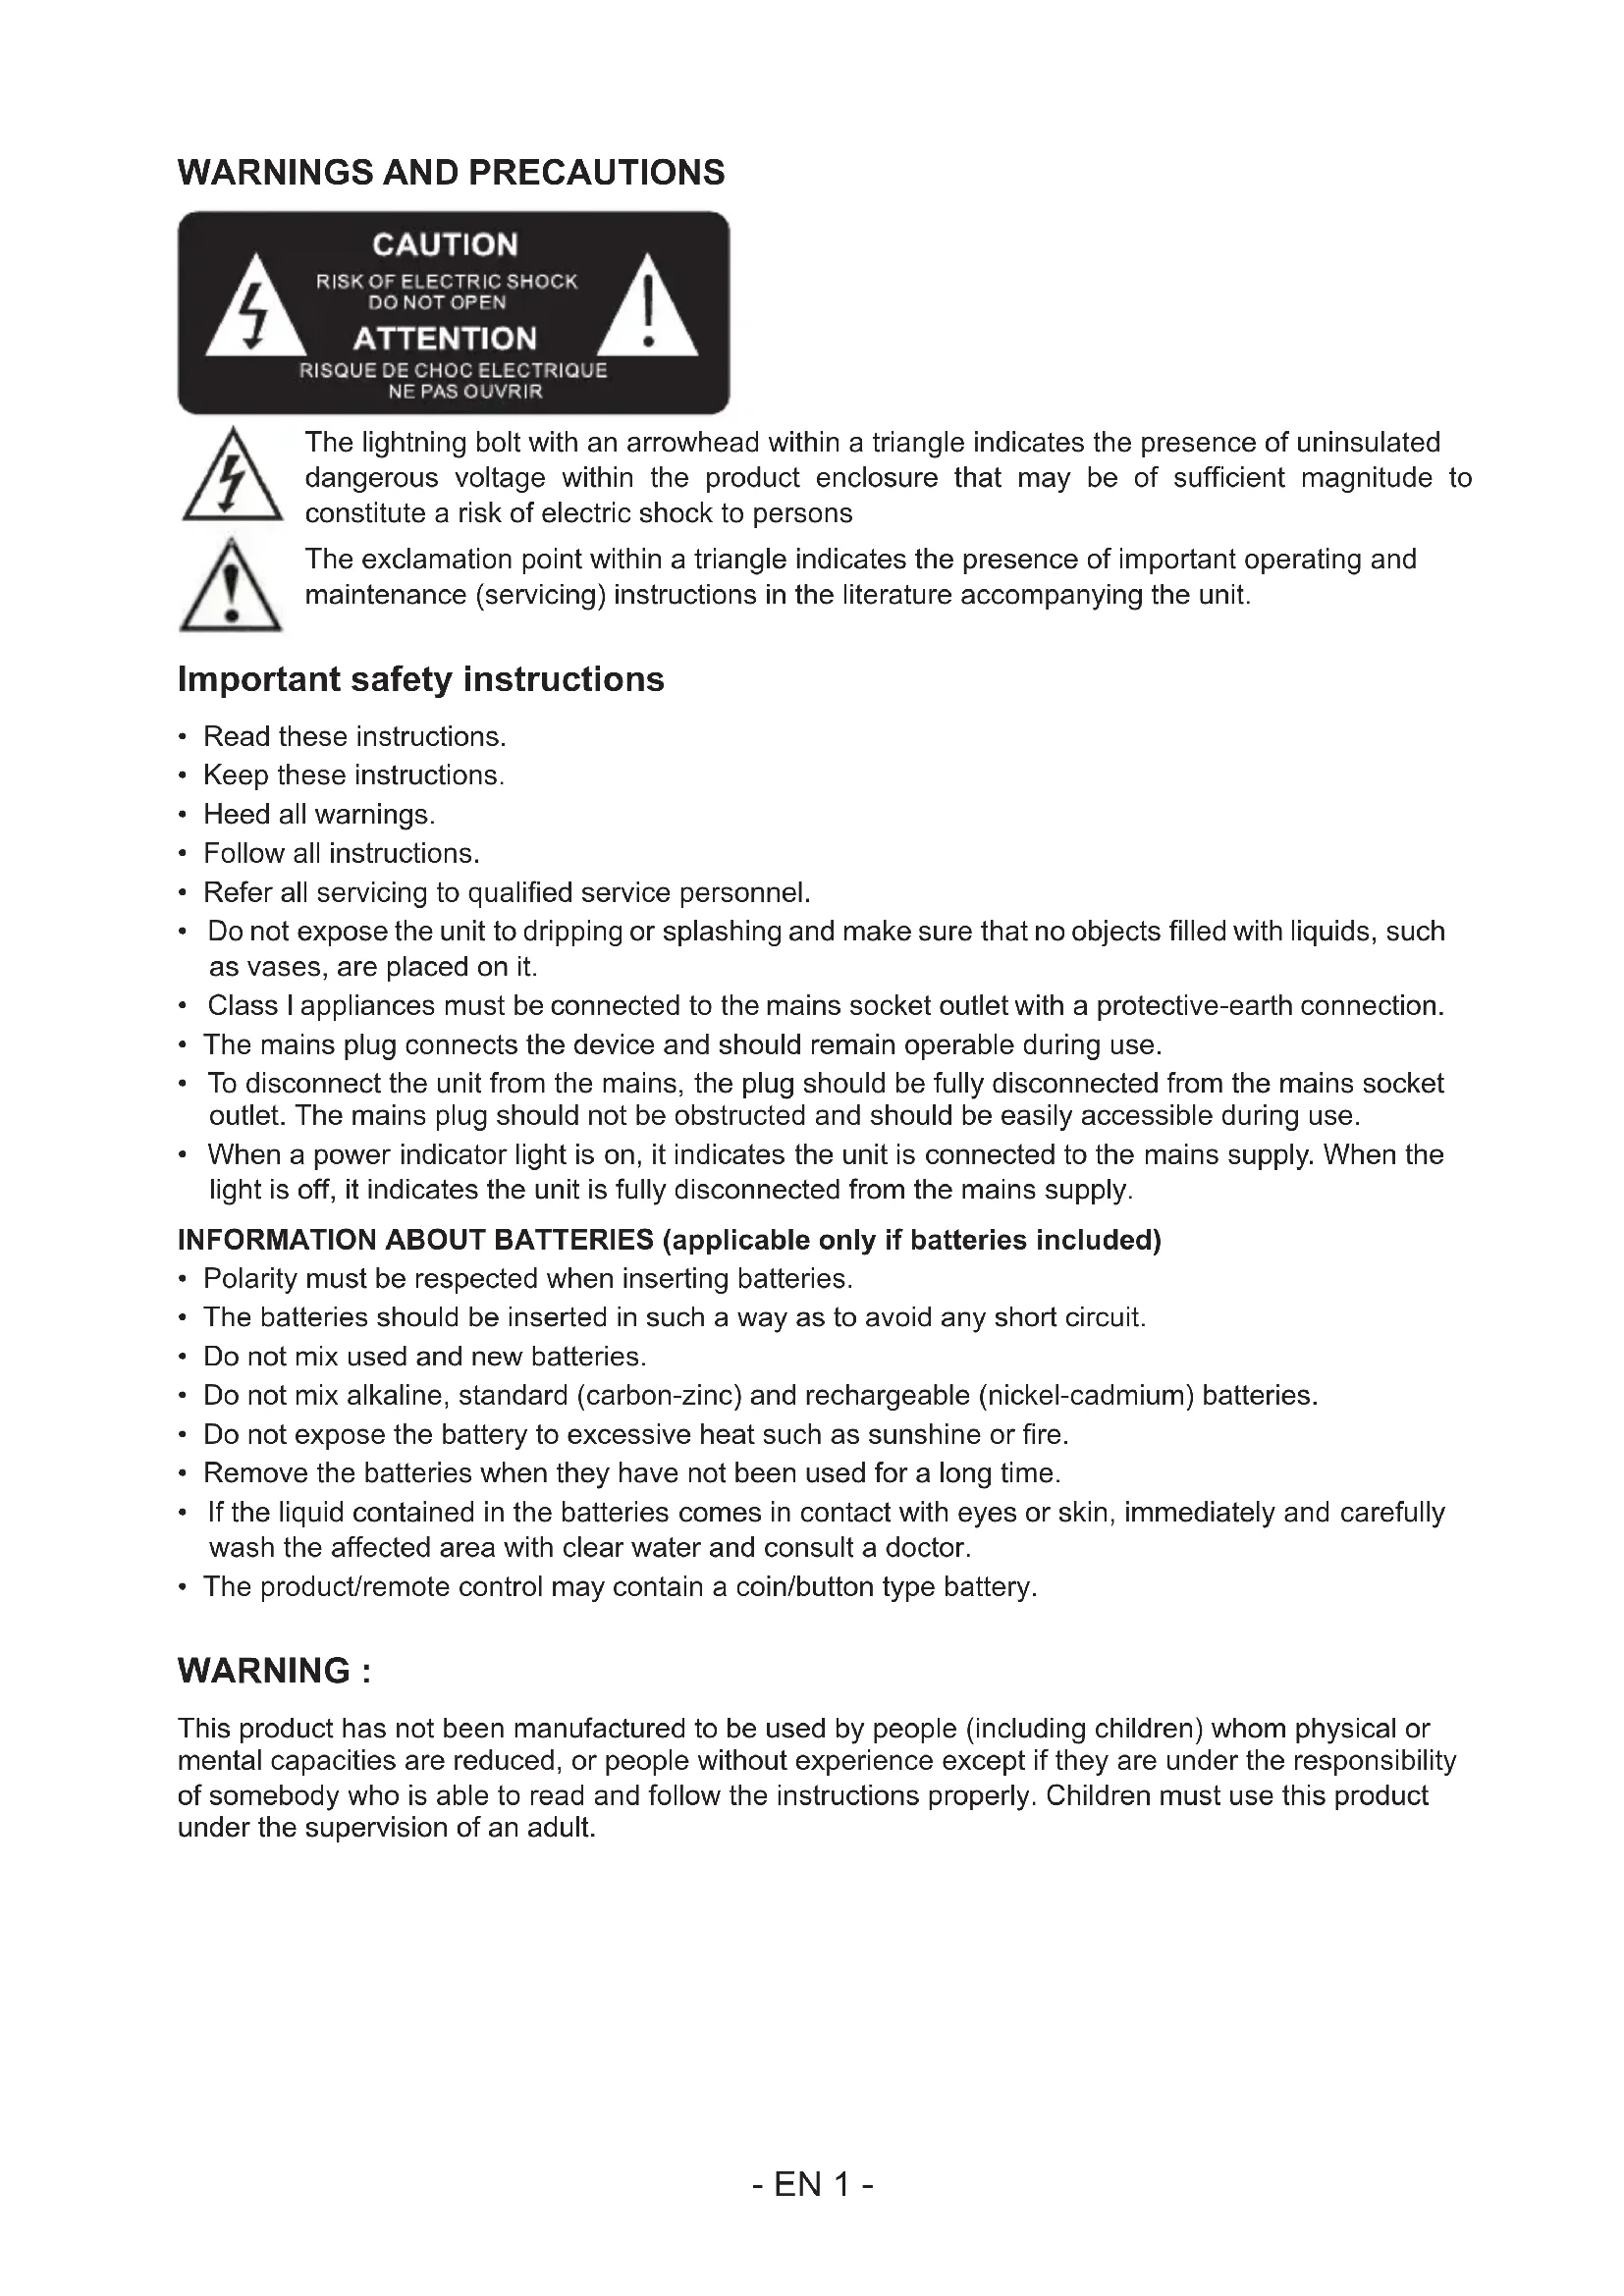
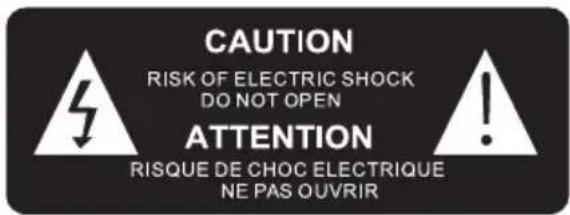
WARNING AND PRECAUTIONS

The lightning bolt with an arrowhead within a triangle indicates the presence of uninsulated dangerous voltage within the product enclosure that may be of sufficient magnitude to constitute a risk of electric shock to persons

The exclamation point within a triangle indicates the presence of important operating and maintenance (servicing) instructions in the literature accompanying the unit.
Important safety instructions
- Read these instructions.
- Keep these instructions.
Heed all warnings. - Follow all instructions.
Refer all servicing to qualified service personnel. - Do not expose the unit to dripping or splashing and make sure that no objects filled with liquids, such as vases, are placed on it.
Class I appliances must be connected to the mains socket outlet with a protective-earth connection. - The mains plug connects the device and should remain operable during use.
- To disconnect the unit from the mains, the plug should be fully disconnected from the mains socket outlet. The mains plug should not be obstructed and should be easily accessible during use.
- When a power indicator light is on, it indicates the unit is connected to the mains supply. When the light is off, it indicates the unit is fully disconnected from the mains supply.
INFORMATION ABOUT BATTERIES (applicable only if batteries included)
- Polarity must be respected when inserting batteries.
- The batteries should be inserted in such a way as to avoid any short circuit.
- Do not mix used and new batteries.
- Do not mix alkaline, standard (carbon-zinc) and rechargeable (nickel-cadmium) batteries.
- Do not expose the battery to excessive heat such as sunshine or fire.
- Remove the batteries when they have not been used for a long time.
- If the liquid contained in the batteries comes in contact with eyes or skin, immediately and carefully wash the affected area with clear water and consult a doctor.
- The product/remote control may contain a coin/bution type battery.
WARNING :
This product has not been manufactured to be used by people (including children) whom physical or mental capacities are reduced, or people without experience except if they are under the responsibility of somebody who is able to read and follow the instructions properly. Children must use this product under the supervision of an adult.
WARNING CONCERNING BATTERIES :
Don't swallow batteries. Risk of chemical burning. This product contains one or several batteries. If a battery is swallowed, it can cause within less than 2 hours severe internal damages and death. Keep new and old batteries away from children and vulnerable people. If the compartment of batteries can't be closed correctly, please don't use the product any longer. If a battery is swallowed, please go and see a doctor immediately.
IMPORTANT REMARKS :
Risk of explosion if the battery/ies is/are not replaced correctly or if the product is not used for a long time with batteries left inside.
Replace old batteries by an identical or similar models.
| double insulation | |
| direct current | |
| alternating current | |
| symbol indoor use |
Care of the environment

Your product is designed and manufactured with high quality materials and components, which can be recycled and reused.
Your product contains batteries covered by the European Directive 2006/66/EC, which cannot be disposed with normal household waste. Please inform yourself about the local rules on separate collection of batteries because correct disposal helps to prevent negative consequences for the environmental and human health.
When this crossed-out wheeled bin symbol is attached to a product it means that the product is covered by the European Directive 2002/96/EC. Please inform yourself about the local separate collection system for electrical and electronic products. Please act according to your local rules and do not dispose of your old products with your normal household waste. Correct disposal of your old product helps to prevent potential negative consequences for the environment and human health.
Compliance

This product complies with the radio interference requirements of the Europe Community.
Battery power:
Be sure that the batteries are inserted correctly to avoid damage to the appliance. Always remove the batteries when appliance will not be used for a long period of time, as this will cause leakage to the batteries and subsequently damage to your set.
Use batteries of the same type. Never use different types of batteries together.
Do not throw the battery into the fire, or exposed to sunshine or the like.
If the liquid contained in the batteries comes in contact with eyes or skin, wash the area immediately and carefully with clear water and consult a doctor.

CAUTION
- Risk of product damager! Make sure that the power voltage corresponds to the voltage printed on the back label.
- Risk of electric shock! When you unplug the AC power cord always pull the plug from the socket. Never pull the cord.
- Before connecting the AC power cord, ensure you have completed all other connections.

When AC power supply...
Place the unit in the desired position and unravel the mains cable. Insert the cable into the supply socket and switch on if applicable.
What's in the box
- Main unit
- Powercord
- Instruction manual
Overview of the Components
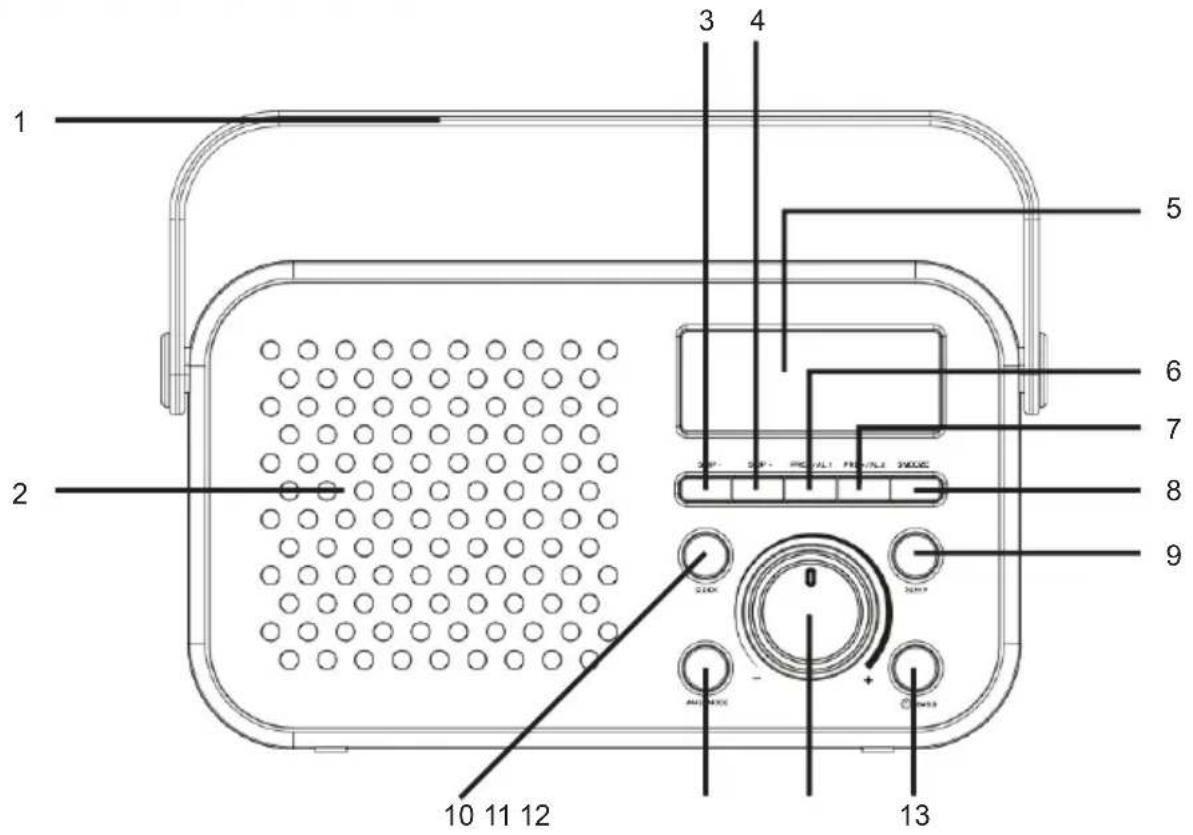
- HANDLE
- SPEAKER
- SKIP- button
- SKIP+ button
-
DISPLAY
-
PRE. - / ALARM 1 button
- PRE. + / ALARM 2 button
- SNOOZE button
- SLEEP button
-
CLOCK button
-
AMS / MODE button
- VOLUME CONTROL KNOB
- STANDBY / BAND button
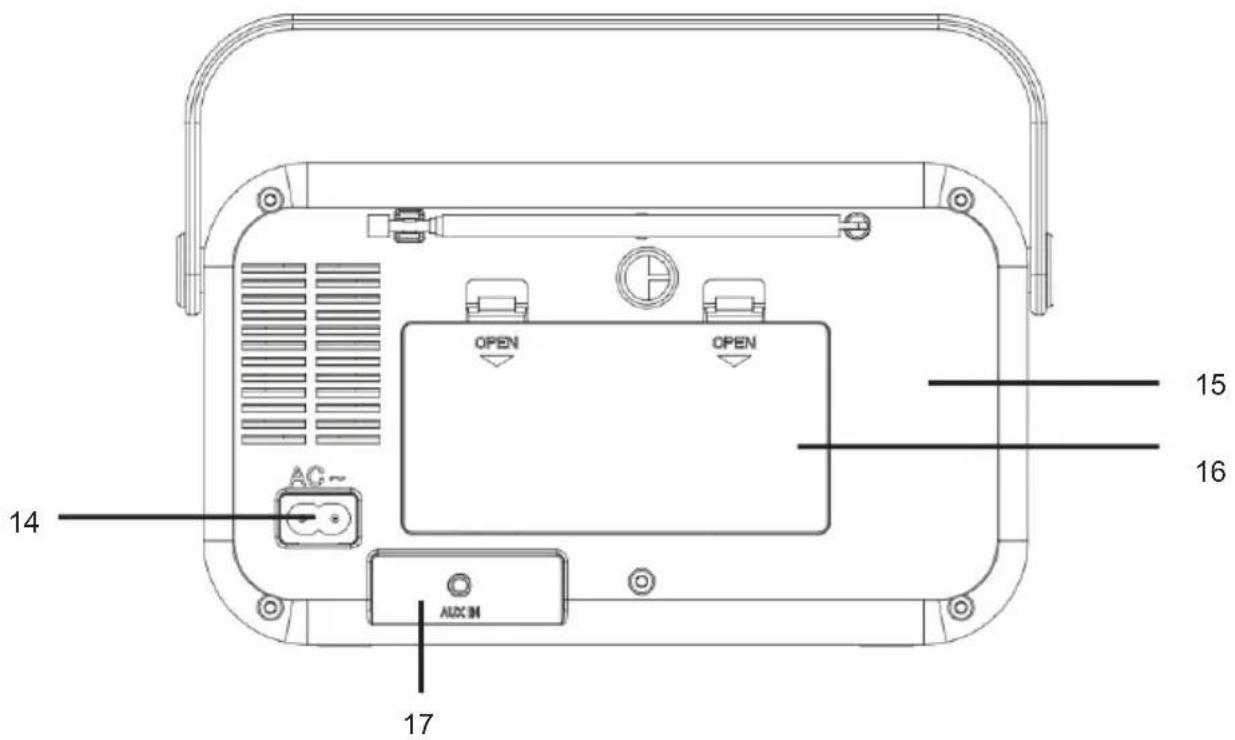
-
AC SOCKET
-
BATTERY DOOR
-
TELESCOPIC ANTENNA
-
AUX-IN JACK
Start-up of the device/introduction
- Select a suitable location for the device, such as a dry, flat, non-slip surface on which it is easy to operate the machine.
- Ensure that the device is sufficiently ventilated.
- Remove the protective film from the display if it is still present.
Power Supply
- Ensure that the voltage is the same as that indicated on the model identification plate.
- Connect the power cable supplied (see battery compartment if necessary) to a properly installed safety power socket and the mains connector AC on the back of the machine.
Inserting the Batteries (not supplied)
- Open the lid of the battery compartment.
- Insert 4 batteries of type UM-2 ("C" size) 1.5V . Please ensure that the polarity is correct (see the floor of the battery compartment)!
- Then close the battery lid.
NOTE:
When a mains cable is connected the batteries are automatically switched off.
CAUTION:
- Batteries can leak and lose battery acid. When not using the system for a long period of time, remove the batteries.
- Different battery types or new and used batteries must not be used together.
- Do not dispose of batteries with household waste. Return old batteries to the respective collection facilities or your dealer.
WARNING:
The batteries shall not be exposed to excessive heat such as sunshine, fire or the like. Danger of explosion!
Turning device on/off
- Press the "STANDBY / BAND" button to turn the device on.
- To turn off the product, press and hold the "STANDBY / BAND" button for approx. 3 seconds.
Setting the clock
The system must be in standby mode in order to set the clock.
- Activate clock setting mode: Press and hold "CLOCK" button for 3 seconds. 24H starts blinking on the display.
- Press "SKIP+" or "SKIP-" to choose between 12-hour/24-hour format. Press "CLOCK" button to confirm. The hour indicator starts blinking.
- Press "SKIP+" or "SKIP-" to set the hour. Press "CLOCK" button to confirm. The minute indicator starts blinking.
- Press the "CLOCK" button to confirm the minute.
Note: If the product is disconnected from power, the clock setting needs to be reset.
Setting Alarm
The system must be in standby mode in order to set the alarm.
- Activate alarm setting mode: Press and hold "PRE. - / ALARM 1" button for 3 seconds.
The hour indicator starts blinking on the display. - Press "SKIP+" or "SKIP-" to set the hour. Press "PRE. - / ALARM 1" button to confirm. The minute indicator starts blinking.
- Press "SKIP+" or "SKIP-" to set the minutes. Press "PRE. - / ALARM 1" button to confirm. The alarm mode starts blinking.
- Press "SKIP+" or "SKIP-" to choose one of the mode: BUZZ / RADIO. Press "PRE. - / ALARM 1" button to confirm.
To set the second alarm time, repeat each of the above steps with the "PRE. + / ALARM 2" button.
Once you completed the alarm setting an alarm symbol will appear on the display.
Snoopze function
Press "SNOOZE" button to suspend alarm sound for a few minutes. The alarm will start again after approx. 9 minutes.
Deactivate the alarm
Press "PRE. - / ALARM 1" or "PRE. + / ALARM 2" button to turn off the alarm 1 or alarm 2.
Operation
Volume control
The volume can be easily controlled by tuning the "VOLUME CONTROL KNOB".
Sleep function
Press the "SLEEP" button shortly to adjust the sleep timer in 10 minutes steps from 120 minutes to 10 and 5 to OFF.
ANTENNA
For optimal reception, extend the antenna, move to fully extend and adjust.
Listening to the AM / FM / LW Radio
- Press the "STANDBY / BAND" button shortly to switch on the unit.
- You can press the "STANDBY / BAND" button to change the AM / FM / LW radio frequency.
- There are two options to search for and preset radio stations.
Automatic scan:
Important! Any preset radio stations will be overridden.
Press and hold the "AMS / MODE" button for approx.3 seconds. The system scans the entire frequency band for radio stations. Any stations found will be preset from lowest to highest frequency.
- Manual scan for audio stations:
Briefly press the "SKIP+" & "SKIP-" buttons, until you have found the radio station which you are looking for. If you keep one of the buttons pressed down, the device will search to the previous, respectively next radio station.
- Preset station:
- Press and hold the "AMS / MODE" button on unit for about 2-3 seconds to start the automatic preset process.
- Display will show the memory sequence number and radio stations will be automatically preset into the sequence number (Note: Each sequence number means 1 preset station while during automatic preset process.)
- Once all the stations were automatic preset, press the "PRE. - / ALARM 1" or "PRE. + / ALARM 2" button to choose preset statoins.
AUXILIARY (AUX) playback
If you want to play from AUX-IN jack, please connect the external device via 3.5 mm plug jack to the AUX-IN jack. You can hear the sound from the external device through the loud speakers and you may adjust the volume on the external audio device. For further functions please refer to the user manual of the external audio device.
NOTE:
Adjust the volume of the external device to a comfortable level.
Cleaning and Care
WARNING! Before cleaning, always switch off the product and disconnect the plug from power.
- Never immerse the product in water or other liquids.
- Clean the product with a soft, slightly damp cloth. Make sure that no moisture is entering the product during cleaning.
- Never use corrosive detergents, wire brushes, abrasive scourers, metal or sharp implements to clean your product.
- Dry the product thoroughly after cleaning.
- Store the product in a cool, dry location, away from children and pets.
Remarks:
Don't discard the electrical and electronic appliances in the regular waste disposal.
- Take them to a collection point.
-
Some components in these appliances may be hazardous to health and the environment.
-
In order to save energy when the unit has no sound output for a while, the unit will be switched to stand-by automatically. It can be switched ON by using the POWER selector again.
To download the full statement, please visit our website:
EN:https://www/bigben-interactive.co.uk/support/
IT: https://www/bigbeninteractive.it/supporto-technico/
OTHER LANGUAGES: https://www/bigbeninteractive.com/support/
and the section <<declaration of conformity>> .
- THOMSON is a trademark of TECHNICOLOR SA or its affiliates used under license to Bigben Interactive.
Manufactured by BIGBEN INTERACTIVE SA
396, Rue de la Voyette
CRT2-FRETIN
CS 90414
59814 LESQUIN Cedex - France
www/bigben.eu
Made in China


Fabricant:BigbenInteractive FRANCE
396, Rue de la Voyette, C.R.T. 2 Fretin, CS 90414 - 59814 LESQUIN Cedex, France
EN: https://www/bigben-interactive.co.uk/support/
DE: https://www/bigben-interactive.de/support/
ES: https://www/bigbeninteractive.es/asistencia-technica/
IT: https://www/bigbeninteractive.it/supporto-technico/
OTROS IDIOMAS: https://www/bigbeninteractive.com/support/
EN: https://www/bigben-interactive.co.uk/support/
DE: https://www/bigben-interactive.de/support/
ES: https://www/bigbeninteractive.es/asistencia-technica/
IT: https://www/bigbeninteractive.it/supporto-technico/
ALTRE LINGUE: https://www/bigbeninteractive.com/support/
EN: https://www/bigben-interactive.co.uk/support/
DE: https://www/bigben-interactive.de/support/
ES: https://www/bigbeninteractive.es/asistencia-technica/
IT: https://www/bigbeninteractive.it/supporto-technico/
OUTRAS LINGUAS: https://www/bigbeninteractive.com/support/
EN: https://www/bigben-interactive.co.uk/support/
DE: https://www/bigben-interactive.de/support/
ES: https://www/bigbeninteractive.es/asistencia-technica/
IT: https://www/bigbeninteractive.it/supporto-technico/
SONSTIGE SPRACHEN: https://www/bigbeninteractive.com/support/
WAARSCHUWINGEN EN VOORZORGSGMAATREGELEN
WAARSCHUWINGEN OVER BATTERIJEN
- Handmatig scanners:
EN: https://www/bigben-interactive.co.uk/support/
DE: https://www/bigben-interactive.de/support/
ES: https://www/bigbeninteractive.es/asistencia-technica/
IT: https://www/bigbeninteractive.it/supporto-technico/
OVERIGE TALEN: https://www/bigbeninteractive.com/support/
1410 Waterloo, Belgium
Bigben Interactive NEDERLAND b.v.