PCD498NMP - Cd player/recorder ROADSTAR - Free user manual and instructions
Find the device manual for free PCD498NMP ROADSTAR in PDF.
User questions about PCD498NMP ROADSTAR
0 question about this device. Answer the ones you know or ask your own.
Ask a new question about this device
Download the instructions for your Cd player/recorder in PDF format for free! Find your manual PCD498NMP - ROADSTAR and take your electronic device back in hand. On this page are published all the documents necessary for the use of your device. PCD498NMP by ROADSTAR.
USER MANUAL PCD498NMP ROADSTAR
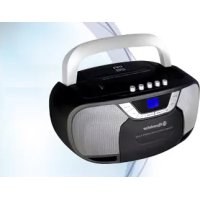
Portable CD-MP3 Player
User manual
Bedienungsanleitung
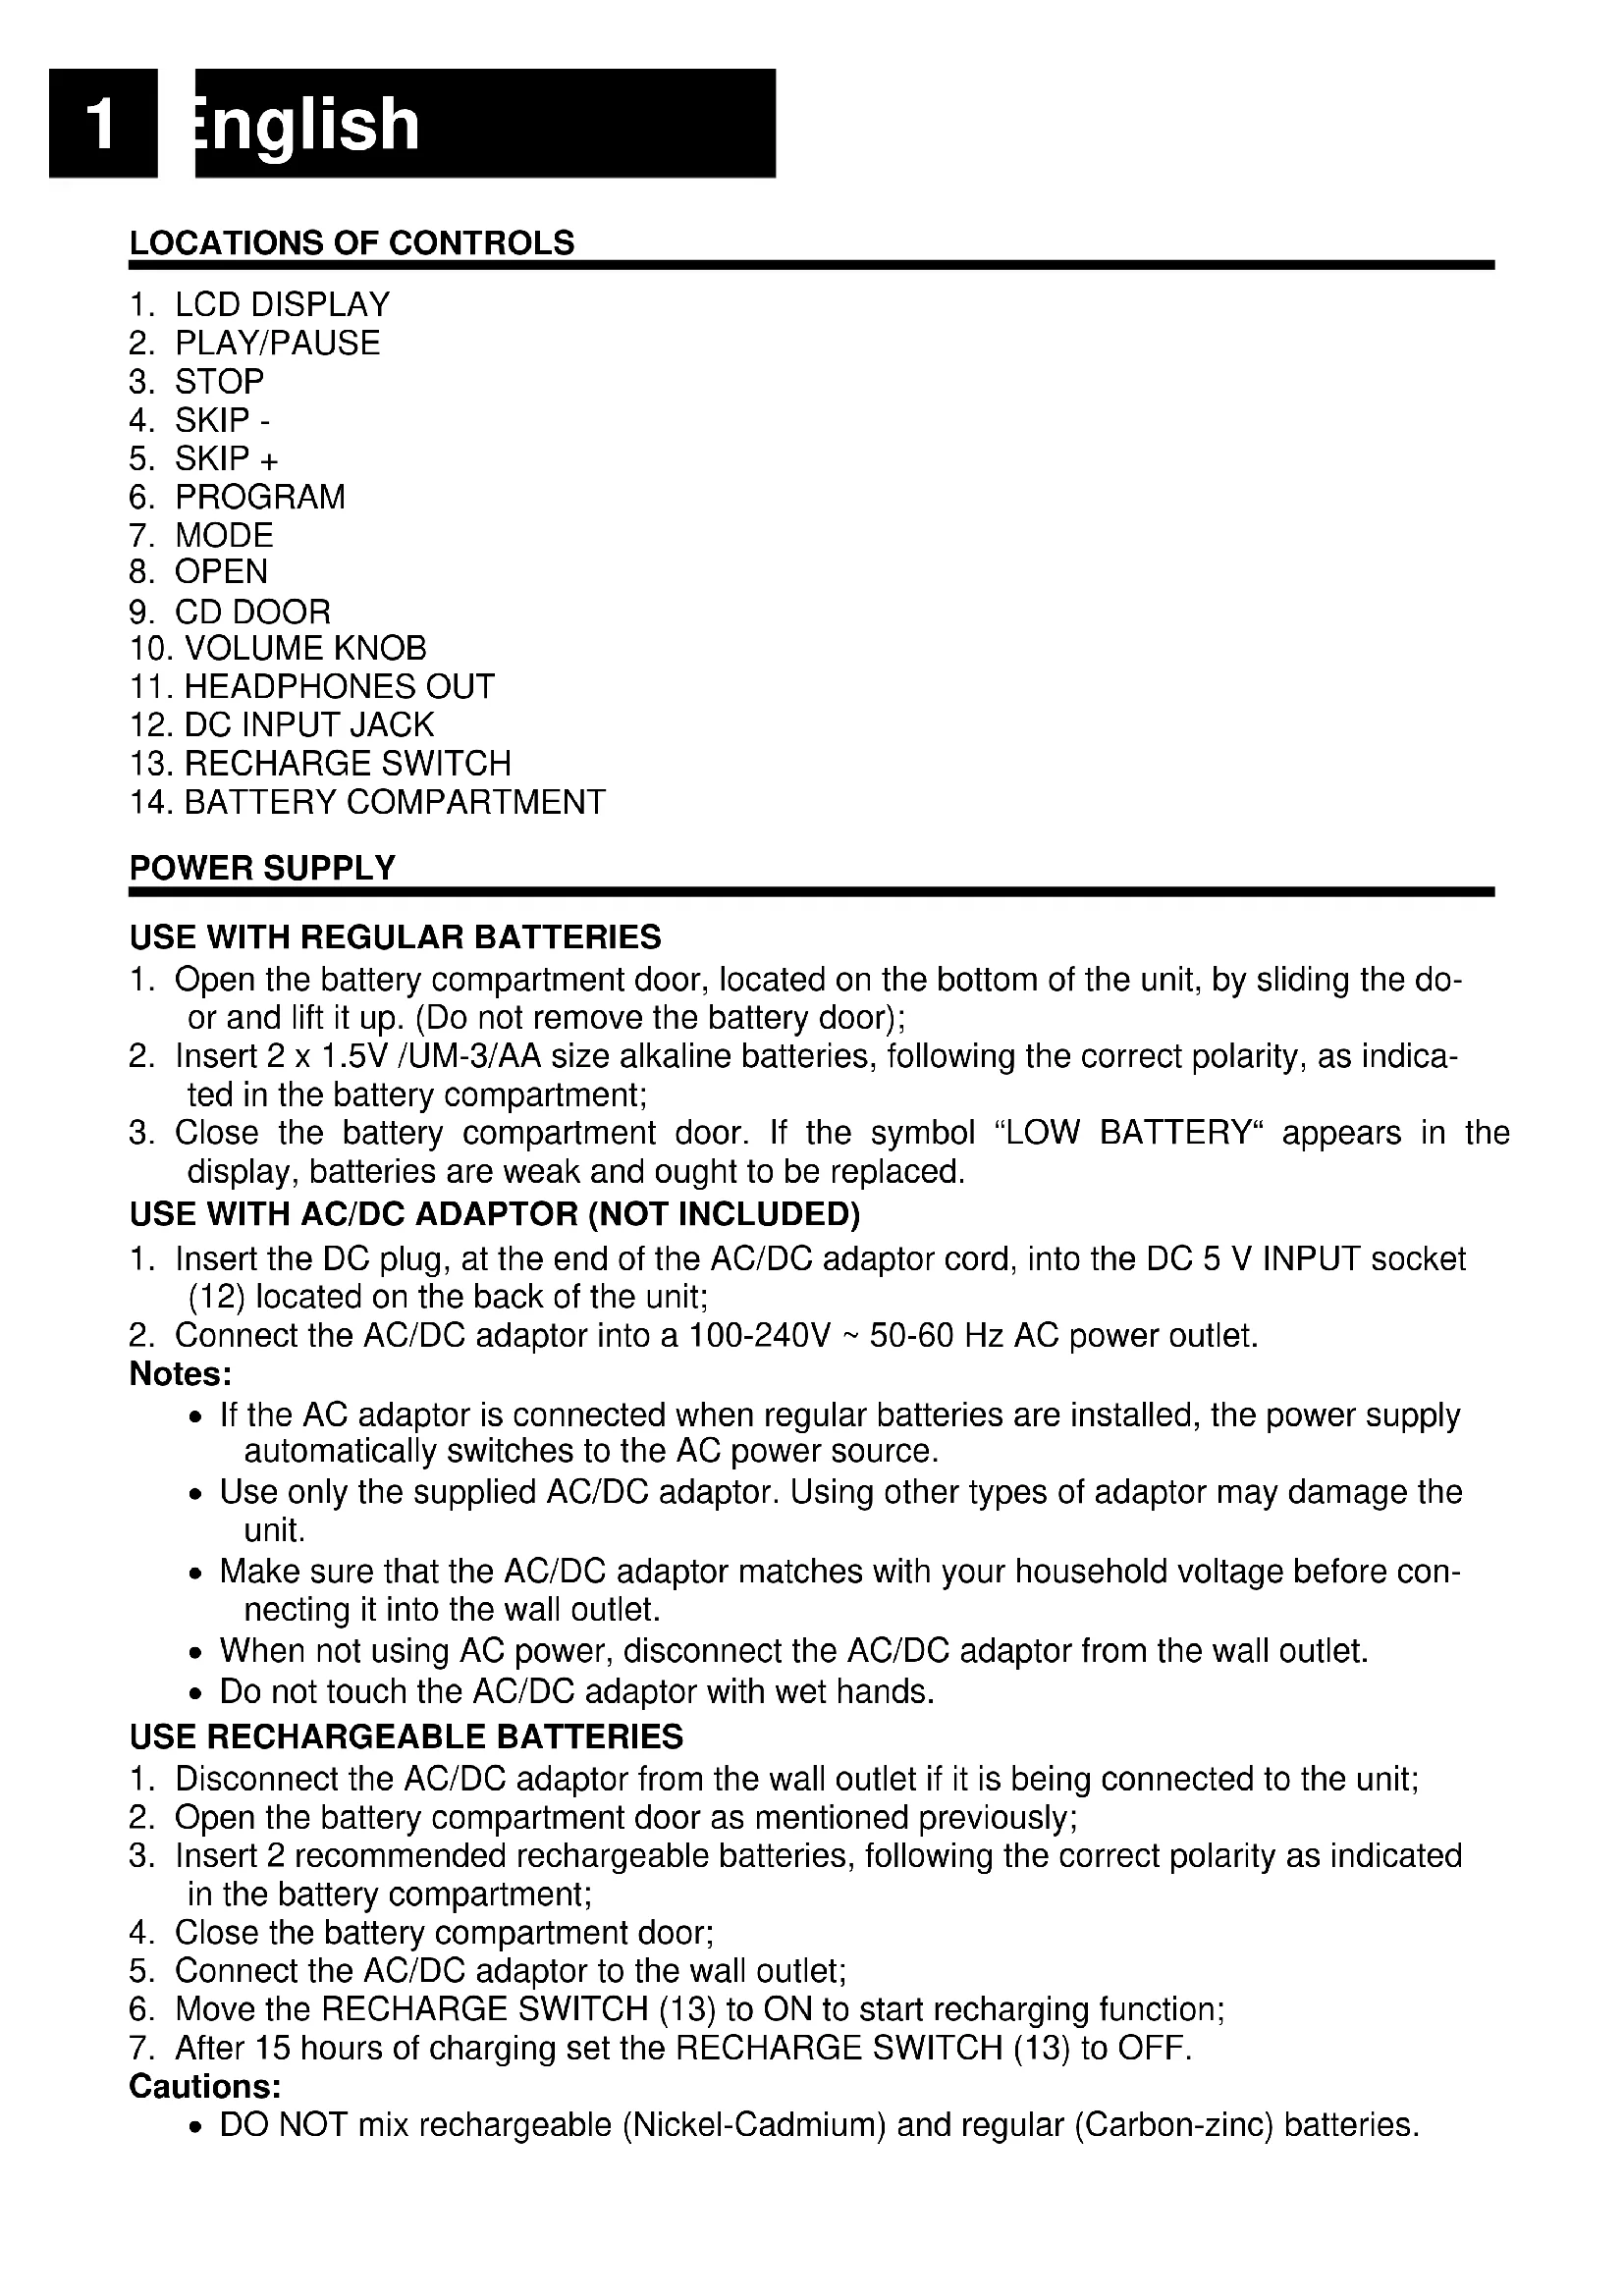
- Open the battery compartment door, located on the bottom of the unit, by sliding the door and lift it up. (Do not remove the battery door);
- Insert 2 × 1.5V /UM-3/AA size alkaline batteries, following the correct polarity, as indicated in the battery compartment;
- Close the battery compartment door. If the symbol "LOW BATTERY" appears in the display, batteries are weak and ought to be replaced.
USE WITH AC/DC ADAPTOR (NOT INCLUDED)
- Insert the DC plug, at the end of the AC/DC adaptor cord, into the DC 5 V INPUT socket (12) located on the back of the unit;
- Connect the AC/DC adaptor into a 100 - 240V 50 - 60Hz AC power outlet.
Notes:
- If the AC adaptor is connected when regular batteries are installed, the power supply automatically switches to the AC power source.
- Use only the supplied AC/DC adaptor. Using other types of adaptor may damage the unit.
- Make sure that the AC/DC adaptor matches with your household voltage before connecting it into the wall outlet.
- When not using AC power, disconnect the AC/DC adaptor from the wall outlet.
- Do not touch the AC/DC adaptor with wet hands.
USE RECHARGEABLE BATTERIES
- Disconnect the AC/DC adaptor from the wall outlet if it is being connected to the unit;
- Open the battery compartment door as mentioned previously;
- Insert 2 recommended rechargeable batteries, following the correct polarity as indicated in the battery compartment;
- Close the battery compartment door;
- Connect the AC/DC adaptor to the wall outlet;
- Move the RECHARGE SWITCH (13) to ON to start recharging function;
- After 15 hours of charging set the RECHARGE SWITCH (13) to OFF.
Cautions:
-
DO NOT mix rechargeable (Nickel-Cadmium) and regular (Carbon-zinc) batteries.
-
DO NOT charge continuously for 24 hours or more, otherwise it will deteriorate the performance of the rechargeable batteries.
- DO NOT try to recharge normal (not rechargeable) batteries. They can explode!
Notes:
- If the rechargeable batteries are being charged for the first time, it will take approximately 15 hours to be fully charged.
- If the operating time decreases drastically even when the rechargeable batteries are properly recharged, purchase a new set of rechargeable batteries.
AUTO POWER-OFF
When the unit is stopped for approximately 30 seconds, the Auto Power Off function will activated and turn the unit off automatically.
CD-MP3 OPERATION
- Connect your earphones into the [HEADPHONES SOCKET] (11);
- Press [OPEN] (8) to open the [CD DOOR] (9) and place a CD with the label up in the CD compartment;
- Close the [CD DOOR] (9);
- Press [PLAY] (2). Focus search is performed and playback will start automatically from the first track;
- Adjust the volume with the [VOLUME KNOB] (10) to the desired level;
- To turn the unit off, press the [STOP] button (3) twice.
Note:
- Press [PLAY-PAUSE] (2)to play. When it plays, press to stop playback temporarily and press again to resume playback.
- Press [STOP"] (3) when you want to finish playback. Press twice to switch OFF the unit.
- Press [SKIP -] (4) to go to the previous track, press & hold to go back fast.
- Press [SKIP +] (5) to go to the next track, press & hold to go fast forward.
PROGRAMMING
Up to 99 tacks (MP3, 20 in CD) can be programmed and play in any order.
- Stop the playback by pressing [STOP] (3);
- Press [PROGRAM] (6), the display (1) will show the number of the track on the left side and the number of program on the right side.
- Select desired track by using [SKIP -/+] buttons (4/5);
- Press [PROGRAM] (6) to confirm desired track into the program memory;
- Repeat step 3 and 4 to enter additional tracks into the program memory.
- When all the desired tracks have been programmed, press [PLAY] (2) to play the disc in the order you have programmed.
Note: Press [STOP] (3) to terminate programmed play.
REPEAT - RANDOM MODE
During playback, press repeatedly the [MODE] (7) to select:
- REP-ONE: The current track is played repeatedly.
- REP-ALL: All tracks are played repeatedly.
- REP-FOLDER: The current folder is played repeatedly.
-
RANDOM: Tracks are played randomly.
-
INTRO: All tracks are played for 10 seconds.
AUTO-RESUME FUNCTION
- If you pause the device for long time it will automatically switch off in order to save battery life.
- If you press [PLAY-PAUSE] (2) the device will turn on and resume the track you were listening to.
- Please note that auto-resume function is enabled only if the device is connected to some power source (DC cable or batteries).
ANTI-SHOCK FUNCTION
- If in use, the player is likely to receive shocks or vibrations (i.e. whilst walking or in a moving vehicle). As soon as the PLAY/PAUSE button is pressed, the ASP function is automatically activated to allow uninterrupted playback.
- Should the player receive shocks for more than 45 seconds continuously in CD playback or 100 seconds in MP3 playback, the sound can mute for a very short while and will resume once the player has stabilised from the shock.
- The Anti-shock function will not correct the errors arising from the use of defective scratched or dirty discs.
MAINTENANCE
Cleaning the unit
Wipe the outside surface of the unit with a soft cloth moistened with water and mild soap.
Handling CDs
Your CD player has been especially designed for the reproduction of compact discs bearing the CD mark. No other discs should be loaded into the player.
Always place the disc in tray with the label facing up.
Although compact discs are impervious to wear during play, damage to the surface of a disc through improper handling will result in playback irregularities.
To preserve your compact discs, please handle them with care.
Although minute dust particles and fingerprints should have no effect on playback, you should keep the surface of the recorded side of your discs clean by wiping the disc with a clean, dry, lint-free soft cloth with straight movements from the centre outwards.
Never use record cleaners, record sprays, antistatic sprays, liquids nor chemical based liquids to clean the surface of a disc. They may in fact irreparably damage the disc's plastic surface.
Always return the disc to its protective plastic case when not using it. Avoid exposing discs to direct sunlight, excessive temperatures or high humidity for extended periods of time. Do not write on the label side of the disc with a ball/point pen as this may scratch the disc.
IMPORTANT
Since movement of the CD mechanism and the sensitive circuitry may cause interference to a radio tuner nearby switch this unit off while operating other radio devices.
This product utilizes a laser:
Danger - Invisible laser radiation when opened and interlock failed or defeated. Avoid direct exposure to the beam.
Caution - Use of controls, adjustments, or procedures not listed in this manual may result in hazardous radiation exposure.
TECHNICAL SPECIFICATIONS
Power Supply: DC 5V (Adaptor).
DC 3V = (2× "LR6" Batteries).
General
Headphones Out: 3.5mm jack plug.
Specifications and the design are subject to possible modifications without notice due to improvement.
WARNING

The exclamation point within the triangle is a warning sign alerting the user of important instructions accompanying the product.

The lightening flash with arrowhead symbol within the triangle is a warning sign alerting the user of "dangerous voltage" inside the unit.
To reduce the risk of electric shock, do not remove the cover. No user serviceable parts inside the unit. Refer all servicing to qualified personnel.

This unit operates on 230V 50Hz . If the unit is not used for a long period of time, remove the plug from the AC mains.

Ensure all connections are properly made before operating the unit.

This unit must not be exposed to moisture or rain.
This unit should be positioned so that it is properly ventilated. Avoid placing it, for example, close to curtains, on the carpet or in a built-in installation such as a bookcase.
Do not expose this unit to direct sunlight or heat radiating sources.
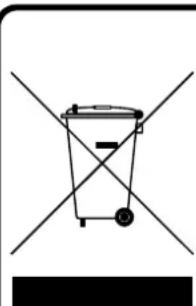
CORRECT DISPOSAL OF THIS PRODUCT (Waste Electrical & Electronic Equipment)
This marking shown on the product or its literature, indicates that it should not be disposed with other household wastes at the end of its working life. To prevent possible harm to the environment or human health from uncontrolled waste disposal, please separate this from other types of wastes and recycle it responsibly to promote the sustainable reuse of material resources. Household users should contact the retailer where they purchased this product, or their local government office, for details of where and how they can take this item for environmentally safe recycling. Business users should contact their supplier and check the terms and conditions of the purchase contract. This product should not be mixed with other commercial wastes for disposal.
ORT DER BEDIENELEMENTE
- LCD DISPLAY (LCD ANZEIGE)
- PLAY/PAUSE
- STOP
- SKIP -
- SKIP +
6.PROGRAM - MODE
- OPEN (CD FACH ÖFFNEN)
- CD DOOR (CD-LAUFWERK)
- VOLUME KNOB (LAUTSTÄRKEREGLER)
- HEADPHONES OUT (KOPFHÖRERAUSGANG)
- DC INPUT JACK (DC BUCHSE)
- RECHARGE SWITCH (LADEN-SCHALTER)
- BATTERY COMPARTMENT (BATTERIEFACH)
STROMVERSORGUNG
BETRIEB MIT NORMALEN BATTERIEN
To reduce the risk of electric shock, do not remove the cover. No user serviceable parts inside the unit. Refer all servicing to qualified personnel.
Om erhhen inte ska anvandas for en langre period (mer aan 1 manad), ta ur alla batterier for att undvika eventuellt lackage.
Enhetenfarejutsattasforfuktellerrregn.(placera denejute,iettbadrumllerandafuktgAMILjoer.

Roadstar Warranty Terms and Conditions
Roadstar- by means of its sales organisation, representative ordistributor- guarantees its products against manufacturing defects in material and/or workmanship throughout the period of warranty as defined in the following chapter (4).
Should the product fail to work or show a manufacturing defect within the warranty period as described in chapter(4), Roadstar- by means of its sales organisation, representative or distributor - will take the necessary actions to restore the perfect functioning of the product. To repairorto replace is at discretion of Roadstar.
Should the product fail to work showa manufacturing defect, the consumershall contact the nationalRoadstar sales organisation, representative ordistributor. The listof contacts bycountrycan befoundtheinternet at the address www.roadstar.com
The warranty period is in accordance with directive 99/44/CE of the European Union. For all non EU members, please refer to the local law of each country.
This warranty does not cover normal wear and tear of the product and/or its parts, any damage, failure, or loss caused by accident, misuse, and any other failure not directly related to a defect of the product.
This warrantydoes not void consumer's rights in accordance with EU Directive99/44/CE.
For further information please visit the website www.roadstar.com, or write to aftersales@roadstar.com.
DEUTSCH
Allgemeine "Roadstar" Garantiebedingungen
Hereby, Roadstar Management SA declares that the radio equipment type PCD-498NMP is in compliance with Directive 2014/53/EU.
The full text of the EU declaration of conformity is available at the following internet address:
http://roadstar.com/images/ce/PCD-498NMP.pdf
or by scanning the following QR Code.
http://roadstar.com/images/ce/PCD-498NMP.pdf
http://roadstar.com/images/ce/PCD-498NMP.pdf
http://roadstar.com/images/ce/PCD-498NMP.pdf
http://roadstar.com/images/ce/PCD-498NMP.pdf
http://roadstar.com/images/ce/PCD-498NMP.pdf
http://roadstar.com/images/ce/PCD-498NMP.pdf
http://roadstar.com/images/ce/PCD-498NMP.pdf
Roadstar Management SA, via Passegiata 7 CH 6883 Novazzano (Switzerland)