
HM 3524 - Food Processor CLATRONIC - Free user manual and instructions
Find the device manual for free HM 3524 CLATRONIC in PDF.
| Product type | Food processor |
| Brand | Clatronic |
| Model | HM 3524 |
| Power supply | 220-240 V~, 50/60 Hz |
| Power | 300 W |
| Net weight | Approx. 1.20 kg |
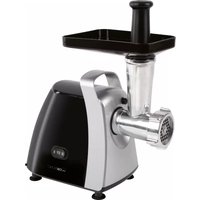
| Main functions | Mixing, stirring, beating, blending, chopping |
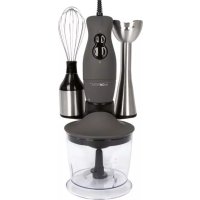
| Included accessories | Hand blender, 2 whisks, 2 dough hooks |
| Number of speeds | 5 speeds + turbo function |
| Turbo function | Yes, by impulse |
| Control type | Rotary switch + turbo button |
| Ejector button | Yes, for hooks/whisks |
| Intended use | Preparation of common household quantities |
| Max operating time (speeds 1-5) | 5 minutes per cycle |
| Max operating time (hand blender) | 1 minute per cycle |
| Rest time between cycles | At least 10 minutes |
| Max capacity (heavy dough) | 500 g |
| Max capacity (light dough) | 750 g |
| Max capacity (liquid) | 1 liter |
| Cleaning the housing | Damp cloth (do not immerse) |
| Cleaning accessories | Hand wash or dishwasher (except blender) |
| Child safety | Keep out of reach of children; choking hazard |
| Protection class | II |
| Certifications | Compliant with EU directives (EMC, low voltage) |
Frequently Asked Questions - HM 3524 CLATRONIC
User questions about HM 3524 CLATRONIC
0 question about this device. Answer the ones you know or ask your own.
Ask a new question about this device
Download the instructions for your Food Processor in PDF format for free! Find your manual HM 3524 - CLATRONIC and take your electronic device back in hand. On this page are published all the documents necessary for the use of your device. HM 3524 by CLATRONIC.
USER MANUAL HM 3524 CLATRONIC
natural_image
White CATRONC-branded hand mixer with whisk, no visible text or symbols on the device itselfCE
| Contents | ||
| Location of Controls | Page | 3 |
| User manual | Page | 30 |
| Technical Specifications | Page | 34 |
| Disposal | Page | 34 |
JEZYK POLSKI
Bedienungsanleitung
⚠ WAARSCHUWING: Voorkom letsel!
Indicates potential dangers for the device or other objects.

OTA:
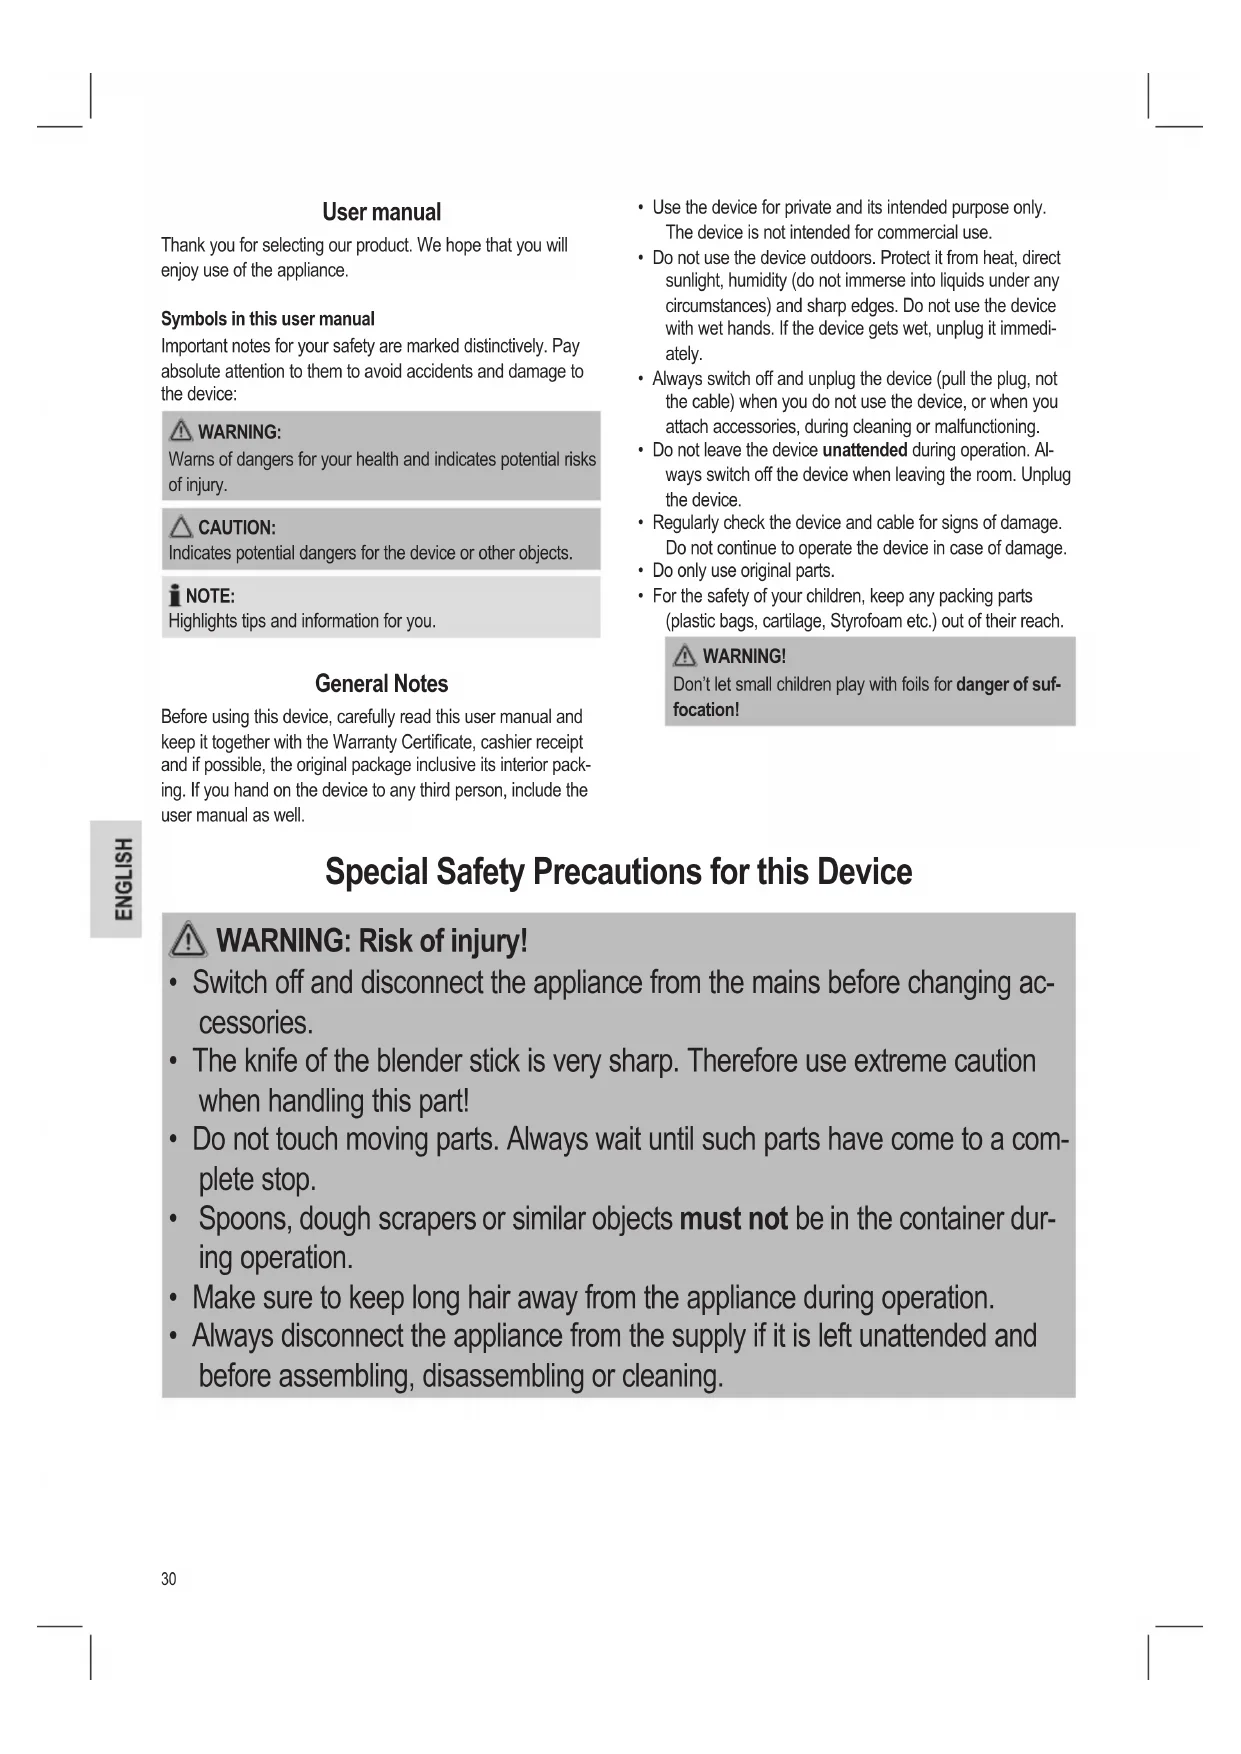
Thank you for selecting our product. We hope that you will enjoy use of the appliance.
Symbols in this user manual
Important notes for your safety are marked distinctively. Pay absolute attention to them to avoid accidents and damage to the device:

WARNING:
Warns of dangers for your health and indicates potential risks of injury.

CAUTION:
Indicates potential dangers for the device or other objects.

NOTE:
Highlights tips and information for you.
General Notes
Before using this device, carefully read this user manual and keep it together with the Warranty Certificate, cashier receipt and if possible, the original package inclusive its interior packing. If you hand on the device to any third person, include the user manual as well.
- Use the device for private and its intended purpose only. The device is not intended for commercial use.
- Do not use the device outdoors. Protect it from heat, direct sunlight, humidity (do not immerse into liquids under any circumstances) and sharp edges. Do not use the device with wet hands. If the device gets wet, unplug it immediately.
- Always switch off and unplug the device (pull the plug, not the cable) when you do not use the device, or when you attach accessories, during cleaning or malfunctioning.
- Do not leave the device unattended during operation. Always switch off the device when leaving the room. Unplug the device.
- Regularly check the device and cable for signs of damage. Do not continue to operate the device in case of damage.
- Do only use original parts.
- For the safety of your children, keep any packing parts (plastic bags, cartilage, Styrofoam etc.) out of their reach.

WARNING!
Don't let small children play with foils for danger of suffocation!
Special Safety Precautions for this Device

WARNING: Risk of injury!
- Switch off and disconnect the appliance from the mains before changing accessories.
- The knife of the blender stick is very sharp. Therefore use extreme caution when handling this part!
- Do not touch moving parts. Always wait until such parts have come to a complete stop.
- Spoons, dough scrapers or similar objects must not be in the container during operation.
- Make sure to keep long hair away from the appliance during operation.
- Always disconnect the appliance from the supply if it is left unattended and before assembling, disassembling or cleaning.

WARNING: Risk of injury!
- Do not repair the device by yourself. Please contact authorized personnel. In order to avoid hazards, a damaged mains cable must be replaced with an equivalent cable by the manufacturer, our customer service or any other qualified specialist.
• This appliance shall not be used by children. - Keep the appliance and its cord out of reach of children.
• Children shall not play with the appliance. - Appliances can be used by persons with reduced physical, sensory or mental capabilities or lack of experience and knowledge if they have been given supervision or instruction concerning use of the appliance in a safe way and if they understand the hazards involved.
- This device must not be immersed in water for cleaning. Please follow the instructions provided in chapter “Cleaning”.
Intended Use
This appliance is intended for mixing, stirring, beating, pureeing or cutting food. It is suitable for processing common household quantities.
It is only designed for this use and should only be used for this intended purpose.
Only use this device as instructed in this user manual. Do not use this device commercially.
No other use is intended and can cause damage or personal injuries.
The manufacturer is not responsible for any damages incurred due to improper use.
Location of Controls
1 Eject button for dough hooks and beaters
2 Switch
- On/Off switch
- Switch for speed settings 1 to 5
3 TURBO button
4 Blender stick
5 Knife
6 Fixture with cover for attaching the blender stick
7 Beaters
8 Dough hooks
9 Ring marking
Unpack Device
- Take the device out of its packaging.
- Remove all packaging materials, such as foils, filling materials, cable ties and cartons.
- Check that all accessories are included in the box.
- If the contents of the box are incomplete or if damage is found, do not operate the appliance. Return it to the dealer immediately.

Clean manufacturing residues and dust from the device as described under "Cleaning".
Assembly / disassembly
CAUTION:
Safety mechanisms prevent the simultaneous assembly of the blender stick and the dough hooks / beaters. Do not try to bypass them!
Assembly of dough hooks / beaters
i NOTE:
- For safety reasons, the fixtures for the dough hooks / beaters will lock once the blender stick is attached.
-
The dough hook and the beater with the ring marking on their shaft must only be attached to the larger fitting of the mixer. The other dough hook and beater are intended for the smaller fitting. The two dough hooks and the two beaters must not be attached without following these instructions.
-
Make sure the switch (2) is at the "0" position and the appliance disconnected from the mains.
- Push the ends of the dough hooks or beaters into the respective fittings until they lock into place. Slightly turning the accessories might help facilitate the process of attaching.
Disassembly of dough hooks / beaters
Press the release button (1) to release the accessories. This is only possible, when the switch is set to the "0" position or the blender stick symbol.
Assembly of the blender stick

NOTE:
- For safety reasons, the blender stick cannot be used once the dough hooks or beaters are attached.
-
The fixture for attaching the blender stick (6) is located on the bottom of the appliance.
-
Make sure that the switch is set to the "0" position and that the appliance disconnected from the mains.
- Slide the protective cover open in order to expose the fixture.
- Push the blender stick (4) into the fixture until it rests completely. Lock the blender stick by turning it counterclockwise as far as it will go.
Disassembly of the blender stick
In order to release the blender stick from the housing, turn it clockwise and pull it off.
Instructions for use
- For best results, use high-quality containers that are not too big.
- In order to avoid splashing, submerge the dough hooks or beaters into the food to be mixed before switching on the appliance.
- Start with a low speed setting (1 - 2) and then select a higher setting if necessary.
• After switching off the appliance, wait until the motor comes to a complete stop before removing the dough hooks or beaters from the food. - The appliance is suitable for small quantities only! Fill containers with the maximum quantities only as indicated in the table!
Blender stick

CAUTION:
Do not use the blender stick for cutting hard foodstuff such as coffee beans, nutmeg or ice cubes. This could damage the product.
- Cut larger size ingredients into smaller pieces (max. ∅ 1.5 cm) and add some liquid before pureeing.
- Do not exceed the MAX marking when submerging the blender stick into the bowl with ingredients.
Electric operation
- Make sure the switch is at the "0" position.
- Before you plug the mains plug into the outlet, check whether the system voltage that you want to use, matches the one of the appliance. You will find information about it on the type plate.
- Connect the appliance to a correctly installed grounded outlet.
Switch (2)
| 543210 | Speed settings for dough hooks or beaters | |
| Appliance off | Switch position for ejecting the dough hooks or beaters | |
| Blender stick mode | ||
Turning on/off
Using the dough hooks and beaters
- In order to switch on the appliance, set the switch to one of the positions from "1" to "5".
- When at the "0" position, the appliance is switched off.
Using the blender stick
- Set the switch to the blender stick symbol.
- Press the TURBO button (3).
- When releasing the button, the appliance will stop.
- Set the switch to the "0" position.

IOTE:
When assembling the blender stick, a safety switch will deactivate the speed settings.
Turbo operating mode
All speed settings allow you to temporarily switch to the highest speed setting. In order to do so, press the TURBO button during operation. When activating the button in short intervals, you will achieve a pulse operation.

CAUTION: Short-term operation
- In speed setting modes 1 to 5, the maximum operating time of 5 minutes per operating cycle must not be exceeded.
- When using the blender stick, the operating time per operating cycle is only 1 minute.
- Wait at least 10 minutes between two operating cycles.
Please choose the accessories and speed setting according to the table below:
| Product / method of preparation | Max. quantity Accessories | Speed setting / Button | Max. operating time | |
| Heavy dough (e.g. yeast dough) 500 g Dough hooks 1 – 45 min. | ||||
| Cake batter or light crêpes mixture | 750 g | Beaters | 2 – 5 | 5 min. |
| Sponge mixture, waffle mixture, cream | 750 g Beaters | 2 – 55 min. | ||
| Liquids, e.g. dressings, milk shake | 1 Liter | Beaters 2 – 55 min. | ||
| Blender stick TURBO 1 min. | ||||
| Fruit Blender stick TURBO 1 min. | ||||
| Onions, herbs Blender stick TURBO 1 min. | ||||
Ending operation
- Set the switch to "0" position and wait until the motor has come to a complete stop.
- Disconnect the plug from the outlet.
- Detach the accessories from the housing and clean immediately.
Cleaning
WARNING:
• Always remove the power cord before cleaning.
- Do not immerse the appliance in water for cleaning. It could result in an electric shock or fire.
△ CAUTION:
- Do not use a wire brush or other abrasive utensils for cleaning.
• Do not use aggressive or abrasive cleaning agents.
• Immediately clean the appliance after each use.
• Only use a damp cloth for cleaning the housing.
- Dough residue sticking to the mains cable can be removed with a cloth as well.
Accessories
WARNING: Risk of injury!
The knife of the blender stick is very sharp. Handle with care.
△ CAUTION:
Do not immerse the blender stick shaft completely into water. Make sure no water enters the shaft while cleaning it.
- Rinse the blender stick under warm running water. Leave it in upright position afterwards for water that might have entered to run off.
- Clean the dough hooks and beaters in warm soapy water. They are dishwasher-safe. Make sure not to overdose cleaning agents.
• Dry all parts thoroughly after cleaning.
Storage
- Clean the appliance as described and let it dry completely.
• We recommend that you store the appliance in the original packaging, should you not want to use it for a longer period of time.
• Always store the appliance out of the reach of children in a well ventilated and dry location.
Noise development
The sound pressure level in the ear of an operator (LpA) was measured according to DIN EN ISO 3744.
Sound pressure level detected: approx. 83 dB(A) (no limit)
Technical Specifications
Model: HM 3524
Power supply: 220-240 V\~, 50/60 Hz
Power consumption: 300 W
Protection class: ....II
Short term operation: 5 minutes
Turbo operating mode: 1 minute
Net weight: .... approx. 1.20 kg
The right to make technical and design modifications in the course of continuous product development remains reserved.
This device complies with all current CE directives, such as electromagnetic compatibility and low voltage directive and is manufactured according to the latest safety regulations.

Disposal
Meaning of the "Wheelie Bin" Symbol
Take care of our environment, do not dispose of electrical appliances via the household waste.
Dispose of obsolete or defective electrical appliances via municipal collection points.
Please help to avoid potential environmental and health impacts through improper waste disposal.
You contribute to recycling and other forms of utilization of old electric and electronic appliances.
Your municipality provides you with information about collecting points.
CTC Clatronic Sp. z o.o


- JEZYK POLSKI
- Bedienungsanleitung
- ⚠ WAARSCHUWING: Voorkom letsel!
- OTA:
- Symbols in this user manual
- WARNING:
- CAUTION:
- NOTE:
- General Notes
- WARNING!
- Special Safety Precautions for this Device
- WARNING: Risk of injury!
- Intended Use
- Location of Controls
- Unpack Device
- Assembly / disassembly
- Assembly of dough hooks / beaters
- i NOTE:
- Disassembly of dough hooks / beaters
- Assembly of the blender stick
- Disassembly of the blender stick
- Instructions for use
- Blender stick
- Electric operation
- Turning on/off
- Using the dough hooks and beaters
- Using the blender stick
- IOTE:
- Turbo operating mode
- CAUTION: Short-term operation
- Ending operation
- Cleaning
- △ CAUTION:
- Accessories
- Storage
- Noise development
- Technical Specifications
- Disposal
- Meaning of the "Wheelie Bin" Symbol
Brand : CLATRONIC
Model : HM 3524
Category : Food Processor