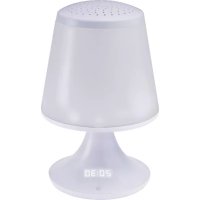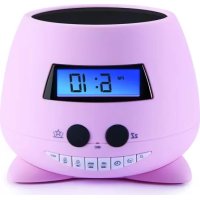
RPE - Alarm clock radio BIGBEN - Free user manual and instructions
Find the device manual for free RPE BIGBEN in PDF.



User questions about RPE BIGBEN
0 question about this device. Answer the ones you know or ask your own.
Ask a new question about this device
Download the instructions for your Alarm clock radio in PDF format for free! Find your manual RPE - BIGBEN and take your electronic device back in hand. On this page are published all the documents necessary for the use of your device. RPE by BIGBEN.
USER MANUAL RPE BIGBEN
customerservice@bigben-interactive.be
ESPANA, sat@bigbeninteractive.es
ITALIA, support@bigbeninteractive.it
www/bigben.eu
Model no. RPE
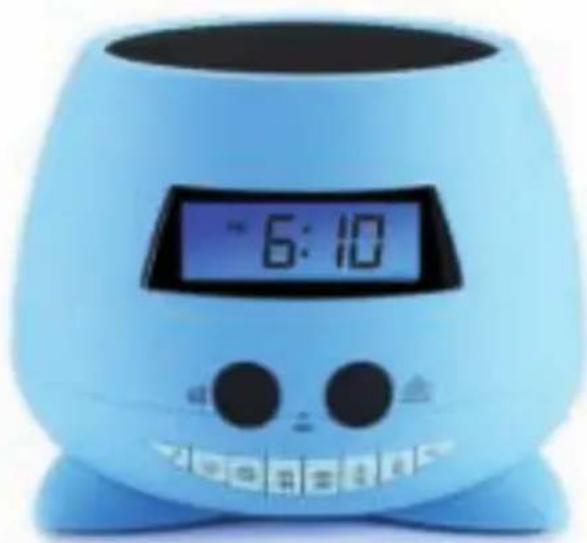
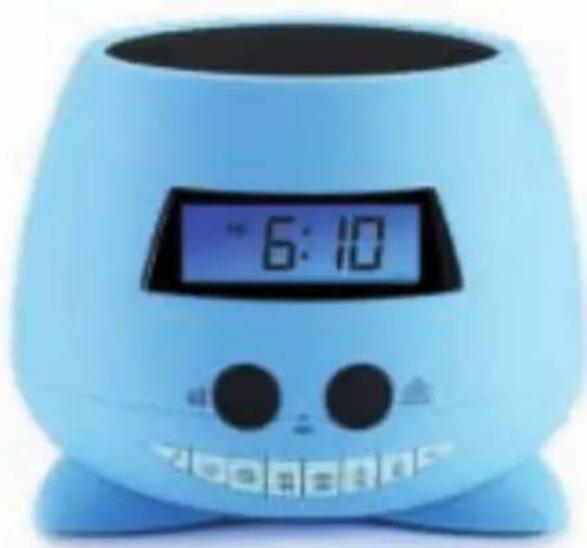
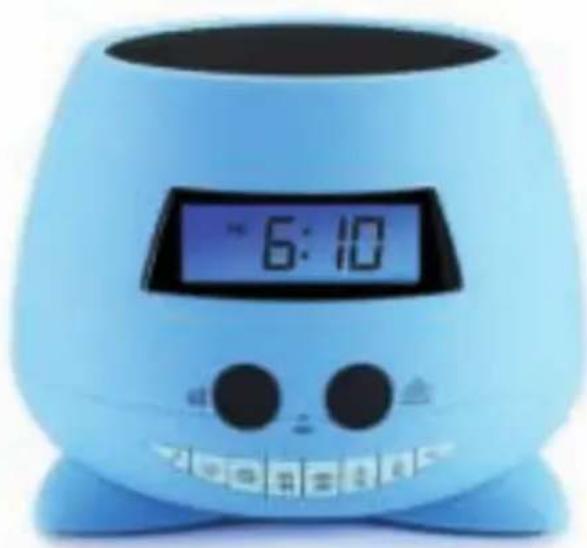
PROJECTOR DUAL ALARM CLOCK
OPERATING INSTRUCTIONS
PLEASE READ THIS USER MANUAL CAREFULLY BEFORE OPERATING THIS UNIT AND RETAIN FOR FUTURE REFERENCE.
Contents
Setting Started 1
Safety and Notice
Safety
Care for your product 2
Care of the environment
What's in the box 3
Battery power
Setup
General Functions
Key functions 4
Sound On/Off 5
Volume
Set the clock
Set alarm
Using the snooze function
NAP / Sleep timer 6
Recording a sound
Projector & LCD backlight ON / OFF
Basic specifications
Remarks 7
Setting Started
- Remove the appliance from the box.
- Remove any packaging from the product.
- Place the packaging inside the box and either or dispose of safely.
Safety and Notice
Read and understand all instructions before you use this product. If damage is caused by failure to follow the instructions, the warranty does not apply.
Safety
Warning

- Never remove the casing of this apparatus.
- Never lubricate any part of this apparatus.
- Never place this apparatus on other electrical equipment.
- Keep this apparatus away from direct sunlight, naked Fames or heat.
-
Never look into the laser beam inside this apparatus.
-
Read these instructions.
-
Keep these instructions.
-
Heed all warnings.
-
Follow all instructions.
-
Do not use this apparatus near water.
-
Clean only with dry cloth.
-
Do not block any ventilation openings. Install in accordance with the manufacturer's instructions.
-
Do not install near any heat sources such as radiators, heat registers, stoves, or other apparatus (including amplifiers) that produce heat.
-
Only use attachments/accessories specified by the manufacturer.
-
Refer all servicing to qualified service personnel. Servicing is required when the apparatus has been damaged in anyway, such as power-supply cord or plug is damaged, liquid has been spilled or objects have fallen into the apparatus, apparatus has been exposed to rain or moisture, does not operate normally, or has been dropped.
-
Apparatus shall not be exposed to dripping or splashing.
-
Do not place any sources of danger on the apparatus (e.g. liquid filled objects, lighted candles).
-
Make sure there is enough free space around the product for ventilation.
-
Batteries (battery pack or batteries installed) shall not be exposed to excessive heat such as sunshine, fire or the like.

Care for your product
- Always remove the batteries when not in use and before cleaning.
- Do not play music at excessive volume levels as damage to hearing and or the equipment may occur.
- Do not use this unit in wet or damp conditions.
- Always disconnect the unit from the mains power supply before cleaning. Clean the appliance with a soft, damp, lint free cloth. Do not use abrasives or harsh cleaners.
Care of the environment

Your product is designed and manufactured with high quality materials and components, which can be recycled and reused.
Your product contains batteries covered by the European Directive 2006/66/EC, which cannot be disposed with normal household waste. Please inform yourself about the local rules on separate collection of batteries because correct disposal helps to prevent negative consequences for the environmental and human health.
When this crossed-out wheeled bin symbol is attached to a product it means that the product is covered by the European Directive 2002/96/EC. Please inform yourself about the local separate collection system for electrical and electronic products. Please act according to your local rules and do not dispose of your old products with your normal household waste. Correct disposal of your old product helps to prevent potential negative consequences for the environment and human health
What's in the box
Check and identify the contents of your package:
- Main unit
- User manual
3 projection plates.
Battery power
Be sure that the batteries are inserted correctly to avoid damage to the appliance. Always remove the batteries when appliance will not be used for a long period of time, as this will cause leakage to the batteries and subsequently damage to your set.
Use batteries of the same type. Never use different types of batteries together.
Do not throw the battery into the fire, or exposed to sunshine or the like.
If the liquid contained in the batteries comes in contact with eyes or skin, wash the area immediately and carefully with clear water and consult a doctor.
Setup
Insert or Replace clock batteries
Make sure the unit is turned OFF
- Insert 3x LR06 AA Alkaline batteries only (not included). Check the polarity (+ and - at ends of the battery) and follow the instructions on the diagram near the battery compartment. Close the battery cover. The display will flash and show 12:00.
NOTE: Please make sure you properly dispose of batteries (see your local regulations).
General Functions
- Digital projector alarm clock & LCD backlight screen
- Light with built-in color change
- Sound ON/OFF (2 preset songs + 1 record sound)
- Dual Alarm set
- Clock Set
- Nap / Sleep
- Snooze
- 24-hour clock display
- Recording sound (1 recording only)
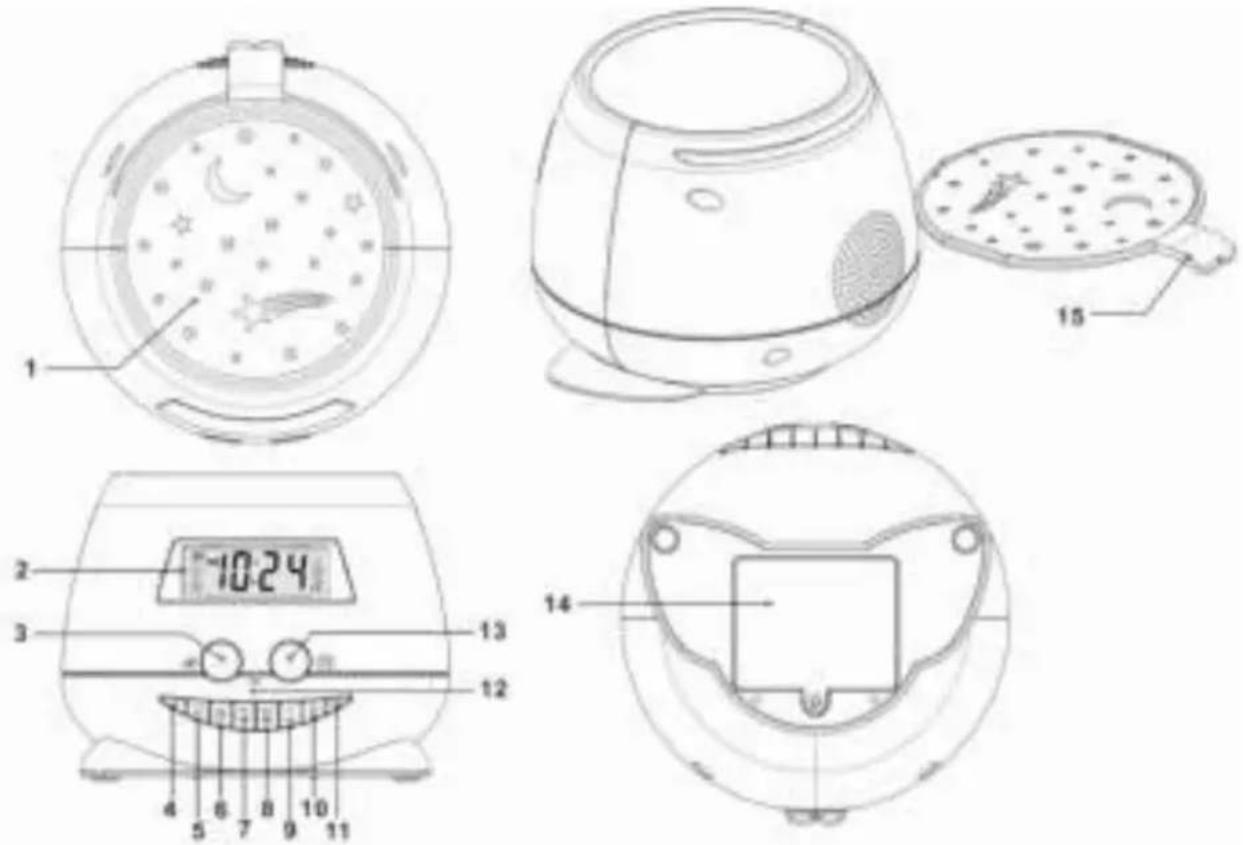
Key functions
- Projection
- LCD Display
- Snooze
- Sound On/Off (2 preset sounds + 1 record sound)
- Nap / Sleep Timer
- Clock Set
- Hour and minute SET (-)/HR
- Hour and minute SET (+) / MIN
- Alarm 1 Set / Volume -
- Alarm 2 Set / Volume +
- REC Record (1 record only)
- MIC
- Projector & LCD backlight ON / OFF
- Battery cover
- Removable Projection Plate
1. Sound On/Off (2 preset songs + 1 record sound)
- Press the Sound (4).
- Press Skip or (7,8) to select sound:
SD1 Lullaby, SD2 Zen, Rec (1 recorded sound)
- Press Sound (4) again to turn off the function
2. Volume - 1/ + (9, 10)
Press Volume - / + to turn the volume down or up on the sound that is playing.
3. Set the clock
- Press Clock Set (6). The display will flash and show 12:00.
- Press or toggle the clock, then press Clock set (6) to confirm the hour.
- Press or to set the clock, then press Clock set (6) to confirm the minutes.
- Press and hold to change the 24-hour/12-hour clock format
4. Set alarm
- Press & hold Alarm1 (9) for 3 seconds. The icon will show on the LCD display.
- Unit switches to sound output mode:
BB sound, SD1 Lullaby, SD2 Zen, Rec (1 recording), and "off" for user to select.
- Press alarm 1 (9) to confirm
- Unit switches to Time mode
Press on Alarm 1 (9) and press on or to confirm the hour.
Press on Alarm 1 (9) and press on or to confirm the minutes
Press again on Alarm 1 (9) to confirm.
- Unit switches to volume mode.
Press or 7,8) to select the volume and Press Alarm 1 (9) to confirm.
The sound with the projection light will ring at the selected time.
- There is a dual alarm. Repeat the above steps to set Alarm 2.
Turn off the alarm
To turn off the sound, press Sound OFF (4).
- The Alarm clock will resume the function at the same time the next day.
Cancel / Disable alarm function:
- To cancel the alarm function, press and hold Alarm 1 or 2 (9, 10) for 3 seconds. Unit switches to sound output mode as per the steps in point 4 and select OFF.
- Press Alarm 1 or 2 again to confirm
The alarm icon or will disappear.
If no key is pressed for 10 seconds, the system will go back to normal mode.
Alarm will switch off automatically after rings 15 minutes.
5. Using the snooze function
When the alarm rings, press (3) "SNOOZE". The alarm icon will flash & the sound will stop, but rings and the projection light comes on again every 9 minutes. Press Sound OFF (4) to turn off the alarm and the Snooze sign will disappear. Snooze function will switch off automatically after the alarm rings 3 times.
6. ⑤ NAP/Sleep timer
NAP Timer
- When there is no music, press [5] to activate the NAP timer. The sound will ring after the selected time.
Press or (7,8) to select sound:
SD1 Lullaby, SD2 Zen, Rec (1 recording),
Press NAP Timer (5) again to confirm & select the timer
- It will start to count down from the default 90 minutes. There are options for user: 90, 80, 70, 60, 50, 40, 30, 20, 10 & OFF.
- When the sound with the projection light rings, press Sound OFF (4) to turn off the sound.
- If the user wants to cancel the function, press NAP timer (5) again and select "OFF".
Sleep Timer
- When the music/ sound is playing, press [5] to activate the Sleep timer. The sound will stop after the selected time.
- It will start to count down from the default 90 minutes. There are options for user: 90, 80, 70, 60, 50, 40, 30, 20, 10 & OFF.
- If user wants to cancel the function, press the Sleep timer (5) again and select "OFF".
7. Recording a sound
The user can also record a favourite sound for a maximum of 30 seconds.
Press REC (11) to start the recording. LCD display shows "REC".
The user has to face MIC (13) on the front panel and speak loudly for the desired sound to record. Press REC (11) again to save the recording.
The unit can store 1 recording only. When the user records a new sound, it will overwrite the old file.
8. Projector & LCD backlight ON/OFF
Press (13) Projector & LCD backlight On/Off. Both the LCD backlight and projector will switch on. The projector will project colorful diagrams onto the wall and ceiling.
Press Projector & LCD backlight (13) again to turn off the light.
The projection light will be change color every 12 seconds.
There are 2 additional removable projection plates (15) for the user to replace on the unit top to display the desired projections.
- The backlight of the LCD display will turn off after 30 seconds, even though the projection light is still on.
When the projector is ON with music, press [5] Sleep timer - It will count down from the default 90 minutes. There are options for user: 90, 80, 70, 60, 50, 40, 30, 20, 10 & OFF.
- Projection will stop after the selected time.
- If the user wants to cancel the function, press Sleep timer (5) again and select "OFF".
9. Basic specifications:
DC only
Battery: 3x LR06 AA Alkaline battery only (not included)
CAUTION:
Batteries must be installed by an adult.
Replace batteries when sounds play slowly or are distorted, or when the unit works erratically.
Remarks:
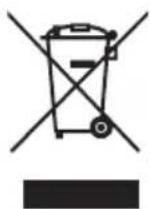
Don't discard the electrical and electronic appliances in the regular waste disposal.
- Take them to a collection point.
- Some components in these appliances may be hazardous to health and the environment.
Imported by BIGBEN INTERACTIVE SA
396, Rue de la Voyette
CRT2-FRETIN
CS 90414
59814 LESQUIN Cedex - France
www/bigben.eu
Made in China




o bigben
customerservice@bigben-interactive.be
ESPANA, sat@bigbeninteractive.es
ITALIA, support@bigbeninteractive.it
www/bigben.eu
N.° de modelos RPE
DESPERTADOR DOBLE CON PROJECTION
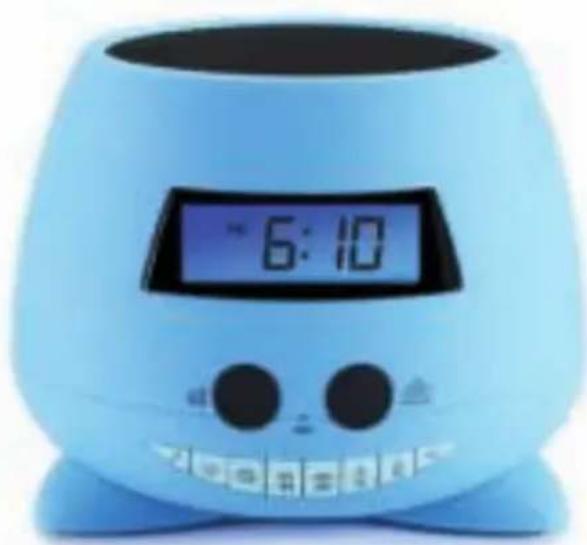
customerservice@bigben-interactive.be
ESPANA, sat@bigbeninteractive.es
ITALIA, support@bigbeninteractive.it
www/bigben.eu
Modello n. RPE
DOPPIA RADIOSVEGLIA CON PROIETTORE
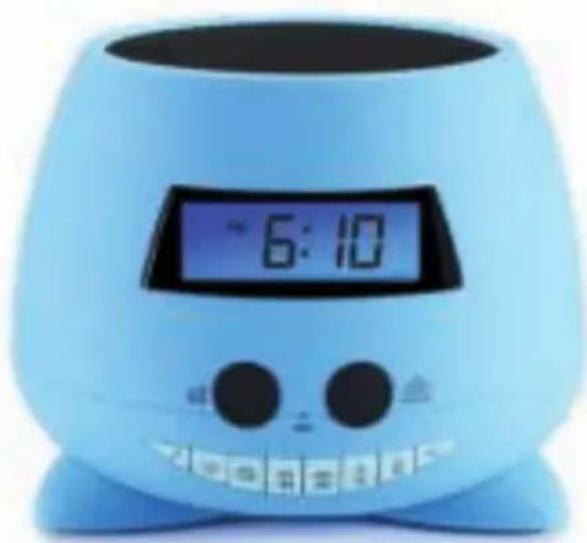
ISTRUZIONI D'USO
PRIMA DI UTILIZZARE L'APPARECCHIO, LEGGERE PER INTERO IL PRESENTE MANUALE E CONSERVARLO PER CONSULTAZIONI FUTURE.
#
Per iniziare 1
2. Volume -1/+(9, 10)
customerservice@bigben-interactive.be
ESPANA, sat@bigbeninteractive.es
ITALIA, support@bigbeninteractive.it
www/bigben.eu
DUAL-WECKER MIT PROJEKTOR
BEDIENUNGSANLEITUNG
customerservice@bigben-interactive.be
ESPANA, sat@bigbeninteractive.es
ITALIA, support@bigbeninteractive.it
www/bigben.eu
Modelr. RPE
WEKKER MET DUBBEL ALARM EN PROJECTOR
VEILIGHEIDSINSTRUCTIES
LEES DEZE GEBRUKSAANWIJZING VOLLEDIG DOOR ALVORENS DEZE EENHEID TE BEDIENEN, EN BEWAAR DIT BOEKJE VOOR UW ADMINISTRATIE.
Inhoud
Aandeslag1
customerservice@bigben-interactive.be
ESPANA, sat@bigbeninteractive.es
ITALIA, support@bigbeninteractive.it
www/bigben.eu