Bermuda - Turntable GPO - Free user manual and instructions
Find the device manual for free Bermuda GPO in PDF.
User questions about Bermuda GPO
0 question about this device. Answer the ones you know or ask your own.
Ask a new question about this device
Download the instructions for your Turntable in PDF format for free! Find your manual Bermuda - GPO and take your electronic device back in hand. On this page are published all the documents necessary for the use of your device. Bermuda by GPO.
USER MANUAL Bermuda GPO
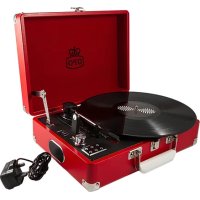
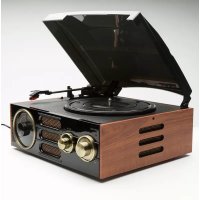
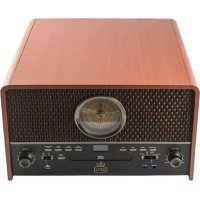
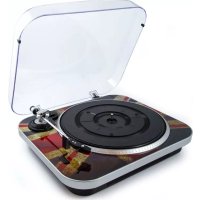
Thanks for purchasing the GPO Bermuda. You are now the proud owner of a British design classic, based on the legendary Dansette Bermuda which graced homes the length and breadth of the country. To get the most from your new turntable, please read these instructions carefully before use, and store them in a safe place for future reference.
This package contains
1x GPOBermuda
1x Turnable Needle (fitted)
1x RCA Auxiliary Out Cable
1x DC Power Cable
1x 45 RPM Adapter
4x Protective Screw Caps (fitted)
4x Legs
1x Manual
Unpacking
To unpack your GPO Bermuda, please follow these steps:
- Remove all packing materials and set the unit on a flat, supportive surface.
- Remove all of the additional items as listed above. Please note, the turntable needle and protective screw caps are shipped attached to the unit.
-
Undo the two clasps on either side of the lid.
-
Open the lid of the unit.
- Remove the black tie-wrap from the tone arm.
- Remove the white stylus protective cap.
- Release the tone arm's needle arm lock.
- Connect the small DC jack into the power input socket at the rear of the unit.
- Plug the DC power cable plug into a power outlet .
To install the legs in order to create a free-standing unit, please follow these additional steps.
- If the unit has been used previously, ensure that the power to the unit has been turned off by removing the DC power cable from the power input socket.
- Ensure that the clasps on either side of the lid are fully secured.
- Turn the unit upside down and set it on a flat, supportive surface.
- Carefully unscrew the protective screw caps from the leg sockets. Retain these screw caps for future use.
- Screw a leg into each of the four sockets until all four are securely attached.
- Return the unit to an upright position and place on a level, supportive floor.
- If the unit is unstable, ensure that the legs are tightly screwed in to the sockets.
- Connect the small DC jack into the power input socket at the rear of the unit.
- Plug the DC power cable plug into a power outlet .
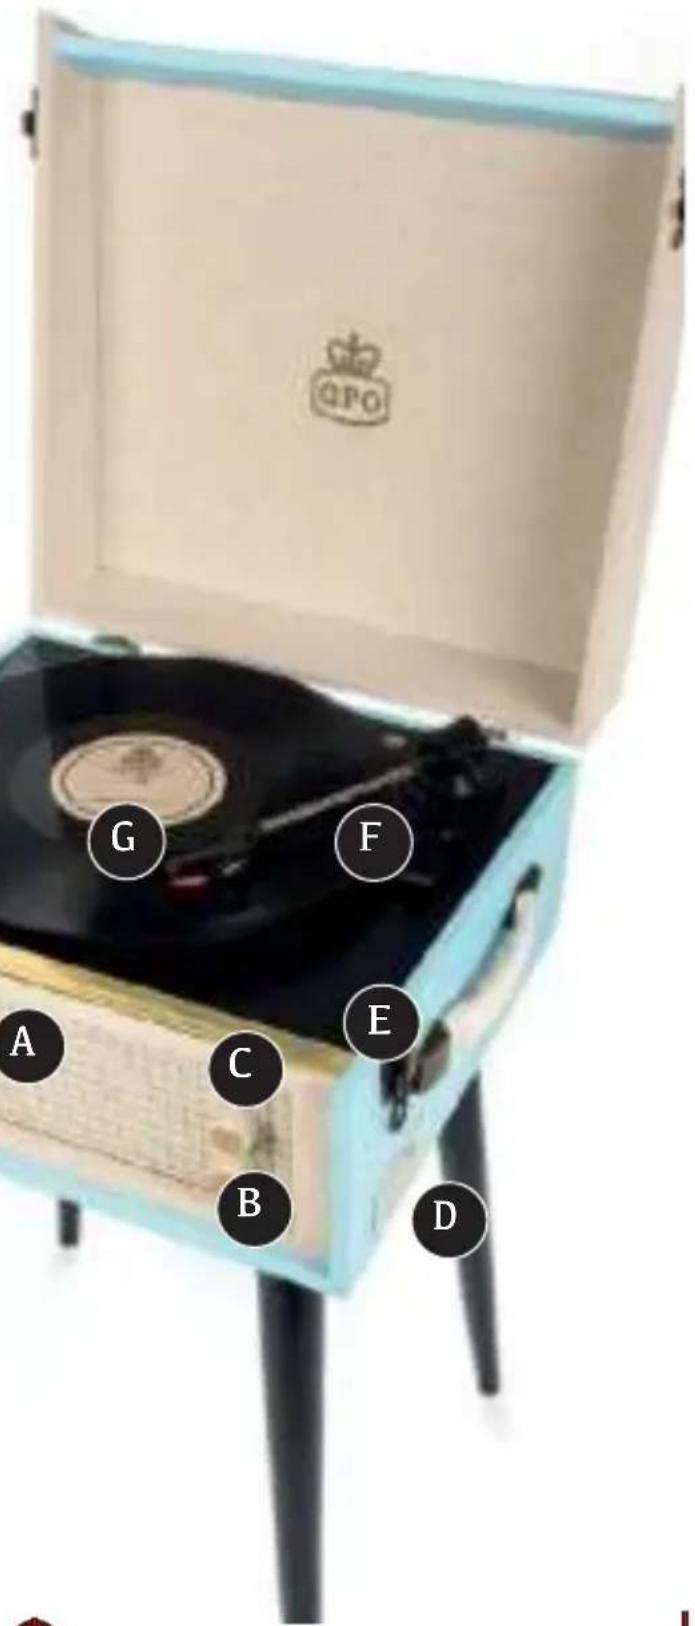
Location of Controls
A Built-in Speaker
B Mode Selection
C Power/Volume
D Control Panel
E CI asp
F Sty1 us Arm
G Turnable
Control Buttons

Select Mode:
To select the Turntable, USB or AUX-IN mode, gently twist the control knob on the front of the unit to the position indicated. Indicator light on the side of the unit will illuminate to confirm selected mode.
Turntable Mode - play a vinyl record through the unit's built-in speakers
USB Mode - play MP3 files stored on an external USB drive
AUX-IN Mode - play music from your music player, smartphone or other device through the unit's built in speakers

On/Off and Volume:
Turn knob clockwise to switch on the unit and increase volume
Turn knob anti-clockwise to reduce the volume and switch off the unit

Additional Controls (Side Panel)

Press to return to the PREVIOUS song while in USB mode
Press to record music from your vinyl records to a USB drive. Full instructions are given in the vinyl record section of this manual.

Press to PLAY or PAUSE the music while in USB mode

Press to delete the file which is currently being recorded. Please note, this cannot delete all of the files on your USB drive.

Press to skip to the NEXT song while in USB Mode

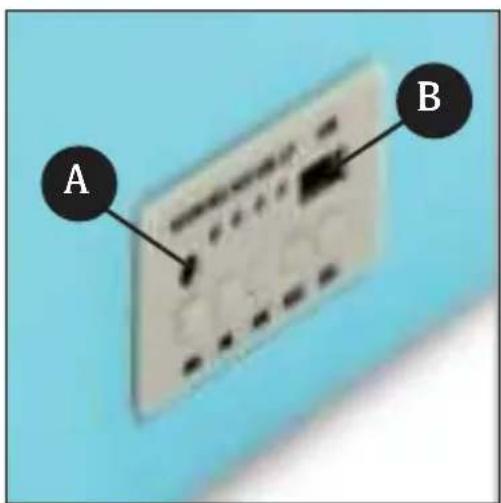
Input and Output
Si de Panel
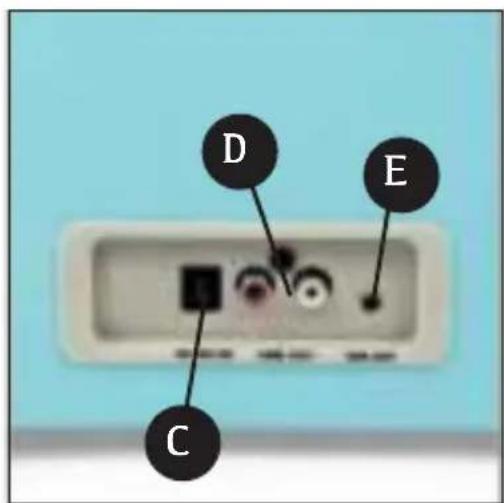
Rear Panel

A AUX- IN
C DC- IN

B SLOT
D AUX-OUT
E arphones Out
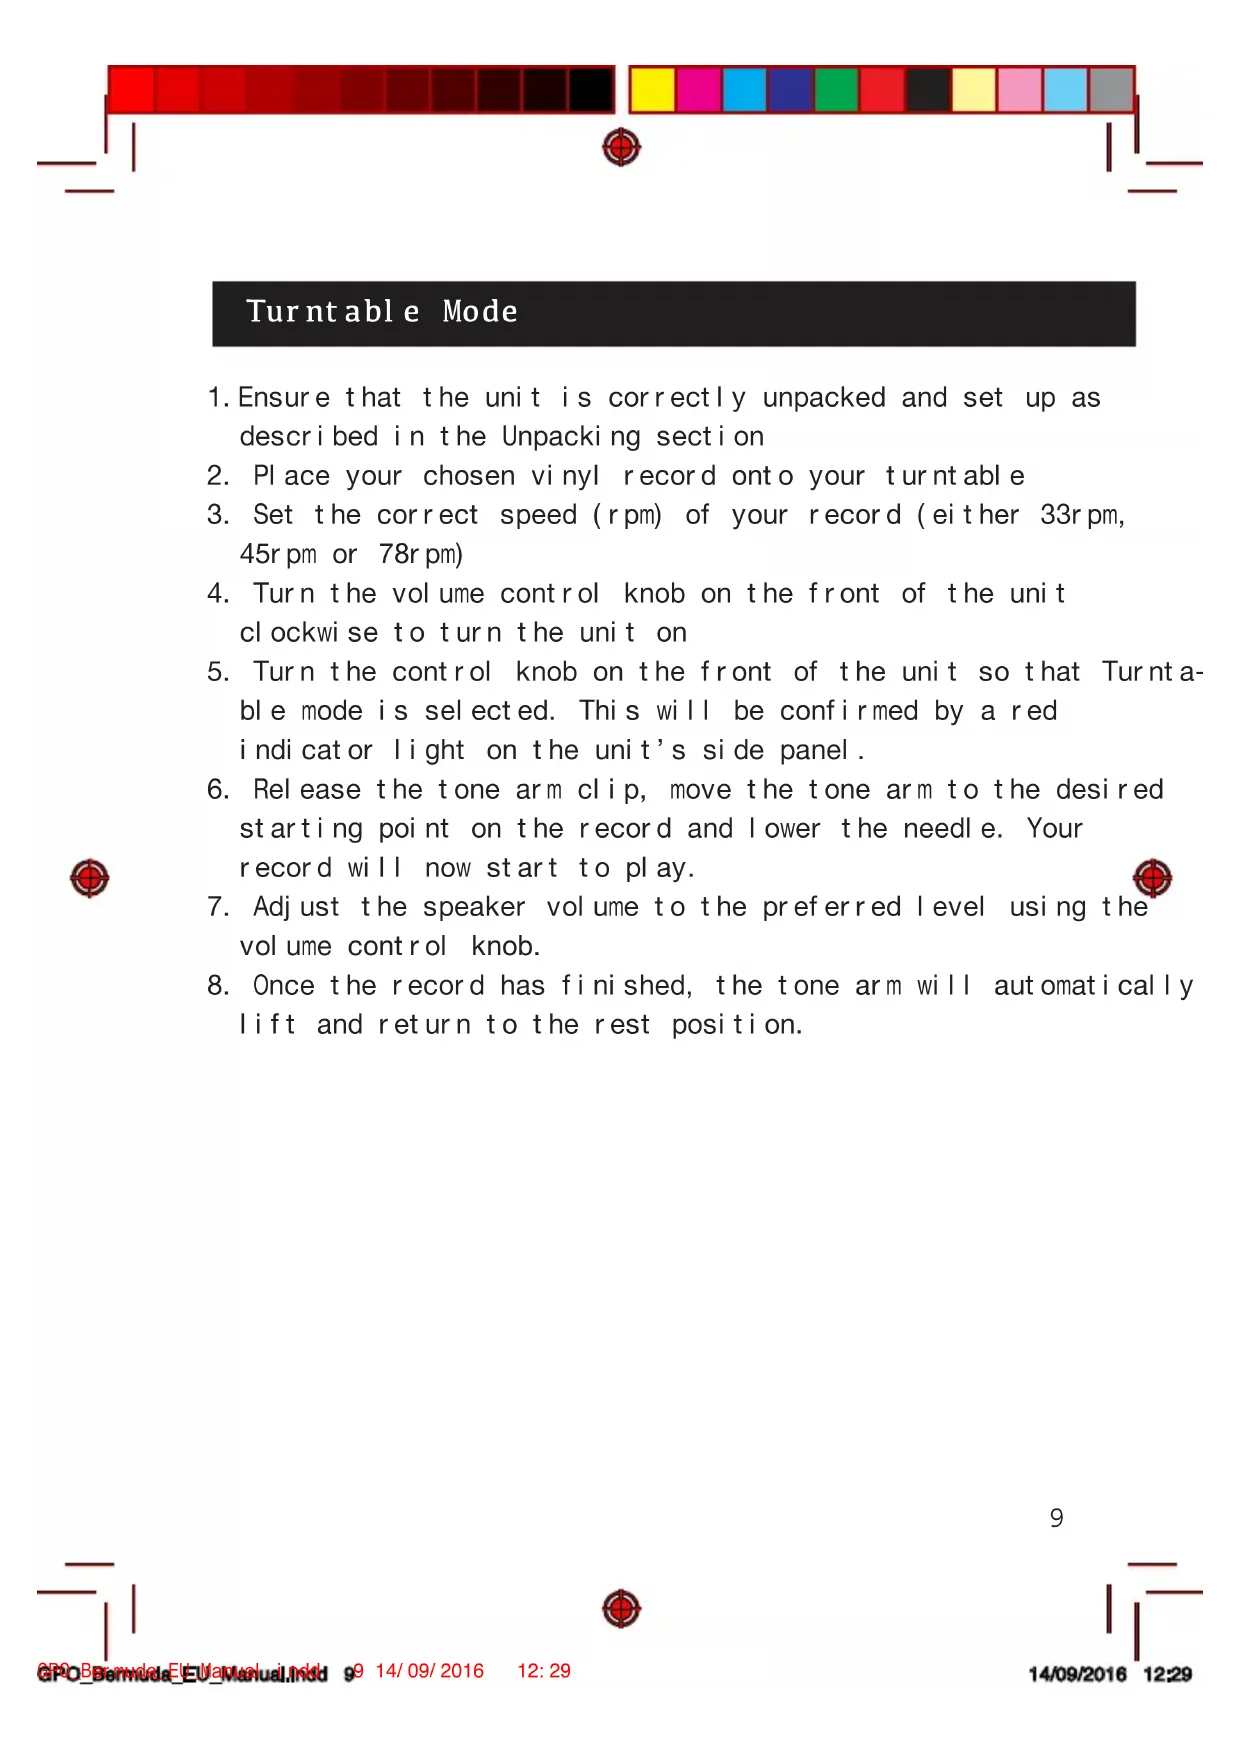
Turntable Mode
- Ensure that the unit is correctly unpacked and set up as described in the Unpacking section
- Place your chosen vinyl record onto your turnable
- Set the correct speed (rpm) of your record (either 33r pm, 45r pm or 78r pm)
- Turn the volume control knob on the front of the unit clockwise to turn the unit on
- Turn the control knob on the front of the unit so that Turnable mode is selected. This will be confirmed by a red indicator light on the unit's side panel.
- Release the tone arm clip, move the tone arm to the desired starting point on the record and lower the needle. Your record will now start to play.
- Adjust the speaker volume to the preferred level using the volume control knob.
- Once the record has finished, the tone arm will automatically lift and return to the rest position.
AUX-IN Play Mode
-
Ensure that the unit is correctly unpacked and set up as described in the Unpacking section
-
Connect your external audio source (smartphone, tablet device, MP3 player, etc) to the AUX-IN socket on the side panel.
-
Turn the volume control knob on the front of the unit clockwise to turn the unit on
-
Turn the control knob on the front of the unit so that AUX-1N mode is selected. This will be confirmed by a red indicator light on the unit's side panel.
-
Control the music directly from your external audio source.
USB Play Mode
-
Ensure that the unit is correctly unpacked and set up as described in the Unpacking section
-
Plug your USB drive into the USB slot on the unit's side panel .
-
Turn the volume control knob on the front of the unit clockwise to turn the unit on
-
Turn the control knob on the front of the unit so that USB mode is selected. This will be confirmed by a red indicator light on the unit's side panel.
-
Control the music using the controls on the side panel, as described in the Control Buttons section.
Vinyl Record Mode
- Turn the volume control knob on the front of the unit clockwise to turn the unit on
- Turn the control knob on the front of the unit so that Turnable mode is selected. This will be confirmed by a red indicator light on the unit's side panel.
3 . Place a blank USB drive into the slot on the unit ’ s side pane - Place the desired record onto the turntable, and play as described in the Turntable Mode section
- Press the record button on the control panel to begin recording. The record light on the side panel will illuminate that you are now recording.
- Press once to record the whole vinyl as one track, and press twice to split the tracks.
RCA Audio Out
You can connect extra speakers to the GPO Bermuda using the RCA audio cable provided. The relevant Audio Out slots are located on the rear of the unit.
Replace Stylus
The turntable's stylus will need to be replaced every three to four months to continue playing vinyl. Replacement styluses can be ordered from www.gporetro.com.
Replacement instructions are given here:


12
Troubleshooting
Q) The unit will not turn on
A) Ensure that the DC cable is properly connected to the unit and plugged in to a working outlet. Ensure that the power dial has been turned far enough clockwise.
Q) The speaker is making noises
A) Make sure that your vinyl record is not damaged or warped. If the problem persists, replace the stylus.
Q) How do I play back recorded files?
A) Ensure the USB drive you recorded the files to is plugged into the unit, and that you have switched to USB mode. You can now play back these recorded files using the control panel.
Q) The record is skiing/jumping
A) Turn the Suspension screw clockwise which is located next to the record arm which will enable the shock control mechanism on the arm.
If you require any more help, please visit www.gporetro.com, or call our support team on 0845 521 4095.
Product Care
DO NOT leave vinyl records on the turntable after use
- Store vinyl records in their original packaging
- Return the tone arm to the rest position after use, and secure with the small needle arm lock
- Replace the protective cap of the cartridge after use
- Ensure the turntable cover is kept closed when not in use to avoid dust damage
- Unplug all power and input/output cables when not in use.
Product Support

For more advice or assistance, please visit www.gporetro.com or call our support team on 0845 521 4095.

Please note, for your personal safety you SHOULD NOT attempt to open the unit’s casing. Opening the casing voids your warranty, and no user serviceable parts are contained inside