Flight - Turntable GPO - Free user manual and instructions
Find the device manual for free Flight GPO in PDF.

User questions about Flight GPO
0 question about this device. Answer the ones you know or ask your own.
Ask a new question about this device
Download the instructions for your Turntable in PDF format for free! Find your manual Flight - GPO and take your electronic device back in hand. On this page are published all the documents necessary for the use of your device. Flight by GPO.
USER MANUAL Flight GPO
English 3
German 15
French 27
Dutch 39
Spanish 51
ENGLISH
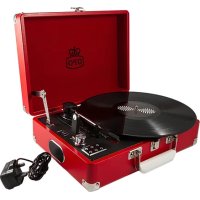
Thanks for purchasing the Flight turntable player from GPO. This retro-themed unit adds a touch of classic style to any room, while still providing amazing audio quality through the built in speakers. To get the most from your new turntable player, please read these instructions carefully before use, and keep them in a safe place for future reference.
Unpacking
This package contains:
1x Flight Turntable
1x Turntable Needle (fitted)
1x Turntable Rubber Slip Mat (placed on the turntable)
1x DC Power Cable
1x RCA Cable
1x Manual
Carefully remove all of the contents from the packaging. Make sure you retain and store this manual for future reference.
When choosing a location for the unit, avoid inclines, direct sunlight or sources of heat and moisture.
Keep all of the ventilation holes clear, and do not place any equipment on top of the unit as this can lead to damage.
Only remove the stylus guard from the stylus assembly during use.
Leaving the guard in place during storage will protect your stylus from damage.
Features
- 3-speed turntable (33, 45 or 78 RPM)
- Belt drive and semi-automatic play tone arm
- Ceramic stereo cartridge and jewel stylus
- Built-in 45 RPM adapter
- Aux-in, RCA Audio in and Headphone out functions
- Built-in 2.1 speakers
- Rechargeable lithium battery
- Bluetooth functionality
- USB playing, recording and segmentation recording
- Cassette playing
- Pitch adjustment
- Treble and Bass adjustment
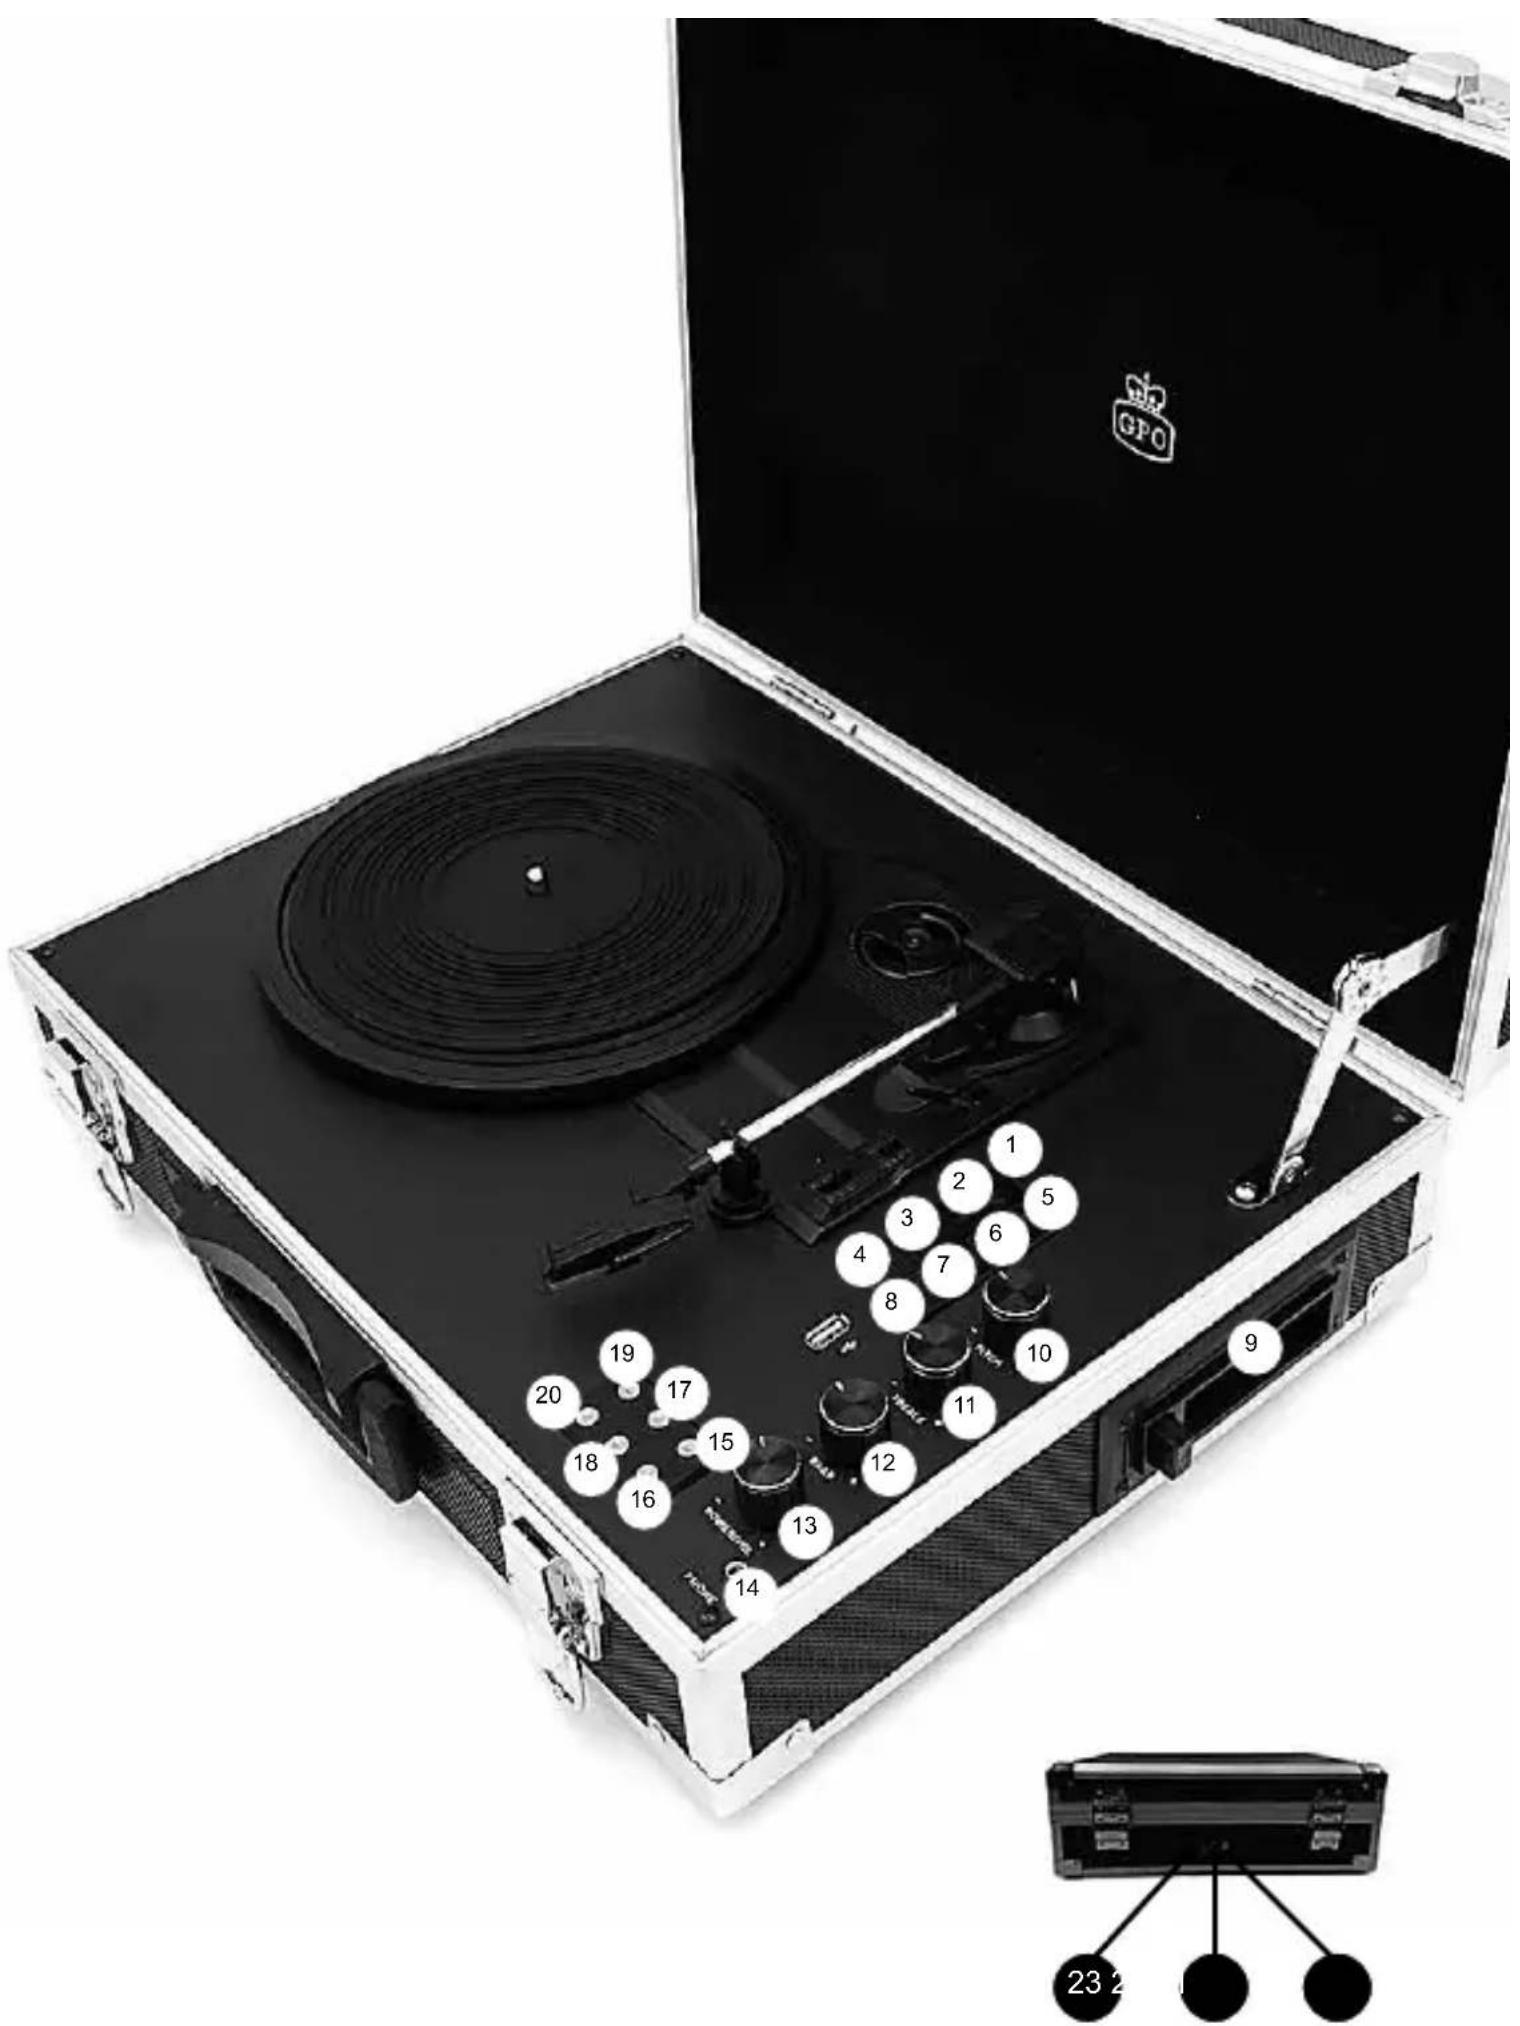
Location of Controls
- Turntable Indicator Light
- Aux-in Indicator Light
- USB Indicator Light
- Cassette Indicator Light
- Stop Indicator Light
- Bluetooth Indicator Light
- Battery Power Indicator Light
- Recording Indicator Light
- Cassette Tape Slot
- Pitch Adjustment
- Treble Adjustment
- Bass Adjustment
- Power on/off and Volume
- Headphone Jack
- Play/Pause
- Fast Forward and Next
- Stop
- Rewind and Previous
- Record
- Mode Select
- DC Power Jack
- RCA Audio in Jack
- Aux-in Jack
Mode Selection

Turntable Mode - play a vinyl record through the unit's built-in speakers

USB Mode - play MP3 files stored on an external USB drive

USB Record Mode - record your vinyl and cassette tape to MP3 files on an external USB drive

Aux-in Mode - play music from your music player, smartphone or other device through the unit's built in speakers

Bluetooth Mode - connect the unit to external Bluetooth-enabled speakers

Cassette Mode - play a cassette tape through the unit's built-in speakers

Stop Indicator - stop music playing in USB Mode, and stop vinyl/cassette tape recording in Record mode

Battery Level Indicator - display the current charge status of the rechargeable battery

To select the Turntable, USB, Cassette, Aux-in or Bluetooth mode, press the mode select button until the relevant indicator light is illuminated.

Press to STOP music playing in USB mode. Press to STOP vinyl/cassette tape recording in Record mode.

PLAY or PAUSE the music in USB mode.

Press to record your vinyl record and cassette tape, more information in record section.

Play NEXT song in USB mode. Hold down for three seconds to fast forward in USB mode.

Play PREVIOUS song in USB mode. Hold down for three seconds to rewind in USB mode.
Unit Operation
Turntable Mode
- Turn on the unit power
- Select Turntable mode using the mode select button
- Choose the correct speed setting, and place the vinyl record onto the turntable
- Place the tone arm into the correct position to begin playback
- The turntable will stop automatically when the record has finished
Aux-in Play Mode
- Turn on the unit power
- Select Aux-in mode using the mode select button
- Connect your chosen device to the unit's aux-in jack using the cable provided
- Press the play/pause button to begin playback
USB Play Mode
- Turn on the unit power
- Select USB mode using the mode select button
- Connect your USB device to the unit using the USB slot
- Press the play/pause button to begin playback
Bluetooth Mode
- Turn on the unit power
- Select Bluetooth mode by holding the mode button down for three seconds while in turntable, USB, Cassette or Aux-in mode
- The Bluetooth indicator light will flash rapidly as the unit searches for nearby Bluetooth-enabled devices.
-
When paired the blue light will flash shortly with a three second interval.
-
If the devices fail to sync, please repeat points 1-4.
- Hold down the stop button for three seconds to turn off Bluetooth mode and move straight to turntable mode
Cassette Play Mode
- Turn on the unit power
- Select Cassette play mode using the mode select button
- Insert your cassette tape in the cassette tape slot
- The cassette will stop automatically when the tape has finished
Vinyl Record Mode
- Insert a blank USB stick into the slot
- Place the desired vinyl onto the turntable or cassette tape in the cassette tape slot.
- Press the record button on the control panel, the red light next to record will begin to flash. Press the record button once to record the vinyl in one track, press the record button twice to split the tracks.
- Press the stop button to turn off recording.
Charging the Battery
The battery level indicator displays the current charge status of the unit's rechargeable battery.
Red: The unit needs to be charged
Green: The unit is charging
Blue: The unit has fully charged
RCA Audio In
An RCA cable is included, to connect your chosen device to the unit's built-in speakers.
Headphone Out
Headphones can be connected using the Headphone jack.
Pitch Adjustment
When the Pitch knob is centered on the middle line, the record player plays at normal speed. When the LP speed is slower than expected, you can turn right to adjust the speed. When the LP speed is faster than expected, you can turn left to adjust the speed.
Treble/Bass Adjustment
You can rotate the Treble and Bass knob to adjust the treble or bass at your desired level.
Replacing the Stylus
The unit's stylus will need replacing regularly. To replace the stylus:
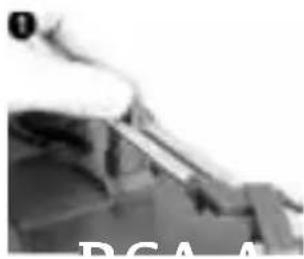
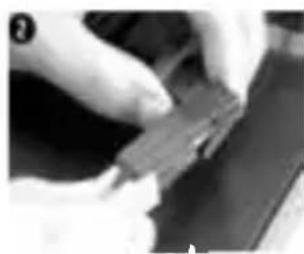
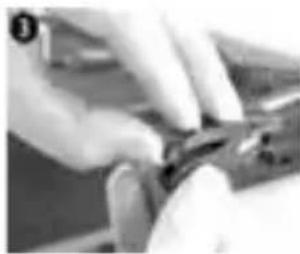
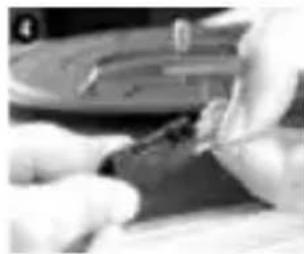
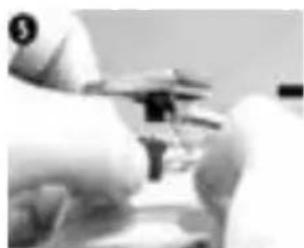

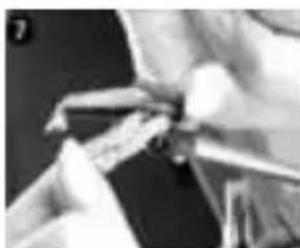
- Push the arm lock to release the tone arm
- Remove the cap from the cartridge to expose the needle
- Carefully remove the cartridge from the socket
- Completely remove the stylus needle from the cartridge
- Carefully place a new stylus needle into the cartridge
- Place the cartridge back into the socket
- Put the cartridge cap back in place
- Re-engage the arm lock
The turntable's stylus needs to be replaced every 3-4 months for best performance. To buy a replacement stylus, go to www.gporetro.com or visit one of our stockists.
Product Care
- Keep the unit clean, dry, and away from any potential sources of splashing or dripping.
- Avoid areas with high levels of humidity – such as kitchens and bathrooms, and those with extreme temperatures of 35^ C or higher.
- Do not let any loose items fall into the unit.
- Always unplug the unit before cleaning.
- Take care when cleaning and wiping the unit's plastic parts and finish, and use only a dry dust cloth. The front panel can be cleaned gently with a damp cloth and mild soap.
- Store the unit horizontally.
- Avoid condensation. If the unit is moved from a cold to a warmer location, please wait 30 minutes before operation.
- Disconnect the power supply after use.
Product Support
For more advice or assistance, please visit www.gporetro.com.
Please note, for your personal safety you SHOULD NOT attempt to open the unit's casing. Opening the casing voids your warranty, and no user serviceable parts are contained inside
GERMAN
REEMPLACER LE STYLET
Hereby ProtelX, declares that this equipment (GPO Flight) is in compliance with the essential requirements and other relevant provisions of Directive, you can access a copy of this certificate on www.gporetro.com/Certificate-of-Conformity
DE
ProTelX Ltd, Unit 6, Park 17 Industrial Estate, Moss Lane, Whitefield, Manchester, M45 8FJ UK