L1916 - Monitor DGM - Free user manual and instructions
Find the device manual for free L1916 DGM in PDF.


User questions about L1916 DGM
0 question about this device. Answer the ones you know or ask your own.
Ask a new question about this device
Download the instructions for your Monitor in PDF format for free! Find your manual L1916 - DGM and take your electronic device back in hand. On this page are published all the documents necessary for the use of your device. L1916 by DGM.
USER MANUAL L1916 DGM
natural_image
Line drawing of a flat-screen computer monitor with a stand (no text or symbols)19" TFT LCD Monitor
User "s Manual
English 3
繁體中文 11
简體中文 19
Français 27
Deutsh 35
Italiano 43
Español 51
Dutch....59
Português....67
Before You Start 4
Unpacking 5
Hardware Installation....5
Precaution 6
Troubleshooting....6
Warning 6
Cleaning Notices 6
Menu control button 7
OSD (On-Screen Display) Menu Mode....7-9
Display Mode 9
Specification 10
All Information in this manual may change from time to time without prior notice.
Before you start
1.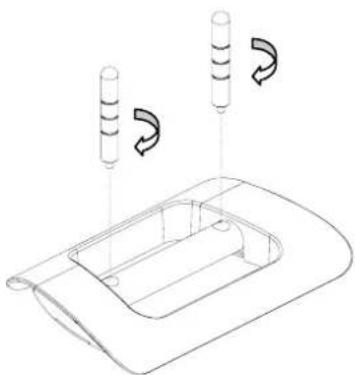 | Load the two holders and the stand together, and make sure they are secure and tie |
2.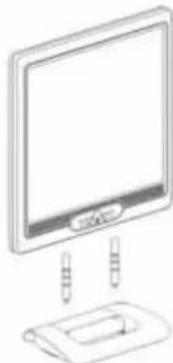 | Put the LCD panel set into the stand, and make sure they are secure and tie |
3. | LCD monitor can be lay back 0° ~2° (positive and negative 2°). |
Thank you for your purchase of our LCD product. To ensure safety operation of this product, Please read the following menu carefully before using this product.
Unpacking
Our 19" LCD monitor shall be content with these following items. Make sure you get all these set ready, otherwise contact to your dealer or store which you purchased it. At last, feel free to contact us.
| 19” TFT LCD Monitor |
| External Univ15 pin D-sub (RGB Analog) Input Signal Cable | Power Cord |
| Audio Connector : Stereo Phone Jack | DVI Cord |
| User's Manual | Quick Start Guide | ||
Hardware Installation
Be carefully to your LCD monitor, it's very exquisite but easy to broken. Turn off LCD's and PC's power before you set it up. Follow our installation step by step.
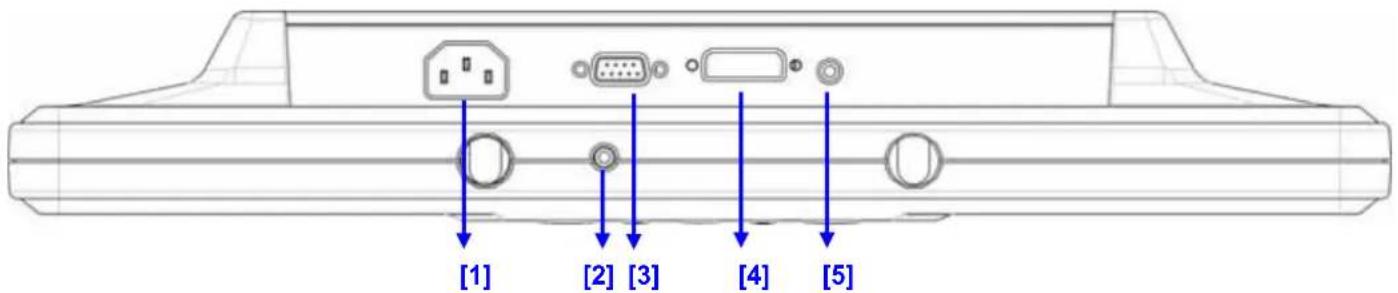
Input
text_image
[1] [2] [3] [4] [5]【1】AC Port: This is for connecting the power cable.
【2】 Earphone Jack : This is for connecting the earphone.
【3】PC In : This can be connected with the D-Sub 15 pin signal Cable.
【4】DVI Port : This can be connected with the DVI signal Cable.
【5】LINE In : This can be connected to the audio-out connector of any sound resource.
Precaution
- Do not expose the monitor to direct sunlight or heat.
- Do not spill liquid on the monitor.
- Do not attempt to open the monitor. You may be hurt by electric shock. For service, call your place of purchase.
- Do not use your monitor when magnets or electronic products are operating nearby.
- Do not use harsh chemicals or strong cleaning solvents to clean the monitor screen. Wipe it with clean, soft clothes applied with mild solution.
- Do not place anything on your monitor. Bad ventilation may elevate temperature in the monitor.
- Don't use your fingers to touch the LCD Screen, directly. Fingerprint that contains oil and may be difficult to clean.
Troubleshooting
Make sure that your monitor is properly installed if you have encountered any trouble using this product.
• There is no picture on the screen.
Check:
- Power saving mode. Press any key and move the mouse to deactivate the mode.
- Signal cable connector pins. If there are bent or has missing pins, consult your place of purchase.
* Characters look too dark or too light
Check:
- Using OSD Menu to adjust the Brightness.
* When your monitor shall be adjusted?
Check:
- If the resolution or refresh rate has been changed.
. The Text appears on the screen are unclear.
Check
- Make sure the resolution or refresh rate match with the Display Mode.
Warning
- Make sure that the system power is turned off.
- Plug the signal cable to the signal connector at the rear of PC.
- Plug adapter output cable to the jack at the rear of LCD monitor and the power cord to the adapter.
- Connect the power cord to power source.
- Turn on the computer and the monitor.
- For the best picture quality and performance, we suggest you to set resolution base from Display Mode.
- The lock (on the stand) must be locked during normal operation.
Cleaning Notice
- Unplug the power cord from the AC outlet before clean the product.
- Never use any kind of corrosiveness chemical dissolvent to clean the screen, it may hurt your screen surface.
- We suggest that using a clean camel hair brush or a soft, clean, lint-free cloth to wipe the screen.
- Don't press or touch directly on the LCD.
Monitor Adjusting
Menu Control Button

[1]

[2]

[3]

[4]

[5]

[6]

[7]
[1]Volume -: Decrease the Volume Value.
[2]Volume +: Increase the Volume Value.
[3]Auto Tune: Auto Tune adjust.
[4]Power: Turn the LCD power on and off.
[5]OSD Menu/Enter: Press the button to access OSD menu.
[6]Select Down: Decrease the option value in OSD menu.
[7]Select Up: Increase the option value in OSD menu.
Switch from DVI operating environment to RGB.
OSD (On-Screen Display) Menu Mode
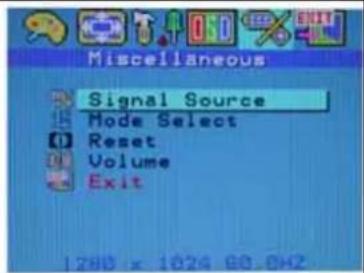
text_image
Miscellaneous Signal Source Mode Select Reset Volume ExitBrightness :
Adjust the brightness of the display.
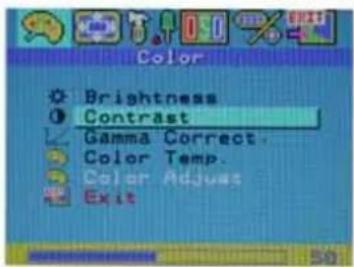
text_image
Color Brightness Contrast Gamma Correct Color Temp. Color Adjust ExitContrast :
Adjust the difference between light and dark area.
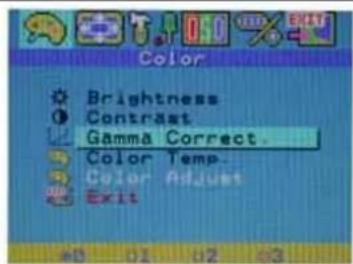
text_image
Color Brightness Contrast Gamma Correct. Color Temp. Color Adjust ExitGamma Correct :
Adjust the gamma curve.
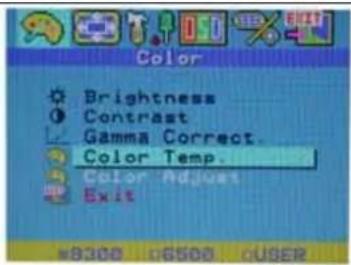
text_image
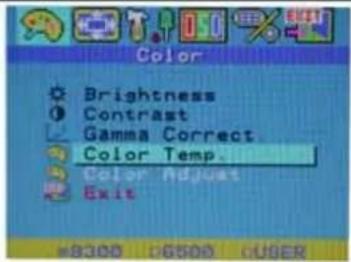
Color Brightness Contrast Gamma Correct. Color Temp. Color Adjust Exit =8300 p6500 cUSERColor Temp :
Adjust the temp of the pixel color.
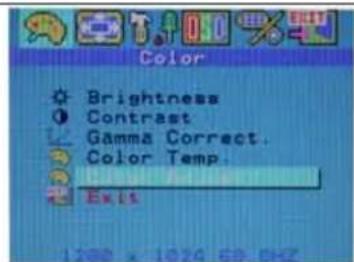
text_image
Color Brightness Contrast Gamma Correct. Color Temp. Exit 1288 x 1024 69.0HZColor Adjust :
Adjust the RGB color.

text_image
Color Adjust Red Green Blue ExitRed :
Adjust the pixel of red pixel.
Green :
Adjust the pixel of green pixel.
Blue :
Adjust the pixel of blue pixel.
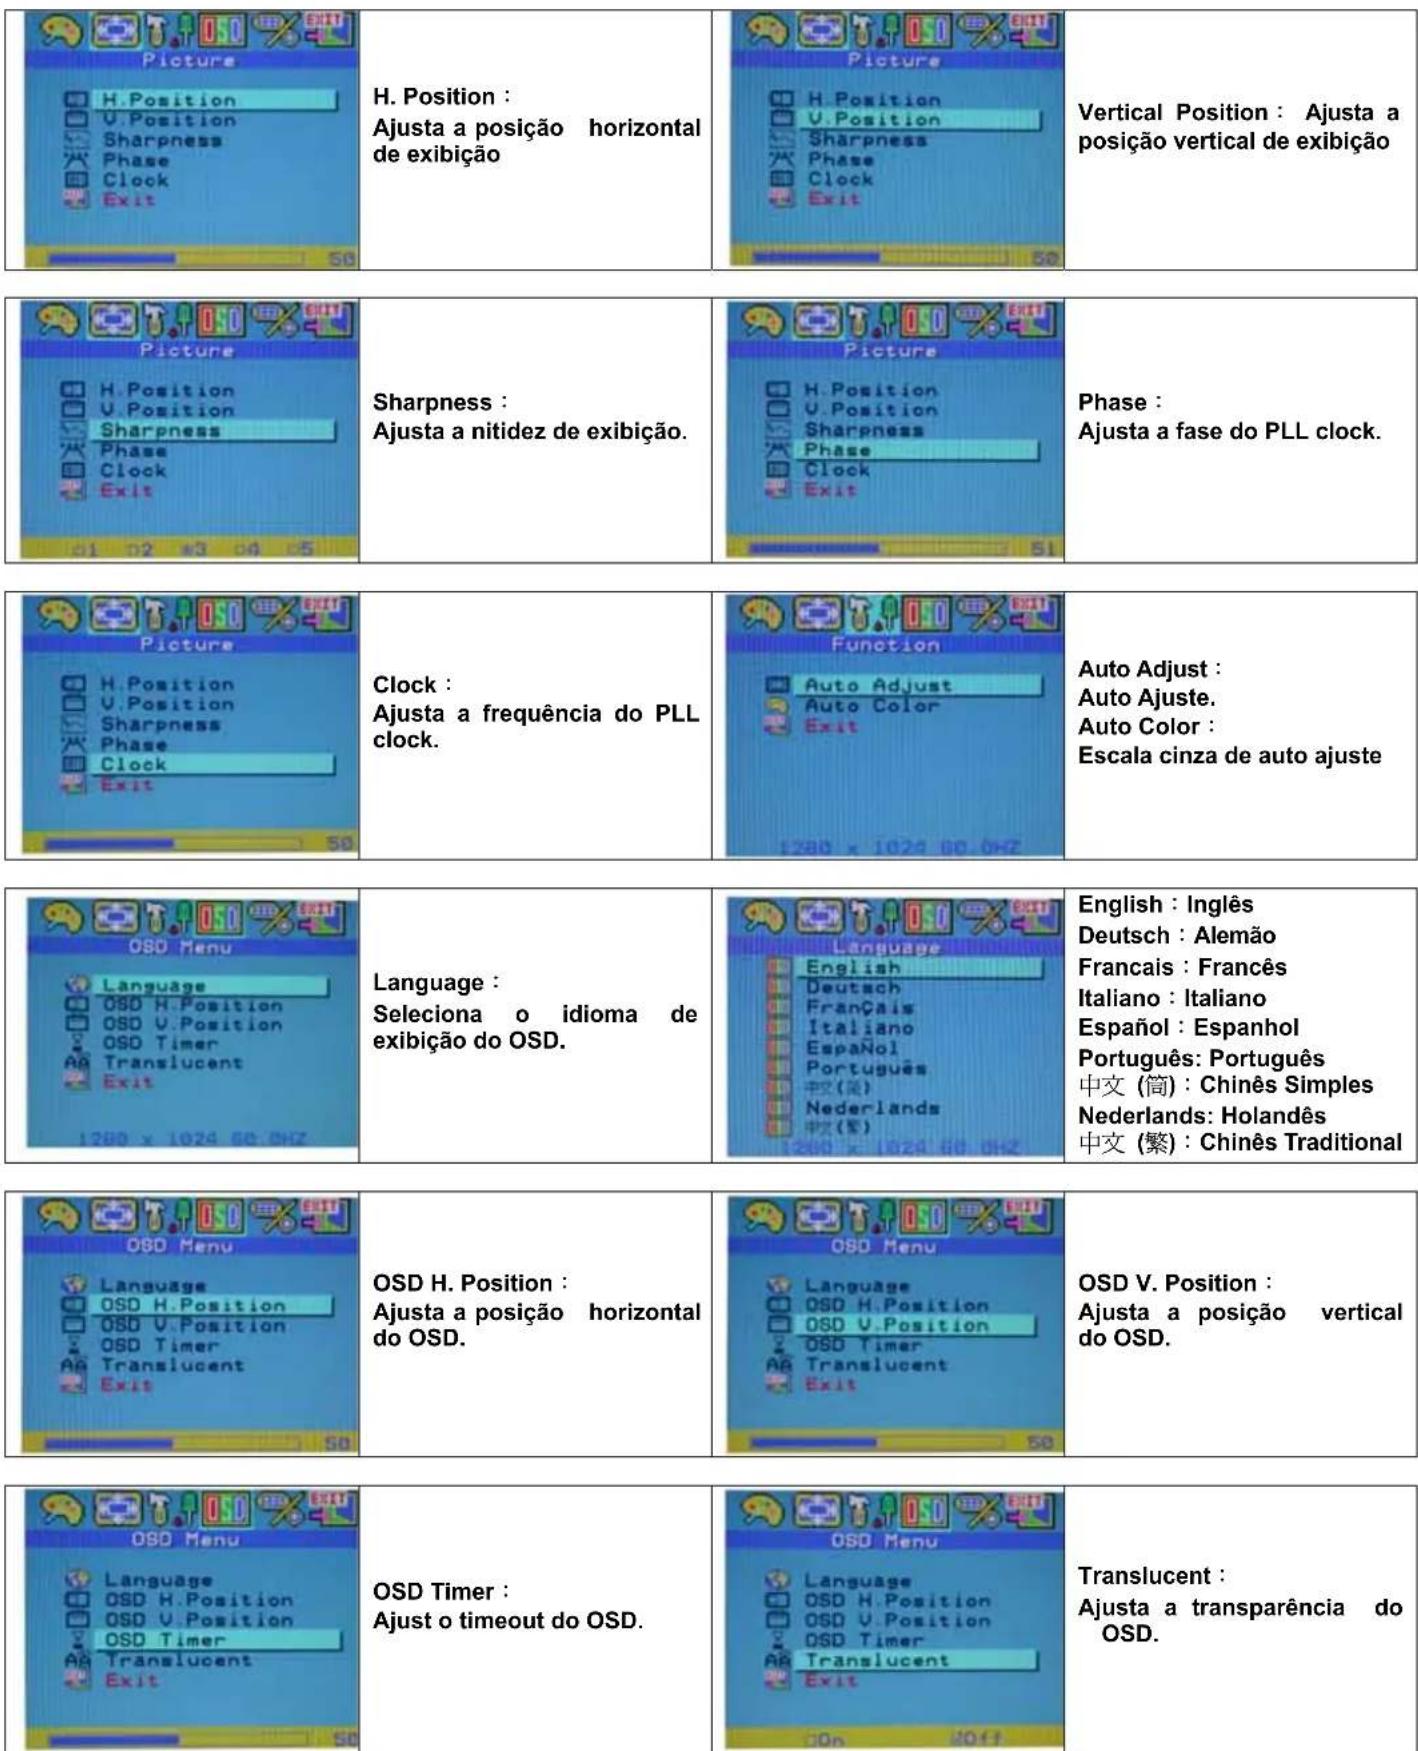
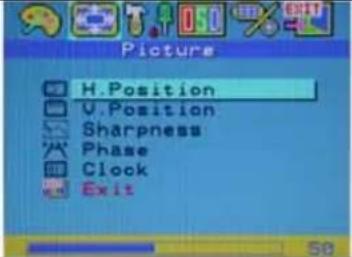 | H. Position: Adjust the horizontal position of the display. | 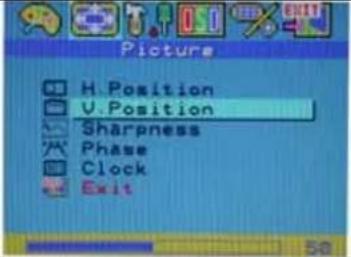 | V. Position: Adjust the vertical position of the display. |
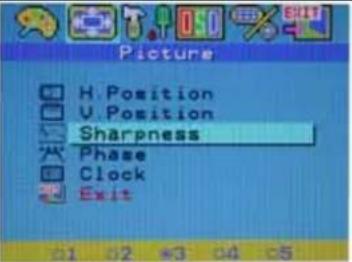 | Sharpness: Adjust the sharpness of display. | 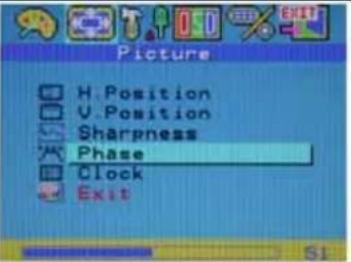 | Phase: Adjust the phase of PLL clock. |
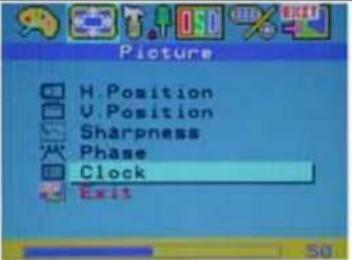 | Clock: Adjust the frequency of the PLL clock. | 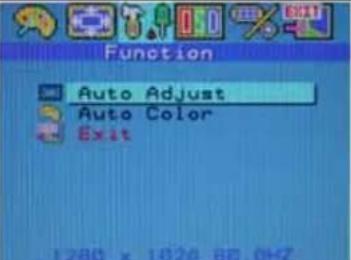 | Auto Adjust: Auto tune. Auto Color: Gray scale auto tune |
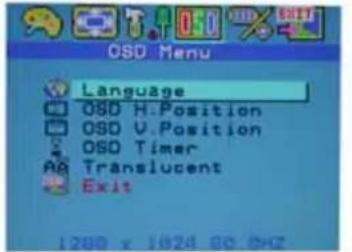 | Language: Select the display language of the OSD. | 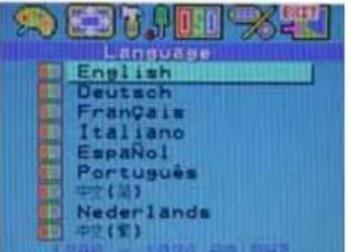 | English: English Deutsch: German Français: French Italiano: Italian Español: Spanish Português: Portuguese 中文(简): Simplified Chinese Nederlands:Dutch 中文(繁): Traditional Chinese |
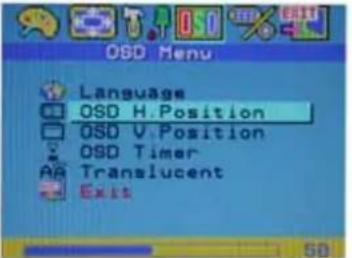 | OSD H. Position: Adjust the horizontal position of the OSD. | 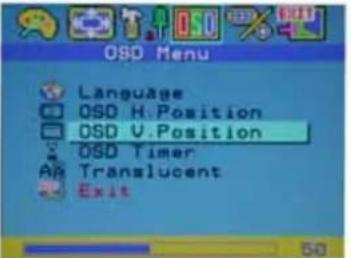 | OSD V. Position: Adjust the vertical position of OSD. |
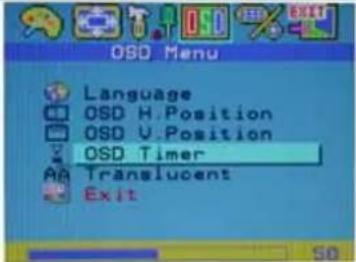 | OSD Timer: Adjust the timeout of OSD. | 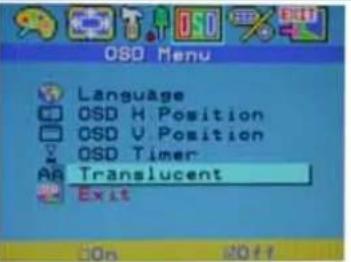 | Translucent: Adjust diaphaneity of the OSD. |
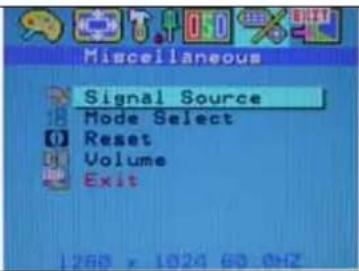 | Signal Source:Switch input signal source. | 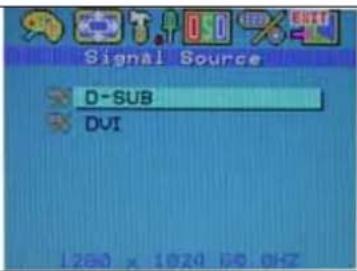 | D-SUB: Analogy RGB signal.DVI: Digital RGB signal. |
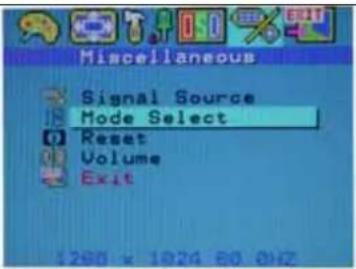 | Mode Select:Switch the display size in DOS mode. | 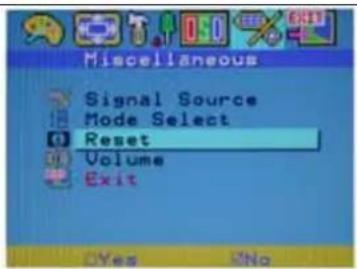 | Reset:Recall the default setting. |
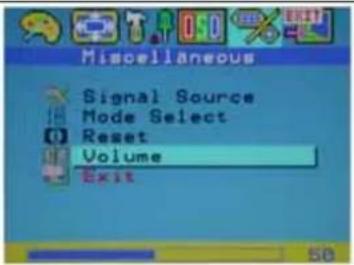 | Volume:Increase or decrease the sound volume. | 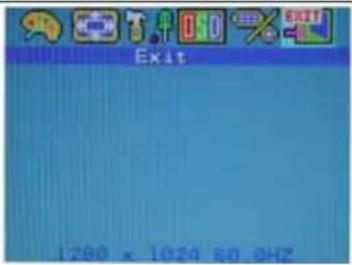 | Exit:Exit and saving the setting. |
DISPLAY MODE
| Incoming Display Mode | ||
| Resolution | Horizontal Frequency (KHz) | Vertical Frequency (Hz) |
| 640X350 | 31.475 | 70. |
| 640X480 | 31.469 | 59. |
| 640X480 | 37.500 | 75. |
| 720X400 | 31.469 | 70. |
| 800X600 | 37.879 | 60. |
| 800X600 | 46.875 | 75. |
| 1024X768 | 48.363 | 60.0 |
| 1024X768 | 60.023 | 75.0 |
| 1280X1024 | 63.981 | 60.020 |
| 1280X1024 | 79.976 | 75.024 |
-
We offer you 10 available compatible modes with Windows.
-
If any interference occurs on your screen while you modulating your PC or OSD. It is normal.
-
To have best quality, remember to upgrade your video card driver. We strongly recommend you to choose a mode listed in the table.
-
Mode not listed on the table above may not be supported.
-
You may use the power management on your computer. It's good for extension on the product.
Specification
| LCD Panel Type | Viewing AngleContrast RatioBrightnessResponse Time(Tr+Tf)Display ColorsMax ResolutionPixel Pitch | 19.0” TFT Active Matrix LCD DisplayH:170°, V:170°700 : 1 (Typical)250 (Typical)16 ms16.7M colors1280X1024(SXGA)0.294mm(H)x0.294mm(V) |
| Input Signals RGB Analog | DVI | Video Level:0.7Vp-p(75Ω)Sync TTL with 75Ω internal pull-up resistorsFrequency FH:30~79KHzF V:56~75 HzSupport digital RGB signal with TMDS signaling type |
| Compatibility PC Up to 1280X1024@75Hz(Non-interlaced) | ||
| Connector | RGBAudioPower | Analog15-pinsStereo Phone Jack, RCA-Jack(L/R)A/C Socket |
| Power | VoltageConsumptionPower saving mode | 100-240V, 50/60Hz(universal) via internal power supplyActive < 48 Watt MaxStandby < 3Watt |
| Internal Speaker 2Wx2(Stereo) (MAX) | ||
| User Interface LED Indicator | Active - Green | Off - Turn offStandby - Orange |
| Operating Condition Temperature | Air Humidity | 5°C~40°C20% ~ 80% R.H. |
| Dimensions | Physical | 463mm(H) x 436mm(W) x 64mm(D) |
| Net Weight | 6.6 Kg | |
| DDC | DDC2B Compliant | |
| Power Management | VESA DPMS | |
| Regulation (Certifications) | CE, FCC, UL/CUL | |
開始
安裝....12
包裝....13
硬體安裝....13
注意事項....14
簡易故障排除....14
警示 14
清潔要點....14
主要功能鍵 15
OSD 視控模式 15-17
支援顯示模式....17
產品規格表 18
text_image
Color Brightness Contrast Gamma Correct. Color Temp. Color Adjust ExitBrightness
(Luminosité):
text_image
Color Brightness Contrast Gamma Correct. Color Temp. Color Adjust ExitContrast (Contraste) :
text_image
Color Brightness Contrast Gamma Correct. Color Temp. Color Adjust ExitGamma Correct
(Correction de gamma):
Ajuste le gamma.
text_image
Color Brightness Contrast Gamma Correct Color Temp. Color Adjust Exit 8300 6500 00ERColor Temp
text_image
Color Brightness Contrast Gamma Correct. Color Temp. ExitColor Adjust
text_image
Color Adjust Red Green Blue ExitRed (Rouge):
Hardware Installation....37
text_image
Color Brightness Contrast Gamma Correct. Color Temp. Color Adjust Exittext_image
Color Brightness Contrast Gamma Correct. Color Temp. Exittext_image
Color Adjust Red Green Blue Exittext_image
Color Brightness Contrast Gamma Correct. Color Temp. Color Adjust ExitAjustar la Gamma :
Modificar la Curva de gamma
text_image
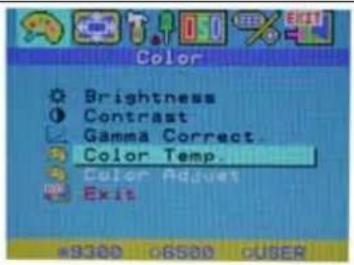
Color Brightness Contrast Gamma Correct Color Temp. Color Adjust Exit *9300 o6500 oUSERColor de Temp :
text_image
Color Adjust Red Green Blue ExitRojo :
OSD (On-Screen Display) Menu Mode
text_image
Color Brightness Contrast Gamma Correct. Color Temp. Color Adjust Exittext_image
Color Brightness Contrast Gamma Correct Color Temp. color Adjust Exit =8300 t6500 cUSERtext_image
Color Brightness Contrast Gamma Correct. Color Temp. Exittext_image
Color Adjust Red Green Blue Exittext_image
Color Brightness Contrast. Gamma Correct. Color Temp. Color Adjust ExitGamma Correct : Ajusta a Curva gamma.
text_image
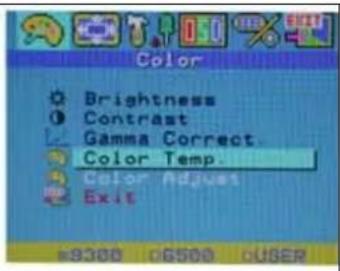
Color Brightness Contrast Gamma Correct. Color Temp. color Adjust Exit ¥9300 06500 OWNERColor Temp : Ajusta a temp do pixel da cor.
text_image
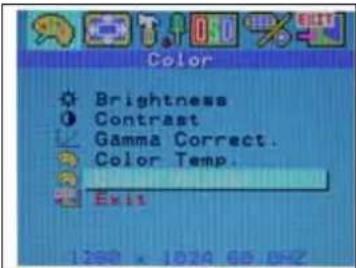
Color Brightness Contrast Gamma Correct. Color Temp. ExitColor Adjust : Ajusta a cor RGB.
text_image
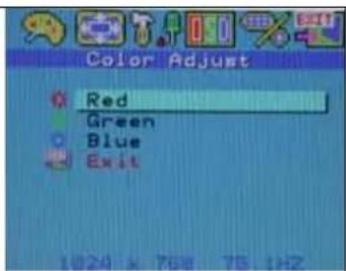
Color Adjust Red Green Blue ExitRed :
Ajusta o pixel do pixel vermelho.
Green :
Ajusta o pixel do pixel verde.
Blue :
Ajusta o pixel do pixel azul.