D630P - Humidifier QLIMA - Free user manual and instructions
Find the device manual for free D630P QLIMA in PDF.
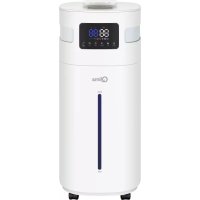
| Product Type | Dehumidifier |
| Brand | Qlima |
| Model | D630P |
| Connectivity | Wi-Fi (IEEE 802.11b/g/n) |
| Wi-Fi Frequency | 2,412 to 2,484 GHz |
| Wi-Fi Conducted Power | 16.92 dBm |
| Control App | Smart Life (iOS/Android) |
| Functions | Dehumidification, remote control, scheduling, automatic and manual modes |
| Antenna Type | PCB antenna, gain 3.0 dBi |
| Power Supply | 220-240 V~, 50 Hz |
| Tank Capacity | Approx. 2.5 L |
| Noise Level | ~40 dB |
| Maintenance | Clean the filter regularly, empty the tank |
| Safety | Automatic shut-off when tank is full, anti-freeze protection |
| Spare Parts | Filter, water tank |
Frequently Asked Questions - D630P QLIMA
User questions about D630P QLIMA
0 question about this device. Answer the ones you know or ask your own.
Ask a new question about this device
Download the instructions for your Humidifier in PDF format for free! Find your manual D630P - QLIMA and take your electronic device back in hand. On this page are published all the documents necessary for the use of your device. D630P by QLIMA.
USER MANUAL D630P QLIMA
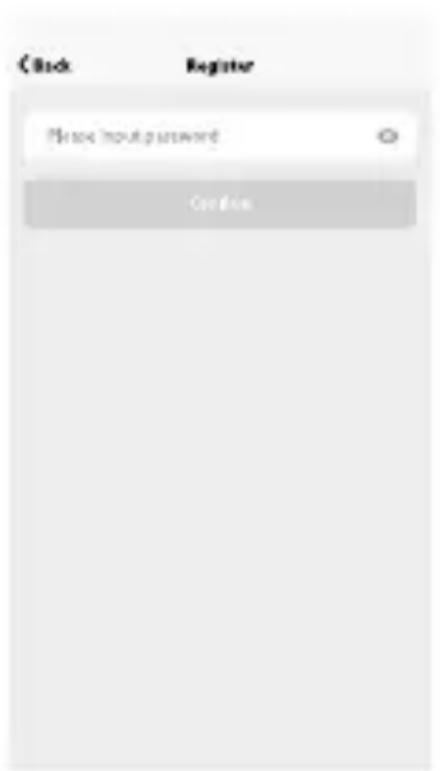
photo 1 photo 2 photo 3
photo 8 photo 9 photo 10
2. AJOUTER UN DISPOSITIF
Mode Normal
(e.g. lot, batch or serial number, sources and numbers of items)
SANTÉ & SURETE (Art. 3(1)(a)):
- EN 62311:2020, EN 50665:2017
EMC(Art.3(1)(b)):
- EN 301 489-1 V2.2.3: 2019, EN 301 489-17 V3.2.4 :2020
SPECTRE (Art. 3(2)):
- EN 300 328 V2.2.2 :2019
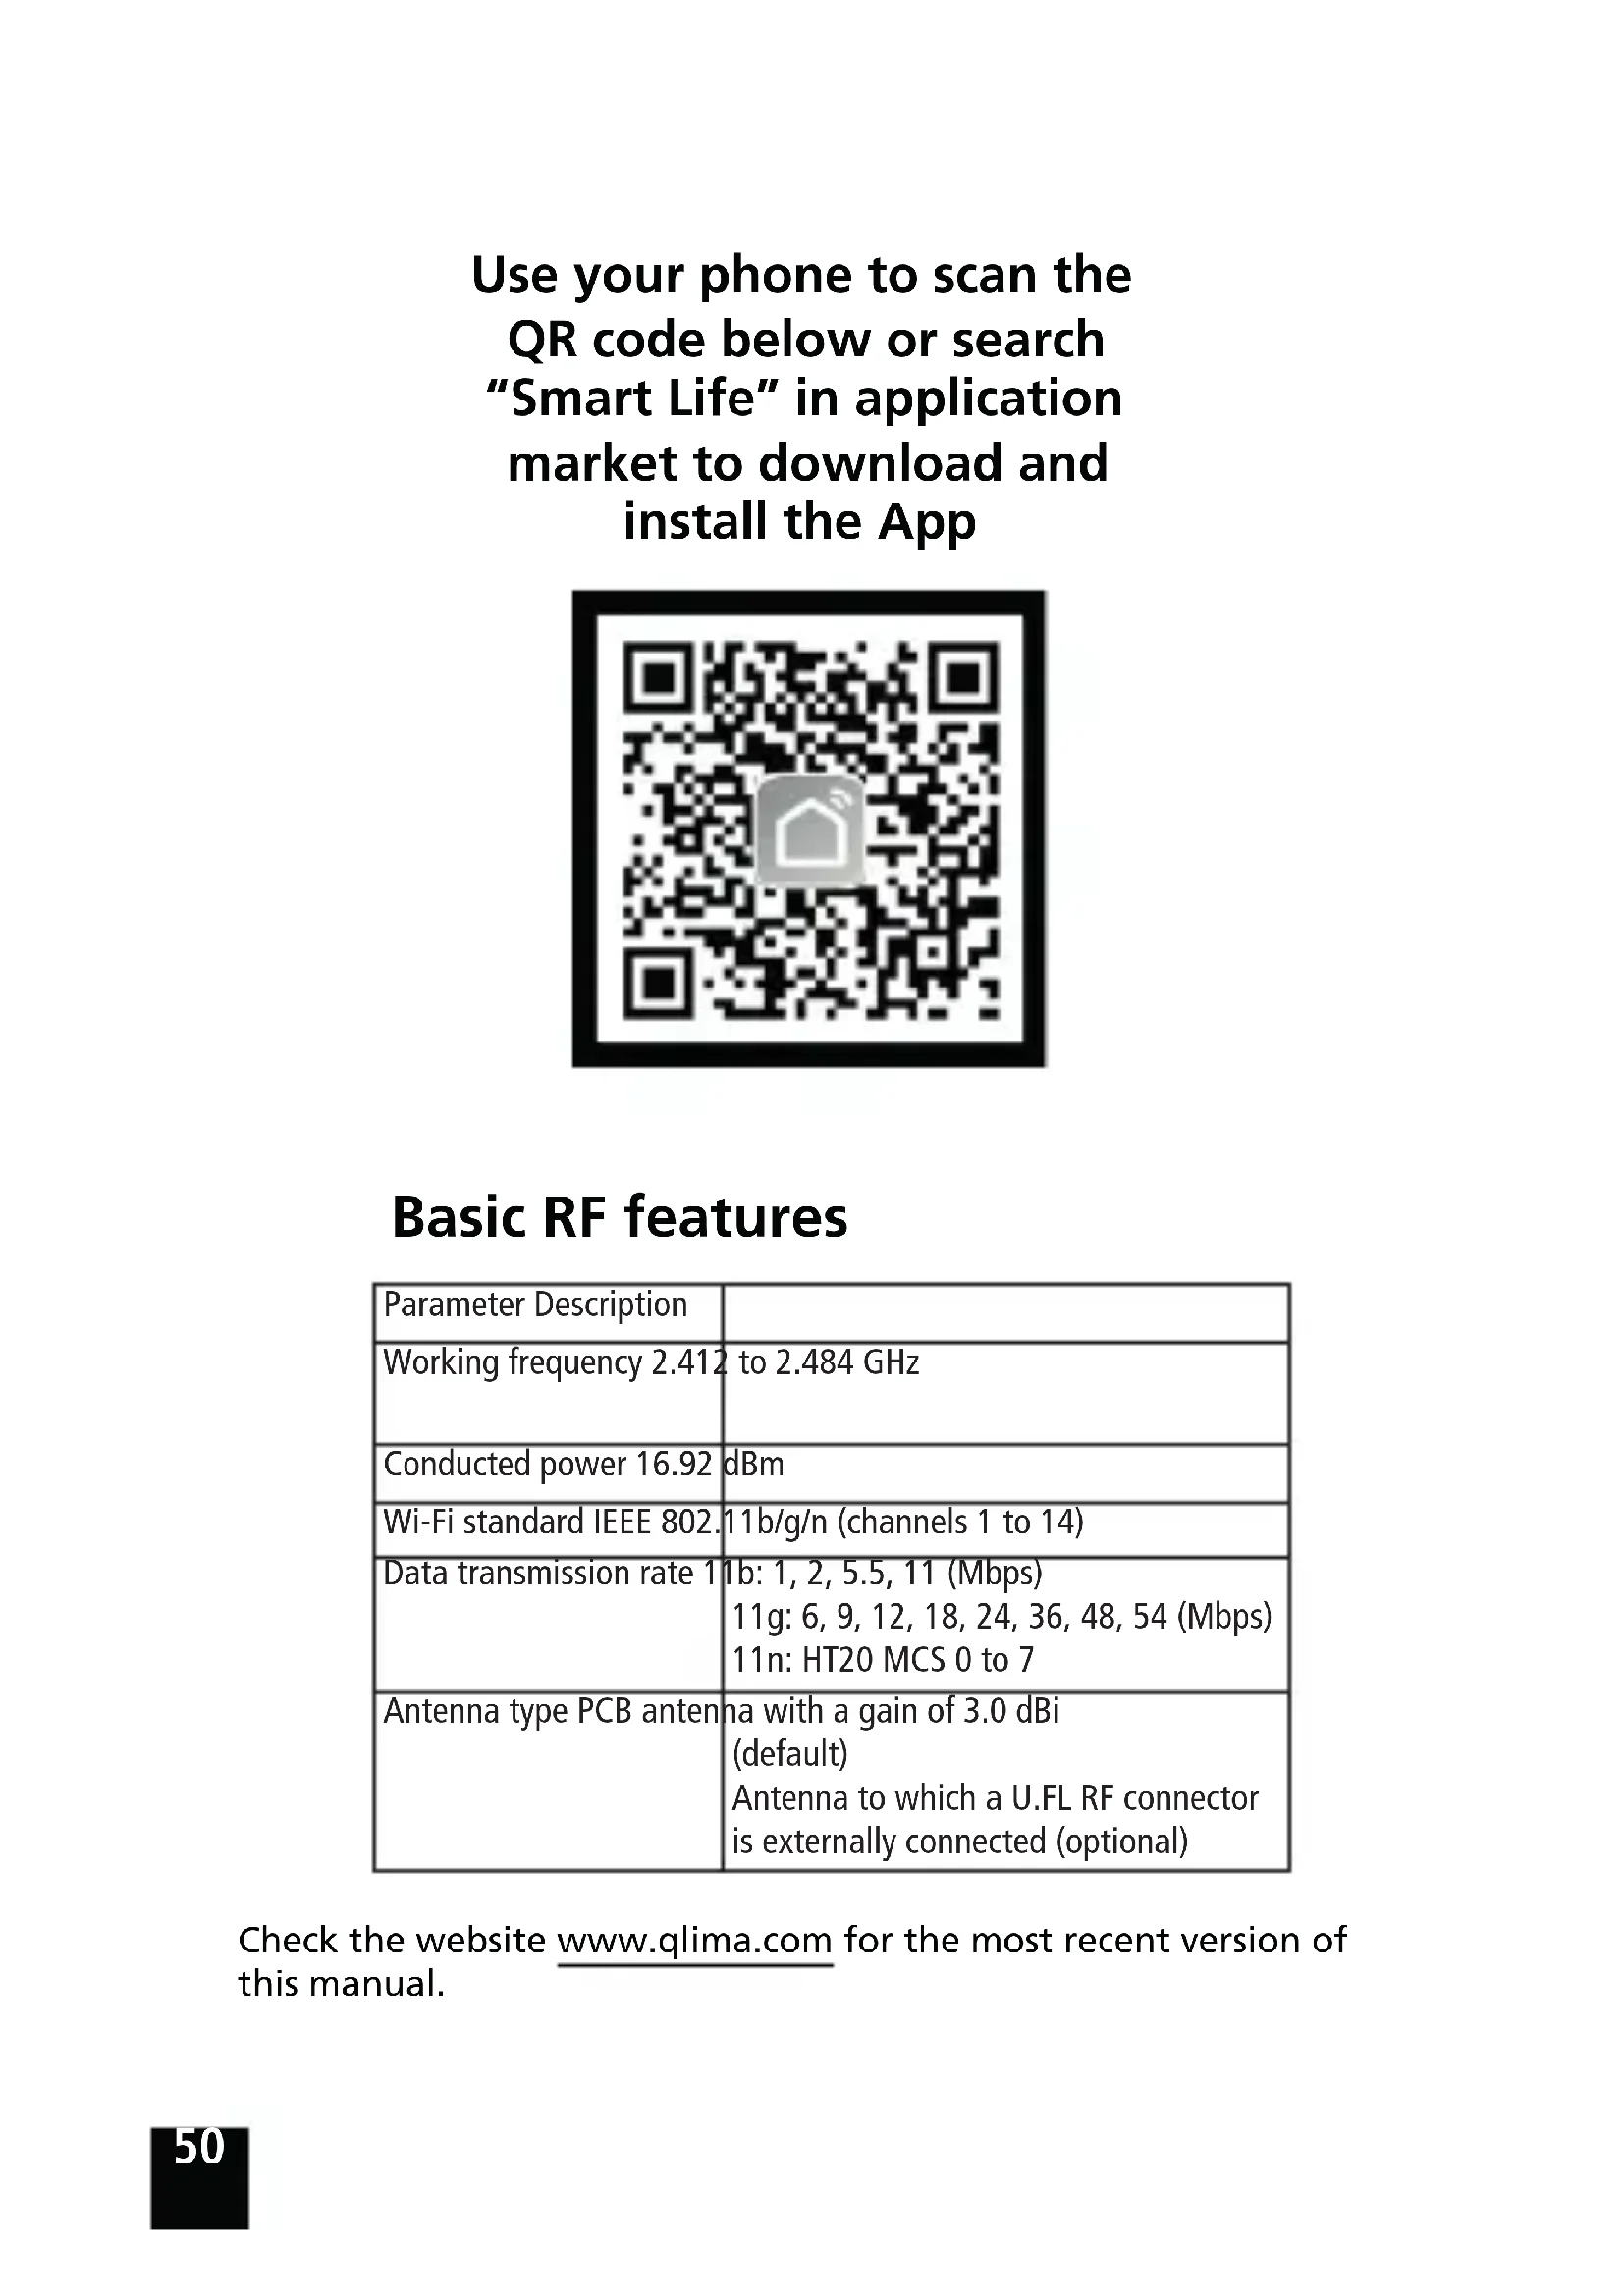
Use your phone to scan the QR code below or search "Smart Life" in application market to download and install the App
Basic RF features
| Parameter Description | |
| Working frequency 2.412 to 2.484 GHz | |
| Conducted power 16.92 dBm | |
| Wi-Fi standard IEEE 802.11b/g/n (channels 1 to 14) | |
| Data transmission rate 11b: 1, 2, 5.5, 11 (Mbps) 11g: 6, 9, 12, 18, 24, 36, 48, 54 (Mbps) 11n: HT20 MCS 0 to 7 | |
| Antenna type PCB antenna with a gain of 3.0 dBi (default) Antenna to which a U.FL RF connector is externally connected (optional) | |
Check the website www.qlima.com for the most recent version of this manual.
1. REGISTER/LOGIN/FORGOT PASSWORD
Register
If you don't have a Smart Life account, register an account or sign in with verification code by SMS. This page describes the registration process.
- Tap to enter registration page.
- The system automatically recognises your country/ area. You can also select your country code. Enter the mobile number / E-mail and tap "Next", as shown in the picture 1.
- Enter your mobile number and verification code (as shown in the picture 2) and create your password. Tap "Confirm" to finish your registration.
- Enter your E-mail address and password as shown in picture 3 and tap "Confirm" to finish your registration.
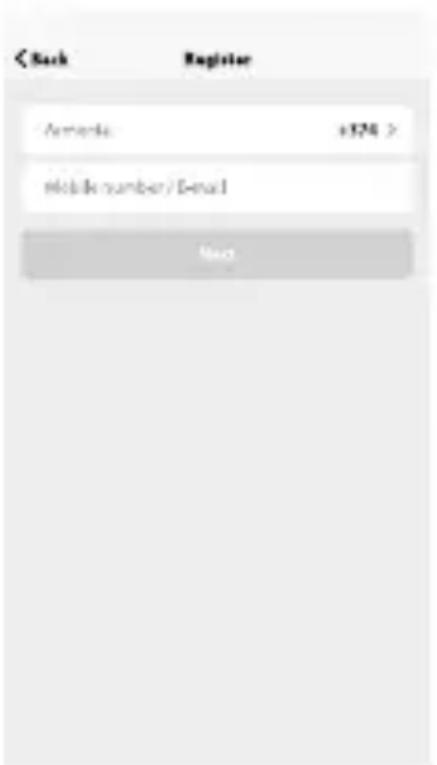
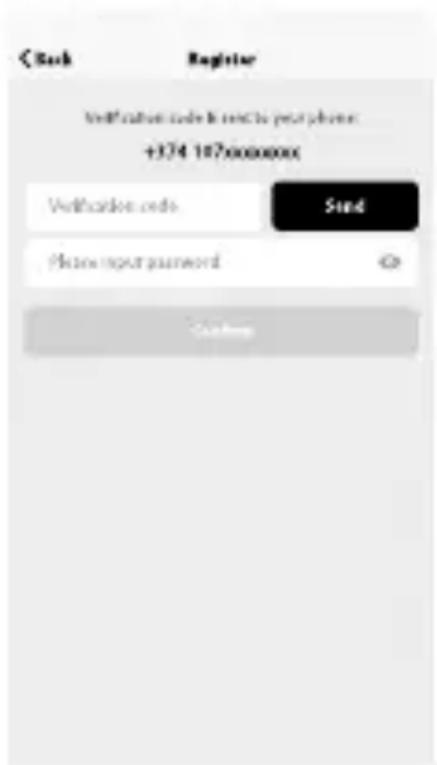
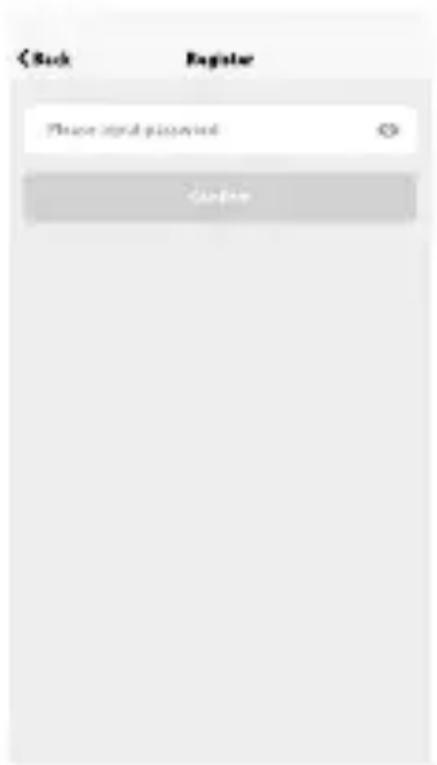
picture 1 picture 2 picture 3
Sign in with username and password
- The system automatically recognises your country/ area. You can also select your country code. Enter the mobile number / E-mail and tap "Next".
- Enter your registered mobile number or Email, and password to login.
Sign in with social media account
If you have installed Facebook or Twitter on your smart phone, tap the corresponding icon and then sign in the App after social network authentication.
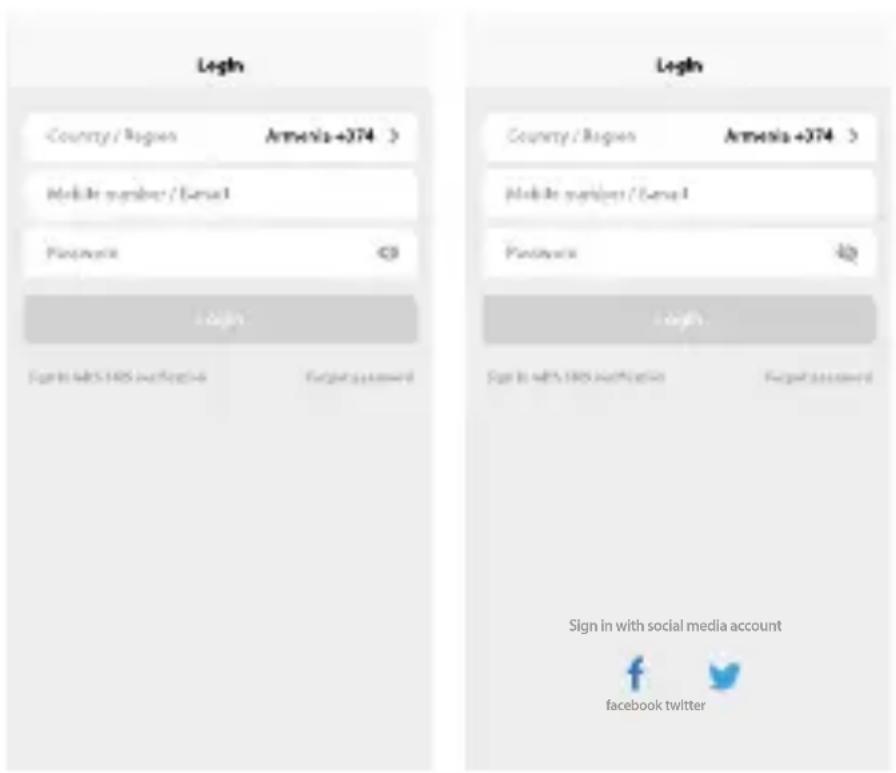
picture 4 picture 5
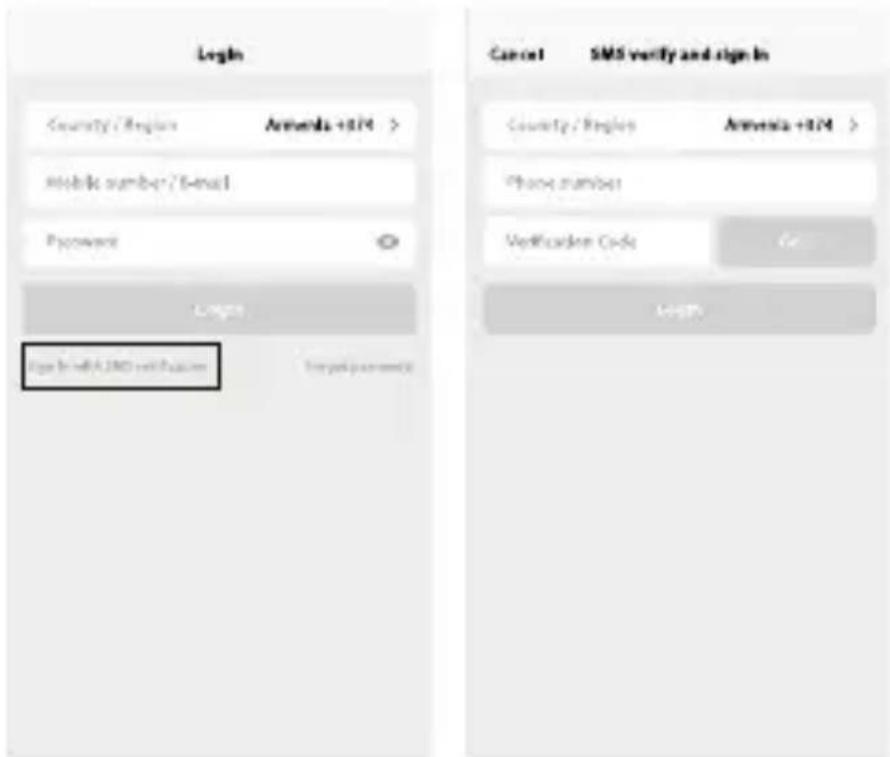
Sign in with verification code via SMS
- Tap "Sign in with SMS verification", to new page.
- The system automatically recognises your country/ area. You can also select your country code by yourself.
- Enter the mobile number and tap "Get"to get a message.
- Enter the verification code in the message and tap "Login" to login the App.
picture 6 picture 7
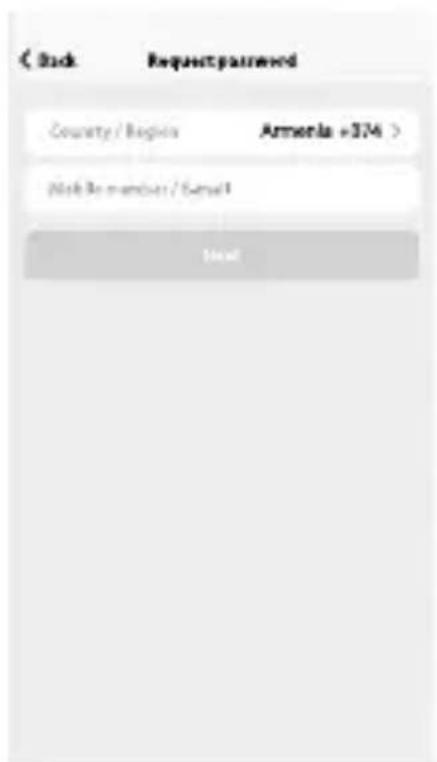
Forgot password
To recover your password, please follow the procedures:
- Tap "Forgot password", as shown in the picture 8.
- The system automatically recognises your country/ area. You can also select your country code by yourself. Enter the mobile number / E-mail and tap "Next", as shown in the picture 9.
- Enter the verification code in the message / E-mail, as shown in the picture 10, and enter the new password, tap "Confirm" to finish.

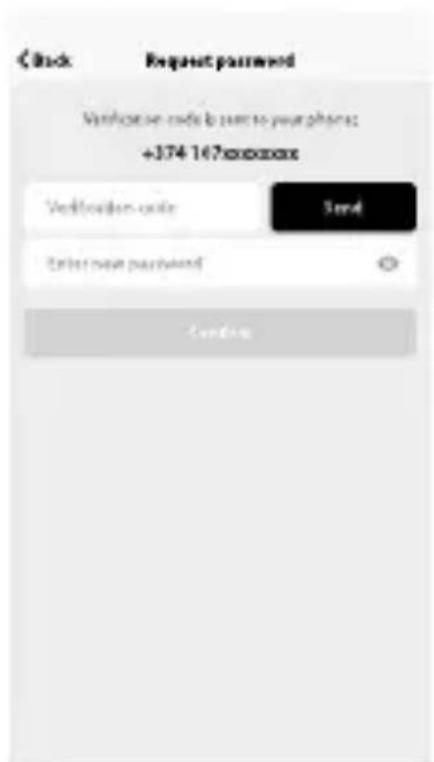
picture 8 picture 9 picture 10
2. ADD DEVICE
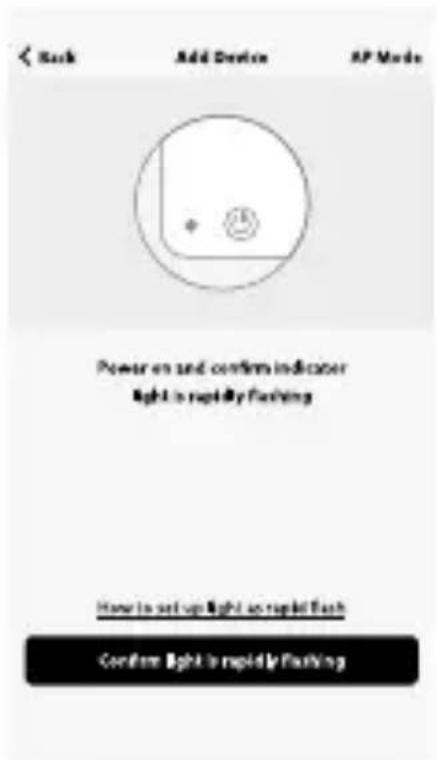
Normal mode
- Enter the App, tap "+" in the upper right of the page to enter network connection page, as shown in the picture 10.
- There are two network connection methods(Normal mode and AP mode). Normal mode is default. Users could tap the upper right corner to switch the connection method to AP mode.
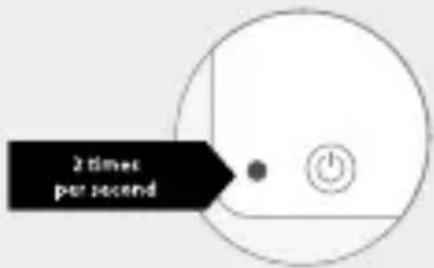
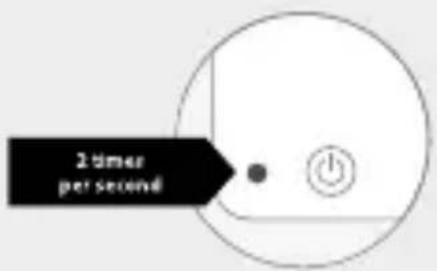
- For normal mode, please make sure the device's indicator light rapidly flashes (2 times per second), tap to go on to the next step.
- If indicator light is not rapidly flashing, tap "how to set indicator light as rapid flashes" to view operation processes.
picture 11
Notes: How to set indicator light as rapid flashing.
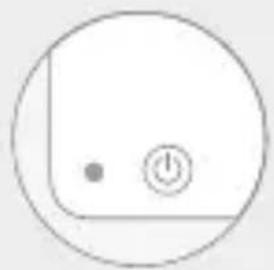
Step 1
Power on device.
Power off after 10s and then power on.

Step 2
Hold the reset button for 5s.
Step 3
Confirm indicator light is now rapidly flashing.
picture 12
AP mode
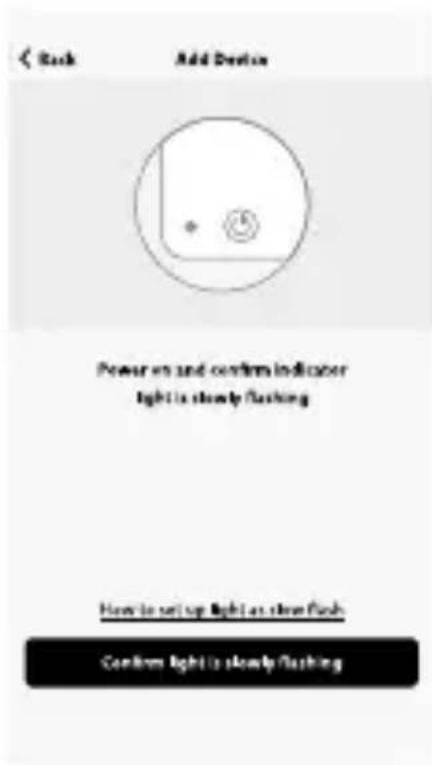
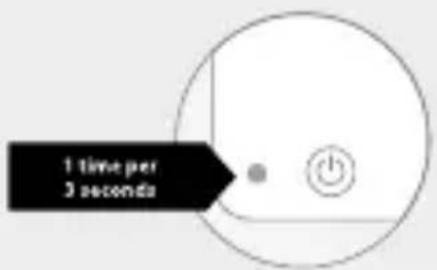
- For AP mode, please make sure the device's indicator light slowly flashes (1 time every 3 seconds), tap to go on to the next step.
- If indicator light is slowly flashing, tap "how to set indicator light as slow flashes" to view operation processes.
picture 13
Notes: How to set indicator light as slow flashing.
Step 1
Power on device.
Power off after 10s and then power on.

Step 2
Hold the reset button for 5s.
Step 3
Confirm indicator light is now rapidly flashing.
Step 4
Hold reset button for 5s until indicator is slowly flashing.
picture 14
Enter Wi-Fi password
Select the Wi-Fi under which device is working, enter password and tap "Confirm" to enter network connection process, as shown in the picture 15.
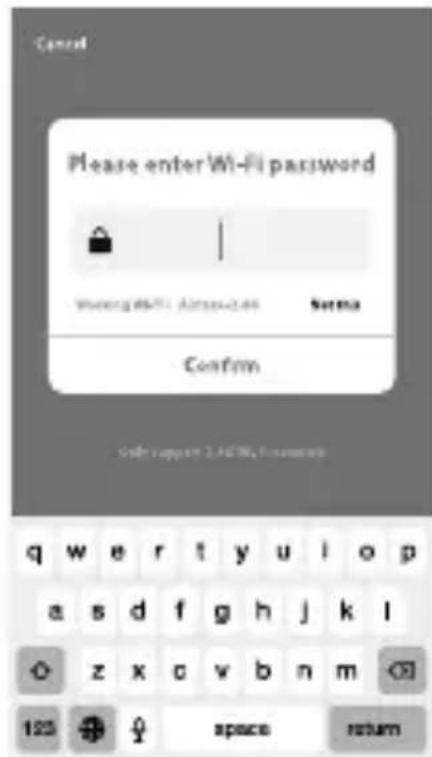
picture 15
Normal Network connection process
If you select normal mode to connect device to the network, the App goes through the processes as shown in the picture 16.
After the network connection is successfully, the App page will be shown in the picture 17.
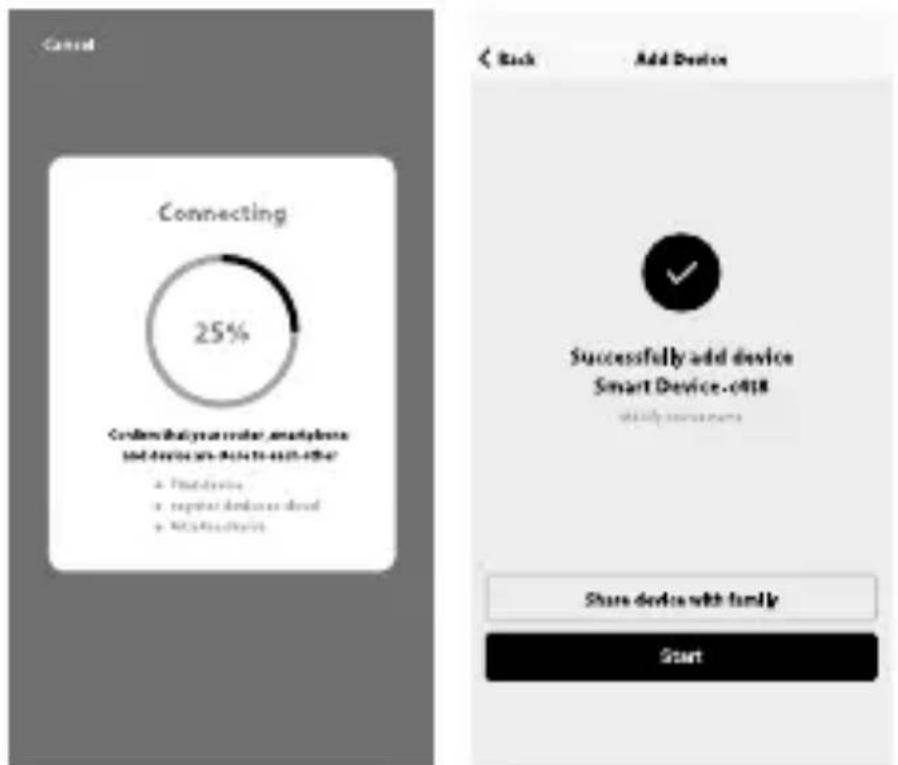
picture 16 picture 17
Network connection process
For AP mode, connect to the Wi-Fi hotspot named Smartlife", as shown in the picture 18.
Notes: Some devices might have different hotspot names.
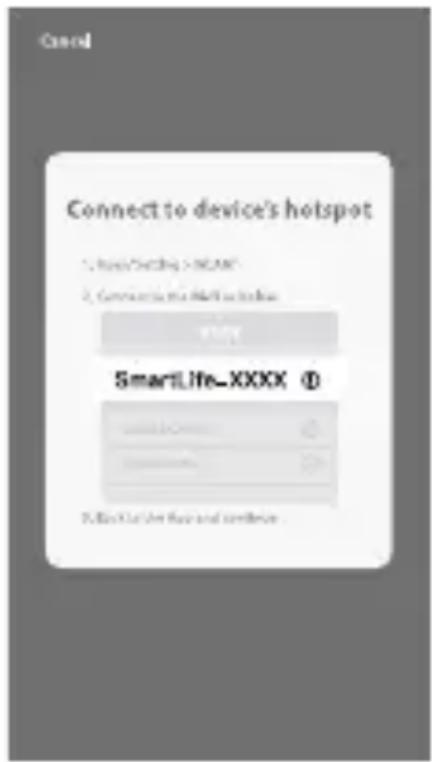
picture 18
Network connection process
After connecting with the hotspot, back to the network connection page to enter network connection process. The App goes through as shown in the picture 19.
Picture 20 shows the App page when the network connection is successful.
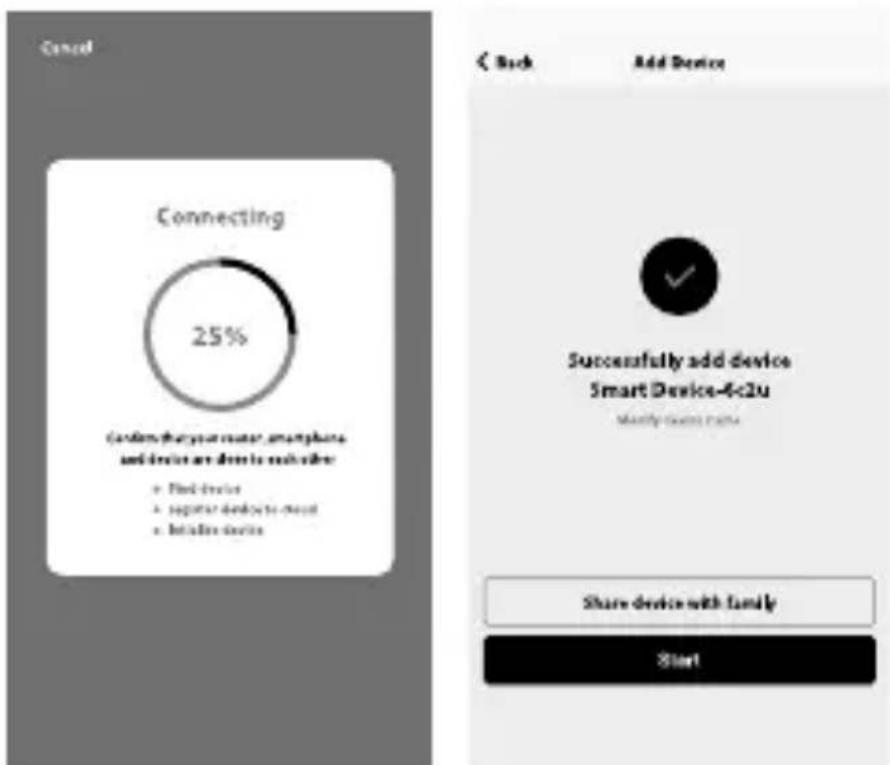
picture 19 picture 20
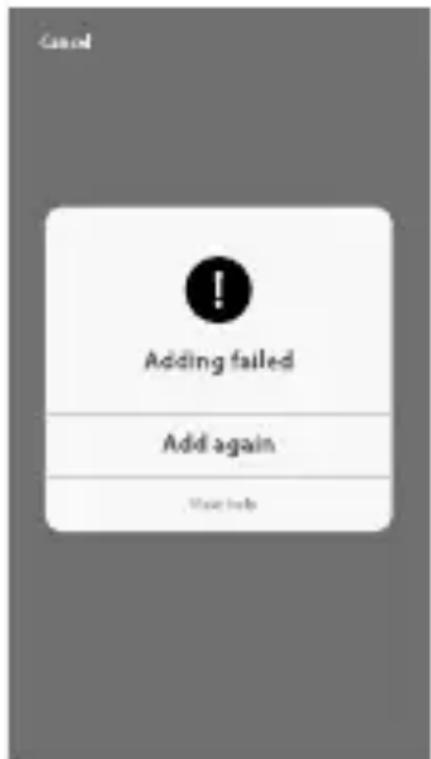
Adding failed
If your App interface is shown as in the picture 20, it means that the network connection failed. You could try by connecting again or view help.
picture 21
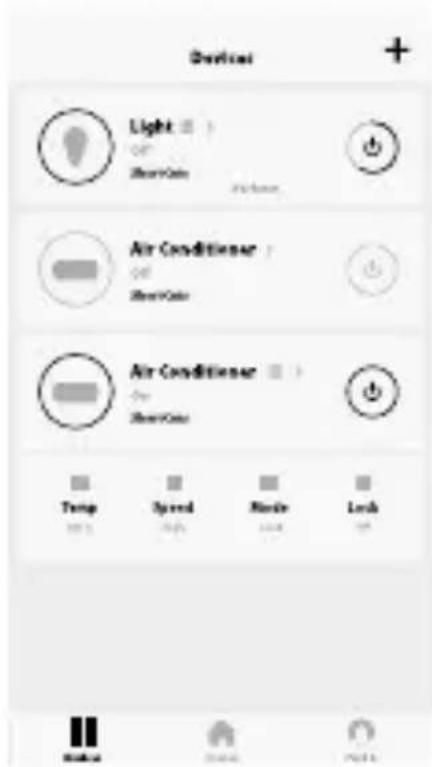
3. CONTROL DEVICE
After successfully configuring the devices, the smart device will be shown on the home page. Tap to enter its control page.
Note:
- When device is online, it support short-cut operations.
- When device is offline, it displays "Offline" and cannot be controlled.
picture 22
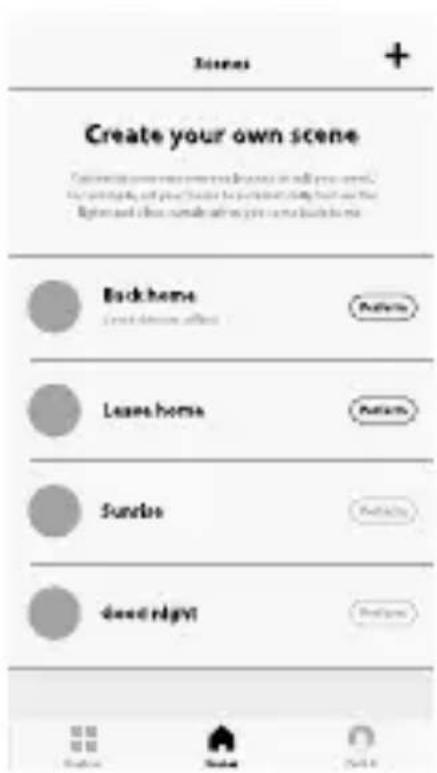
Smart life scenario
Smart life scenario supports that devices perform corresponding actions under various conditions.
The main conditions include:
- Temperature
- Humidity
- Weather
- Air quality
- Sunrise & sunset time
- Device's actions (such as turn on / off)
picture 23
Profile
"Profile" page is where users could manage personal information. The key information is as follows:
- Personal information
- Smart life scenario
- Device Sharing:display the information of shared devices
- Message center
- F.A.Q
- Entry to submit feedback
- About
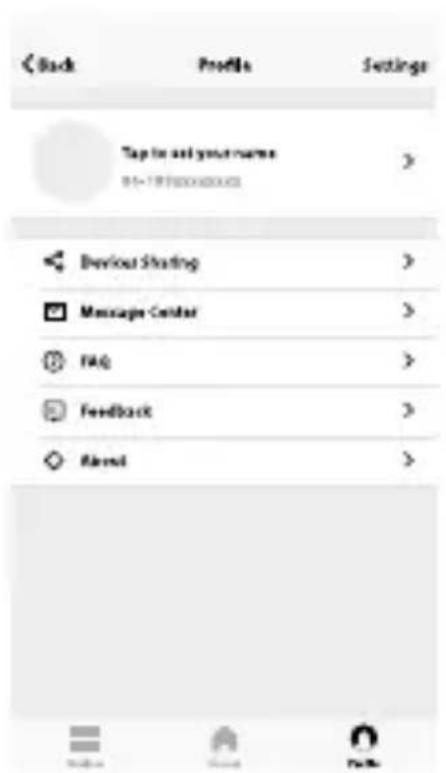
picture 24
"Profile" page is for displaying personal account information. You can change login password, binding mobile number, set pattern unlock on this page.
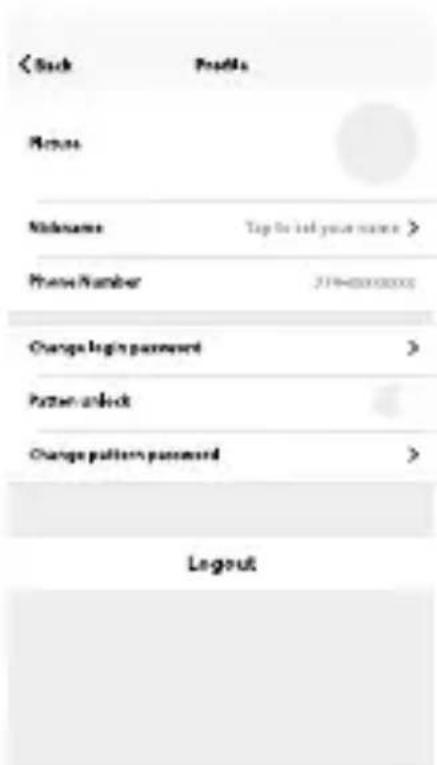
picture 25
Pattern Unlock
Tap "Pattern unlock" to set your pattern. After setup, you have to enter your pattern to use the App.
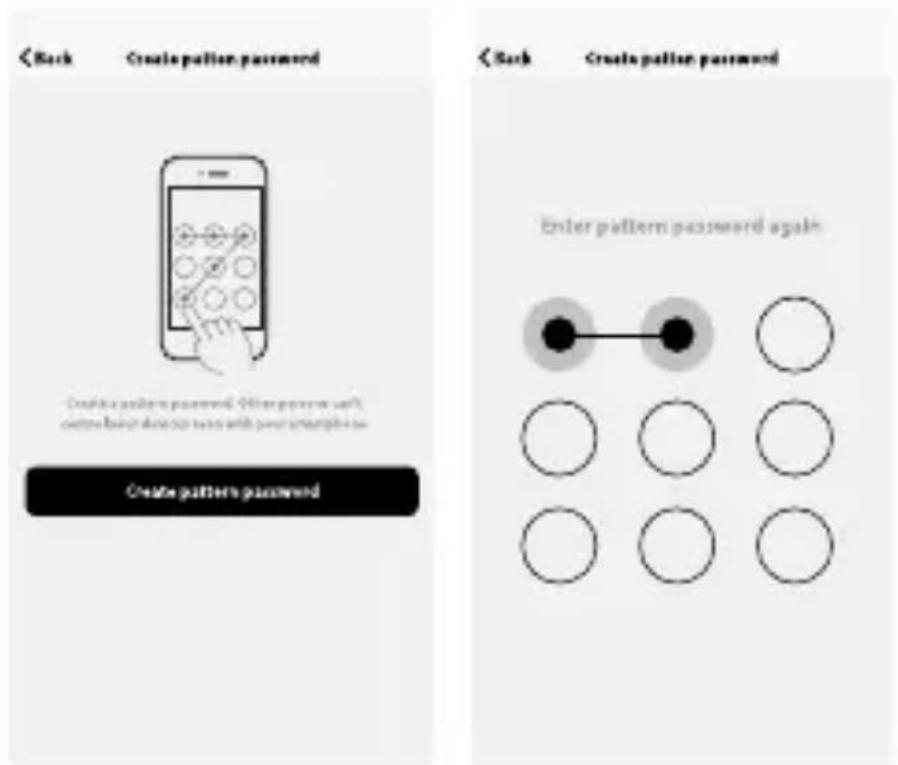
picture 26 picture 27
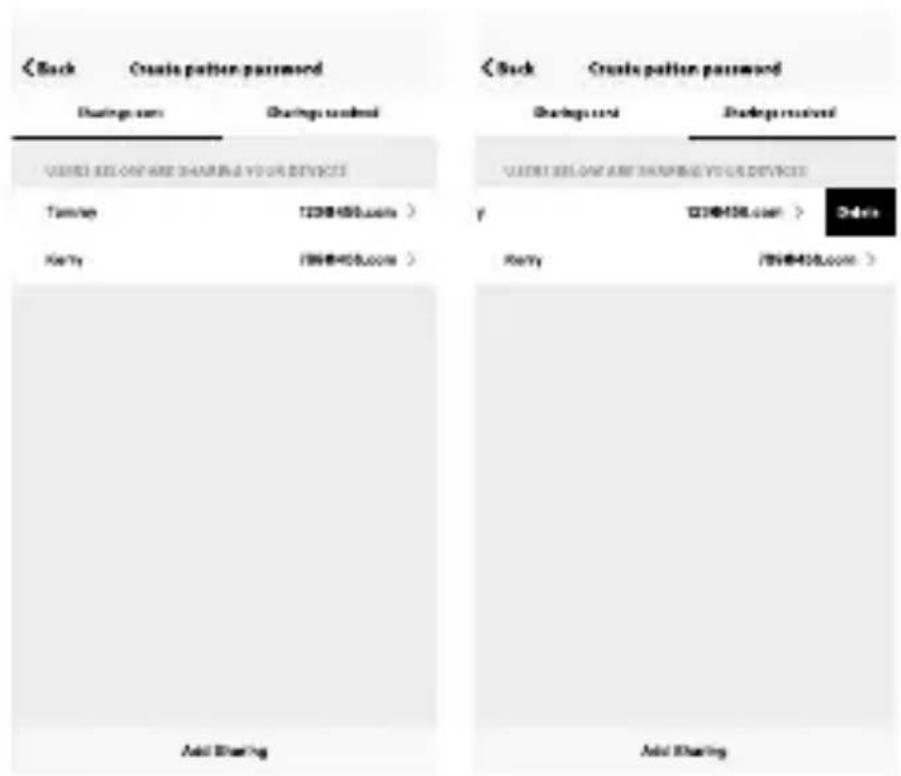
Send sharing:
The list shows all members who are added by your account. You can delete the member and delete the sharing by swiping left.
Receive sharing:
The list shows all devices that your account has received. You can delete the sharing by swiping left.
picture 28 picture 29
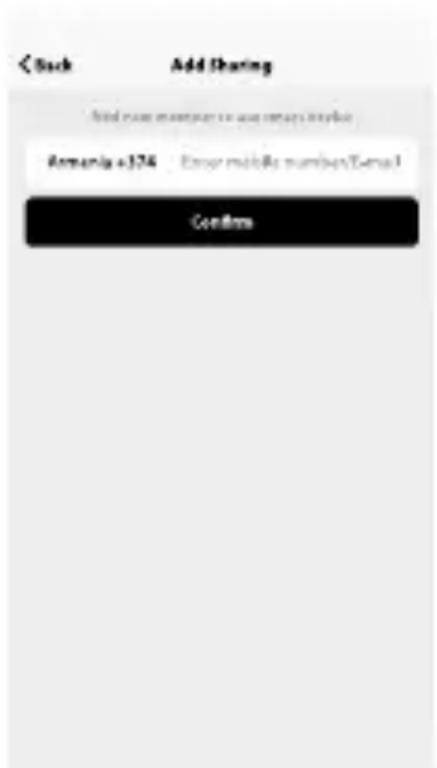
Add sharing:
As shown in the picture, users could input a new member's mobile number and share the device with him.
The new member could then control the shared device.
picture 30
Message center
Message centre:
Including notifications of new device and new sharing.
picture 31
Feedback:
Entry where users could submit their feedback.
picture 32
About
App's other related information include:
- Tap on "rate us"; App will be redirected to a corresponding App market, where you could rate us.
- Show App version number.
picture 33
Remark
- The pictures used in this manual are iOS app interface, Android vers ion is a bit different.
- Product and software update periodically, the number and app interface in this manual are only for example. No extra notification on further changes.
Radio Equipment Directive (RED) Declaration of Conformit (DoC)
Unique identification of this DoC: 20211213Dehumidifier
We, PVG Holding BV, Kanaalstraat 12C,Oss,5347 KM Oss, The Netherlands declare under our sole responsibility that the product:
Product name: Dehumidifier
Trade name: Qlima
Type or model: D 630 P SMART
Relevant supplementary information:
(e.g. lot, batch or serial number, sources and numbers of items)
o ic t is declaration relates is in conformit it t e essential requirements and other relevant requirements of te Radio Equipment Directive (2014/53/EU). e product is in conformit it t e follo ing standards and/or ot er normative documents:
HEALTH & SA ET (Art. 3(1)(a)):
- EN 62311:2020, EN 50665:2017
EMC (Art. 3(1)(b)):
- EN 301 489-1 V2.2.3: 2019, EN 301 489-17 V3.2.4 :2020
SPECTRUM (Art. 3(2)):
- EN 300 328 V2.2.2 :2019
OTHER (incl. Art. 3(3) and voluntary specs):
Limitation of validity (if any):
Supplementary information:
-
Notified body involved: N/A
-
Technical file held by:
Place and date of issue (of this DoC): Oss, 13-12-2021
Signed by or for the manufacturer:
(Signature of authori ed person)
Name of authoried person(in print): Wilbert van Emous
Title of authori ed person: Group Product & Sourcing Manager
Distributed in Europe by PVG Holding B.V.
Benbigen Sie weitere Informationen oder Tierne Probleme auf, besuchen sieitte unsere Website www.qlims.com,oder siehen Siich mit umerseit Kundendienst in Verbindung (T:+31412694694).
For alleyderige opysniger ererred eventuale probleme mer med apparatehenvies to wll qilima com eer dit kolek Kundecenir (T+4577 34.33 30).
Si neceita Inaformacion o si tiene algo problema, vishe nstra pags Web www.qlma.es, o pongase en contacto con el service客户提供 (T. +34 91 113 113).
Syou sauohazobienou intnfoations suplementaires ou suis neconturean un probleme, rendezousur nare site Web (www.qlimeba) ou contacteznservice client +33232967074/321031263939
f kalutu huiuuaa, laiitjoe ta laiteen kansla tuee ongeimla, tutusu verkkoskvoanton oso taaesssa. qllrma com i kysy neuwa PVC kulittajapevalukukukuksta (1 + 45 77 34 33 30).
If you need information or if you have a problem, please visit the our website (www.xllima.com) or contact our sales support (T+31 412 694 694).
Per informazioni e in case di problemi, vistate il site Web www qima.it oppu contatate Il Conto Assenza Clients (T: +39 0571 628 500).
@Hv du treger informacion, oler hvi ha dar et problem med produkt, kan du gali tll nettosdene www qima.com. Atemativ kan du kontaktod med PVG forbrukertenesto (T: +45 77 34 33 30)
As u inatome nodig heht of ul e un problem hct, beozk dan de orze wee site (wwq qina / wq qima) be of neom cting op met de afding sales tort +3142694694+32013326 3939
Se necestar do informacao ou se tiver problemas, visio o Wco site www.qlima.es ou contacto o Centro de Assistance (1: +34 916 113 113). Wp prypadku problemoI w celu zyszkania szcglowych informaci odwiedz strong intermetow Qlma dostqnpod adcsem www.qlima.com lub kontakuj zo Zcentrum kontakotw Qlma (T: 148 48 613 00 70).
O om du behover service erer information erer har problem mad apparaten kan du besoka www qima com erer kontakta Qima kundtjnsf (T+45 34 33 30)
Ce zelte dadtne informanje, obiciet sptno mesto podjetna na naslov www glima si ai poklcite na telefonsko (T+386 (0)41 674 139).
MarCom mvz©211114 App User Manual (21) V1

PVG Holding BV - Kanaalstraat 12 C - 5347 KM Oss - the Netherlands P.O. Box 96 - 5340 AB Oss - the Netherlands