M20 HD - Speaker Q ACOUSTICS - Free user manual and instructions
Find the device manual for free M20 HD Q ACOUSTICS in PDF.
| Product type | Active speaker |
| Output power | 75 W per channel |
| Frequency response | 45 Hz - 30 kHz |
| Connectivity | Bluetooth, RCA, optical, USB |
| Dimensions | 300 x 200 x 250 mm |
| Weight | 6 kg per speaker |
| Recommended use | Music listening, home cinema, recording studio |
| Maintenance | Clean with a soft cloth, avoid moisture |
| Safety | Do not expose to water, avoid extreme temperatures |
| Included accessories | Audio cables, remote control |
| Warranty | 2 years |
Frequently Asked Questions - M20 HD Q ACOUSTICS
Download the instructions for your Speaker in PDF format for free! Find your manual M20 HD - Q ACOUSTICS and take your electronic device back in hand. On this page are published all the documents necessary for the use of your device. M20 HD by Q ACOUSTICS.
USER MANUAL M20 HD Q ACOUSTICS
The Bluetooth word mark and logos are registered trademarks owned by Bluetooth SIG, Inc. and any use of such marks by Armour Home Electronics Ltd. is under license. The aptX® mark and the aptX logo are trade marks of CSR plc or one of its group companies and may be registered in one or more jurisdictions. Other trademarks and trade names are those of their respective owners.
EC DECLARATION OF CONFORMITY
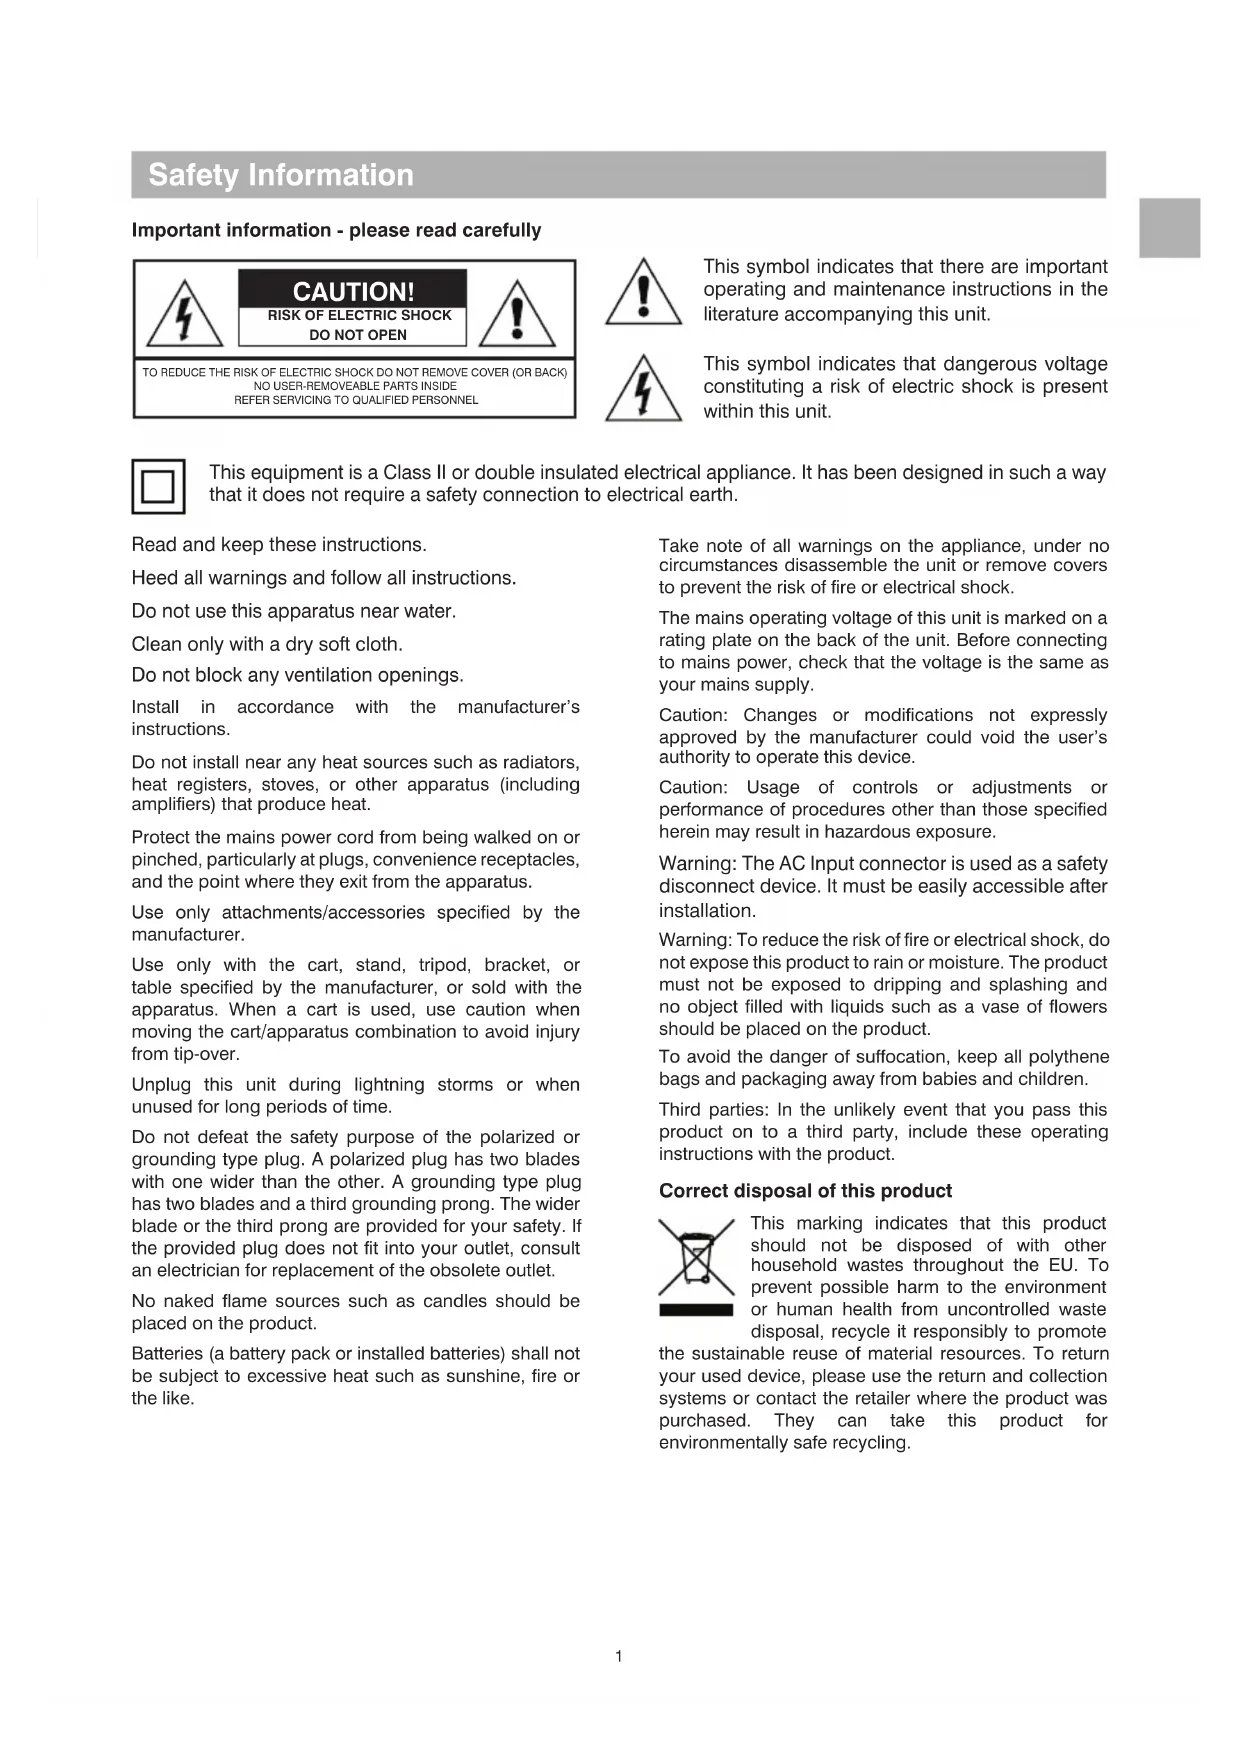
Safety Information Important information - please read carefully CAUTION! RISK OF ELECTRIC SHOCKDO NOT OPENTO REDUCE THE RISK OF ELECTRIC SHOCK DO NOT REMOVE COVER (OR BACK)NO USER-REMOVEABLE PARTS INSIDEREFER SERVICING TO QUALIFIED PERSONNEL This symbol indicates that there are important operating and maintenance instructions in the literature accompanying this unit. This symbol indicates that dangerous voltage constituting a risk of electric shock is present within this unit. Read and keep these instructions. Heed all warnings and follow all instructions. Do not use this apparatus near water. Clean only with a dry soft cloth. Do not block any ventilation openings. Install in accordance with the manufacturer’s instructions. Do not install near any heat sources such as radiators, heat registers, stoves, or other apparatus (including amplifiers) that produce heat. Protect the mains power cord from being walked on or pinched, particularly at plugs, convenience receptacles, and the point where they exit from the apparatus. Use only attachments/accessories specified by the manufacturer. Use only with the cart, stand, tripod, bracket, or table specified by the manufacturer, or sold with the apparatus. When a cart is used, use caution when moving the cart/apparatus combination to avoid injury from tip-over. Unplug this unit during lightning storms or when unused for long periods of time. Do not defeat the safety purpose of the polarized or grounding type plug. A polarized plug has two blades with one wider than the other. A grounding type plug has two blades and a third grounding prong. The wider blade or the third prong are provided for your safety. If the provided plug does not fit into your outlet, consult an electrician for replacement of the obsolete outlet. No naked flame sources such as candles should be placed on the product. Batteries (a battery pack or installed batteries) shall not be subject to excessive heat such as sunshine, fire or the like. Take note of all warnings on the appliance, under no circumstances disassemble the unit or remove covers to prevent the risk of fire or electrical shock. The mains operating voltage of this unit is marked on a rating plate on the back of the unit. Before connecting to mains power, check that the voltage is the same as your mains supply. Caution: Changes or modifications not expressly approved by the manufacturer could void the user’s authority to operate this device. Caution: Usage of controls or adjustments or performance of procedures other than those specified herein may result in hazardous exposure.
Warning: The AC Input connector is used as a safety
disconnect device. It must be easily accessible after installation.
Warning: To reduce the risk of fire or electrical shock, do
not expose this product to rain or moisture. The product must not be exposed to dripping and splashing and no object filled with liquids such as a vase of flowers should be placed on the product. To avoid the danger of suffocation, keep all polythene bags and packaging away from babies and children. Third parties: In the unlikely event that you pass this product on to a third party, include these operating instructions with the product. Correct disposal of this product This marking indicates that this product should not be disposed of with other household wastes throughout the EU. To prevent possible harm to the environment or human health from uncontrolled waste disposal, recycle it responsibly to promote the sustainable reuse of material resources. To return your used device, please use the return and collection systems or contact the retailer where the product was purchased. They can take this product for environmentally safe recycling. This equipment is a Class II or double insulated electrical appliance. It has been designed in such a way that it does not require a safety connection to electrical earth.2
Service Refer all servicing to qualified service personnel. Servicing is required when the unit has been damaged in any way, such as the power supply cord or plug is damaged, liquid has been spilled on or objects have fallen into the unit, the apparatus has been exposed to rain or moisture, it does not operate normally or it has been dropped. Equipment for servicing should be returned to the supplying dealer, or to the service agent for your area. Important notice for UK users The UK mains lead is terminated with a UK approved mains plug fitted with a 3A fuse. If the fuse needs to be replaced, an ASTA or BSI approved BS1362 fuse rated at 3A must be used. FCC Statement (For US Customers) This device complies with Part 15 of the FCC Rules. Operation is subject to the following two conditions: (1) this device may not cause harmful interference, and (2) this device must accept any interference received, including interference that may cause undesired operation. This equipment has been tested and found to comply with the limits for a Class B digital device, pursuant to
part 15 of the FCC Rules. These limits are designed
to provide reasonable protection against harmful interference in a residential installation. This equipment generates, uses and can radiate radio frequency energy and if not installed and used in accordance with the instruction manual, may cause harmful interference to radio communications. However, there is no guarantee that interference will not occur in a particular installation. If this equipment does cause harmful interference to radio or television reception, which can be determined by turning the equipment off and on, the user is encouraged to try to correct the interference by one or more of the following measures:
- Reorient or relocate the receiving antenna.
- Increase the separation between equipment and receiver.
- Connect the equipment into an outlet on a circuit different from that to which the receiver is connected.
- Consult the dealer or an experienced radio/TV technician for help. CAUTION! Any changes or modifications made to this device that are not expressly approved by the manufacturer may void the user’s authority to operate the equipment. This equipment complies with FCC radiation exposure limits set forth for an uncontrolled environment. This equipment should be installed and operated with minimum distance 20cm between the radiator & your body. Industry Canada Statement (for Canadian Customers) CAN ICES-3 (B)/NMB-3(B) The device meets the exemption from the routine evaluation limits set out in section 2.5 of RSS 102 and is in full compliance with RSS-102 RF. Users can obtain information on RF exposure and compliance from Industry Canada. This device complies with Industry Canada licence- exempt RSS standard(s). Operation is subject to the following two conditions:
1. This device may not cause harmful interference,
2. This device must accept any interference received,
including interference that may cause undesired operation. Safety Information Notes3
Introduction Thank you for purchasing the Q Acoustics M-20 HD Wireless Music System. This manual is intended to take you through setup and installation and will help provide optimum performance from the product. Please read the instructions, important safety information and warnings carefully before installation and use, to ensure the safe and satisfactory operation of this product. Package contents 1 x Owner’s Manual The Q M-20 system combines exceptional stereo sound performance with convenient connectivity and integrated amplification. USBANA OPTBLU 1 x Amplified speaker 1 x Passive speaker 1 x Remote 1 x UK power cable* 2 x Foam bungs 1 x 4m speaker cable *Power cable(s) supplied may vary depending on market version. AAA AAA 2 x Remote batteries 1 x EU power cable*4
- Analogue audio input – Stereo phono sockets or 3.5mm stereo jack allow a connection to an external analogue audio source such as a CD player
- Optical digital input - Allows connection to an external digital audio source such as a TV
- Speaker output – Stereo 4mm sockets, allowing connection from the amplified speaker to the passive speaker
- USB – A USB type B socket, allowing connection to a computer device
- Sub Out – A Phono subwoofer output for connection to an external subwoofer. Wireless connectivity
- Bluetooth® HD – An international wireless connection used for streaming audio from all compatible devices.
- AVRCP – A Bluetooth control protocol that synchronises your device control of Volume and Mute for easy integration of our Q Acoustics speaker. Feature summary Acoustic Left / Right position switch - Enables the amplified speaker to be placed as the left or right speaker of the pair, whichever is closest to a mains outlet. EQ switch – User control of EQ setting for best acoustic performance. This can be changed dependent upon speaker position, mounting, or user preference. Fitting or replacing batteries
- Slide the battery cover off the remote control in the direction shown.
- Lift the cover off the remote control.
- Remove the expired batteries (if necessary).
- Fit new batteries observing polarity as shown. When replacing the batteries, use only the same AAA type. Alkaline batteries are recommended. Other types of battery may leak and cause damage. Battery disposal Dispose of used batteries with regard to the recycling regulations in your area. Do NOT short circuit batteries or throw them into water, the general rubbish or in a fire. Remote batteries AAA AAA5
Connect passive speaker
Connect computer audio source
Select left or right position in the room from the listening position
Adjusts the bass response of the speaker
Press to enter BT pairing mode
Connect to mains power 100v – 240v Speaker rear connections and controls
Puts system into standby, turns on to optical input
Pauses / plays the audio on Bluetooth or USB sources
Short press decreases the volume by one step Press and hold will continuously decrease the volume
Short press increases the volume by one step Press and hold will continuously increase the volume
Skips a track back on Bluetooth or USB sources
Skips a track forward on Bluetooth or USB sources
Selects Bluetooth input, sets system into pairing mode with long press
Selects USB input Speaker controls Remote control
Press to switch on, long press to set to standby Press to change source Very long press when in standby will enter deep standby
Press to decrease volume by a single step Press and hold to decrease volume continuously
Press to increase volume by a single step Press and hold to increase volume continuously NOTE: Press and together to set volume to 20%. Key USB ANA OPT BLU
Connecting between the speakers Firstly, connect the supplied speaker cable between the two speakers. The wires are coloured differently to identify + and - polarity. Ensure you always use the gold wire for + and silver wire for – at both ends. Optional subwoofer A subwoofer may be connected to the SUB outlet as an option. The subwoofer should include level and crossover controls. With the subwoofer connected, play some music with good bass content and adjust the subwoofer controls for the sound you prefer. Port damping The Q M-20 speakers are rear ported and designed to work best with some space behind them i.e. 200mm or so away from a wall. If you position your speakers close to a wall / corner then the foam bungs should be inserted into the rear ports or there could be too much bass. Operation Speaker positioning and assembly Simply place the speakers either side of the main listening position on an appropriate flat surface, ideally about 2.0 – 4.0m (2-4 yards) apart. Alternatively you can use Q M-20 with the Q 3000FSi floor stand or Q 3000WB wall bracket (available separately), follow the instructions supplied with these.
- The amplified speaker can be placed in either the right or left position, simply set the left/right switch correctly. The switch sets left or right channel for the amplified speaker. Adjusting the EQ switch
- You can adjust the bass response of the speakers to suit your desired bass level which is affected by the speaker position in relation to a wall, shelf, or corner. Try listening to your M-20 speakers in each of the three positions, selecting the one that you are most happy with. This position will give the most bass output and is suited if the speakers are placed away from walls or corners. This position will give a mid-point in bass output and is suited if the speakers are placed close to a wall or on a shelf. This position will give the least level of bass output and is suited if the speakers are placed in corners of the room. Silver Gold Silver Gold You will find the level of bass is reduced but definition and bass extension is increased. Experiment to see what you prefer and try making small changes to the position of the speaker to optimise the final result. Powering on
- Connect the power cable to the amplified speaker and plug into a mains outlet. Once powered up the standby LED will be on red.
- To switch the system on, press on the remote or the control panel.
- To set the system to standby, press on the remote or long press on the control panel. Auto standby The Q M-20 system includes an energy saving auto standby feature. If no music has played for twenty minutes the system will automatically set to Standby.
- Ensure the bungs are fitted snugly into the port without inserting them too far.8
Playing audio using Bluetooth You can use many Bluetooth devices to play audio through the Q M-20 system. Firstly you will have to pair your Bluetooth device with the speaker using the following instructions.
1. Press and hold the Bluetooth input button on
the remote control until the blue LED flashes on the speaker. Alternatively, press the Bluetooth button on the back of the amplified speaker, the LED will flash blue.
2. Select the Bluetooth settings on your device,
and look for Q M-20 HD in devices.
3. Select the Q M-20 HD device in the new Bluetooth
device list. Once connected, the LED will stop flashing and remain on blue.
4. You can now play audio from your device.
Once you have paired a device, you can simply connect to the Q M-20 next time which will turn on and select the Bluetooth input. When playing audio, you can use the device, the remote control or the buttons on the amplified speaker to alter the volume. You can also use the remote control to play, pause and skip tracks. Clearing the Bluetooth pairing list You can clear all the devices from the Bluetooth pairing list memory if required by using the following steps:
1. Put the speakers into Bluetooth pairing mode
with a long press of the BLU source button on the remote control, the LED will be flashing Blue.
2. Press and hold the BLU source button on the
remote control again, until the LED goes out and then flashes three times. The Bluetooth pairing list is now cleared from the memory and devices must pair again in order to connect. Playing audio using optical digital Use a standard TOSLINK optical cable to connect your digital audio source to the amplified Q M-20 speaker.
- Press the OPT button on the remote control or press the button on the speaker until the LED is on white. You can use the remote control or the buttons on the amplified speaker to alter the volume. Operation Playing audio using analogue
- Use the phono sockets or the 3.5mm stereo jack socket to connect your analogue audio source. Press the ANA button on the remote control or press the button on the speaker until the LED is on green. You can use the remote control or the buttons on the amplified speaker to alter the volume. Playing audio using USB Simply use a suitable USB A-B or USB C-B cable from your computer device to the M20 amplified speaker. The USB driver will load automatically and will be named ‘SPDIF Out (Q Acoustics M20)’ or similar, select this device as your speaker and audio will play through the M20 system. M20 will automatically switch onto the USB input from standby or another source when the connected USB source becomes active. Automatic switching is not supported when connected via a powered USB hub or splitter. M20 will automatically switch onto the USB input from standby when an active USB source (powered on) starts to play audio. If your machine does not automatically install the driver then you can update it manually: Download the correct USB driver from the Q Acoustics website here: www.qacoustics.co.uk/m20drivers Save the file on your computer, then follow these instructions for Windows 10
1. Open ‘Device manager’
2. Select ‘USB2.0 High-Speed True HD Audio’ in
‘Sound, video and game controllers’
3. Select ‘Driver’ and then ‘Update Driver’
4. Select ‘Browse my computer for drivers, then
browse to the downloaded folder and select
5. Windows will then update the driver
6. Once finished, you can select ‘SPDIF (USB2.0
High-Speed True HD Audio)’ or ‘SPDIF Out (Q Acoustics M20)’ from the speaker selection.
7. Open your music playing application and enjoy.
You can use the M20 remote control to adjust volume, and also play, pause or skip track on music playing applications that support this feature.9
Weight Amplified speaker .............................................5.5kg 12lb 2oz Passive speaker ................................................5.1kg 11lb 4 oz Specification LED states Red System is in standby Dark red System is in deep standby White System is playing optical source White, flashing Adjusting volume White, double flash every 3 seconds The optical input is receiving multichannel or dolby digital audio which cannot be played Blue System is playing Bluetooth source Blue, slow pulse No Bluetooth device connected Blue flashing Bluetooth pairing mode Blue, triple flash The Bluetooth pairing list has been cleared Green System is playing analogue source Yellow System is playing USB source Source colour (white, blue, green, yellow) pulsing Muted10
The Q M-20 system is warranted free of defects in materials and workmanship for a period of 1 year from the date of purchase. During the warranty period Q Acoustics will, at its option, repair or replace any product found to be faulty after inspection by the company or its appointed distributor or agent. Misuse and fair wear and tear are not covered by warranty. Goods for repair should in the first instance be returned to the supplying dealer. If this is not possible contact Q Acoustics or their appointed distributor for your area to determine the correct warranty procedure. If possible the original packaging should be used to return the product as damage sustained during transit to the repair centre is not covered by the warranty. The warranty does not in any way affect your legal rights. Warranty can be extended to 2 years by registering your product at - www.qacoustics.co.uk/register. Warranty Accessories Contact Head office Q Acoustics Woodside 2 Dunmow Road Bishops Stortford Hertfordshire, UK CM23 5RG Knowledge base For any additional info not contained within this manual, support questions and/or requests, please visit our on-line Knowledge Base Portal at: support.qacoustics.co.uk Service information support@qacoustics.co.uk Q 3000WB wall bracket 35° 5 - 45mm 3000FSi floor stand Dimensions (WxHxD): 70 x 159 x 99mm
Q 3000WB adjustment angle
2. Selecteer ‘USB2.0 High-Speed True HD Audio’ in
‘Sound, video and game controllers’
4. Selecteer ‘Browse my computer for drivers’ (Door
Q Acoustics Woodside 2 Dunmow Road Bishops Stortford Hertfordshire, UK CM23 5RG
Polybrominated biphenyls (PBB)
www.qacoustics.co.uk/register.
Q Acoustics Woodside 2 Dunmow Road Bishops Stortford Hertfordshire, UK CM23 5RG
”Our policy is one of continuous product improvement. We reserve the right to change the designs and specifications without notice. This document contains information that is subject to change without notice. Q17416-IS-ALL_r5