
VM130 - Remote control VELLEMAN - Free user manual and instructions
Find the device manual for free VM130 VELLEMAN in PDF.
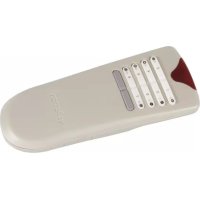
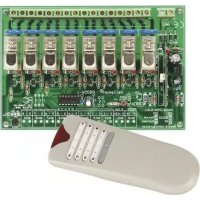
| Product type | Remote control (receiver + transmitter set) |
| Brand | Velleman |
| Model | VM130 |
| Receiver power supply | 9 to 13 VAC or 10 to 15 VDC, 130 mA max |
| Transmitter power supply | 12 V battery type V23GA or GP23GA (included) |
| Outdoor range | Up to 30 m |
| Frequency | 433 MHz (CE standard) |
| Number of combinations | More than 1,000,000,000 |
| Number of memorizable transmitters | Up to 31 |
| Code type | 32-bit unique, programmable |
| Relay outputs | 2 outputs, resistive load 5 A |
| Relay operating modes | On/Off (toggle) or Timer (pulse) |
| Available timers | 0.5 s, 5 s, 30 s, 1 min, 5 min, 15 min, 30 min, 60 min |
| Heating option | Heater jumper for cold environments (remove in car) |
| Dimensions (receiver) | Approx. 70 x 50 x 25 mm (estimate) |
| Weight (receiver) | Approx. 50 g (estimate) |
| Dimensions (transmitter) | Approx. 60 x 30 x 15 mm (estimate) |
| Weight (transmitter) | Approx. 20 g (estimate) |
| Housing material | Plastic |
| Care and cleaning | Wipe with a dry, soft cloth. Do not use abrasive products. |
| Safety instructions | Do not install near other electronic devices or metal objects. Adjust antenna. |
| Spare parts | Not available separately. Contact the manufacturer. |
| Repairability | Not user-repairable. Contact a professional. |
| General information | 2-year warranty (manufacturing defects). Keep proof of purchase. |
Frequently Asked Questions - VM130 VELLEMAN
User questions about VM130 VELLEMAN
0 question about this device. Answer the ones you know or ask your own.
Ask a new question about this device
Download the instructions for your Remote control in PDF format for free! Find your manual VM130 - VELLEMAN and take your electronic device back in hand. On this page are published all the documents necessary for the use of your device. VM130 by VELLEMAN.
USER MANUAL VM130 VELLEMAN
Two channel RF remote control set

VM130
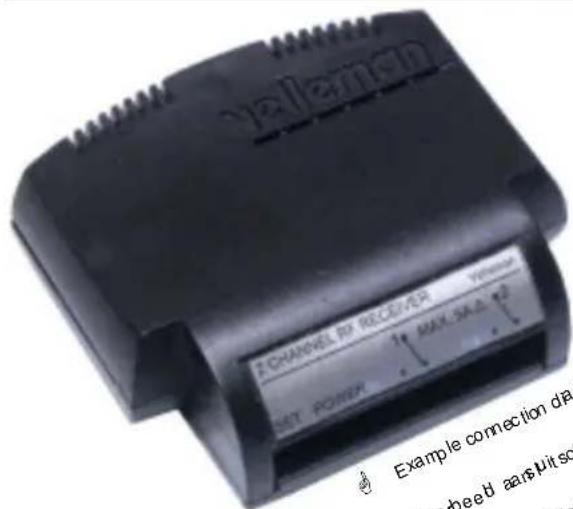
Example connection diagrams on www. vete man be. type VM130 in "search product" V oorbeed aansutschema's opwwv. vete man be typ VM130n' zo ek Pro duct" Ex pde de schem & deconnex onsur www. vete manbe. saissez VM 130d ans " Recherche de Product" Eempoc de esquemas de conexion disponble en www. vete man be. Entra VM 130' en busca Two channel RF remote control set 4

Two channel RF remote control set 4
2-Kanaals RF afstandsbedieningsset
7
Module commande a distance 2 canaux RF 10
Any type of power can be used, AC or DC, the maximum current is 130mA . The polarity is not important
Velleman hereby certifies that the device VM130 meets the essential requirements and all other relevant stipulations of directive ETS 300-220
For the complete conformity declaration check out :
http://www.avelleman.be/downloads/doc/ ce_VM130.pdf
Do not mount the unit in the proximity of other electronic devices or metal objects. Straighten the antenna!
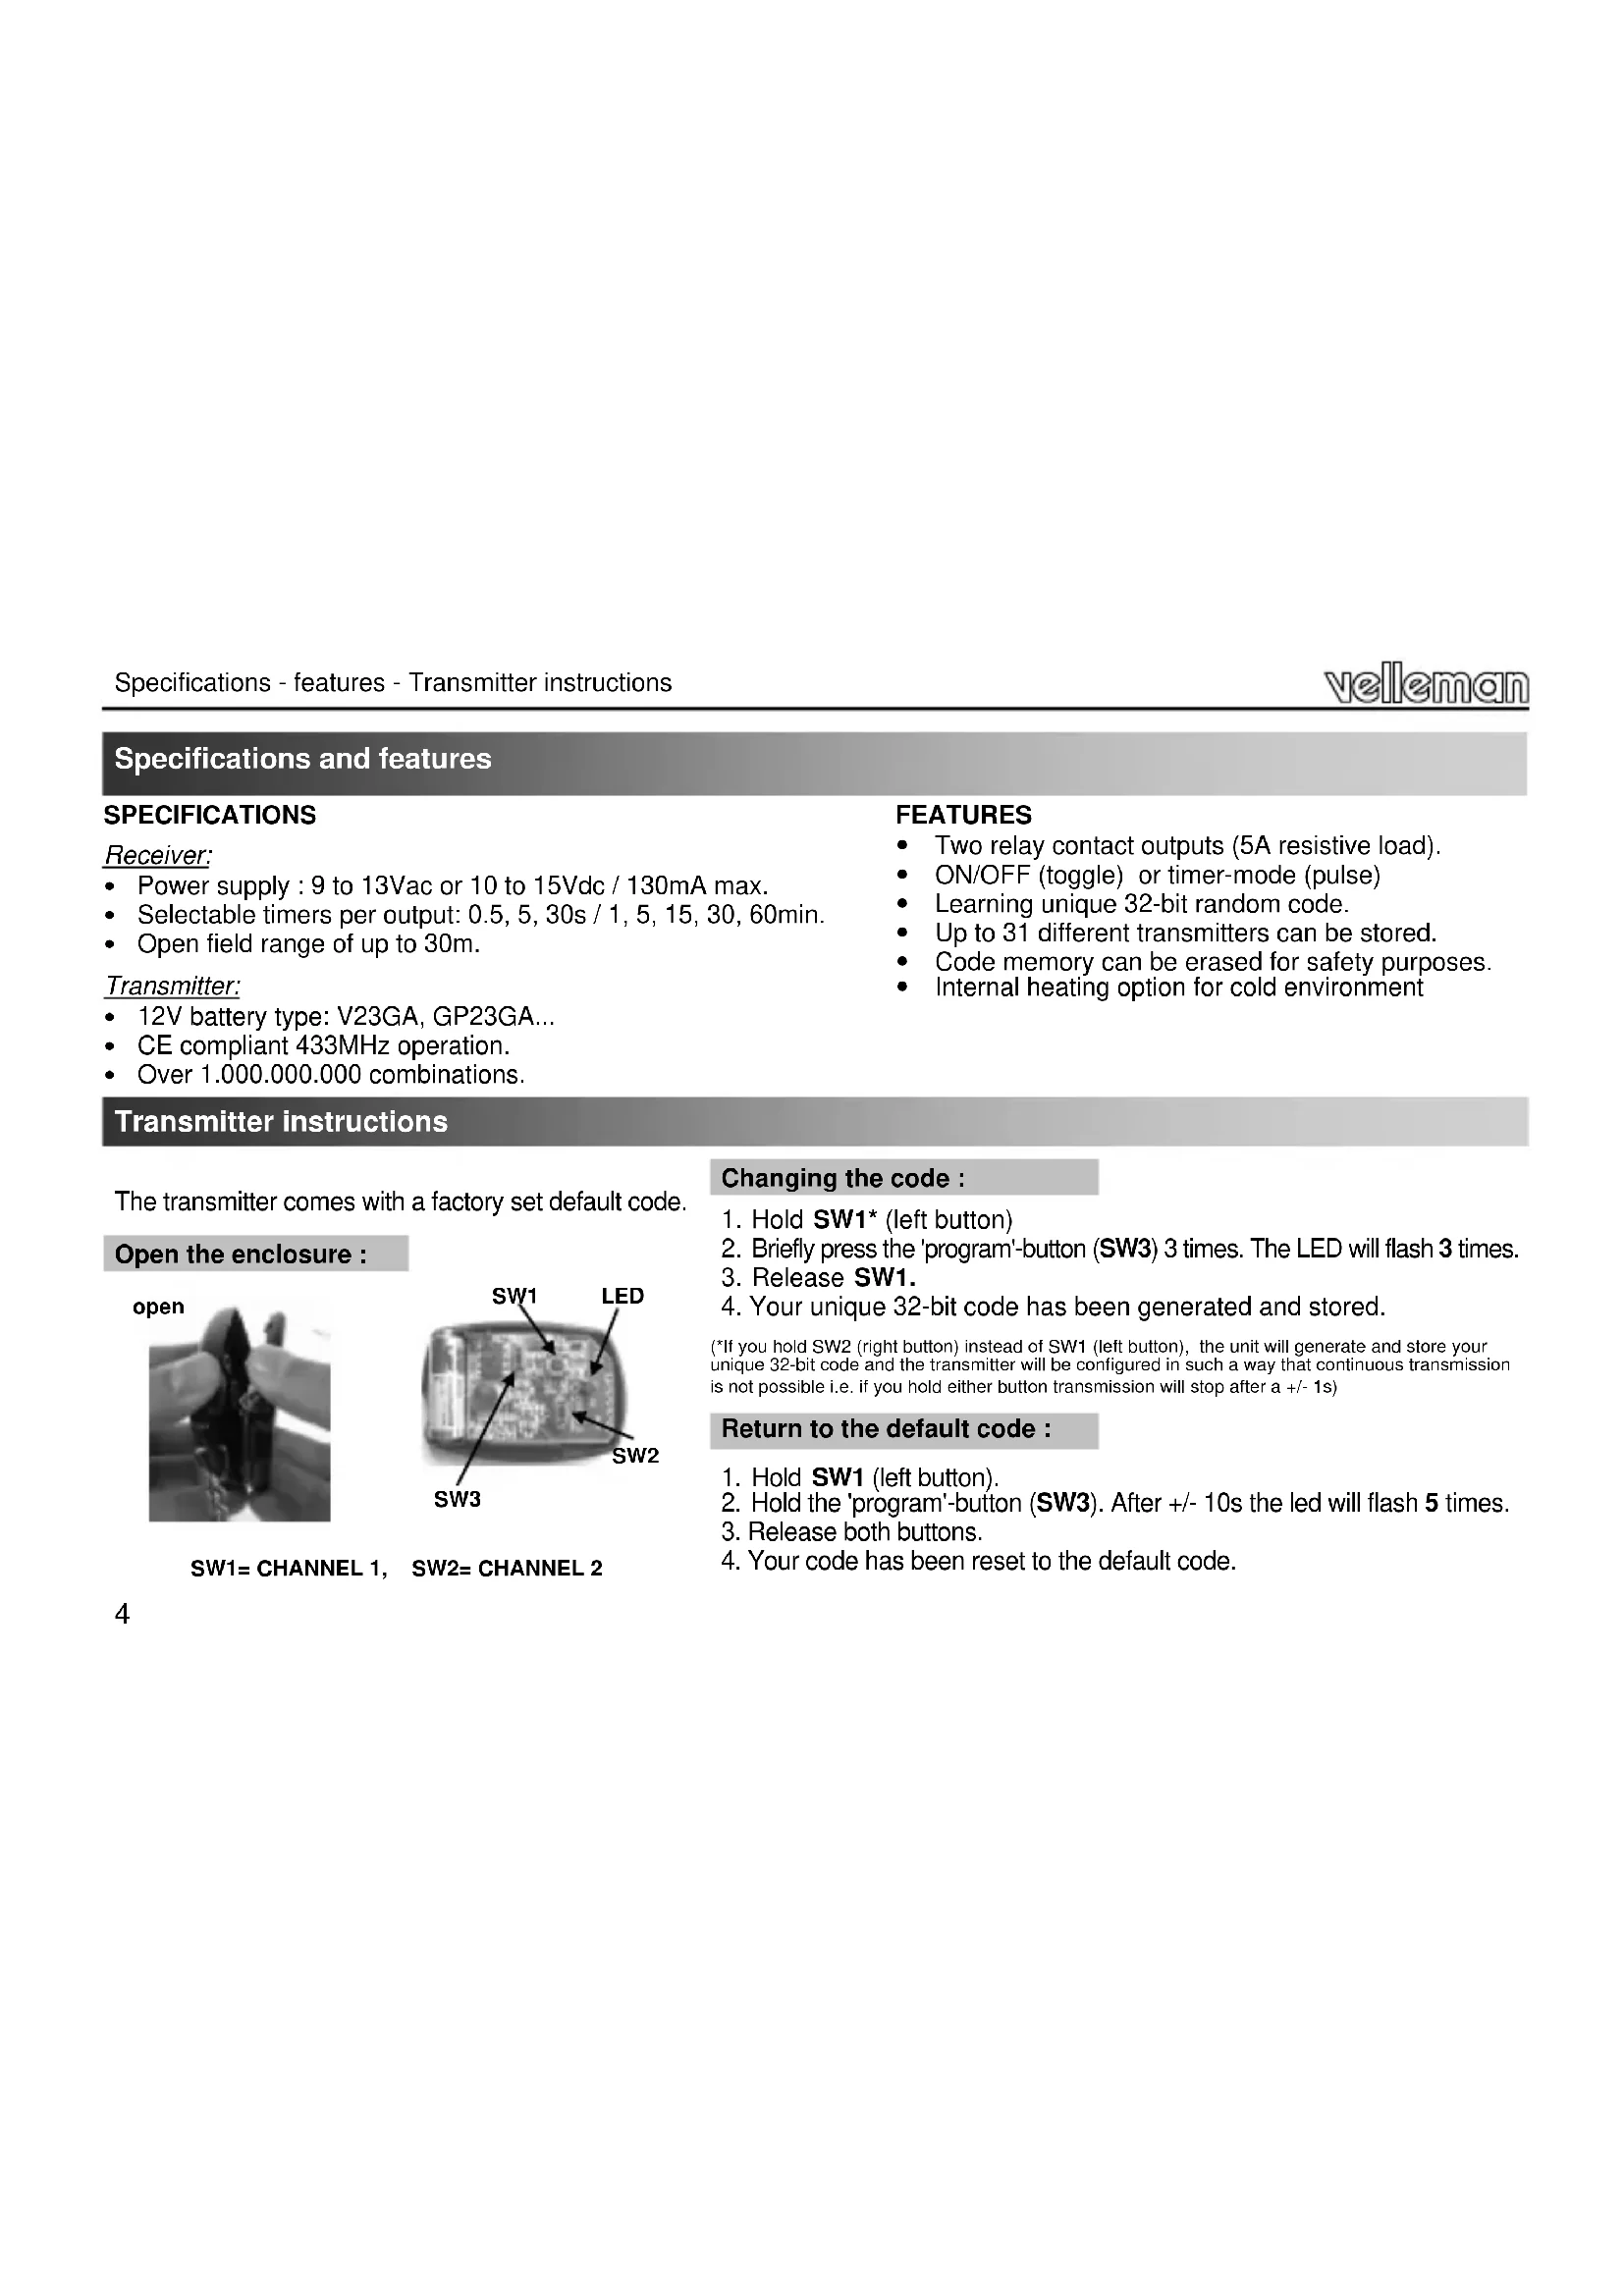
Specifications and features
SPECIFICATIONS
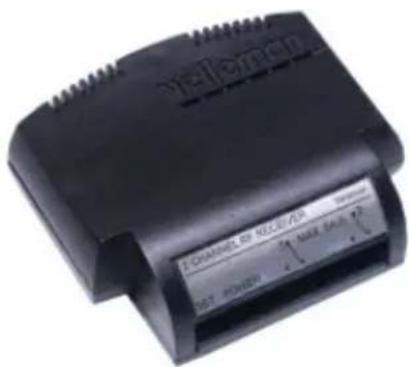
Receiver:
Power supply : 9 to 13Vac or 10 to 15Vdc / 130mA max.
- Selectable timers per output: 0.5, 5, 30s / 1, 5, 15, 30, 60min.
- Open field range of up to 30m .
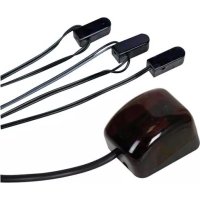
Transmitter:
12V battery type: V23GA, GP23GA...
- CE compliant 433MHz operation.
Over 1.000.000.000 combinations.
FEATURES
- Two relay contact outputs (5A resistive load).
ON/OFF (toggle) or timer-mode (pulse)
Learning unique 32-bit random code. - Up to 31 different transmitters can be stored.
Code memory can be erased for safety purposes.
Internal heating option for cold environment
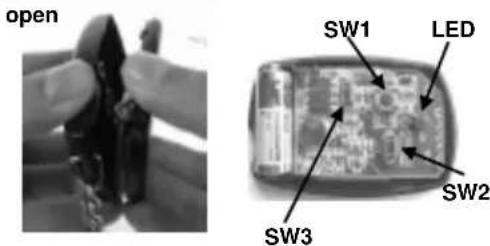
Transmitter instructions
The transmitter comes with a factory set default code.
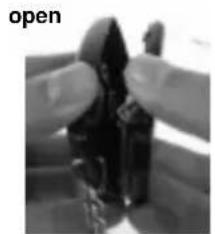
Open the enclosure :
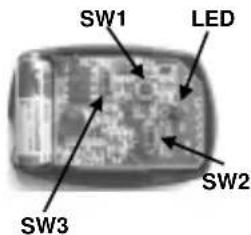
SW1= CHANNEL 1, SW2= CHANNEL 2
Changing the code :
1.Hold SW1* (left button)
2. Briefly press the 'program'-button (SW3) 3 times. The LED will flash 3 times.
3. Release SW1.
4. Your unique 32-bit code has been generated and stored.
(*If you hold SW2 (right button) instead of SW1 (left button), the unit will generate and store your unique 32-bit code and the transmitter will be configured in such a way that continuous transmission is not possible i.e. if you hold either button transmission will stop after a +/- 1s)
Return to the default code :
- Hold SW1 (left button).
- Hold the 'program'-button (SW3). After +/- 10s the led will flash 5 times.
- Release both buttons.
- Your code has been reset to the default code.
Receiver instructions
Each transmitter generates a code that must be "known" by a receiver in order to operate. Proceed to the next step to store one or more transmitters in the receiver memory.
To learn a remote
- Connect the power supply to the receiver unit (see page 2)
- Hold 'setup' button, 'MODE'-led (8) turns on after a few seconds.
- Press any remote control transmitter button.
- 'CONFIRM'-led (10) lights when the code has been grabbed.
- Release 'setup' button.
If neccesary repeat steps 2 to 5 to learn the codes for other transmitters.
31 transmitters can be stored. If memory is full, 'MODE' and 'CONFIRM' will flash simultaneously when 'setup' button is pressed (see also next page to erase the memory).
The relay outputs can be set to different modes, from a simple on/of contact to a short or long timer.
Configuration of channel 1 'CH1' and channel 2 'CH2':
(Factory defaults: CH1: 1h timer, CH2: 0.5s pulse)
- Connect the power supply to the receiver unit (see page 2)
- Push 'setup'-button repeatedly to select CH1 (left) or CH2 (right) output relay
- Confirm with a long push ('CONFIRM' flashes 3 times). The selected relay will remain ON
- Push 'setup'-button a number of times, depending on the desired mode (see table).
At each press, 'MODE' will flash a number of times, indicating the current mode
- Confirm with a long push ('CONFIRM' flashes 3 times). The selected channel will turn off and the unit is ready for use.
If necessary, repeat steps 2 to 5 for the remaining channel.
The unit returns to normal operation when left idle for 10s.
| flashes | Mode | |
| 1 | ON/OFF | |
| 2 | 0.5s | pulse |
| 3 | 5s | timer |
| 4 | 30s | timer |
| 5 | 1min | timer |
| 6 | 5min | timer |
| 7 | 15min | timer |
| 8 | 30min | timer |
| 9 | 1h | timer |
Use :
NOTE: Operate the transmitter during at least 2 seconds.
The left remote button controls CH1 relay, the right remote button controls CH2 relay. Each relay is equipped with a status LED. In '0.5s timer'-mode, a relay will remain on for as long as the remote button is held.
If a timer has been set for a particular channel, the relay will turn on when the button is pushed. When the preset time has elapsed, the relay will turn off. A timer can be turned off at any time by pressing the transmitter button again. As long as the timer is running, the corresponding led will flash.
In 'ON-OFF'-mode, the relay will toggle between ON and OFF every time a button is pushed.
IMPORTANT: To minimise the idle current, remove the heating jumper if the unit is used inside a car.
To remove all learned remotes from memory :
- Turn off the power (disconnect power supply)
- Hold 'setup' button
- Turn on power (connect power supply)
- 'MODE' and 'CONFIRM' start flashing
- Release 'setup' after the LED's turn off
This process takes about 10 seconds.
If the button is released before the LED's turn off, the memory will not be cleared.
The unit will now respond to the default code only. please also reset the transmitter to the default code.
WARRANTY
This product is guaranteed against defects in components and construction from the moment it is purchased and for a period of TWO YEAR starting from the date of sale. This guarantee is only valid if the unit is submitted together with the original purchase invoice. VELLEMAN components Ltd limits its responsibility to the reparation of defects or, as VELLEMAN components Ltd deems necessary, to the replacement or reparation of defective components. Costs and risks connected to the transport, removal or placement of the product, or any other costs directly or indirectly connected to the repair, will not be reimbursed by VELLEMAN components Ltd. VELLEMAN components Ltd will not be held responsible for any damages caused by the malfunctioning of a unit.
SW1=KANAL1, SW2=KANAL2
Den Codeändern:
Two channel RF remote control set

Belgium [Head office] Velleman N.V. +32(0)9 384 36 11
France Velleman Electronique +33(0)3 20 15 86 15
Netherlands Velleman N.V. +31(0)76 514 7563
USA Velleman Inc.
Spain Velleman N.V. +32(0)9 384 36 11
+1(817)284-7785
Designed in Europe, Printed in Taiwan
velleman. MODULES
Modifications and typographical errors reserved - © Velleman nv - HVM130G - 2013 - ED1_rev3


- Two channel RF remote control set
- Specifications and features
- SPECIFICATIONS
- FEATURES
- Transmitter instructions
- Changing the code :
- Return to the default code :
- Receiver instructions
- To learn a remote
- Configuration of channel 1 'CH1' and channel 2 'CH2':
- Use :
- NOTE: Operate the transmitter during at least 2 seconds.
- IMPORTANT: To minimise the idle current, remove the heating jumper if the unit is used inside a car.
- To remove all learned remotes from memory :
- WARRANTY
- Den Codeändern:
Brand : VELLEMAN
Model : VM130
Category : Remote control