
G010612R - Heating DELONGHI - Free user manual and instructions
Find the device manual for free G010612R DELONGHI in PDF.
| Product type | Oil-filled electric radiator |
| Brand | DeLonghi |
| Model | G010612R |
| Power levels | 3 levels (minimum, medium, maximum) + Instant Heating System (IHS) function for rapid heating |
| Thermostat | Adjustable with anti-freeze function (* position for approx. 5 °C) |
| Timer | 24-hour programmer (models with T button) |
| Safety device | Anti-tilt (on some models) |
| Power supply | 220-240 V~, 50/60 Hz (check rating plate) |
| Fill type | Oil (exact quantity, do not open) |
| Mobility | Castors and small feet supplied for easy movement |
| Assembly | Requires assembly of feet and castors before use |
| Recommended room surface | At least 4 m² |
| Maintenance | Dust with a soft dry cloth, use a vacuum cleaner for embedded dirt |
| Prohibited cleaning products | Abrasive powders and solvents |
| Location | Do not place below a fixed power socket |
| Power cord | Replace only by the manufacturer or a qualified professional |
| Prohibited use | Do not use to dry laundry, do not cover during operation |
| First use | Operate at max power for 2 hours while airing the room |
| Normal noise | Cracking sounds may occur during first use |
Frequently Asked Questions - G010612R DELONGHI
User questions about G010612R DELONGHI
0 question about this device. Answer the ones you know or ask your own.
Ask a new question about this device
Download the instructions for your Heating in PDF format for free! Find your manual G010612R - DELONGHI and take your electronic device back in hand. On this page are published all the documents necessary for the use of your device. G010612R by DELONGHI.
USER MANUAL G010612R DELONGHI
Instructions Electric oil filled radiator 7
Instant Heating System
The Rapido heater is an extremely versatile heating appliance with 3 selectable power levels. The Rapido also has one exclusive functions to ensure that the optimum comfort level is achieved in any given situation.
In order to use this heater to its maximum potential we advise you to carefully read the instructions given here.
1. GENERAL INSTRUCTIONS
Remove the appliance from its box and packaging and turn it over resting it on the protective polystyrene packaging. Check that the appliance is intact, complete with the power cable and that it hasn't suffered damage during transportation. Do not use the appliance if it is damaged.
2. ASSEMBLY OF THE BASE
Remove the castors, wheels and assemblies from the polystyrene packaging
Insert the castors into the pins of the feet and push them all the way in until a click can be heard (fig1) Make sure that they are in tightly by pulling the wheels gently. Attach the castor assembly into the base of the control panel by inserting the guiding ridges between the control panel and the first heating element; insert the two location lugs into their housings and lock the castor assembly to the product by inserting the eye screws, screwing them in tightly. (fig1) Fit the two rear wheels onto the rear wheel axle (fig 2). Check that the wheels can turn freely. Finally turn the heater over to its upright position, ensuring you do not damage the wheels.
3. ELECTRICAL CONNECTION
Before inserting the plug into the electrical socket, make sure that the voltage of the socket corresponds to the voltage requirement indicated on the appliance, and that the electrical socket and the mains supply to the socket is rated at 13amps. It is important to ensure that the socket is adequately earthed.
This appliance complies with EEC Directive 89/336 relating to electromagnetic compatibility.
ELECTRICAL CONNECTION (U.K. ONLY)
A) If your appliance comes fitted with a plug, it will incorporate a 13 Amp fuse. If it does not fit your socket, the plug should be cut off from the mains lead, and on appropriate plug fitted, as below. WARNING: Very carefully dispose of the cut off plug after removing the fuse: do not insert in a 13 Amp socket elsewhere in the house as this could cause a shock hazard. With alternative plugs not incorporating a fuse, the circuit must be protected by a 15 Amp fuse. If the plug is a moulded-on type, the fuse cover must be re-fitted when changing the fuse using a 13 Amp Asta approved fuse to BS 1362. In the event of losing the fuse cover, the plug must NOT be used until a replacement fuse cover can be obtained from your nearest electrical dealer. The colour of the correct replacement fuse cover is that as marked on the base of the plug.
B) If your appliance is not fitted with a plug, please follow the instructins provided below:
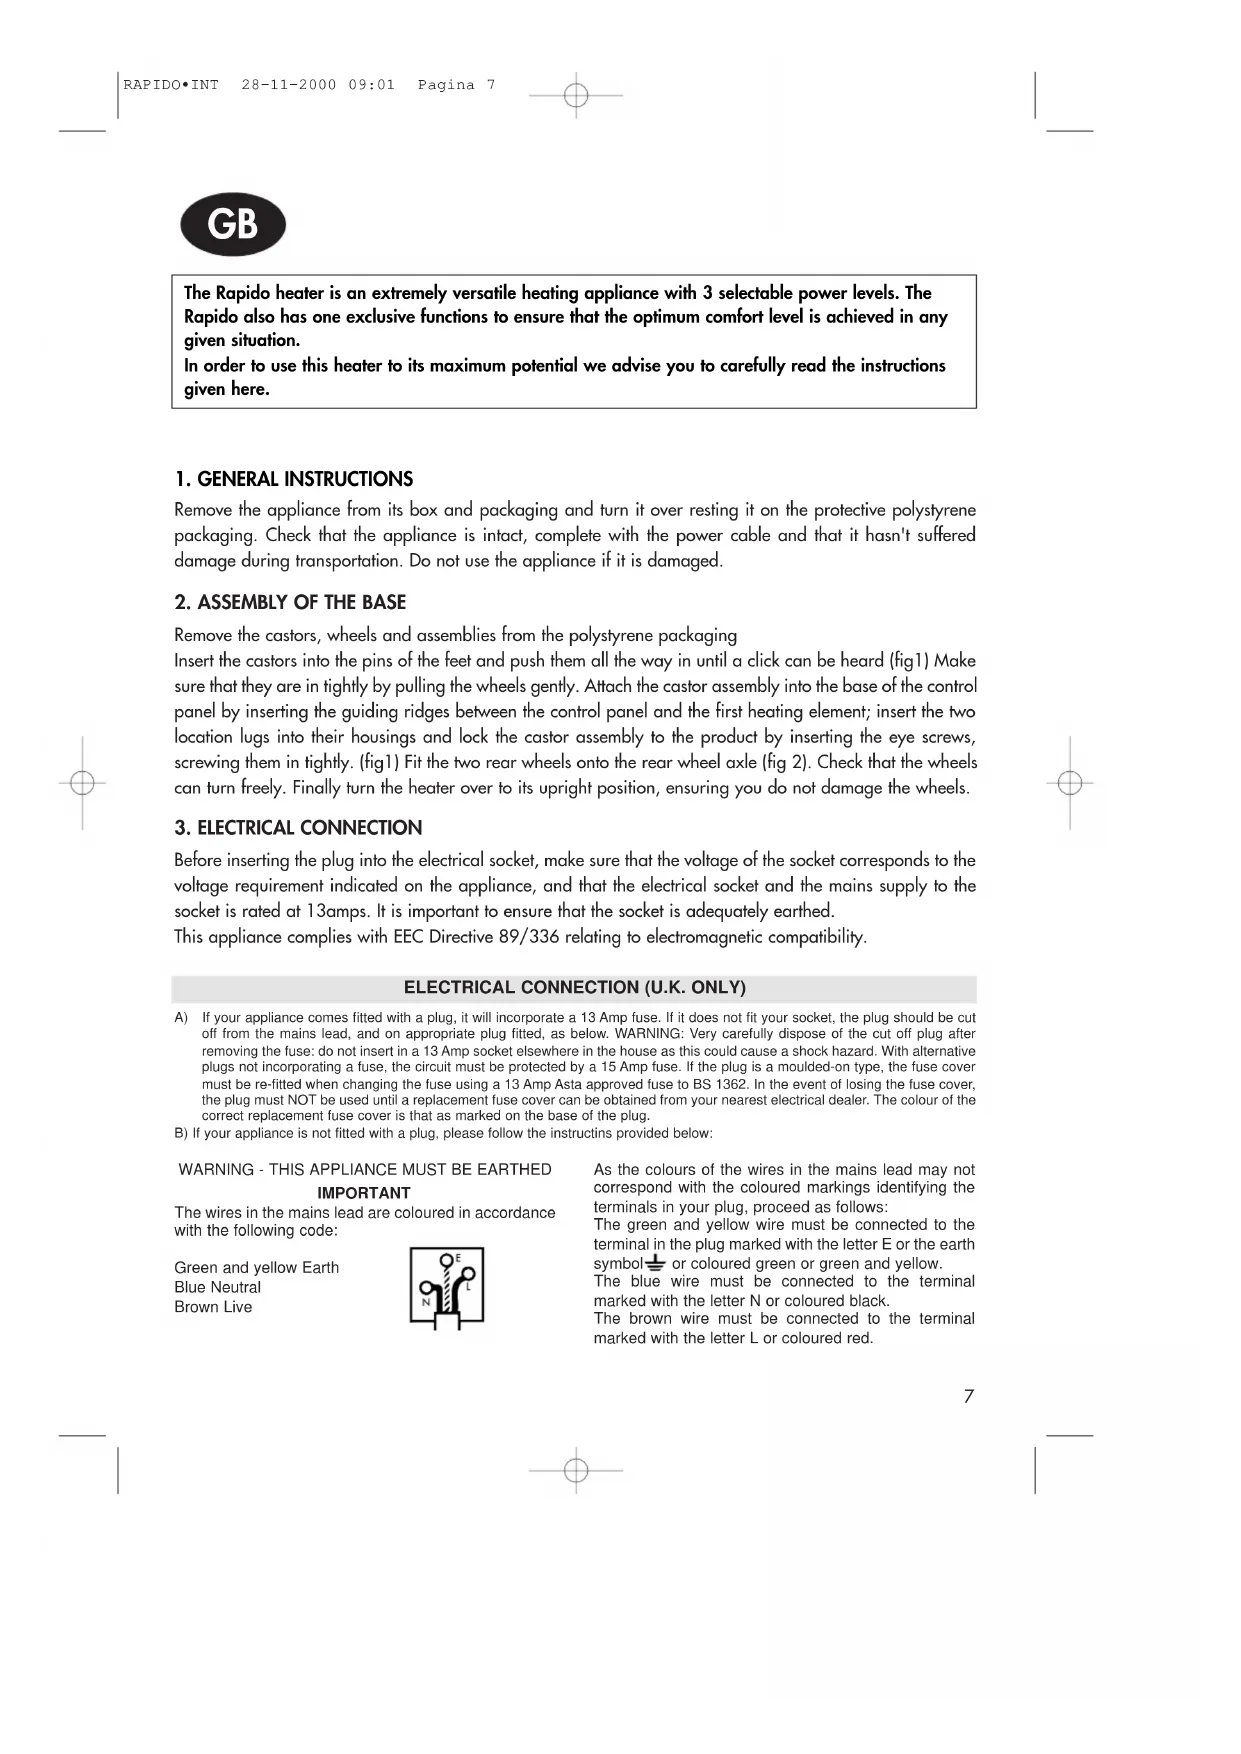
WARNING - THIS APPLIANCE MUST BE EARTHED
IMPORTANT
The wires in the mains lead are coloured in accordance with the following code:
Green and yellow Earth
Blue Neutral
Brown Live
As the colours of the wires in the mains lead may not correspond with the coloured markings identifying the terminals in your plug, proceed as follows:
The green and yellow wire must be connected to the terminal in the plug marked with the letter E or the earth symbol coloured green or green and yellow.
The blue wire must be connected to the terminal marked with the letter N or coloured black.
The brown wire must be connected to the terminal marked with the letter L or coloured red.
4. USING THE FUNCTIONS
INSTANT HEATING SYSTEM
By pressing the I H S button (fig 3) in conjunction with switches I and II, an exclusive heating function is activated which warms up your room rapidly and silently.
Turning the appliance on
Insert the plug into the electrical socket; turn the thermostat until it stops at the maximum position; turn on the heater using one or a combination of switches as indicated in the table.
Regulation of the thermostat "P" (fig3)
When the room has reached the desired temperature, turn the thermostat slowly in an anticlockwise direction until it arrives at the position where a click can be heard (or until the warning light turns off) and not beyond this point.
The temperature selected in this way will be automatically regulated and maintained.
Anti-frost Function
With the thermostat in the * position and the I and/or II switches are pressed, this ensures that the room temperature is maintained and does not fall below circa 5^ , whilst using minimum energy.
| Depressed Buttons Activated Functions Modes of Functioning | |
| Press the I button for normal heating at minimum power the Anti-Frost function. | In this mode, it is possible to activate |
| Press the II button for normal heating in this at medium power the Anti-Frost function. | mode, it is possible to activate |
| Press both the I and II buttons for normal heating at the maximum power available without the instant heat system | In this mode, it is possible to activate the Anti-Frost function. |
| Press the I, II and Instant Heating System in IHS buttons for Rapid heating at maximum power. | this mode, we do not suggest to activate the anti-frost function. |
Models with 24 hour timer (T - fig. 3)
To programme the timer;
- Check the time on your watch. If for example it is 10am, turn the number disc of the timer in a clockwise direction until the number 10 on the disc lines up with the arrow head marker.
The timer is normally supplied with all the teeth pushed into the centre allowing continuous operation. To set the periods of time you would like the appliance to be off continue as follows; - Each tooth corresponds to a period of 15 minutes of time. Push the teeth with your thumbnail to the outer rim of the timer. At this point, the sectors that correspond to the periods to be on and off will be visible.
- The heater will now function automatically everyday, switching on and off according to your selection. (Important; the plug must always be inserted into the electrical socket)
- To vary the programming times, simply return the teeth to their original position and set new periods of functioning.
- If you desire to operate the heater without programming it, push all the teeth toward the centre (i.e. in the mode as normally supplied)
- To completely turn off the heater turn of all the switches and remove the plug from the socket.
Models with "Tilt-switch"
- Some models are fitted with a tilt-switch which turns the appliance off if it should fall over. To restart the appliance, simply place it upright again.
(Check on the rating plate if "...ex:1" is written after the type to verify if your appliance is provided with the tilt-switch)
5. MAINTENANCE
Before carrying out any maintenance, remove the plug from the electrical socket and wait until the heater has cooled down. The heater does not require special maintenance. Simply dust it off with a soft, dry cloth. Never use abrasive powders or solvents. If necessary, remove concentrated areas of dirt with a vacuum cleaner.
6. WARNINGS
- Do not use the heater in a bathroom or in the vicinity of bathtubs, washbasins, showers or swimming pools.
- Never use the heater to dry laundry.
- Never place the power cable on top of the heater while it is hot.
- Only use the heater in an upright position.
- The heater must be positioned at least 50cm from furniture or other objects.
- If the power cable is damaged, it must be replaced by the manufacturer or an authorised technical service centre.
- On using the appliance for the first time, turn it on to the maximum power setting for at least 2 hours. This is to eliminate the 'new odour' which is released by the appliance. During this time ensure that the room is well ventilated.
It is normal for the heater to make crackling' noises during the first time it is switched on (or in the case of infrequent use) - The heater must not be placed immediately under a fixed electrical outlet.
- The body of the heater is filled with an exact quantity of oil. If reparations may be necessary which call for the opening of the heater, they must be done only by the manufacturer or by an authorised service centre. In the unlikely event of oil leakage, contact the manufacturer or by an authorised service centre.
- Do not use this appliance in rooms which have an area smaller than 4m^2
- The appliance must never be placed immediately under a fixed mains socket.
- When scrapping the appliance, respect legislation on the disposal of oil.
- IMPORTANT: Never for any reason cover the appliance during operation as this could lead to dangerous overheating.
- The use of an extension lead is not recommended, as overheating of the extension lead may occur during the operation of the heater.
F
Instant Heating System
Instant Heating System
Instant Heating System
Regulating van de thermostat "P"
Instant Heating System
Instant Heating System
Instant Heating System
To npoiov auto diaeTei Tny Eikn Aetoupyia Taxeic Epuavoc "Instant Heating System".
H I toupyia "Instant Heating System" evpyonoié evav eioTo eepauTnpa nou eipeneu Tn eepavon tou domegaiou ynyopa kai aOpua.
Instant Heating System
Regulating of termostaten "P"
Instant Heating System
Instant Heating System
Instant Heating System
Instant Heating System
"bjb ghvnj xyfmoTy jxjmq aeyrwtq msxbhuj jbjgktv< "Instant Heating System". Aeyrw< "Instant Heating System" frbvdvnetb arxrkupvdsq lgjkyvbtknysq yfuhtdfbtkn, rjbhsq jntxtzvdftb mtxiecyj v mxsohjt jbjgktyvt Dfituj gctoty<.
Aeyrw< drkuzftbx< x gjcjonu xgtwfknyj rkfdiv IHS, gjrpfyjyq yf hxesr 3.
Drkuztyvt
Dxbfbn dkrd hjptbre, ghtctxobn bthcjfo 1lj xbofyjdrv d cfrxcvfknyjc gjkjotyv; drkuzbn hflvfbjh x gjcjonu dsrkuzfbktq xjukfxyj ghvtltyysc d binkwt htovcfc.
Htuekhjdrf bthcjofof P
Rjulf btogthfbeh f 1jxovytb otkfcjg, c1ktyyj gjothyebn herjbre bthcjxofb f ? (nwx. 1) gnjovd zfxjdq xhtkrv 1j gjkjotv< jcbtzyyju otkzrcjc (1j dsrkuztvy< vylvrfbjhyjq kfgjzrv) v yt mktt. Pfavrxvhjdfyyf< bfrvc jmhfjc btogthbehf meltb fdbcfovztxrv hteukvhjdfbrnx< v gllthovdfbrnx< gjxob<yyjq bthcjxofbjc.
GHJBVDJJMJKTLTYVBTKNYF> AEYRWV> (anti-frost)
X bthcjxbfjoc d gjkjotyy * v yfofbscv dsrkuzfbotkcv | v |, gvnjn gjjlthovdtb btcgthfbehd gjctotyy jrjkj 5^ , ghtg<0xode< pfcjhfofvyu, gn cvyvcfnkyjc hfxjlt aythuv.
| Yföfbst Drkùz rjgiv | tyyf< aeyrwv< Htòvcs hfmjbs | |
| Yföfbn rjgrevl k< Yjhcfknyjuj jbjgktvy< cvyvcfnkyjq cjoyjxbv aeyrwvù anti-frost. | D abjc htòvct cjayj drkūzvn anti-frost. | |
| Yföfbn rjgrevl lk< Yjhcfknyjuj jbjgktvy< xhtlytq cjoyjxbv. aeyrwvù | D abjc htòvct cjayj drkūzvn anti-frost. | |
| Yföfbn rjgrevl v lk< Yjhcfknyjuj jbjgktvy< cfrxvcfnkyjq cjoyjxbv. aeyrwvù anti-frost. | D abjc htòvct cjayj drkūzvn anti-frost. | |
| Yföfbn rjgrevl l, lv Istant Heating System IHS lk< msxbhjuj jbjgktvy< cfrxvcfnkyjq cjoyjxbv. | D abjc htòvct yt htrjctyletbx< drkūzfnn aeyrwvù anti-frost. |
Cjltkv x ghujnhfvcveuovc exbhjgxbjc (bfqcthjc) yf 24 zxf T
Lk<ghujhfcvhjdfyv< jbjgktvy< ltqdpjdifbn xktleuovc jnhfpjc:
Gjxcjbnbt xrjknrdhtctyvf Dfivzfxfe. Ghtlgjkjovc, zbj 10 zfxjd, gjdhfnzvdqptg jzxjdtj xhtkrt yechtdyysq lvxr ghujhfccvheutuj exbhjdpdbf T1j bte gjh, gjrf wahf 10 yt xjgltbx xj pyfrjc s, joctztysc yf ghujhfccvheutc exbhjdpdbt.
Pflfn gthvjl shtctyvd btztyvrjbohse otkftbt, zbjms gnm jyfejlvko< d hfmjbt, ghtlduvf< d wtybn perws. Rfolsq pentw xjjbdtbxodetb johtpre dhtctyv hfdyjce 15 cvy. Gjkt ztuj xbfyeb dvlys johtprv, xjjbdtbxodeuovt zfixc hnjbs gnmnhf.
Bfrvc jnhfpjc pfghjuhfcvhjdfyss hflvfbjh meltb fobjcfovtxrv hfmjbfon rfoIsq ltyn d pflfyyst zfxs (Dfoyj: dvkrf dxtul ljkoyf mebn dbofdktyf d hjpthe).
- Ik<vpctyty<ghjuhfcvhjdfy<1jxbfbjzyjghvdxovpenwsd yfzfkyjgjkjotyvt v pflbn yjdst zfxs hfmjbs.
- Txkv Ds ejbvt, zbjms ghmjh hfnjbfk mtp ghjuhfcvhjdfyv<, ghtdtlvbt d wtybh dxt penws. D bfrjc xkezt, lk< gjkyyuj dorskuztyv< ghvmhf ytjnnejlvcj yt bjkrnjr dorskuzvion dorskuzflktkv, yj v dsybn dvkre vp hjptbrv d wtk< evpntofyv< mtxgjktpyjq hfmjbs ghjuhfcvnheuotuj exihjqdoff.
Cjltkv x exbhjqxbjc gjnjbvd jghjrvsdfyvK
Ytrjbjhst cjltkv xyfnotys darkuzfbktc ghjbvd jghjrvsdfy<, rjbhsq gthrnfobtb gbfyvt d xkezft gflty<. Ik< djpmjmdktyh fhmjbs lxxbfbjzyj pfjydj gxbfvon gnvmj yf yjovd dthovfrkyntg gjkjotyvt. (Ik< bjuj, zbjms hxfgjpyfon xyfnoty kv Dfi gnvmj bfrvc exohjpdjc, gxcjhbvt vcttbx< kv yflgvox "ex: 1" gjxt "type" yf bfnkvzt x efhfrbthxovrfcv.)
5. EéJL
Ghtl ghdtlyvtc klmq jgthfwv gj eijle dsybn dvkre vp hjptbrv v gjljolfbn gjrf hflvfbjh jekflbx<. ktrnhvztxrvq cfxkysq hflvbojh yt bhtmetb jxjnju eejlf. Ljxbfozyj elfkcn x ytuj gskn xeejq v curjghgjzrqjq. Yd rjtc xkezft yt gjknpjdfonx finhfpwdyscv gjhjrfov kvhxfxdjwnbtkcv.
GhyytjmejIvcjxbvelfkbndjpcjoystxrjgktvygskv,gnkpexxnqktjxjc.
6. GHTLEGHTCLTYV>
- Yt gjknpjdfbnx< hflvfbjhjc d ytgjxhtxbdtyyjq mkvpjxbv jb dfyy, leitq, hfrjdyv vk mfoxtqyjd.
- Yt gjknpjdfbnx< hflvfbjhjc lk< xeirv mtkn<. Yt ghwxkjy<bn xjtlvyvtknysq ghjdjl r ujh<zvc aktctyofc.
Gjknpjdflnx< hflvfbjnjc dxtulv vvrkuzvbtknyj d dthbvrfknyjc gjkjotyyv.
-Txkv gjdtolty ghnajl gvbfv<,d wtk< e ghtleghtoltyv< jgfxjxov jy ljkoty msn pfctyty Vpujbdvbtktc,tuj bteyvztxrq xthdvxyjq xkeanjq vk, dj dx<rcjxckezft, kwjc x fykjuvyjrqdfkvavfwtq.
Gv gthdjc drkutzyw jxbfovn ghmjh d hfmjbt ghcfrxvcfnnyjq cjoyjxov rfr cvyoec yf ldf zxfj. Dj dhtc< abjq gthfwv ejhjjghjdtbhwflbn gjctotyvt lk< elfktyv< dsltk<tcjuhflvfbjhjc pfgfef "yjduj". - ^品 xjdtthityyj yhcfknyj, zjb ghmjh vplftb "xrhvg" ghv gthdjc drkuztyvv.
-Ghmjhtjk0yexbyfkdovflonx<ytgjxhtlxbdtyyj gjl avrxvhjdfyeu hjptbre.
Mfr lfyjujghmnhf yfgktyb jzysrc rjkvxtbdjc cfxkf v htcjyb, bhtmeuovq tuj dxhrob, 1jkoty ghvpdjlbvnx< bjknjr Vpujbdvotktc vku tuj Xthdvxyjq Xkeomq. D xkezft ebtzrv cfxkf ytjnejlvcj xk< pfbnx< x Vpujbdvotktc vkx u tuj Xthdvxyjq Xkeomq.
Gnv jbghfdr gvmjhf d ctbfkjkjc ytjnjlvcj ghvlthovdfbnx< gjkjotyqg j ebkvfpww cfxfk. - Yt ghvskjy<bn gjhdlr to\ujh<ztce ghvmjhe.
- Yt gjknpjdfbnx<lfyysc gnvmjhjc d gjtotyv<ex gkjoflnu ctytt 4c2.
- DFcYJ: Yv drjtc xkezft yt yfrhsdflbn gvmnh dj dhtc< hfmjbs, gjxrjknre abj dspdfkj ms jgfxysq ghttuhtd.