
New Classics Coffeemaker 242197 - Coffee machine PRINCESS - Free user manual and instructions
Find the device manual for free New Classics Coffeemaker 242197 PRINCESS in PDF.
| Product type | Drip coffee maker |
| Brand | Princess |
| Model | New Classics Coffeemaker 242197 |
| Capacity (glass carafe) | 15 cups |
| Capacity (thermal carafe) | 12 cups |
| Main material | Chrome-plated steel |
| Power supply | 220-240 V ~ 50/60 Hz |
| Power | Approx. 1000 W |
| Dimensions (approx.) | 30 x 20 x 35 cm |
| Weight (approx.) | 2.5 kg |
| Main functions | Anti-drip system, hot plate, water level indicator, automatic hot plate shut-off with thermal carafe |
| Type of carafe included | Glass and/or thermal depending on version (item no. 2126, 2183, 2197) |
| Maintenance | Clean removable parts with warm soapy water, descale regularly |
| Safety | Manual shut-off with switch, do not immerse, do not cover |
| Spare parts / repairability | Replacement carafe available, repair by qualified technician |
| Included accessories | Microfiber cloth, filter (depending on version) |
Frequently Asked Questions - New Classics Coffeemaker 242197 PRINCESS
User questions about New Classics Coffeemaker 242197 PRINCESS
0 question about this device. Answer the ones you know or ask your own.
Ask a new question about this device
Download the instructions for your Coffee machine in PDF format for free! Find your manual New Classics Coffeemaker 242197 - PRINCESS and take your electronic device back in hand. On this page are published all the documents necessary for the use of your device. New Classics Coffeemaker 242197 by PRINCESS.
USER MANUAL New Classics Coffeemaker 242197 PRINCESS
New Classics Coffeemaker Article 2126/2183/2197
- Gebruksaanwijzing - User's instructions - Mode d'emploi
- Bediunungsanleitung - Instruccione de uso - Istruzioni per l'uso
- Bruksansvisning - Brugsansvisning - Bruksansvisning
- Käytöohje - Instruções de uso - Pissuallj
Nederlands 1
English 5
Francais 9
Deutsch 13
Espanol 17
Italiano 21
Svenska 25
Dansk 29
Norsk 33
Suomi 37
Portugués 41
45

Art. Nr. 2126
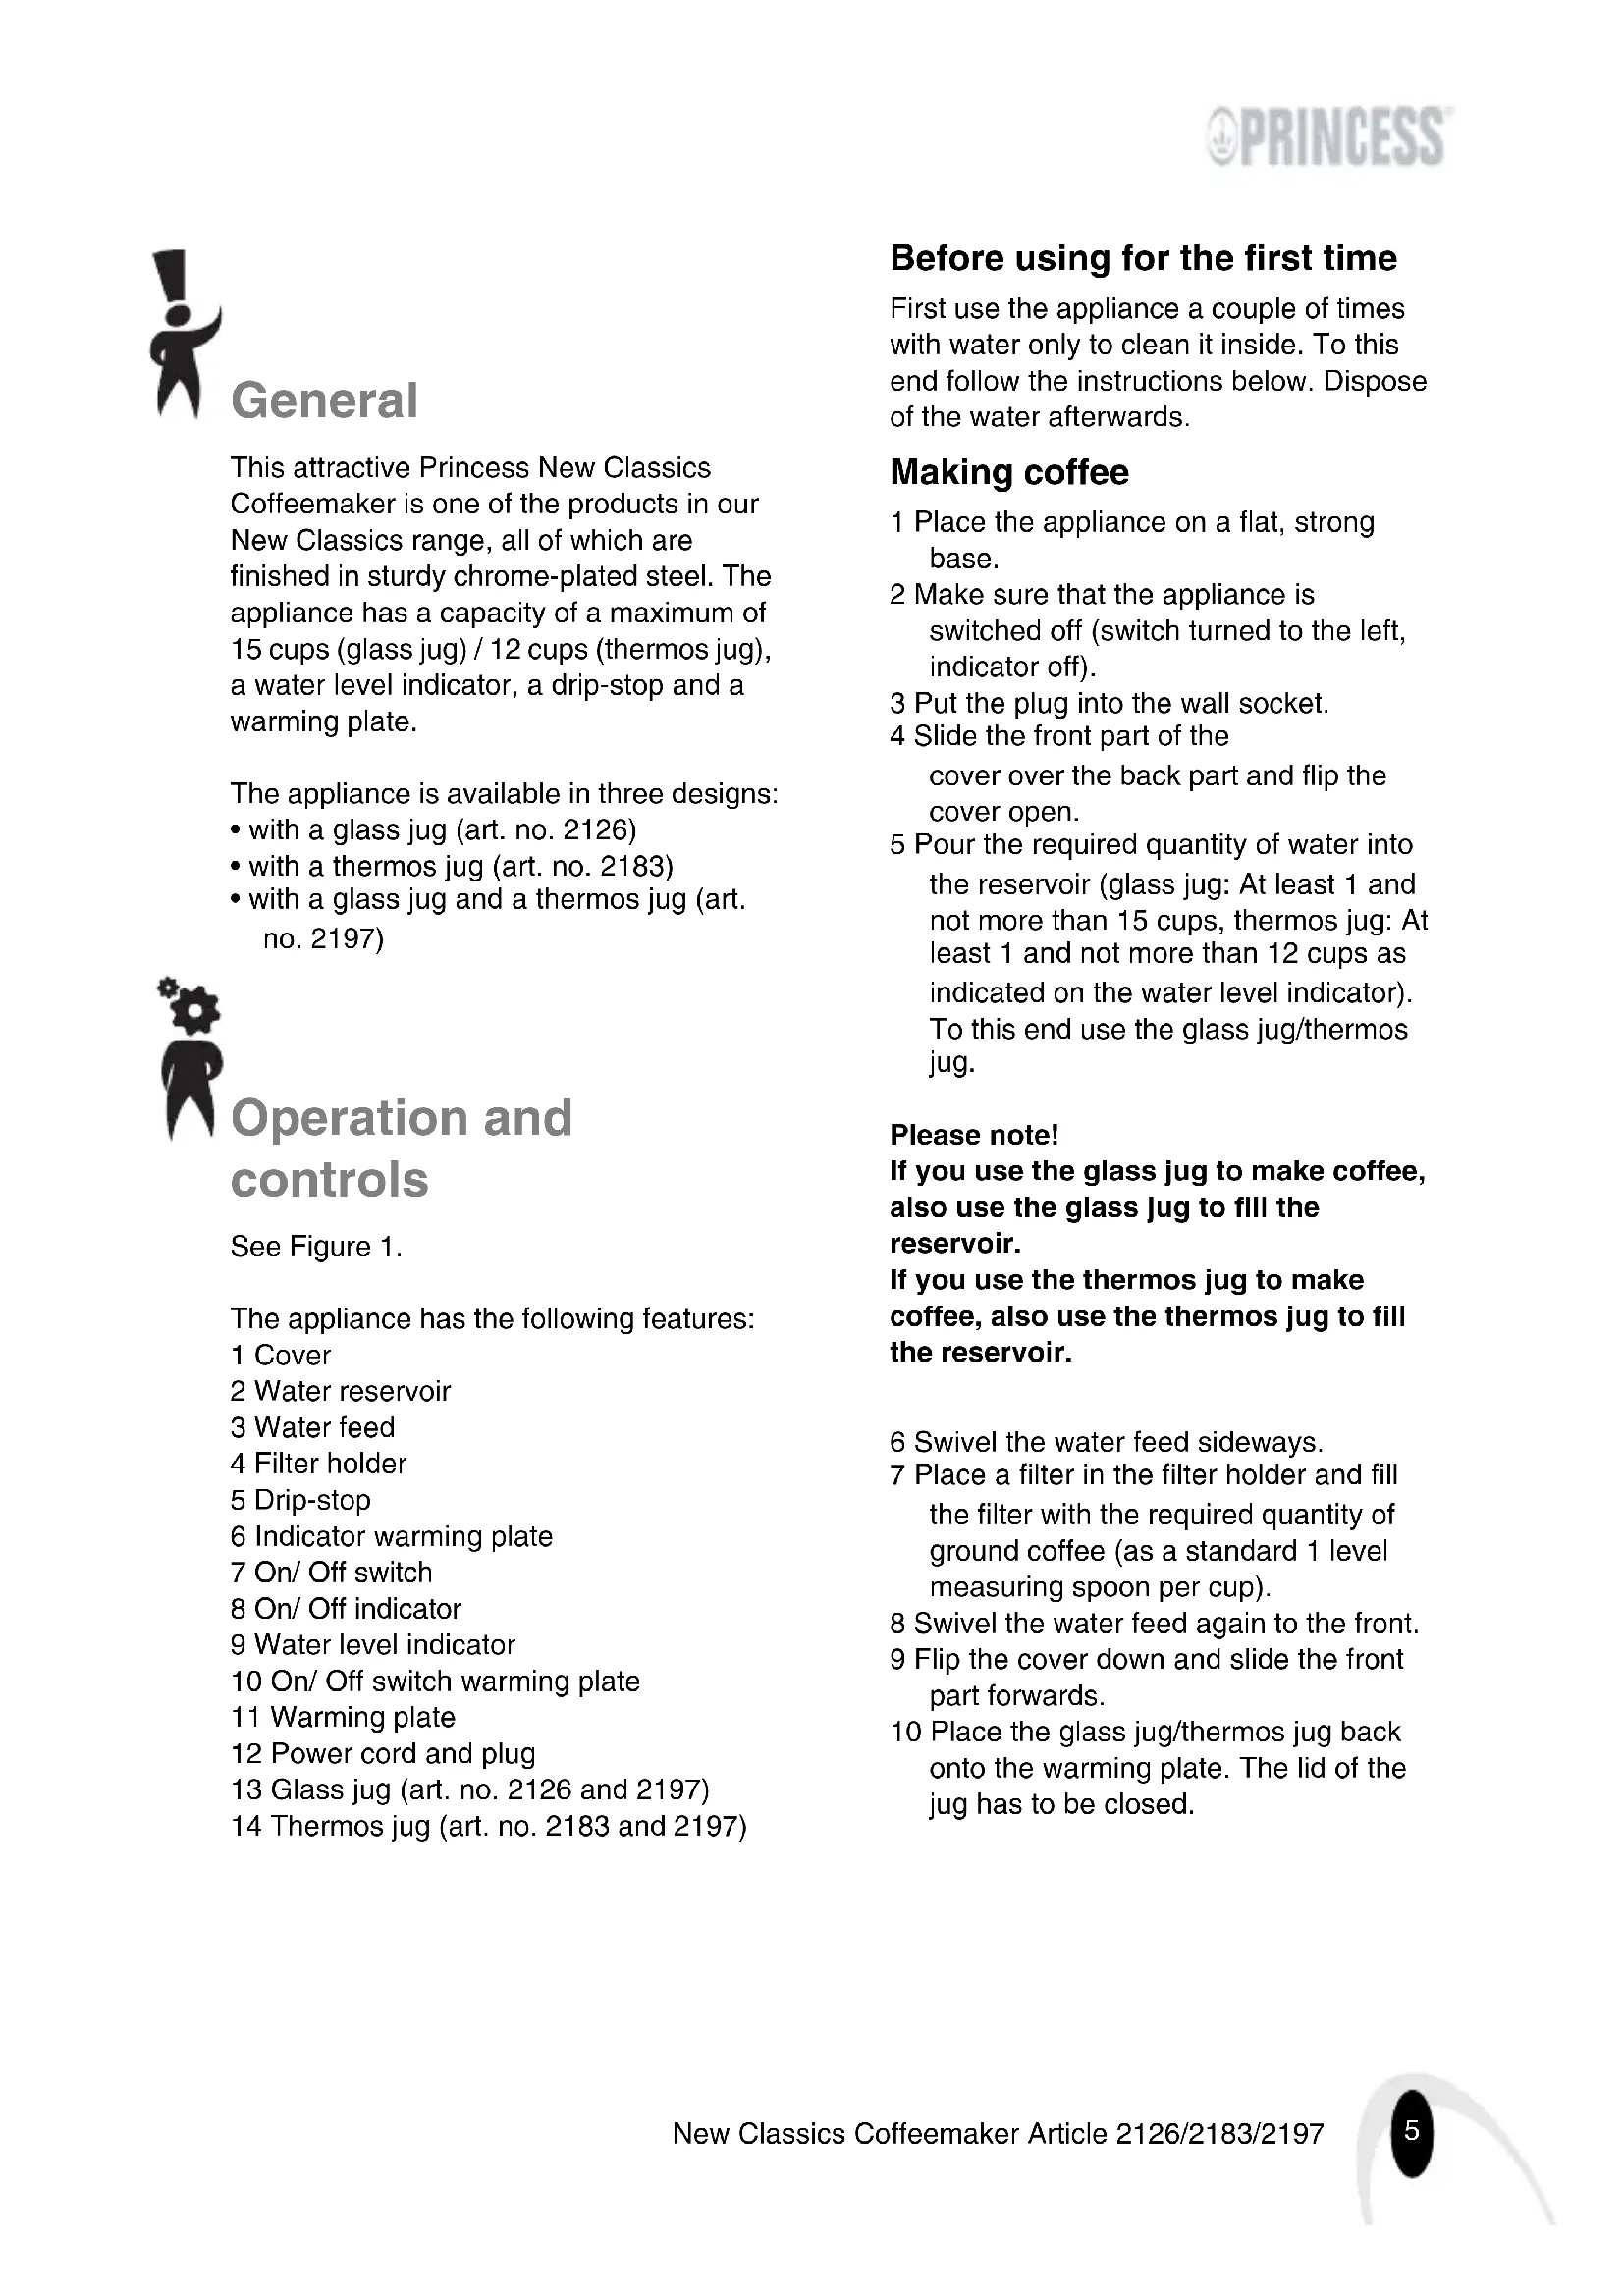
This attractive Princess New Classics Coffeemaker is one of the products in our New Classics range, all of which are finished in sturdy chrome-plated steel. The appliance has a capacity of a maximum of 15 cups (glass jug) / 12 cups (thermos jug), a water level indicator, a drip-stop and a warming plate.
The appliance is available in three designs:
with a glass jug (art. no. 2126)
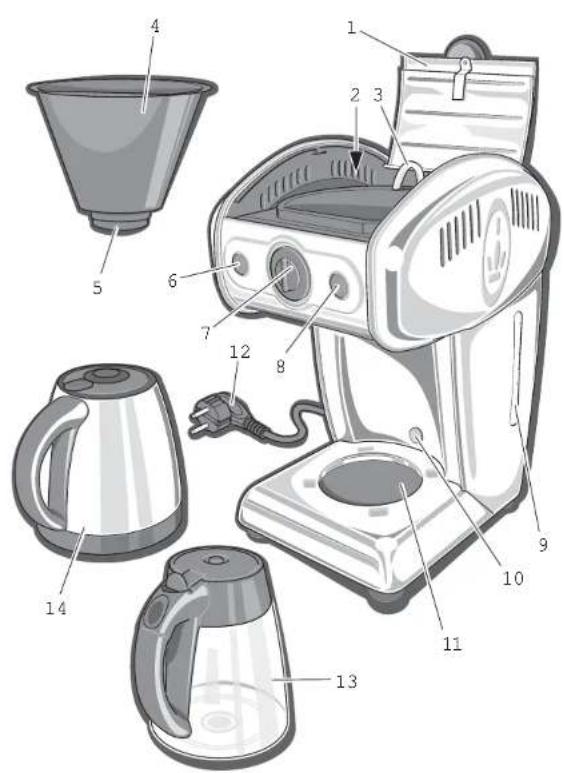
with a thermos jug (art. no. 2183)
with a glass jug and a thermos jug (art. no. 2197)

Operation and controls
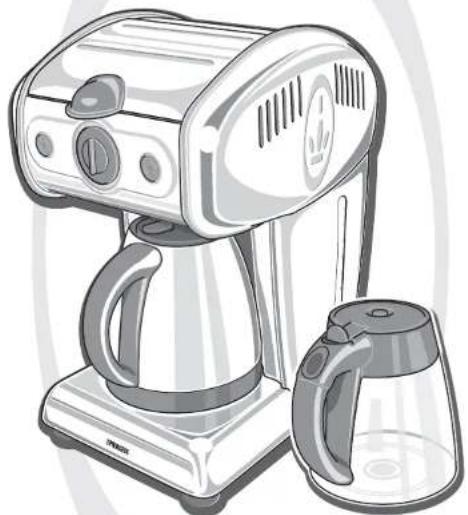
See Figure 1.
The appliance has the following features:
1 Cover
2 Water reservoir
3 Water feed
4 Filter holder
5 Drip-stop
6 Indicator warming plate
7 On/ Off switch
8 On/ Off indicator
9 Water level indicator
10 On/ Off switch warming plate
11 Warming plate
12 Power cord and plug
13 Glass jug (art. no. 2126 and 2197)
14 Thermos jug (art. no. 2183 and 2197)
Before using for the first time
First use the appliance a couple of times with water only to clean it inside. To this end follow the instructions below. Dispose of the water afterwards.
Making coffee
1 Place the appliance on a flat, strong base.
2 Make sure that the appliance is switched off (switch turned to the left, indicator off).
3 Put the plug into the wall socket.
4 Slide the front part of the cover over the back part and flip the cover open.
5 Pour the required quantity of water into the reservoir (glass jug: At least 1 and not more than 15 cups, thermos jug: At least 1 and not more than 12 cups as indicated on the water level indicator). To this end use the glass jug/thermos jug.
Please note!
If you use the glass jug to make coffee, also use the glass jug to fill the reservoir.
If you use the thermos jug to make coffee, also use the thermos jug to fill the reservoir.
6 Swivel the water feed sideways.
7 Place a filter in the filter holder and fill the filter with the required quantity of ground coffee (as a standard 1 level measuring spoon per cup).
8 Swivel the water feed again to the front.
9 Flip the cover down and slide the front part forwards.
10 Place the glass jug/thermos jug back onto the warming plate. The lid of the jug has to be closed.
Please note!
Thermos jug: place the feet on the bottom of the jug into the recesses on the plate.
Glass jug: place the jug firmly on the warming plate.
11 Switch the appliance on (turn the switch to the right). The On/Off indicator and the indicator for the warming plate will light up. The coffee is being made. The warming plate will keep the coffee on temperature.
Note:
When using the thermos jug, the warming plate will be switched off as soon as the coffee is made. The warming plate indicator will go out.
12 Remove the glass jug/thermos jug from the warming plate to pour a cup of coffee. The appliance has a drip-stop. So it is not necessary to wait for the coffee to percolate fully through before you remove the jug from the warming plate.
13 After use switch the appliance off (turn the switch to the left) and remove the plug from the wall socket.
Maintenance and cleaning
- Never move the appliance whilst it is switched on or is still hot. Switch off the appliance, and wait until it has cooled down before you move it.
- Make sure that no damp gets into the appliance except for the dedicated water reservoir.
- Never immerse the appliance in water, or in other liquids. If this happens do
not use the appliance again; for safety reasons, dispose of the appliance.
- Never use corrosive or scouring cleaning agents.
1 Make sure that the appliance is switched off (On/Off switch turned to the left; indicator off).
2 Remove the plug from the wall socket, and allow the appliance to cool down completely.
3 Remove the filter holder from the appliance and throw the filter with the coffee grounds away. Clean the filter holder with warm soapy water.
4 Throw away any coffee left in the glass jug/thermos jug. Clean the inside of the jug with warm soapy water.
5 Clean the exterior of the juicer with the special microfibre cloth supplied with the appliance. Do not moisten the cloth.
Dscaling
Scale can result in a decrease in the performance of the appliance. Scale often occurs in areas with hard water. We advise you to use a suitable descending agent when scale occurs. Always follow the instructions on the descending agent. Less scale will form if you use a water purification appliance.
Complaints or problems as a result of furring or scale are not covered by the warranty.

Safety
General
- Please read these instructions carefully and retain them for reference.
- Use this appliance only in accordance with the instructions.
- This appliance is intended solely for domestic use.
- Keep the appliance out of the reach of children, and of persons who may not be able to operate it safely.
- Have the appliance repaired only by a qualified electrician. Never try to repair the appliance yourself.
- Only use accessories recommended by the supplier. Using other accessories could cause damage to the appliance which might be dangerous for the user.
Electricity and heat
- Make sure that the mains voltage is the same as that indicated on the type plate on the appliance before use.
- Plug the appliance into an earthed wall socket.
- Always remove the plug from the socket when the appliance is not in use.
- Always remove the plug from the wall socket by pulling the plug, not the power cord.
- Never pull on the power cable to move the appliance or to remove the plug from the wall socket.
- Check the appliance's power cord regularly to make sure it is not damaged. Do not use the appliance if the power cord is damaged. Have a
damaged power cord replaced by a qualified electrician.
- Make sure that the appliance and the power cord do not come in contact with sources of heat, such as a hot hob or naked flame.
- Make sure that the power cord and plug do not come in contact with water.
- The appliance needs space to allow heat to escape, thereby preventing the risk of fire. Make sure that the appliance has sufficient space around it, and does not come into contact with flammable material. The appliance must not be covered.
During use
- Never use the appliance outdoors.
- Place the appliance on a stable and flat surface where it cannot fall over.
- Do not let the cord hang over the edge of the draining board, worktop or table.
- Make sure that your hands are dry before touching the appliance, power cord or plug.
- Never use the appliance in a humid room.
- Switch off the appliance and remove the plug from the wall socket in the event of a malfunction during use, and before cleaning the appliance, fitting or removing an accessory, or storing the appliance after use.
- Make sure that the appliance is out of the reach of children.
-
Do not use the appliance near another heat source. Make sure that the warm parts of the appliance will not come into contact with highly flammable substances such as a towel.
-
Certain parts of the appliance can get hot. Do not touch the hot parts of the appliance in order to avoid being scalded. Only hold the glass jug/ thermos jug by the handle.
- Only switch on the appliance after you have filled the water reservoir with water. Only use cold water.
- Never fill above the maximum water level indicator.
- Never immerse the appliance, the cord or the plug in water or any other fluid.
- Do not pick up the appliance if it falls into water. Remove the plug from the wall socket immediately. Do not use the appliance again.
- Clean the appliance thoroughly after use (see the 'Cleaning and maintenance' Section). Let the appliance cool down fully before you store it away, maintain and/or clean it.
U.K. WIRING INSTRUCTIONS
The wires in the mains lead are coloured in accordance with the following code:
As the colours of the wire in the mains lead of this appliance may not correspond with the colour markings identifying the terminals on your plug, proceed as follows:
- The wire which is coloured BLUE must be connected to the terminal which is marked with the letter N or coloured black.
-
The wire which is coloured BROWN must be connected to the terminal which is marked with the letter L or coloured red.
-
The wire which is coloured GREEN/YELLOW must be connected to the terminal which is marked with the letter E or (earth symbol) and is coloured GREEN or GREEN/YELLOW
WARNING: THIS APPLIANCE MUST BE EARTHED

The Environment
Dispose of packaging material, such as plastic and boxes, in the appropriate waste containers.

When it reaches the end of its useful life the appliance must be disposed of in a responsible manner. Contact your municipal council or refuse-disposal agency for disposal instructions. You can also hand in the appliance to the retailer.

Généralités
5g 5g1w0 2h w 1c j431 g 1
J L b J (L) J431 J J J J J J J J J J J J J J J J J J J J J J
1234567890
Cai jia li 15
10 10
10 2g Lg>
gLoS gS 17 u c u xg J Lg
(sU) 0
1
1ol281
paiiui 1gai 1aic jyjll yjli piaiw iic
1234567890
puiw :oggai 1aic gjz1 puiwui
1234567890
L_1
aJy 11 Jol 11 Jol o
4k = 3
y
y
/1j
(Labo)
LoL jlgjgl jda Jaa Jaa Jaa Jaa
Lg 1
j 1
g jzj1 g 0 g
1 1
aehpluxuwly aell 10 aegil 15jz 1e b
JU 8.jgL J Lla
1
J 1
Ljai jia iio ljc jg1 ggs .oggJ 000gS
J 1
aJl; 3oLo pLsswLy Cuaig .yueell oI I iI gblll
oLc aolil cIaoleil gil jg 5jic aWio
1
100000000000000000000000000000
J 1
()
1 20 0 0 0
Jaa Jg> Pssw! iic Jg
wj g j 11 Jg sLJl
1.5,5
i

aoswJ

gog gj Jzui j0g jLg 1
jL = 12jL
a12j 3
j 1 j4
S APQ = S AQP + S_ QPQ
1 1 jg 1 g 1 1 j4 1 y
.5-1 0.0 j431 pssu 56 13 1g
.aoLwJ Lc Loj aio salig
gj jL5i jbjii 1j g0 jj puiwi
.
PLc
LgbliaXlg lcllaai oaoe
1.2 > 8 4 ÷ 11 10 > 8
.
jz jil 1suiu u jie
200 J5g JlaB1 gLiio jLgD Ly
中
1jglx.JogosuJgclai
法一: z1z2 = 1
a 1
g jglz1 1s y
posiunl jcb
1
JLJIg 1
aIoo 0g 0o 5i. gj 10
JLeiL 1uLg0 uuLg 8 aIg Ags
jLg^-1 有解.
p12w81 sLi
a1b1 = 2
i 1
1 1
jg 1
jgl 8 Lioic wai 10
.
Jll Jl 1
1111 1


Brand : PRINCESS
Model : New Classics Coffeemaker 242197
Category : Coffee machine