RSX18A - Speaker SAMSON - Free user manual and instructions
Find the device manual for free RSX18A SAMSON in PDF.
User questions about RSX18A SAMSON
0 question about this device. Answer the ones you know or ask your own.
Ask a new question about this device
Download the instructions for your Speaker in PDF format for free! Find your manual RSX18A - SAMSON and take your electronic device back in hand. On this page are published all the documents necessary for the use of your device. RSX18A by SAMSON.
USER MANUAL RSX18A SAMSON
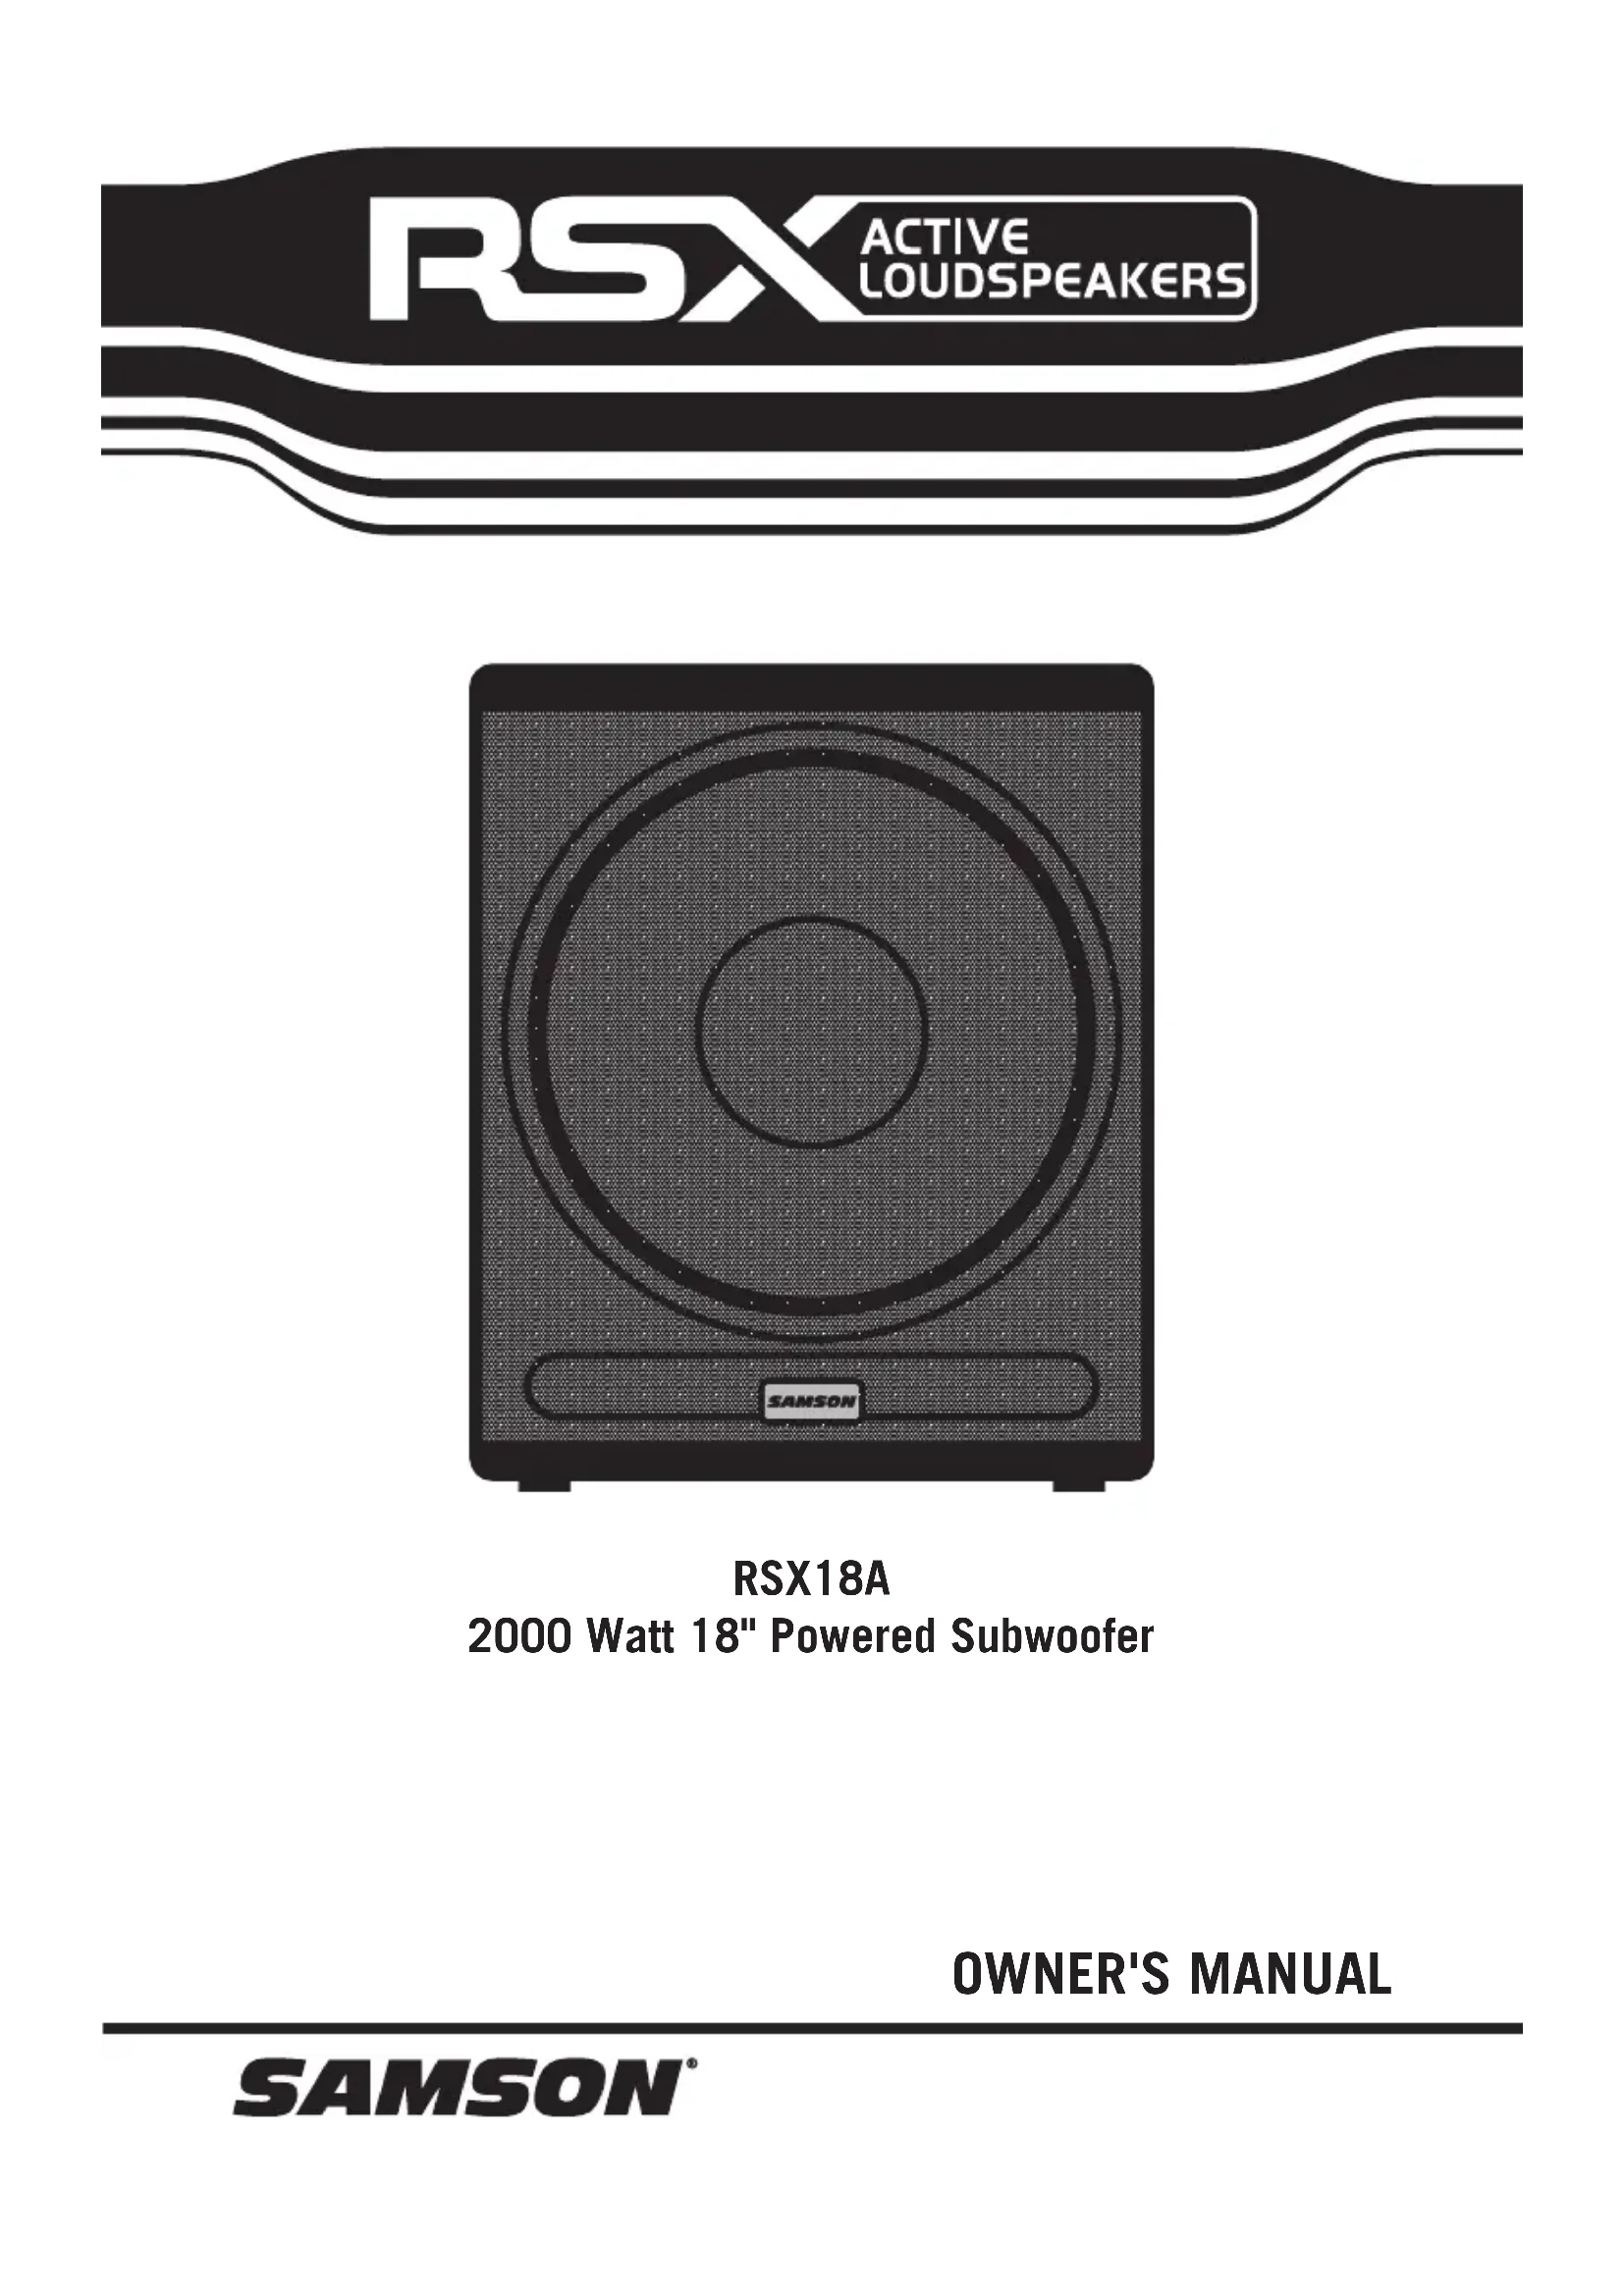
RSX18A 2000 Watt 18" Powered Subwoofer OWNER'S MANUALImportant Safety Information If you want to dispose this product, do not mix it with general household waste. There is a separate collection system for used electronic products in accordance with legislation that requires proper treatment, recovery and recycling. Private household in the 28 member states of the EU, in Switzerland and Norway may return their used electronic products free of charge to designated collection facilities or to a retailer (if you purchase a similar new one). For Countries not mentioned above, please contact your local authorities for a correct method of disposal. By doing so you will ensure that your disposed product undergoes the necessary treatment, recovery and recycling and thus prevent potential negative effects on the environment and human health. FCC Statement This equipment has been tested and found to comply with the limits for a Class B digital device, pursuant to Part 15 of the FCC Rules. These limits are designed to provide reasonable protection against harmful interference in a residential installation. This equipment generates uses and can radiate radio frequency energy and, if not installed and used in accordance with the instructions, may cause harmful interference to radio communications. However, there is no guarantee that interference will not occur in a particular installation. If this equipment does cause harmful interference to radio or television reception, which can be determined by turning the equipment off and on, the user is encouraged to try to correct the interference by one or more of the following measures:
- Reorient or relocate the receiving antenna.
- Increase the separation between the equipment and receiver.
- Connect the equipment into an outlet on a circuit different from that to which the receiver is connected.
1. Read these instructions.
2. Keep these instructions.
3. Heed all warnings.
4. Follow all instructions.
5. This apparatus shall not be exposed
to dripping or splashing liquid and no object filled with liquid, such as a vase, should be placed on the apparatus.
6. Clean only with a dry cloth.
7. Do not block any of the ventilation
openings. Install in accordance with the manufacturer's instructions.
8. Do not install near any heat sources such
as radiators, heat registers, stoves, or other apparatuses (including amplifiers) that produce heat.
9. Only use attachments/accessories speci-
fied by the manufacturer.
10. Unplug this apparatus during lightning
storms or when not in use for long peri- ods of time.
11. Do not override the intended purpose of
the polarized or grounding-type plug. A polarized plug has two blades, with one wider than the other. A grounding-type plug has two blades and a third ground- ing prong. The wide blade, or third prong, is provided for your safety. If the provided plug does not fit your outlet, consult an electrician to replace the obsolete outlet.
12. Protect the power cord from being walked
on or pinched, particularly at the prongs, convenience receptacles, the point where they exit from the apparatus.
13. Use only with the cart stand, tripod
bracket, or table specified by the manufacture, or sold with the apparatus. When a cart is used, utilize caution when moving the cart/apparatus combination to avoid injury from tip-over.
14. Refer all servicing to qualified service
personnel. Servicing is required if the apparatus has been damaged in any way, such as power-supply cord or plug break- age, damage due to liquid or objects fall- ing onto the apparatus, exposure to rain or moisture, or if the apparatus does not operate normally, or has been dropped.
15. POWER ON/OFF SWITCH: For products
with a power switch, the power switch DOES NOT break the connection from the mains.
16. MAINS DISCONNECT: The plug should
remain readily operable. For rack-mount or installation where plug is not acces- sible, an all-pole mains switch with a contact separation of at least 3 mm in each pole shall be incorporated into the electrical installation of the rack or building.
17. FOR UNITS EQUIPPED WITH EXTER-
NALLY ACCESSIBLE FUSE RECEP-
TACLE: Replace fuse with same type and rating only.
18. MULTIPLE-INPUT VOLTAGE: This equip-
ment may require the use of a different line cord, attachment plug, or both, depending on the available power source at installation. Connect this equipment only to the power source indicated on the equipment rear panel. To reduce the risk of fire or electric shock, refer servicing to qualified service personnel or equivalent.
19. WARNING: The mains plug/appliance
coupler is used as disconnect device, the disconnect device shall remain readily operable. RSX18A 3Copyright 2015 - Samson Technologies Corp. Samson Technologies Corp. 45 Gilpin Avenue Hauppauge, New York 11788-8816 Phone: 1-800-3-SAMSON (1-800-372-6766) Fax: 631-784-2201 www.samsontech.com
This lightning flash with arrowhead symbol within an equilateral triangle is intended to alert the user to the presence of non-insulated “dangerous voltage” within the product’s enclosure that may be of sufficient magnitude to constitute a risk of electric shock. The exclamation point within an equilateral triangle is intended to alert the user to the presence of important operating and maintenance instructions in the literature accompanying the appliance. ATTENTION
CAUTION: To prevent electric shock hazard, do not connect to mains power supply while grille is removed.
WARNING: To Reduce the risk of the electric
shock. Do not remove cover (or back) as there are no user-serviceable parts inside. Refer servicing to qualified service personnel.
WARNING: Do Not Open! Rick of Electrical Shock. Voltages in this equipment are hazardous to
life. No user-serviceable parts inside. Refer all servicing to qualified service personnel. Place the equipment near a main power supply outlet and make sure that you can easily access the power breaker switch.
WARNING: This product is intended to be operated ONLY from the AC Voltages listed on the back
panel or included power supply of the product. Operation from other voltages other than those indicated may cause irreversible damage to the product and void the products warranty. The use of AC Plug Adapters is cautioned because it can allow the product to be plugged into voltages in which the product was not designed to operate. If the product is equipped with a detach- able power cord, use on the type provided with your product or by your local distributor and/or retailer. If you are unsure of the correct operational voltage, please contact your local distributor and/or retailer.ENGLISH
ESPAÑOLITALIANO FRANÇAISDEUTSCHE
- Table of Contents Introduction p. 6
- RSX18A Features p. 7
- Quick Start p. 8
- Controls and Functions p. 9
- Configuring Your Speaker System p. 11
- Phase and Polarity p. 12
- Connections p. 13
- Caster Installation p. 13
- Specifications RSX18A 5Thank you for purchasing the Samson RSX18A professional, powered subwoofer. The RSX18A is a compact and powerful speaker cabinet featuring an 18" long excursion driver, complemented by a 2000 Watt class-D power amplifier. The subwoofer offers both stereo full-range and high-pass outputs for running your satellite speakers or linking multiple RSX18A cabinets together to create larger sound reinforcement systems. The subwoofer enclosure is constructed with 18 mm plywood, heavy-duty textured black paint, oversized steel handles, and includes large casters, offering excellent protection against wear and tear, for truly portable audio. The RSX18A active subwoofer is ideal for live music, DJ, and installed sound applications, or anywhere serious power and superior sound quality are desired. In these pages, you’ll find a detailed itemization of the features of the RSX powered subwoofer, as well as a description of its controls, step-by-step instructions for its setup and use, and full specifications. You’ll also find a warranty card enclosed— please don’t forget to fill it out and mail it in so that you can receive online technical support, and so that we can send you updated information about this and other Samson products. Also, be sure to check out our website (www.samsontech.com) for complete information about our full product line. With proper care and adequate air circulation, your RSX18A will operate trouble- free for many years. We recommend you record your serial number in the space provided below for future reference. Serial number: _______________________________ Date of purchase: ____________________________ Should your unit ever require servicing, a Return Authorization (RA) number must be obtained before shipping your unit to Samson. Without this number, the unit will not be accepted. Please call Samson at 1-800-3SAMSON (1-800-372-6766) for an RA number prior to shipping your unit. Please retain the original packing materials and, if possible, return the unit in its original carton and packing materials. If you purchased your Samson product outside the United States, please contact your local distributor for warranty and service information. Introduction 6ENGLISH p. 14
ESPAÑOLITALIANO FRANÇAISDEUTSCHE
RSX18A Features The Samson RSX18A powered subwoofer utilizes the latest technology in loudspeaker and power amplifier design. Here are some of its main features:
- Heavy-duty, 18" low frequency transducer with Butyl rubber surround
- Built-in 2000 Watt, highly efficient class-D power amplifier
- Dual balanced XLR inputs for mono or stereo operation
- Stereo balanced XLR full range and high pass outputs
- Heavy-duty, rear mounted casters
- Two large, steel carry handles
- 18 mm plywood construction, internally braced
- Durable textured black polyurethane paint RSX18A 7The following steps will help you set up your RSX18A active subwoofer.
- Unpack the RSX18A and included components. Be sure to save the packaging in case you ever move, or need to send the unit for service.
- Set the RSX18A subwoofer and satellite speaker(s) appropriately for the performance venue. The RSX18A has a 1 3/8" speaker pole receptacle, so you can mount a satellite speaker on top of the RSX18A using a satellite mounting pole (such as the Samson TS20).
- Turn the Level control on all speakers fully counterclockwise.
- Turn the Power switch to the OFF position on all speakers.
- Connect a line-level signal from your mixer (or other source) to the XLR Input jack on the RSX18A. If you are using a single subwoofer with stereo satellite speakers, connect the left and right output of the mixer to the stereo XLR Input jacks on the RSX18A.
- Connect an XLR cable from the High Pass output of the RSX18A to the line input of your satellite speaker(s).
- Plug the supplied power cable into an AC outlet. Note: Always make sure that the AC outlet used with this unit is configured with the correct voltage, as indicated on the rear panel of the RSX loudspeaker.
- Turn the Power switch on your RSX18A and satellite speaker(s) to the ON position.
- Run an audio signal (like music from a CD) from your mixer, and check that you are getting good level using the mixer's output meter.
- Slowly raise the satellite speaker(s) level control until you have reached a comfortable level. Then raise the RSX18A Level control until you have reached a level that sits well within the rest of the mix.
- If the volume from the RSX18A gets too loud, or you notice the Peak indicator blinking frequently, turn down the Level control on the RSX18A a little until the Peak indicator does not light, or only lights occasionally with signal peaks. Quick Start 8ENGLISH
ESPAÑOLITALIANO FRANÇAISDEUTSCHE
1. MASTER LEVEL - This control adjusts the overall signal level at the input of the
RSX18A's power amplifier. This control does not affect the signal sent to the Full Range and High Pass Outputs.
2. PHASE Switch - Use this switch to set the polarity of the amplified signal. In
the out (NORMAL) setting, there is no change to the signal. When the switch is pressed to the in (INVERT) setting, the signal's polarity is changed by 180°. The setting of the Polarity switch has no effect on the signal sent to the Full Range and High Pass Outputs.
3. PEAK Indicator -This red LED lights when the amp is near the clipping point. If
the Peak indicator lights frequently, turn down the Level control on the RSX18A subwoofer or turn down the signal at the source, until the indicator does not light anymore, or lights only occasionally with signal peaks.
4. SIGNAL Indicator - The green SIGNAL LED lights whenever signal is present at the
5. POWER Indicator - This LED lights RED when the amp is active.
6. INPUTS (L and R) - The RSX18A features electronically balanced female XLR
stereo line inputs. The left (L) and right (R) input signals are mixed together before they are routed to the internal amplifier.
7. HIGH PASS Outputs (L and R) - Electronically balanced male XLR stereo line
outputs, for sending the signal present at the INPUTS to your full range main loudspeakers. The signal is first processed by the internal 12dB per octave, 126Hz Linkwisz-Riley active crossover before reaching the outputs.
Controls and Functions RSX18A
98. FULL RANGE Outputs (L and R) - Electronically balanced full range male XLR stereo
line outputs. These outputs can be used to connect another subwoofer, or send full range signal to your main PA loudspeakers.
9. AC Power Inlet and Fuse
Sled - Connect the supplied standard IEC AC power cable here. Be sure to confirm and install the properly rated fuse when replacing the fuse or changing the operating voltage.
10. Voltage Switch - Slide to
change the operating voltage from 115 to 230 volts.
11. POWER Switch - Switches on
the RSX18A’s main power.
Controls and Functions 10ENGLISH
ESPAÑOLITALIANO FRANÇAISDEUTSCHE
In larger rooms, as well as in theatres and theme park installations (for low frequency special audio effects), two RSX18A's can be used in stereo. For additional low-end, you can daisy chain a pair of RSX18A subwoofers to each side of your speaker system. Stereo Sub Operation Before you start plugging in cables, you should take a minute to decide how you want to interface your new RSX18A. Most system set-ups fall into one of two categories: Stereo or Mono sub operation. In most cases, a common sub (or mono) bass setup is preferable. Low frequencies produced by a subwoofer tend to be non- directional. Since low frequency waves take so much space to develop, it is difficult for the ear to tell if sub bass is coming from the left or right side (unless, of course you’re in a very large room). Because of this phenomenon, just about all sub bass material is mixed in mono. Mono Sub Operation Configuring Your Speaker System RSX18A 11Phase and Polarity A speaker reproduces sound by converting electrical signal into physical vibration. This physical vibration, in turn, pushes air to create sound waves. When setting up your speaker system, the goal is to have all speakers moving in phase, with the in and out movement of the speakers synchronized. This produces an even sound across all audible frequencies. If the subwoofer is out of phase with the full range front of house speakers, you may notice decreased bass response, or even bass frequency cancellation where satellite and subwoofer frequency responses overlap. Many times this phenomenon is very subtle, but it can produce the effect of “holes” in the music, and diminished bass frequencies. Ideally, your RSX18A subwoofer should be positioned on the same plane as your satellite speakers. In reality, we know this is difficult, as there are restrictions when setting up a PA system due to space limitations, speaker stand configuration, or even speaker cabinet shape. To compensate for these obstacles, the RSX18A features a Phase switch, which allows you to reverse the polarity of the subwoofer relative to the source signal. This enables you to put the RSX18A in phase with the rest of your PA system, or 180° out of phase. To determine if the audio produced by your RSX18A is in phase with the rest of your PA system, play an audio track containing a lot of bass frequencies through your speaker system. Stand at a good listening distance, where you can clearly hear the audio from the subwoofer(s) and mains speaker(s), and listen until you believe you have a good gauge of the level of bass frequencies. Press the Phase switch on the RSX18A to reverse the phase by 180°, and move back to your original listening position (if possible, have someone else press the Phase switch so that you can stand in the exact same location). Compare the overall level of the bass frequencies between the two settings. The correct setting will result in more bass frequencies. If the situation allows, you can fine-tune the phase of your RSX18A to your satellite speakers by moving the relative position of the subwoofer closer or further away from the listening position. Time Amplitude 0° 90° 180° 270° 360° Phase SW = NORMAL Phase SW = INVERT 12ENGLISH
ESPAÑOLITALIANO FRANÇAISDEUTSCHE
Connections XLR to XLR Balanced XLR to Balanced 1/4-Inch The RSX18A features balanced inputs and outputs with industry standard XLR connectors. Whenever possible, use high quality balanced connections to other equipment to suppress interference. See the wiring diagram below for RSX18A connectors. Caster Installation
- Locate one caster and four each of the supplied screws and lock washers.
- Hold the caster in place and hand start the screws. Be careful to ensure that the screws are on the proper thread chase. Do not push down on the screws, as it could dislodge the internal thread- ed t-nuts.
- Use a screwdriver to tighten the four screws.
- Repeat the steps above for the remain- ing three casters. RSX18A 13Specifications Amplifier Average Power 1000 watts Peak Power 2000 watts THD < 0.1% Design Class-D Transducer Driver 18" paper cone, 3" voice coil diameter Sensitivity 95dB SPL @ 1w/1m Acoustic Performance Frequency Response 30Hz- 135Hz (+/-3 dB) Max. SPL 125 dB SPL @ 2000 watts Electronic Crossover Crossover Type 24 dB/oct Linkwitz-Riley Crossover Frequency 126 Hz Controls and Connectors Inputs (L and R) Balanced Female XLR - Line Level High Pass Outputs (L and R) Balanced Male XLR - Line Level Full Range Outputs (L and R) Balanced Male XLR - Line Level Controls Master Level Rotary, Phase Switch Indicators Peak, Signal, Power Power Supply Power Consumption 645 W max. AC Connector 3-pin IEC 250 VAC, 20 A male Fuse 100 - 120 VAC T8AL / 250 V
220 - 240 VAC T4AL / 250 V
Enclosure Construction 18 mm plywood Finish Textured black polyurethane paint Casters 4 x Three Inch. Handles 2 x Steel Grill Perforated steel Mounting Method Integral 1 3/8" (35 mm) Pole Mount Recep- tacle, Dimensions and Weight Dimensions in 20.55" L x 27" W x 24.7" H mm 686 mm L x 522 mm W x 629 mm H Weight lbs 86 kg 39 Specifications are subject to change without notice. 14ENGLISH