
IP7 - Alarm Clock AudioSonic - Free user manual and instructions
Find the device manual for free IP7 AudioSonic in PDF.
| Product Type | Clock Radio |
| Brand | AudioSonic |
| Model | IP7 |
| Main Power Supply | AC-DC power adapter 7.5 V DC, 1.5 A (110-240 V ~ 50/60 Hz) |
| Backup Batteries | 2 AAA batteries (type UM-4/IR03) |
| Speakers | 2 x 2-inch speakers (51 mm) |
| Radio Frequency Range | FM 88 – 108 MHz |
| Main Functions | FM radio, iPod/iPhone docking station, AUX input (3.5 mm), alarm with buzzer/radio/iPod, sleep function, equalizer (Classic, Jazz, Rock, Pop), display dimmer, snooze (9 min), 30 radio presets |
| Display | Digital display with blue backlight, adjustable (high/low/off dimmer), 12/24 h display |
| Connectivity | iPod/iPhone docking station, AUX IN jack (3.5 mm), headphone jack (3.5 mm) |
| Power Consumption | 10 Watts |
| Care and Cleaning | Use a soft, dry cloth. Do not use abrasive products, benzene, thinner, or other chemical substances. |
| Safety | Do not expose to water, excessive heat, or direct sunlight. Do not obstruct ventilation. Use only the supplied adapter. Have any repairs carried out by qualified technical personnel. |
| Spare Parts and Reparability | Docking station adapters for different iPod models provided. Replaceable backup batteries. No user-serviceable internal components. |
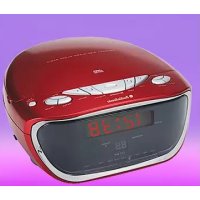
| General Information | iPod/iPhone compatible clock radio. Supplied with power adapter, docking station adapters, FM antenna. User manual available in multiple languages. |
Frequently Asked Questions - IP7 AudioSonic
User questions about IP7 AudioSonic
0 question about this device. Answer the ones you know or ask your own.
Ask a new question about this device
Download the instructions for your Alarm Clock in PDF format for free! Find your manual IP7 - AudioSonic and take your electronic device back in hand. On this page are published all the documents necessary for the use of your device. IP7 by AudioSonic.
USER MANUAL IP7 AudioSonic
MANUAL DE INSTRUÇÕES
INSTRUKCJE OBSŁUGI
Instruction Manual

natural_image
Black triangular warning symbol with white lightning bolt symbol (no text)The lightning flash and arrowhead within the triangle is a warning sign alerting you of "dangerous voltage" inside the product.
CAUTION
RISK OF ELECTRIC SHOCK DO NOT OPEN
WARNING: To reduce the risk of electric shock, do not remove cover (or back). No user-serviceable parts inside. Refer servicing to qualified service personnel.

natural_image
Black triangular warning symbol with exclamation mark (no text or numbers)The exclamation point within the triangle is a warning sign alerting you of important instructions accompanying the product.
NOTE: caution symbols are printed on rear of unit. Please refer to instruction manual.
CAUTION: grounding or polarization. The precautions should be taken so that the wider blade of the ac plug must match the slot in Receptacle "wall socket".
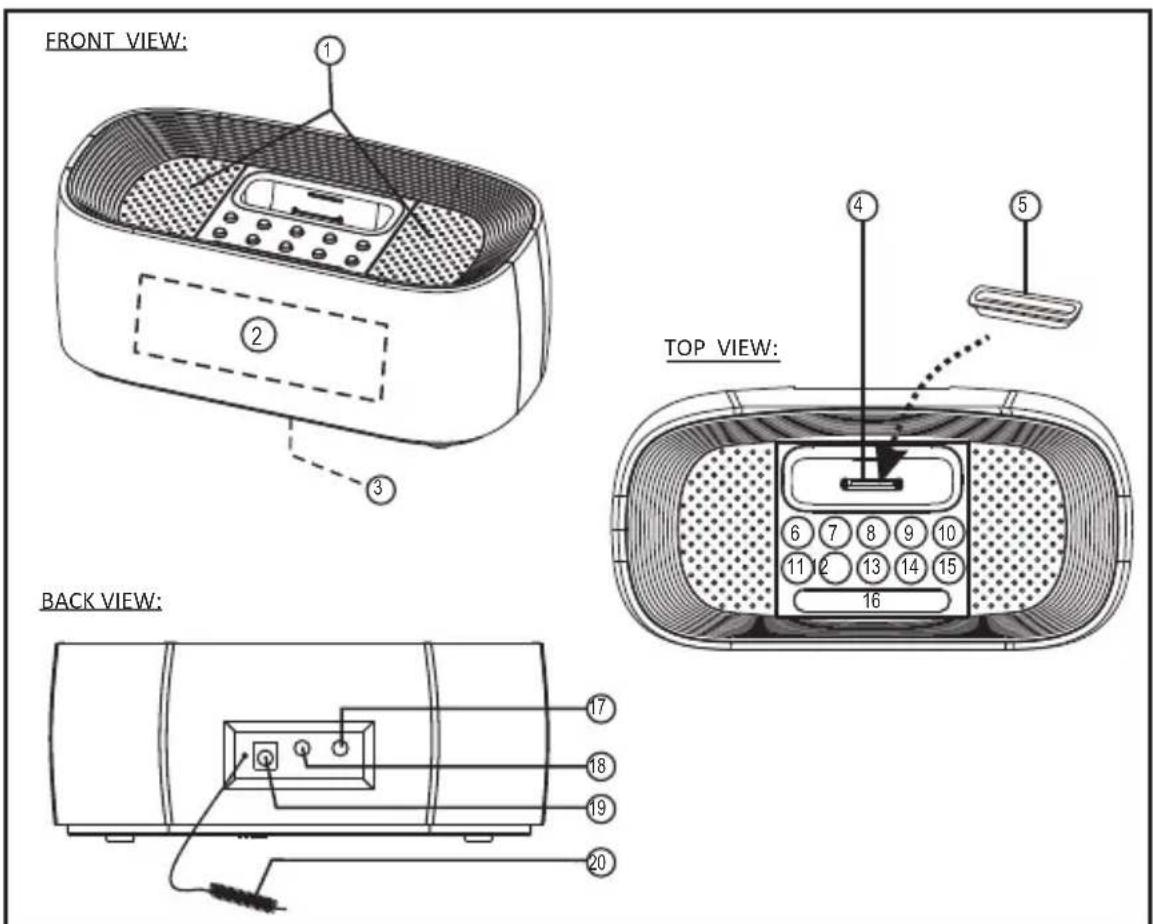
Location of controls
- SPEAKER
- BLUE BACKLIT DISPLAY
- BACK-UP BATTERY COMPARTMENT (BOTTOM OF UNIT)
- CAVITY FOR DOCK ADAPTOR
- DOCK ADAPTOR FOR iPod (SEVERAL DIFFERENT ADAPTORS ARE PROVIDED)
- VOLUME DOWN (-) KEY
- VOLUME UP (+) KEY
- MEMORY KEY
-
EQ/SLEEP KEY
-
ON/OFF KEY
- SKIP (-) ↩ /SEARCH (-) KEY
- SKIP (+) ▶/SEARCH (+) KEY
- AL-SET/AL-MODE KEY
- FUNCTION/CL-SET KEY
- PLAY/PAUSE/STEREO/MONO KEY
- SNOOZE DIMMER KEY
- AUX INPUT SOCKET
- HEADPHONES SOCKET
- DC JACK (DC 7.5V - - - +)
- FM ANTENNA WIRE
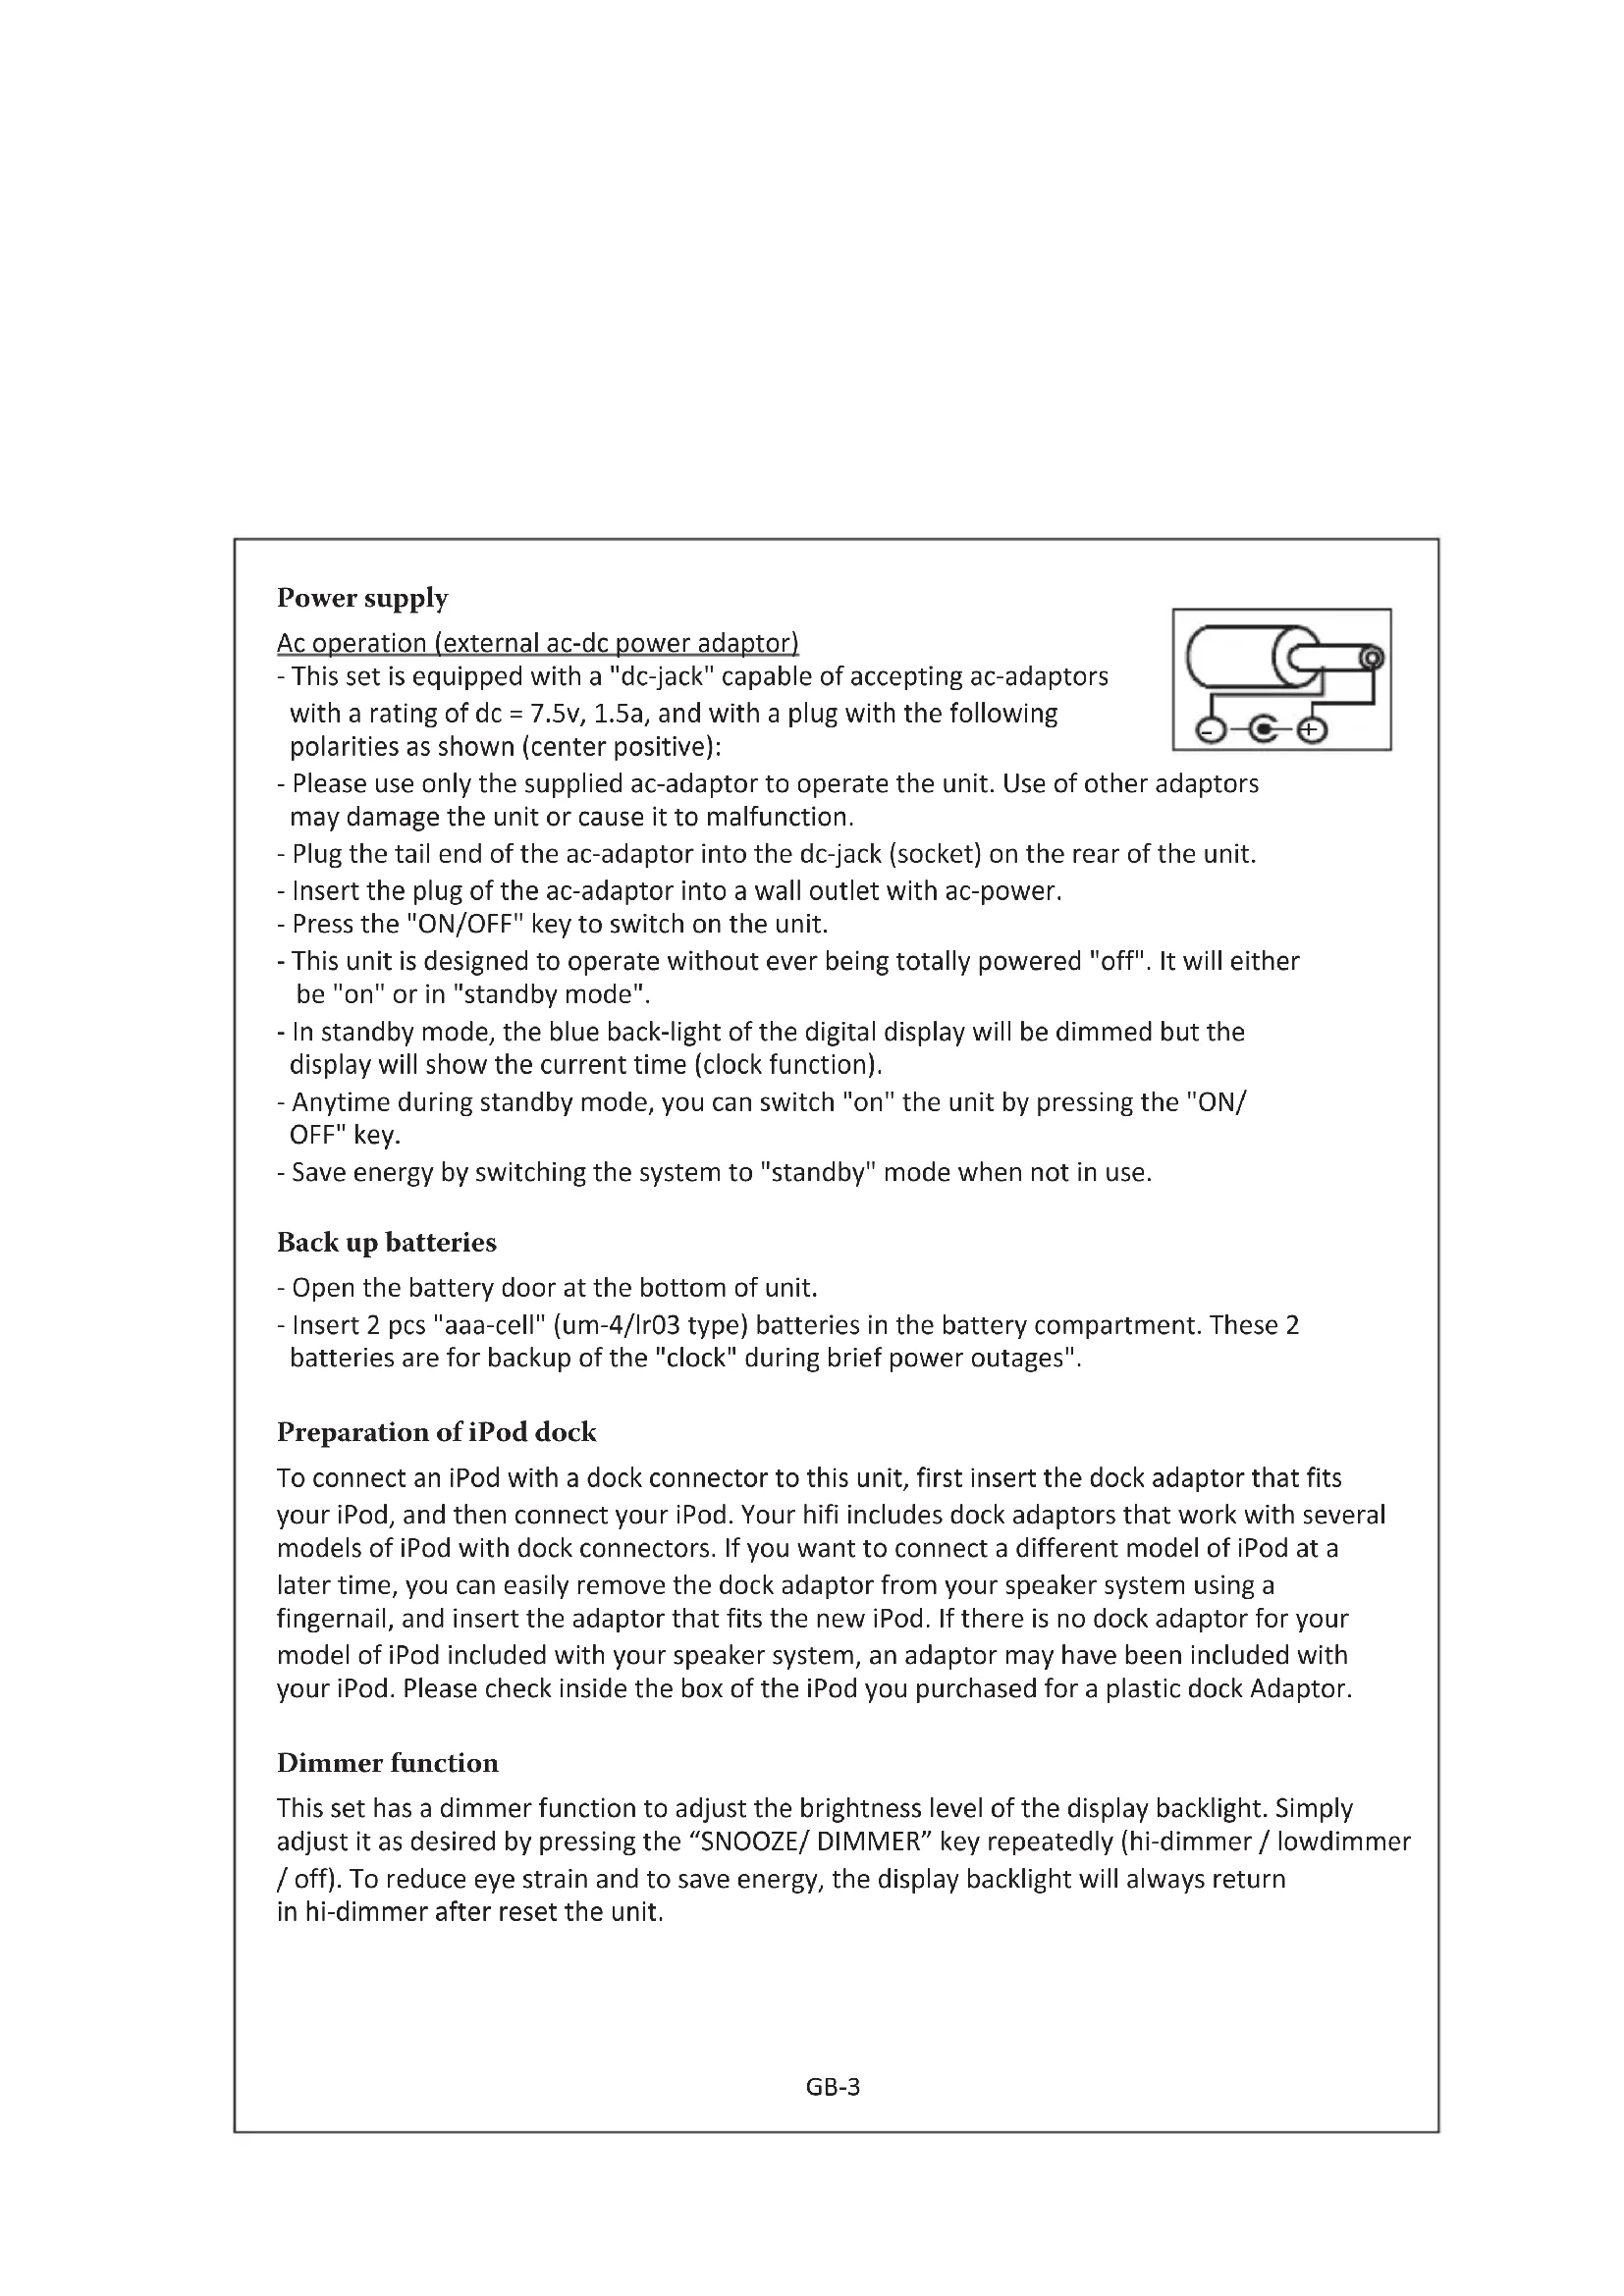
Power supply
Ac operation (external ac-dc power adaptor)
- This set is equipped with a "dc-jack" capable of accepting ac-adaptors with a rating of dc = 7.5v, 1.5a, and with a plug with the following polarities as shown (center positive):
- Please use only the supplied ac-adaptor to operate the unit. Use of other adaptors may damage the unit or cause it to malfunction.
- Plug the tail end of the ac-adaptor into the dc-jack (socket) on the rear of the unit.
- Insert the plug of the ac-adaptor into a wall outlet with ac-power.
- Press the "ON/OFF" key to switch on the unit.
- This unit is designed to operate without ever being totally powered "off". It will either be "on" or in "standby mode".
- In standby mode, the blue back-light of the digital display will be dimmed but the display will show the current time (clock function).
- Anytime during standby mode, you can switch "on" the unit by pressing the "ON/OFF" key.
- Save energy by switching the system to "standby" mode when not in use.

Back up batteries
- Open the battery door at the bottom of unit.
- Insert 2 pcs "aaa-cell" (um-4/Ir03 type) batteries in the battery compartment. These 2 batteries are for backup of the "clock" during brief power outages".
Preparation of iPod dock
To connect an iPod with a dock connector to this unit, first insert the dock adaptor that fits your iPod, and then connect your iPod. Your hifi includes dock adaptors that work with several models of iPod with dock connectors. If you want to connect a different model of iPod at a later time, you can easily remove the dock adaptor from your speaker system using a fingernail, and insert the adaptor that fits the new iPod. If there is no dock adaptor for your model of iPod included with your speaker system, an adaptor may have been included with your iPod. Please check inside the box of the iPod you purchased for a plastic dock Adaptor.
Dimmer function
This set has a dimmer function to adjust the brightness level of the display backlight. Simply adjust it as desired by pressing the “SNOOZE/ DIMMER” key repeatedly (hi-dimmer / lowdimmer / off). To reduce eye strain and to save energy, the display backlight will always return in hi-dimmer after reset the unit.
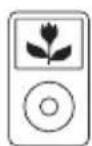
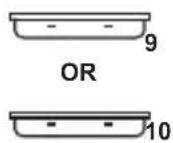
Dock adapters
Choose the dock adapter that fits your iPod. Your iPod fits snugly into the correct adapter.
THE NUMBER
SHOWS WHICH iPod FITS


iPod touch
1st generation 2nd generation


iPod nano 5th generation (video camera) 8GB 16GB

iPod classic 80GB 120GB 160GB


iPod nano 4th generation (video) 8GB 16GB


iPod 5th generation (video) 30GB 60GB 80GB
For other iPod models:
If there is no dock adapter for your model of iPod included, you can also use the dock adapter which was included in the box with your iPod itself.
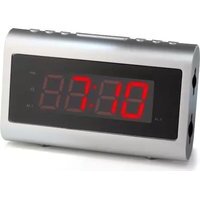
Digital clock function
The set has a built-in digital clock, when the set is in "standby mode" (the display will continuously show the current time). In this situation the blue backlit is normally dimmed (to save electricity).
How to set correct time
Switch unit to "stand-by" mode (display light = dimmed)

Press & hold "FUNC./CL-SET" key for 3 seconds display shows 12H hour or 24H hour (flashing)

Press "SKIP- 🖱️ / SEARCH-" or "SKIP+ 🖱️ /SEARCH+" key to select 12-hour or 24-hour clock display system & press "FUNC./CL-SET" key to confirm your selection

Press "SKIP- ↩/SEARCH-" or "SKIP+ ↩/SEARCH+" key repeatedly to set the correct hour in the display & press "FUNC./CL-SET" key to confirm

Press "SKIP- ↩ / SEARCH-" or "SKIP+ ↩ / SEARCH+" key repeatedly to set the correct minute in the display & press "FUNC./CL-SET" key to confirm

Correct time is now set & will be shown in the display.
Alarm function
This set is equipped with 3 alarm modes: buzzer, radio and iPod. Before setting the alarm, make sure to set the clock (see "digital clock function" in the previous section).
Prepare for the alarm settings
Press the "ON/OFF" key to switch on the set (display blue light will be "on").
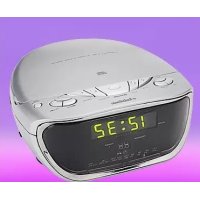
"Alarm" time setting
- Press the "ON/OFF" key to put the set into "standby" mode (blue light dimmed).
- Press and hold "AL-SET/AL-MODE" key until the display will now show:

- Press "SKIP- /SEARCH-" and "SKIP+ /SEARCH+" key to reach the hour of the desired wake up time then press "AL-SET/AL-MODE" key to confirm. The display will now show:

- Press "SKIP- ↪ /SEARCH-" and "SKIP+ ↪ /SEARCH+" key to reach the minutes of the desired wake up time, then press the "AL-SET/ AL-MODE" key to confirm.
5. "Alarm" mode setting
Now select the source that you wish the unit to play at the "wake up" Time as below: Press the "ON/OFF" key to switch on the set (display blue light will be "on").
- For iPod: connect the iPod as described. Select the song or the desired playlist to play at the "wake up" time. Start and pause playback of the song/playlist at the point from which you want playback to begin at the "wake up" time. For radio: tune in the desired station.
- Adjust the volume level as desired by pressing "VOL. UP +" or "VOL. DN -" key.
Once the desired source has been ready, press the "ON/OFF" key to put the set into standby mode and then short press the "AL-SET/AL-MODE" key repeatedly to select the source as desired.
*Remark: AL = buzzer alarm / FM = radio / iPod = iPod
- The alarm time is now fully programmed and the alarm symbol will appear to indicate that the alarm function is "active" (display shows as follows with blue backlight "dimmed").

- The set will now automatically switch "on" at the wake-up time as you have chosen, as long as the alarm function is "active".
-
To turn off the unit after it has automatically switched on, simply press the "ON/OFF" key once. This will switch off the set but will not clear the alarm settings, and the set will switch on again automatically on the next day at exactly the same preset time.
-
To deactivate the alarm, press & release the "AL-SET/AL-MODE" key. The alarm symbol "al" disappears from the display.
- To activate the alarm again, repeat the procedure of "alarm time setting" as described.
IMPORTANT
If the alarm is set as wake to iPod, you will need to connect the iPod properly as described. Otherwise, the buzzer alarm will sound at the set time if the iPod has not been connected. The alarm set-up mode, where the symbol "al" is flashing, will time-out if there is no input for 3 seconds and return to "standby mode". Should the alarm set-up mode time-out, the alarm symbol "al" will not be displayed and the alarm time setting instructions will have to be repeated for the alarm to be set.
Snooze function
- Whenever the alarm comes on, it can be temporarily suspended For a short period of 9 minutes, by pressing the "snooze/ dimmer" key once.
- The alarm will then automatically come on again after the 9 minutes “snooze” period has ended.
- The procedure can be repeated for approximately 90 minutes from original alarm wake-up time.
Automatic power off sleep function
- This set has a special sleep timer function which can automatically switch off the unit. This is useful for sleeping to music at night.
- At any time while the unit is operating, press & hold the "EQ/SLEEP" key until the "sl" symbol flashing, then press the "EQ/SLEEP" key repeatedly to choose the automatic power off time.
| 90MINS | 80MINS | 70MINS | 60MINS | 50MINS | 40MINS | 30MINS | 20MINS | 10MINS | OFF* |
(*Off means sleep timer is deactivated)
Electronic volume control
- This unit uses an electronic volume control (push button type). To increase or decrease the loudness of unit, press the volume up (VOL +) or volume down (VOL -) keys respectively.
- Release the key when volume level is at the desired loudness.
- Sometimes, especially during listening to the radio, you may notice a "click-click-click" (repeating) sound when you are increasing or decreasing the volume. This is a normal condition & the sound will disappear when you release the volume key (when you reach the desired volume level).
Operation of radio
- Press the "ON/OFF" key once to switch on the unit.
- Press the "FUNC./CL-SET" key repeatedly until the display shows "FM".
- Extend and adjust the fm-wire antenna to obtain the best reception.
- Use the "ST/MO" key to select the desired mode (stereo/ mono). In some cases, where reception is poor, it may be advisable to select "mono" mode, to improve clarity of the radio signal.
Manual frequency adjustment (scan mode)
- Press (and immediately release) the "SKIP- ↪ /SEARCH-" and "SKIP+ ↪ /SEARCH+" keys to "scan" (manually adjust) the radio frequency "up" or "down" by 1-step at a time.
- The radio digital display will indicate the exact frequency at each step's position.
- When a desired frequency or station is reached. It can be saved into one of the “memory” positions. (see “radio memory” section).
Automatic frequency adjustment (seek mode)
- Press and hold (for 2 seconds) the "SKIP- 🖱️/SEARCH-" and "SKIP+ 🖱️/SEARCH+" keys to "seek" (automatically adjust) the radio frequency "up" or "down" to the next available radio station.
- The radio digital display will indicate the exact frequency of the next station that is found.
- When a desired station is reached. It can be saved into one of the “memory” positions (see “radio memory” section).
Radio memory (station preset memory storage)
- At any time, the currently displayed station or frequency can be stored into one of the memory positions.
- Press "MEMORY" key until "C01" flashes in the display.
- Press "SKIP- ↪ /SEARCH-" and "SKIP+ ↪ /SEARCH+" keys to select desired memory position (there are total 30 memory positions).
- Press "MEMORY" key once to save the selected station into the selected memory position.
- To recall any saved memory, simply "SKIP- 🖼️ /SEARCH-" and "SKIP+ 🖼️ /SEARCH+" keys the saved radio-band will be recalled.
- To clear the memory of any position, simply save a new station to the same memory position.
Operation with the iPod
- Turn on both the unit and the iPod.
- Connect the iPod to the unit as described.
- Press the "FUNC./ CL-SET" key repeatedly until the display shows "iPod".
- Press the "PLAY/ PAUSE ▶" key on the unit, then the first song will start playing.
- The iPod display will indicate the information of the current song.
- At anytime during playback, press the "PLAY/ PAUSE ▶II" key to pause playback. Press "PLAY/ PAUSE" key to resume playback of the same song & position.
- At anytime during playback, press and release "SKIP- ↪/SEARCH-" and "SKIP+ ↪/SEARCH+" keys to skip forward or backwards by one song, as desired.
- At anytime during playback, press and hold "SKIP- ↪/SEARCH-" and "SKIP+ ↪/SEARCH+" keys to fast-forward (cue) or fast-reverse (review) the specific song, which is currently playing.
- You can operate the iPod using either the unit's buttons, or directly with the iPod itself.
- When the iPod has been connected with the unit, it will start charging the battery of the iPod.
- Never remove (or unplug) the iPod from the set during playback, always pause playback first and then press the "FUNC./ CL-SET" key to switch to another source (eg. "radio" or "AUX") before removing or unplugging the iPod, to prevent damage to your song files or memory devices.
IMPORTANT
Please note that when connecting a iPod video, the error message “the currently attached accessory is not supported by this iPod.” Will be displayed as there is no video input/output. However, all audio functions will operate normally as outlined above.
IMPORTANT
When docking certain models of the iPhone you might get a message indicating the iPhone is not operating with the device. This message can be ignored. Your iPhone will be charged normally and also you can play the music on your iPhone.
Music equalizer
At anytime during playback, press "EQ/SLEEP" key repeatedly to choose the desired sound effect according to the music you are listening to:

flowchart
graph TD
    A["E-0 = EQ OFF"] --> B["E-1 = CLASSIC"]
    B --> C["E-2 = JAZZ"]
    C --> D["E-3 = ROCKE-4 = POP"]
    D --> E[" "]
    E --> A
Using the audio line in connection (AUX-input)
- You can connect the audio output of an external device such as a MP3-player or a TV to this unit, to listen to the sound of that device through the high quality amplifier of this music system.
- To connect the external device please use a standard stereo headphone (3.5mm to 3.5mm plugs) cable to connect the "headphone-out or audio line-out" of the device to the AUX-input socket of this unit.
- Switch the function to "au" (AUX) using the FUNC./CL-SET key.
- Switch on the unit and the external device (eg. MP3-player or TV).
- Start playback of the external device and adjust the volume control of the main unit to the desired level.
- Remember to switch off the unit when you are finished using the external device.
Specifications
| Power source: | DC 7.5v, 1.5a Though Built-in DC jackexternal AC-DC power adaptor 110V-240V ~ 50/60Hz |
| Power consumption: | 10 Watt |
| Speaker: | Speaker 2" X 2 |
| Frequency range: | FM 88 – 108 MHz |
WARNING
- No flame sources, such as lighted candles, should be placed on the apparatus.
- Do not place the product in closed bookcases or racks without proper ventilation.
- The mains plug is used as the disconnect device, the disconnect device shall remain readily operable.
- The ventilation should not be impeded by covering the ventilation openings with items, such as newspapers, table-cloths, curtains, etc.
- It shall not be exposed to dripping or splashing and that no objects filled with liquids, such as vases, shall be placed on the apparatus.
- Do not connect FM antenna to outside antenna.
- The unit should not be exposed to direct sunlight, very high or low temperature, moisture, vibrations or placed in dusty environment.
- Do not use abrasive, benzene, thinner or other solvents to clean the surface of the unit. To clean, wipe it will mild non-abrasive detergent solution and clean soft cloth.
- Never attempt to insert wires, pins or other such objects into the vents or opening of the unit.
Do not dispose of the device with the household waste. This product must be disposed of according to EU directive 2002/96/EC-WEEE (Waste Electrical and Electronic equipment). Return the device to a collection point. Observe the applicable regulations. Contact your municipality, if in doubt.

CAUTION
- Danger of explosion if battery is incorrectly replaced.
- Replace only with the same or equivalent type of battery.
- Batteries shall not be exposed to excessive heat such as sunshine, fire or the like.
- Attention should be drawn to the environmental aspects of battery disposal
natural_image
Black triangular warning symbol with white lightning bolt symbol (no text)natural_image
Black triangular warning symbol with exclamation mark (no text or numbers)*Opmerking: AL = zoemer / FM = radio / iPod = iPod
natural_image
Black triangular warning symbol with white lightning bolt symbol (no text)natural_image
Black triangular warning symbol with exclamation mark (no text or numbers)4th generation (video)
8GB 16GB

iPod
5th generation
(video)
30GB 60GB 80GB

oder

natural_image
Black triangular warning symbol with white lightning bolt symbol (no text)natural_image
Black triangular warning symbol with exclamation mark (no text or numbers)I'iPod correspondant


iPod touch
1ére generation 2éme generation


iPod nano 5ème generation (video camera) 8Go 16Go


iPod classic 80Go 120Go 160Go


iPod nano 4éme generation (video) 8Go 16Go


iPod 5éme generation (video) 30Go 60Go 80Go
natural_image
Black triangular warning symbol with white lightning bolt symbol (no text)natural_image
Black triangular warning symbol with exclamation mark (no text or numbers)natural_image
Black triangular warning symbol with white lightning bolt symbol (no text)natural_image
Black triangular warning symbol with exclamation mark (no text or numbers)natural_image
Black triangular warning symbol with white lightning bolt symbol (no text)natural_image
Black triangular warning symbol with exclamation mark (no text or numbers)MODELEM IPoda ZŁĄCZE WSPÓŁPRACUJE


iPod touch
1-szej generacji
2-giej generacji


iPod nano
5-tej generacji
(kamera video)
8GB 16GB


iPod classic
80GB 120GB 160GB

0


iPod nano

- Instruction Manual
- CAUTION
- RISK OF ELECTRIC SHOCK DO NOT OPEN
- Location of controls
- Power supply
- Ac operation (external ac-dc power adaptor)
- Back up batteries
- Preparation of iPod dock
- Dimmer function
- Dock adapters
- For other iPod models:
- Digital clock function
- How to set correct time
- Alarm function
- Prepare for the alarm settings
- "Alarm" time setting
- "Alarm" mode setting
- IMPORTANT
- Snooze function
- Automatic power off sleep function
- Electronic volume control
- Operation of radio
- Manual frequency adjustment (scan mode)
- Automatic frequency adjustment (seek mode)
- Radio memory (station preset memory storage)
- Operation with the iPod
- Music equalizer
- Using the audio line in connection (AUX-input)
- Specifications
- WARNING
Brand : AudioSonic
Model : IP7
Category : Alarm Clock