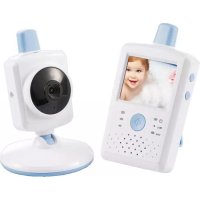
BCC 50 - Baby monitors SWITEL - Free user manual and instructions
Find the device manual for free BCC 50 SWITEL in PDF.
| Product type | Wireless baby monitor |
| Brand | SWITEL |
| Model | BCC 50 |
| Category | Baby monitor |
| Range | Up to 2 km (ideal conditions) |
| Memory channels | 15 (M1-M15) + 8 walkie-talkie channels |
| Parent unit power supply | NiMH rechargeable battery pack + 7.5V DC mains adapter |
| Baby unit power supply | 4 AAA batteries (not rechargeable with supplied adapter) + 10V DC mains adapter |
| Main functions | VOX, auto-monitoring, alarm, walkie-talkie, channel detection, key lock, call ringer, monitoring |
| Display | LCD screen on both units |
| Package contents | 1 parent unit, 1 baby unit, 2 network adapters, 1 rechargeable battery pack, 1 belt clip, 1 instruction manual |
| Cleaning | Slightly damp soft cloth (water); no solvent |
| Safety | Do not open the devices; use SWITEL adapter; minimum distance 1.5 m between units |
| Warranty | 2 years |
| Service hotline (Switzerland) | 0900 00 1675 (CHF 2.00/min) |
| Manufacturer | TELGO AG, Route d'Englisberg 17, CH-1763 Granges-Paccot |
Frequently Asked Questions - BCC 50 SWITEL
User questions about BCC 50 SWITEL
0 question about this device. Answer the ones you know or ask your own.
Ask a new question about this device
Download the instructions for your Baby monitors in PDF format for free! Find your manual BCC 50 - SWITEL and take your electronic device back in hand. On this page are published all the documents necessary for the use of your device. BCC 50 by SWITEL.
USER MANUAL BCC 50 SWITEL
COMMUNICATION PRODUCTS
Babyphon mit Walkie-Talkie-Funktion Interphone bébé avec fonctionnalité Walkie-Talkie Sorveglia bebé con funzione walkie-talkie Babyphone with Walkie-Talkie Function
BCC 50
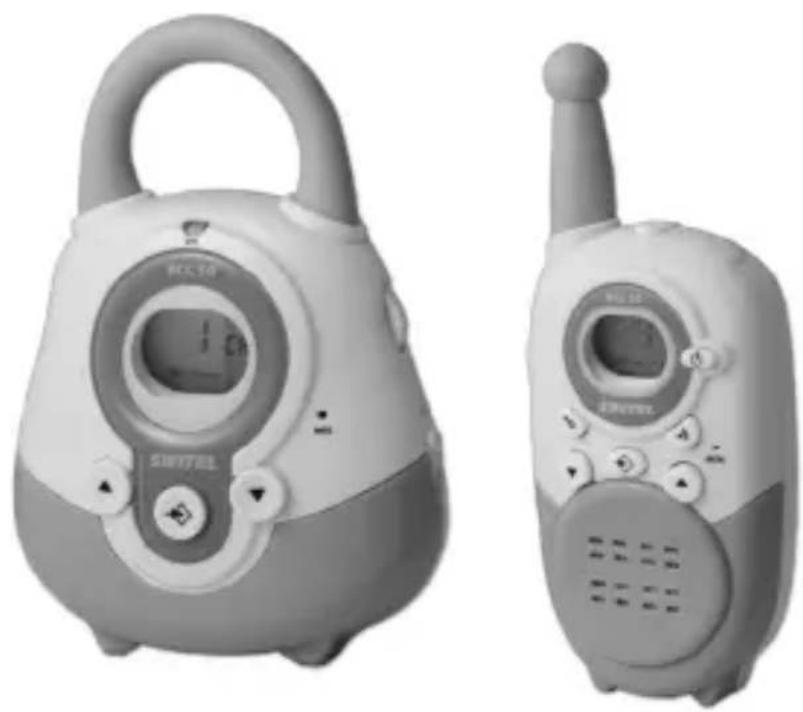
natural_image
Two types of portable electronic devices, one with a digital display and control buttons, the other with a walkie-talkie (no visible text or symbols)Bedienungsanleitung Mode d'emploi Istrzioni per l'uso Operating Instructions
1 Übersicht, Vue d'ensemble, Panoramica, Overview
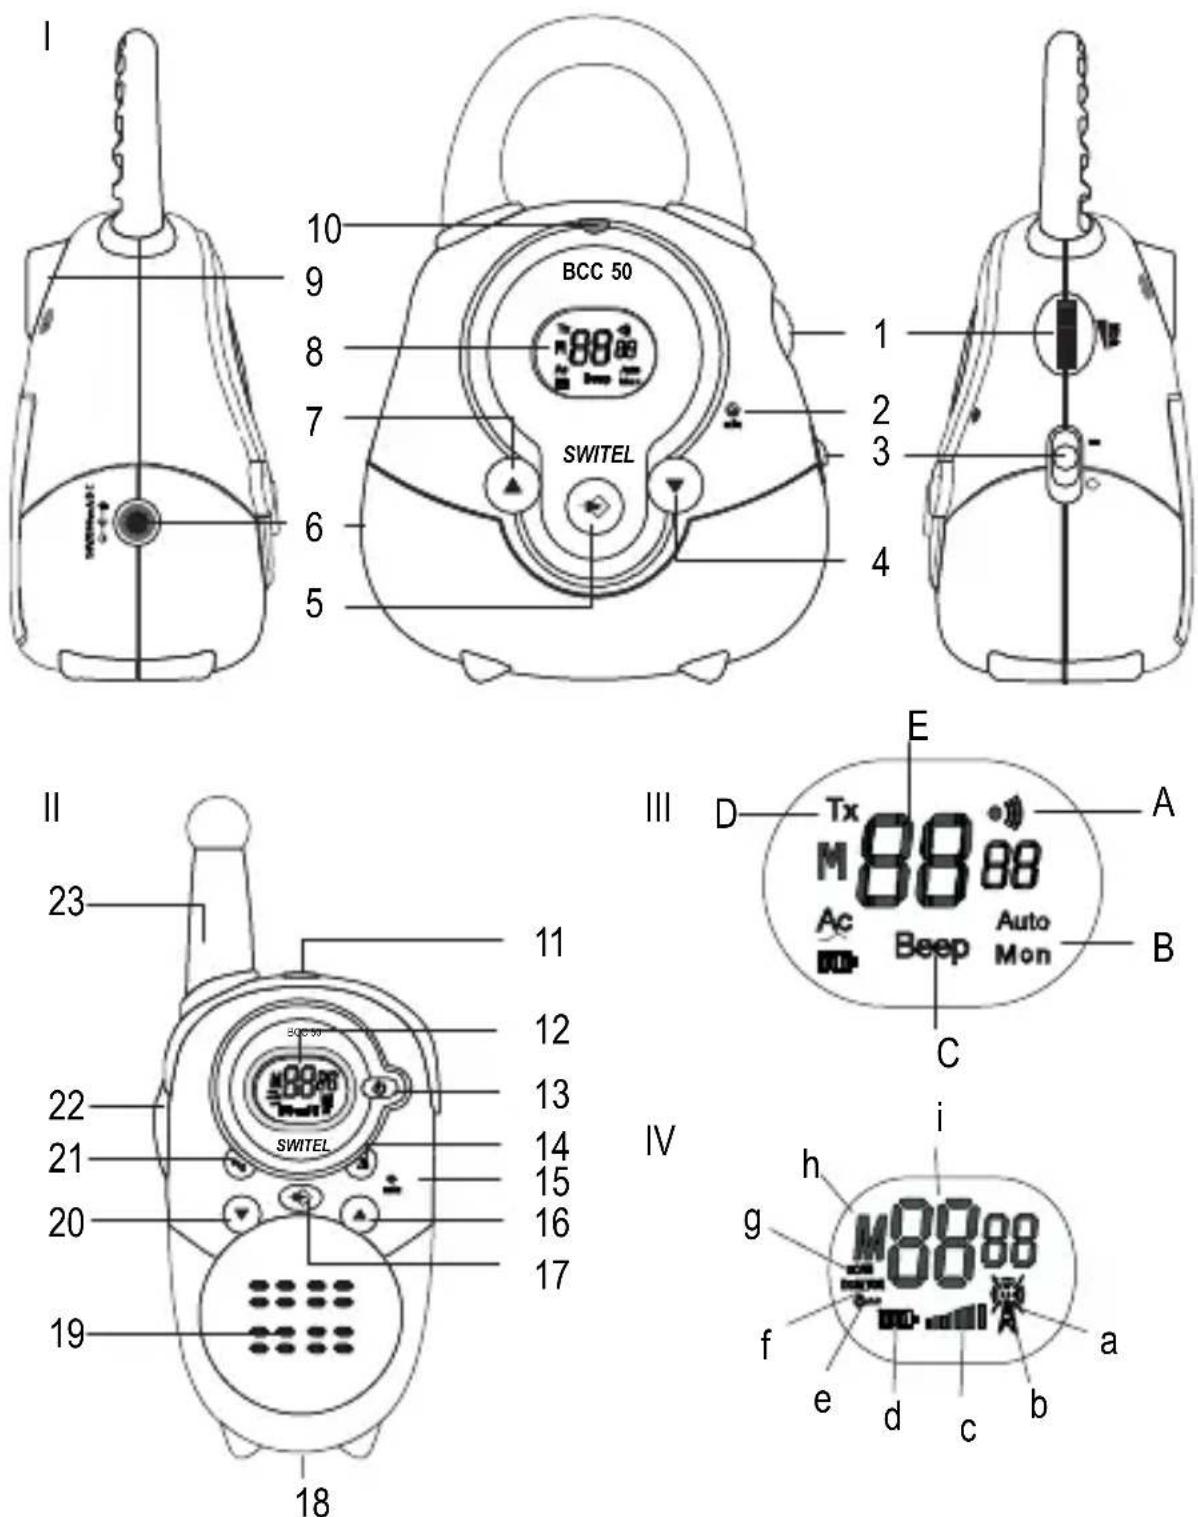
Deutsch Francais
b Ricevere Receiving
c Volume Volume control
text_image
Symbol combining a recycling can and a recycling symbol, indicating waste sorting or recycling.Schalter (3) in Position "I".
text_image
M8988 Power Sourcetext_image
M88:88 Fuel Battery Power Stationtext_image
M 8:00 25.00 (25%) (10%)text_image
M:28:00 Battery Battery Batterynatural_image
Symbol of a trash bin crossed with a diagonal line and a horizontal bar below (no text or labels)
text_image
M88 电池 Battery Pack Battery Stack Power Supplynatural_image
Symbol of a trash bin with crossed lines indicating no waste, and a solid black rectangle below (no text or labels)

text_image
M8:9:00 Battery (2023)text_image
M8988 Battery Battery pack Battery symboltext_image
M8:8:00 Battery Pack Status Bartext_image
M88:88 Sun Cinca Daytext_image
M28:00 Battery 100% Bar ChartPlease read this operating manual thoroughly. Under no circumstances open the devices yourself and never carry out any repair work yourself. In the case of claims under the terms of guarantee, please contact your sales outlet. SWITEL reserves the right to make modifications to the technical specifications and design within the scope of product improvement.
1. Intended use
This babyphone has been developed purely for monitoring voice signals, e.g. from children. Under ideal conditions, monitoring is possible within a range of 2 km.
2. Installation location
Set the babyphone units down on a flat, non-slip surface. Normally, these units do not leave marks on the surfaces where they are located. However, due to the number of paints and surfaces which come into question, it cannot be fully ruled out that the housing will leave marks on the surface where it is located.
3. Power supply
Only use the SWITEL power adapter plugs contained in the material supplied since other power adapter plugs could damage the baby-phone. Never open the power adapter plugs. If a power adapter plug is opened when connected to the power supply socket, there is a risk of fatal injury.
If you want to use the receiver unit with non-rechargeable batteries, never connect the power adapter plug. This would bring the risk of
explosion!
4. Disposing of the device
You are obliged to dispose of the device properly in accordance with European and international laws and directives. This serves to protect both human beings and the environment. The adjacent symbols indicate that electronic devices no longer required must be disposed of separate from domestic waste.

text_image
Symbol combining a recycling can and a recycling symbol, indicating restricted use or no disposal.
Equipment which is old or has exceeded its service life must be disposed of at a corresponding collection point provided by the local public waste authorities.
Batteries and power adapter plugs must be disposed of at the point of sale or at a corresponding collection point provided by the local public waste authorities.
Packing materials must be disposed of according to the applicable local regulations.
5. Important
- Check the sound reception before putting the remote babyphone units into operation. This also checks whether the units have been placed within range of each other. The sound transmission should be checked at regular intervals: Let an adult speak quietly into the transmitter unit. It should be possible to hear the sound made in the baby's room clearly on the “receiver unit” (unit for the adults) in another room.
- During operation, do not place the transmitter and receiver units too close to each other. The units could resonate or interference noise could be produced.
- If you use a power adapter plug, do not position it in the vicinity of the baby but on a window sill or another location where the baby cannot reach it.
- Battery power, walls, radio waves and local characteristics can affect the range of the devices. To achieve a better performance, switch to a different channel or position the receiver unit nearer to the transmitter unit.
6. Cleaning and upkeep
- The units may only be cleaned with a soft cloth which has been slightly moistened (with water).
- Never use cleaning agents which contain solvents.
- Only clean the battery contacts with a dry cloth.
- If the units become damp, remove the batteries and wait until the units are completely dry.
3 Package Contents
1 receiver unit (unit for adult) with power adapter plug
1 transmitter unit (unit for baby) with power adapter plug
1 battery pack for the receiver unit
1 operating manual
1 belt clip
4 Starting Up / Installation
The following descriptions frequently refer to various elements and positions, e.g. (1) or (a) or (H). Please refer to Pages 2 and 3 to see their location.
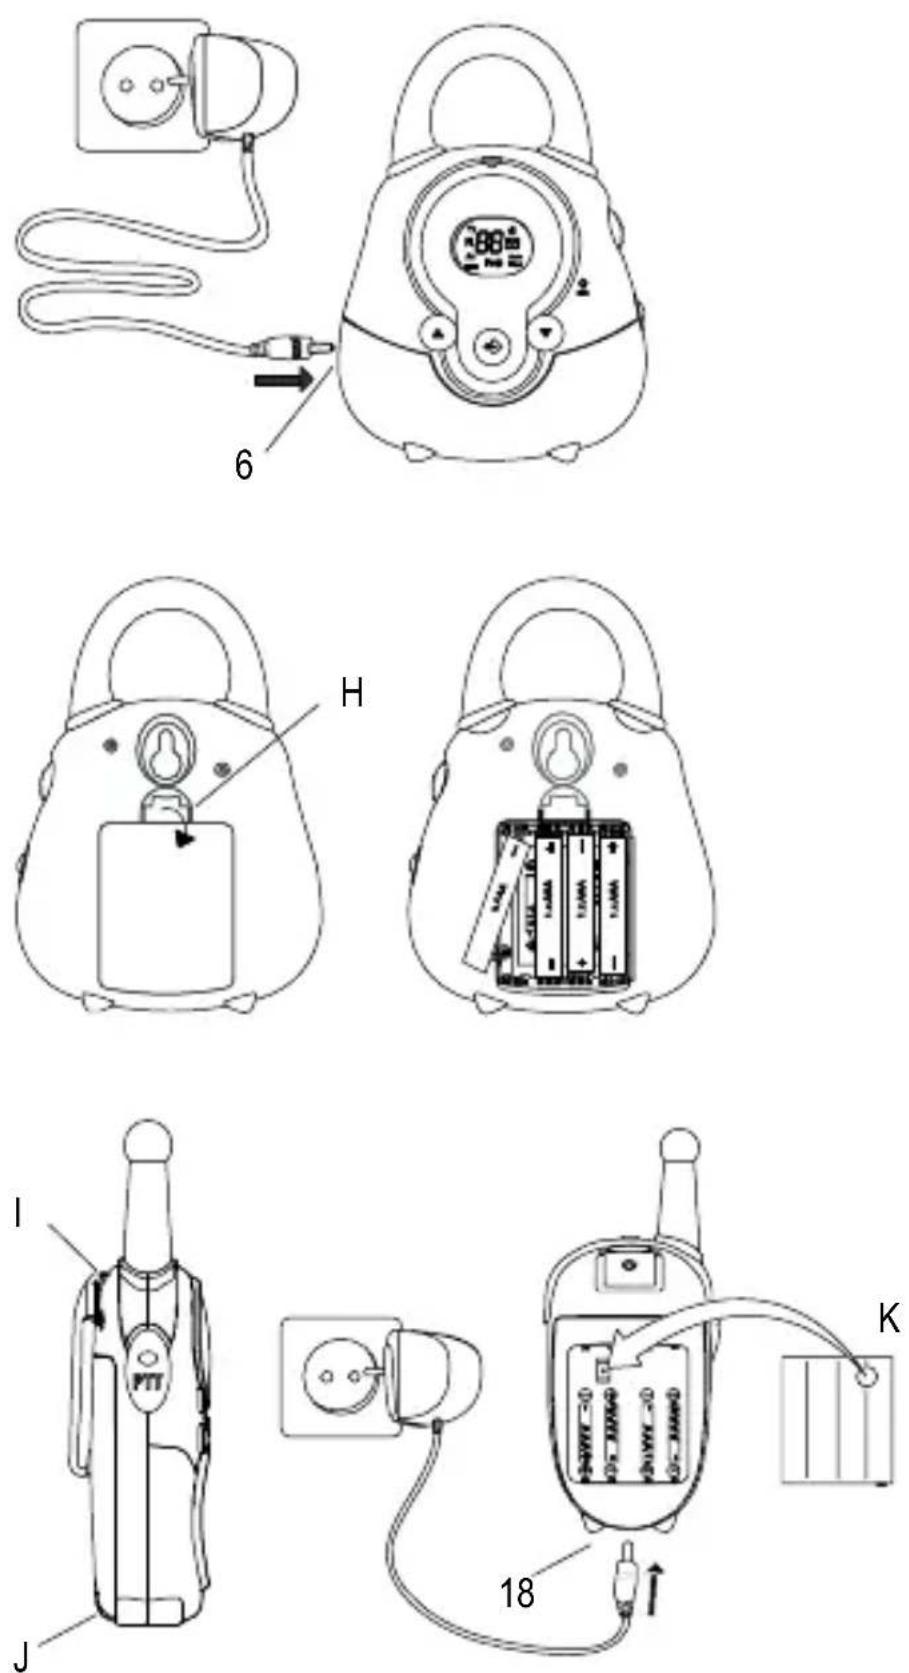
1. Inserting the battery pack in the receiver unit
Only use batteries bearing the CE certificate
- Force the belt clip carefully away from the housing at position (I) and slide it upwards.
- Unlock the battery compartment at position (J) and remove the cover.
- Insert the battery pack ensuring correct polarity; the round metallic notch (K) in the battery pack must be positioned so that it lies at the bottom and makes contact with the corresponding counterpart in the battery compartment.
- Close the battery compartment, lock it and replace the belt clip.

Charge the battery pack fully (i.e. for at least 12-14 hours.) before using it for the first time. The battery pack must not be removed from the receiver unit during the charging process. It is automatically recharged when the unit is operated using the power adapter plug. The battery icon flashes during the charging process and stops flashing when the charging process is completed.
2. Connecting the power adapter plug to the receiver unit
☐ Connect the power adapter plug to the DC 7.5V socket (18) in the receiver unit and to the power outlet.
3. Inserting the batteries in the transmitter unit
☐ The transmitter unit can be operated using 4 normal “AAA” batteries or rechargeable batteries of the same type. Please remember that the batteries cannot be recharged using the power adapter plug supplied. A commercially available charging unit is required.
☐ Unlock the battery compartment (H) and remove the cover.
☐ Ensure the correct polarity of the batteries.
☐ Close the battery compartment.
4. Connecting the power adapter plug to the transmitter unit
☐ Connect the power adapter plug to the DC 10V socket (6) in the transmitter unit and to the power outlet.
5. Wall installation of the transmitter unit
The transmitter unit can be mounted on a wall. You only need a screw which fits in the slot on the rear of the transmitter unit.
5 Operation
1. Transmitter unit
In order that the transmitter (unit for the baby) and receiver (unit for the adult) can communicate with each other, they must both be set to the same memory channel (M1-M15).
Sensitivity control (VOX)
The sensitivity control is used to set the noise level at which the transmitter should begin transmitting noises detected.
1 kHz beep signal
In order to be sure the transmitter is working properly, activate this feature so that it sends a beep signal every 30 seconds.
Automatic monitoring
The transmitter can be set up so that it activates the microphone for 5 seconds every 5 minutes and transmits the noises detected to the receiver.
Alert signal
The transmitter can be set up so that it sends an alert signal before transmitting the noises detected.

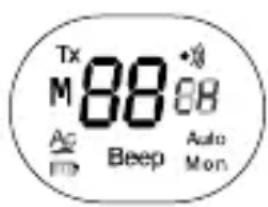
display flashes while completing the settings de- scribed below; it returns to a constant display after a few seconds. This means that the setting made has been saved.
Switch on Switch off
text_image
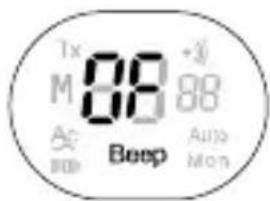
Tx M 88 68 Ac Beep Auto MonSet the switch (3) to "l".
Note: The display indicates the current channel or memory channel.
Set the switch (3) to "0".
Note: The display goes out.
Set the memory channel

text_image
Tx M 88 +0 Ao pmp Boep Auto MonPress the Menu button (5) twice; use buttons (7,4) to select a memory channel (M1-M15).
Note: "M" appears in the display.

Deactivate the memory channel

text_image
Tx M 88 +88 Ac beep Beep Auto MonPress the Menu button (5) twice; use buttons (7,4) to select "OF".
Note: "M" disappears from the display.
Set the trans- mission sensi- tivity (VOX)
Use the control knob (1) to set the sensitivity at which the transmitter unit should start to transmit.
Control upwards = increase sensitivity
Control downwards = decrease sensitivity
1 kHz beep signal on/off
text_image
Tx M 88 +3/88 A BoeP Beep Auto MonPress the Menu button (5) 3 times; define the setting with button (7) "ON" or button (4) "OF".
Beep signal on: = BEEP
Beep signal off: = No indicator
Automatic monitoring on/off

text_image
Tx M 88° Ac moe Beep Auto MonPress the Menu button (5) 4 times; define the setting with button (7) "ON" or button (4) "OF".
Automatic monitoring on = AUTO MON
Automatic monitoring off = No indicator
Alert signal on/off

text_image
Tx M 88:00 Ac Beep Auto MonPress the Menu button (5) 5 times; define the setting with button (7) "ON" or button (4) "OF".
When the alert signal is active, the alert icon appears in the display.
2. Receiver unit
Switch on Switch off
text_image
M8888 2.5V 3.0V 4.0VPress and hold the On/Off button (17) until you hear the Beep signal.
Note: The display indicates the current channel or memory channel. The display goes out when the unit is switched off.
Set the mem- ory channel

text_image
M89.00 Time Battery Network (2:35)Press the Menu button (17) twice; use buttons (16,20) to select a memory channel (M1-M15).
Note: "M" appears in the display.
Deactivate the memory channel

Press the Menu button (17) twice; use buttons (16,20) to select "OF".
Note: "M" disappears from the display.
Set the volume

text_image
M88:88 0.0000 0.0000 0.0000Use button (16) to increase the volume; use button (20) to lower it.
Note: The bar alters according to the volume setting.
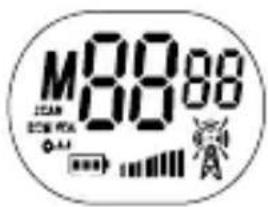
3. Using the receiver unit as a walkie-talkie

you can use the receiver unit as a walkie-talkie in order to communicate with other parties on the same channel. To do this, exit from the memory channel mode (M1-M15) and select one of the eight available channels.
VOX setting
The walkie-talkie is equipped with noise-activated electronics which ensure that the unit only transmits when noises are actually detected. It is not advisable to activate VOX mode when you are in a noisy environment.
Ringing tone
In order to alert other parties that you wish to speak to them, you can send a ringing tone. To do this, simply press the ringing tone button.
Channel monitoring
You can use the “MONITORING” function to scan the current channel for weak signals.
Scanning
Scanning activates the continuous scanning of all channels (1-8). The scanning process stops when an active signal is detected and you can carry out a conversation, if so required, by pressing the PTT button. Otherwise, you can resume the scanning process and exclude signals detected from the subsequent scan.
Key lock
You can prevent the functions assigned to the buttons on the walkie-talkies from being activated inadvertently.
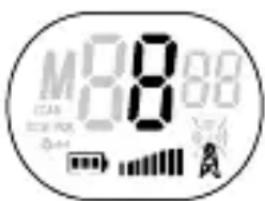
Deactivate the memory channel
text_image
M3988 VAN ON/OFF Power Wiring StationPress the Menu button (17) twice; use buttons (16,20) to select "OF".
Note: "M" disappears from the display.
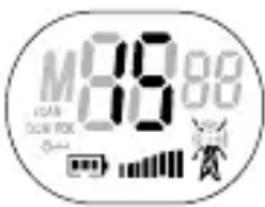
Set the chan- nel
text_image
M888 12.5V DC 40kΩ -0.44 A APress the Menu button (17) once and use buttons (16,20) to select the required channel, e.g. 8.
Note: "M" disappears from the display.
Receive call signals
text_image
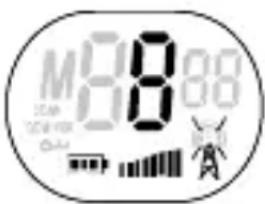
M8:80 2.5m 100mm 0.5m 100mm 100mm 100mm 100mm 100mm 100mm 100mm 100mm 100mm 100mm 100mm 100mm 100mm 100mm 100mm 100mm 100mm 100mm 100mm 100mm 100m 100m 100m 100m 100m 100m 100m 100m 100m 100m 100m 100m 100m 100m 100m 100m 100m 100m 100m 100m 100n 100n 100n 100n 100n 100n 100n 100n 100n 100n 100n 100n 100n 100n 100n 100n 100n 100n 100n 100n 100m 100m 100m 100m 100m 100m 100m 100m 100m 100m 100m 100m 100m 108:88:88The receiver unit is permanently on receive when it is switched on and not currently transmitting. When a signal is received, the RX icon lights up.
Send call signals

text_image
M8:80 Battery Power RadioPress and hold the PTT button (22) to transmit. The TX icon lights up. Hold the walkie-talkie vertical and speak into the microphone at a distance of 10 cm.
VOX mode setting

text_image
M 88 89 DCM COM VEL 0-Press the Menu button (17) 3 times; the current VOX setting (1,2,3, OF) flashes and the VOX icon appears in the display.
Note: The VOX icon disappears when OF is selected.
Scanning

text_image
M8888 Battery Battery pack Power SourcePress the Menu button (17) and button (16) simultaneously to start scanning. All the channels (1-8) are scanned. Scanning stops when a signal is detected and you hear the active signal. Press the PTT button (22) to switch to this channel.
Press the Menu button (17) to end the scanning function. Press button (16) to resume scanning.
Key lock

text_image
M88:89 A201 B201 V201Press button (21) for approx. 3 seconds to switch the key lock function on or off.
Note: The key icon appears when the key lock function is on and disappears when it is off.
Ringing tone
Press the ringing tone button (14) to alert other parties for 3 seconds you wish to speak to them.
Note: The other parties hear the ringing tone when they are on the same channel.
Channel monitoring
Press the Menu button (17) and button (16) simultaneously to scan the current channel for weak signals.
Press the Menu button (17) to end the scanning function.
Back-lighting
The back-lighting is switched on automatically for 5 seconds after pressing any button.
Port for head- phones
A headphone connection port is provided at the top of the receiver unit.
6 Troubleshooting
Service hotline / Guarantee
Should problems arise with the monitoring set, please refer to the following information first. In the case of technical problems, please contact our hotline within Switzerland under tel. 0900 00 1675 (cost with Swisscom at time of going to print: CHF 2.00/min). In the case of claims under the terms of guarantee, contact your sales outlet. There is a 2 year period of guarantee.
1. No power
- The unit is switched off. Switch the unit on.
- Ensure that the batteries have been inserted correctly.
- Check that the adapter plug is correctly connected to the device.
- Check the battery charge status. Insert new batteries, if necessary.
2. No transmission (walkie-talkie)
- Press and hold the PTT button before starting to speak.
- Check the channel activity and select a different channel if the current one is in use.
3. No reception
- Check the volume setting.
- Check that you are in a suitable reception range. Move to a different location, if necessary.
4. Poor reception / Noise during transmission
- The communication range is dependent on the immediate environment.
- Steel constructions, high-rise buildings or use in vehicles have a negative effect on the range of operation.
- Try to communicate in areas with as few obstacles as possible.
- Move to a different location, if necessary.
5. Disturbance
- Transmitter and receiver are too close together. Ensure a minimum distance of 1.5 m.
7 Technische Angaben, Données techniques, Specifiche tecniche, Technical Specifications
| Kanäle, Canaux,Canali, Channels: | 8 |
| Sub-Code, Sub Code,Sub-codice, Sub-code: | CTCTSS |
| Frequenz, Fréquence,Frequenza, Frequency: | 446.00625MHz-446.09375MHz |
| Reichweite, Portée,Portata, Range:Batterien, Piles,Batterie, Batteries: | up to 2 km in open space |
| Baby-Einheit, Unité bébé,Unità bebè, transmitter unit: | 4xAAA (LR03) Alkaline batteries |
| Eltern-Einheit, Unité parents,Unità genitori, receiver unit: | Akkupack or 4xAAA (LR03) Al-kaline batteriesor 4 rechargeable AAA=<500mW ERP |
| Sendeleistung,Puissance d’émission,Potenza di trasmissione,transmission:Modulation, Modulation,Modulazione, Modulation:Channel Spacing: 12,5 kHzNetzadapter, Adaptateurréseau, Adattatore di cor-rente, Power adapter plug: | FM - F3E |
| Baby-Einheit, unité bébé,Unità bebè, transmitter unit: | DC 10 V/300 mA |
| Eltern-Einheit, Unité parents,Unità genitori, receiver unit: | DC 7,5 V/200 mA |
Kanaltabelle, Tableau des canaux, Channel table, Tabella canali
Speicherkanal Canal de mémoire, Canale di memoria, Memory channel
Walkie-Talkie Kanalnummer, Walkie-Talkie Numéro de canal, Numero canale walkie-talkie, Walkie-Talkie channel number
Declaration of conformity
WE TELGO AG
OF Route d'Englisberg 17
CH-1763 Granges-Paccot
Declare under our own responsibility that the product
MODEL: BCC 50
DESCRIPTION: Babyphone with Display
Is in conformity with directives: R&TTE Directive (1999/5/EC)
AUTHORISED BY:
Signed:
Mauri
Name (printed): Selim Dusi
Position in company: Managing Director
Date of issue: 14 February, 2006
Copies of this document will be held on file for a period of 10 years after the last production.