USER MANUAL SYNCMASTER 2333HD SAMSUNG
LCD TV MONITOR QUICK SETUP GUIDE
imagine the possibilities
Thank you for purchasing this Samsung product. To receive more complete service, please register your product at
www.samsung.com/register
If you have any questions or comments relating to Samsung products, please contact the SAMSUNG customer care centre. (See back cover for more information.)
The Supplied Accessoris
If any items are missing, contact your dealer.

Warranty Card (Not available in all locations)

Power Cord
Remote Control

User's Guide


Stereo Cable
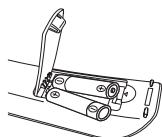
Batteries (AAA X 2) (Not available in all locations)

Quick Setup Guide


D-Sub Cable
Stand Base

Cleaning Cloth

Cable holding ring
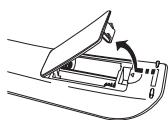
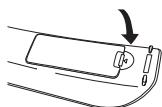
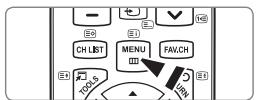
2 Installing Batteries in the Remote Control


Viewing the Control Panel
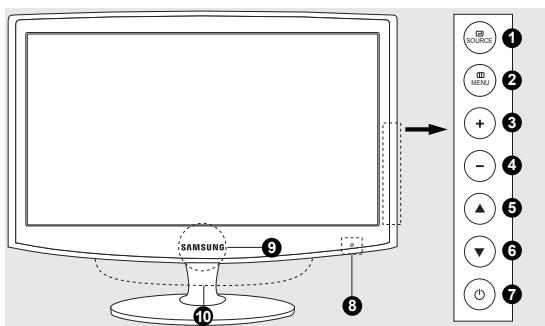

SOURCE

MENUE

4 Adjusts the audio volume.

Press to change the channel.

(POWER)

Remote Control Sensor

Power indicator

Speaker
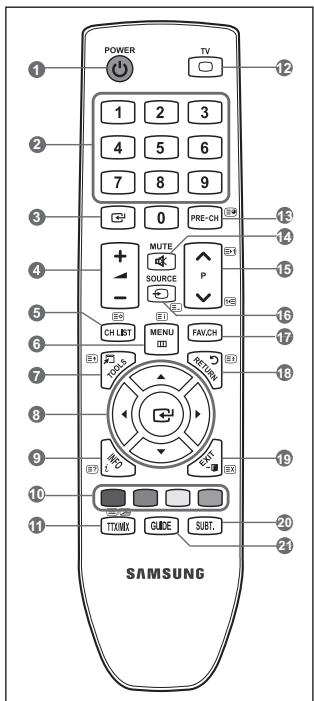
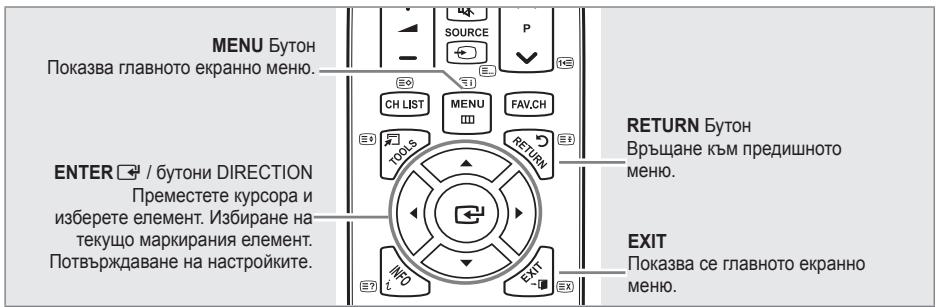
Remote Control
You can use the remote control up to a distance of about 23 feet from the TV.
The performance of the remote control may be affected by bright light.
The product colour and shape may vary depending on the model.
1 POWER
Turns the TV on and off.
Press to change the channel.
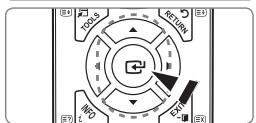
ENTER
Activates a highlighted menu item.
4 -4+
Press to increase or decrease the volume.
CH LIST
Used to display Channel Lists on the screen
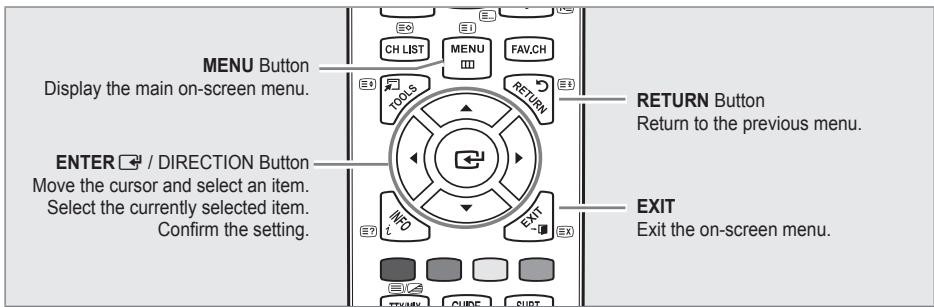
Displays the main on-screen menu.
Use to quickly select frequently used functions.
Use to select on-screen menu items and change menu values.
9 INFO
Press to display information on the TV screen.
Press to add or delete channels and to store channels to the favorite channel list in the "Channel List" menu.
TTX/MIX
TV channels provide written information services via teletext.

12 TV
Selects the TV mode directly.
PRE-CH
Enables you to return to the previous channel you were watching.
14 MUTE
Press to temporarily cut off the sound
15 APV
Press to change channels.
16 SOURCE
Press to display and select the available video sources.
17 FAV.CH
Press to switch to your favorite channels.
RETURN
Returns to the previous menu.
19 EXIT
Press to exit the menu.
20 SUBT.
Digital subtitle display
GUIDE
Electronic Programme Guide (EPG) display.
Troubleshooting
| Problem | Solution |
| No sound or picture | Check that the mains lead has been connected to a wall socket. Check that you have pressed the button on your set. Check the picture contrast and brightness settings. Check the volume. |
| Normal picture but no sound | Check the volume. Check whether the MUTE button has been pressed on the remote control. Check the Speaker Select settings. |
When the TV is initially powered on, basic settings proceed automatically and subsequently.
Preset: Connecting the mains and antenna.
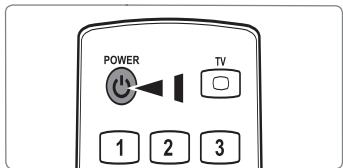
- Press the POWER button on the remote control.
You can also use the POWER button on the TV.
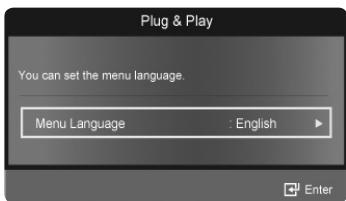
The message You can set the menu Language. is displayed.
-
Press the ENTER button. Select the appropriate language by pressing the or button. Press the ENTER button to confirm your choice.
-
Press the or button to select Store Demo or Home Use, then the ENTER button.
We recommend setting the TV to Home Use mode for the best picture in your home environment.
Store Demo mode is only intended for use in retail environments.
If the unit is accidentally set to Store Demo mode and you want to return to Home Use (Standard): Press the volume button on the TV. When the volume OSD is displayed, press and hold the MENU button on the TV for 5 seconds.
- Press the ENTER button. Select the appropriate country by pressing the or button. Press the ENTER button to confirm your choice.
- Press the or button to select Air or Cable, then press the ENTER button.
Air: Air antenna signal.
Cable: Cable antenna signal.
- Press the or button to select the channel source to memorize. Press the ENTER button to select Start.
When setting the antenna source to Cable, a step appears allowing you to set a value for the digital channel search.
Digital & Analogue: Digital and Analogue channels.
Digital: Digital channels.
Analogue: Analogue channels.
The channel search will start and end automatically.
Press the ENTER button at any time to interrupt the memorization process.
After all the available channels are stored, the message Set the Clock Mode. is displayed.
- Press the ENTER button. Press the or button to select Auto, then press the ENTER button.
If you select Manual, Set current date and time is displayed.
If you have received a digital signal, the time will be set automatically. If not, select Manual to set the clock.
- The description for the connection method providing the best HD screen quality is displayed. Check the description and press the ENTER button.
- The message Enjoy your TV. is displayed. When you have finished, press the ENTER button.
If you want to reset this feature...
- Press the MENU button to display the menu. Press the or button to select Setup, then press the ENTER button.
- Press the ENTER button again to select Plug & Play.
- Enter your 4 digit PIN number. The default PIN number of a new TV set is '0-0-0-0'.
If you want to change PIN number, use the Change PIN function.
The Plug & Play feature is only available in the TV mode.
Before using the TV, follow the steps below to learn how to navigate the menu in order to select and adjust different functions.
Operation the OSD (On Screen Display)
The access step may differ depending on the selected menu.
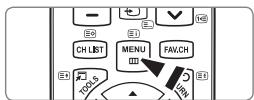
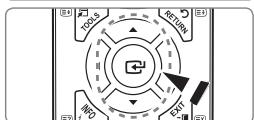
- Press the MENU button.
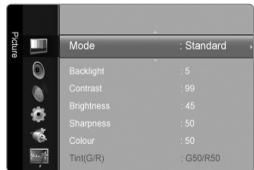
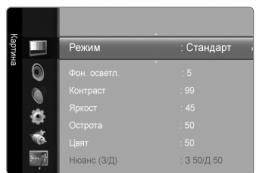
- The main menu appears on the screen. The menu's left side has icons : Picture, Sound, Channel, Setup, Input, Application, Support.
- Press the or button to select one of the icons.
- Then press the ENTER button to access the icon's sub-menu.
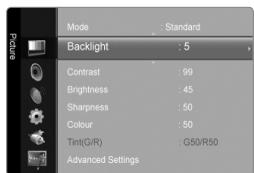
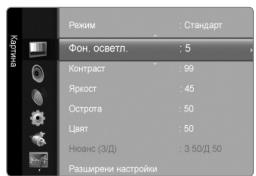
- Press the or button to select the icon's submenu.
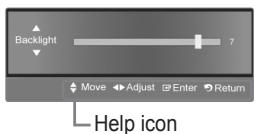
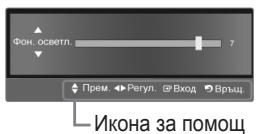
- Press the or button to decrease or increase the value of a particular item. The adjustment OSD may differ depending on the selected menu.
- Press the ENTER button to complete the configuration.
- Press the EXIT button to exit.
For more information on the operating procedures, refer to the CD manual.
The product colour and shape may vary depending on the model.
English-5
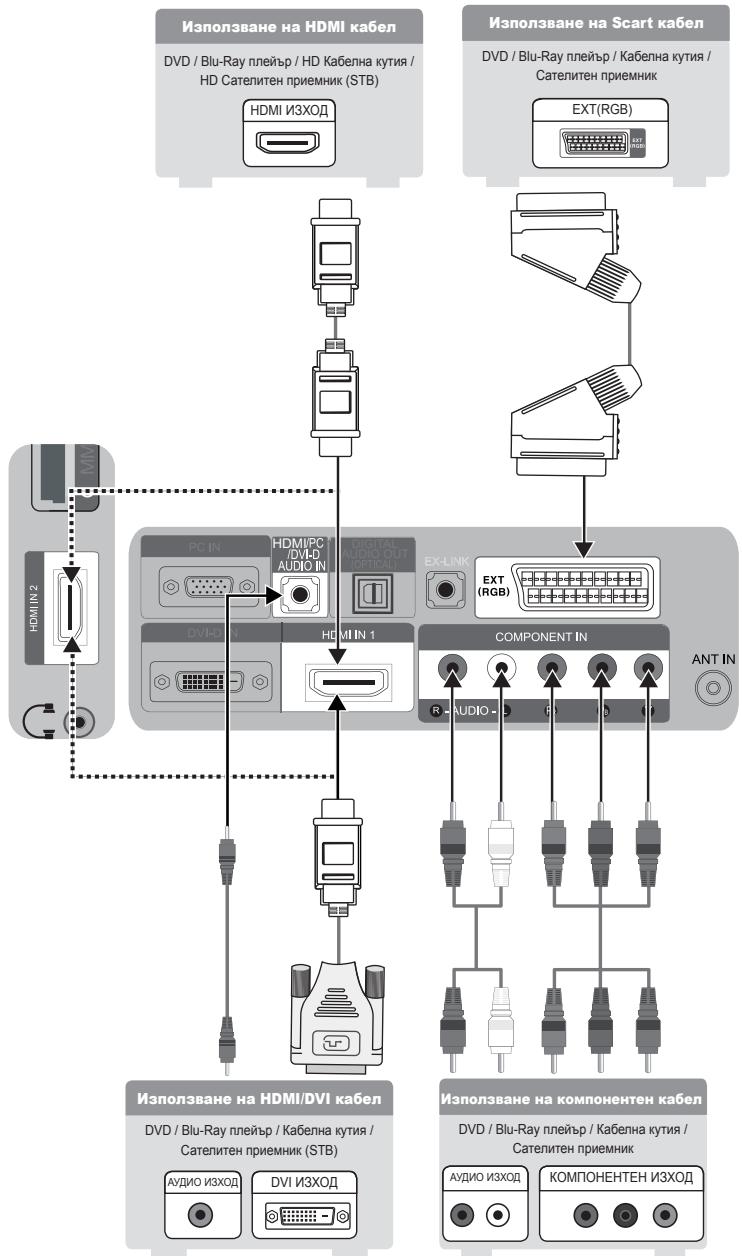
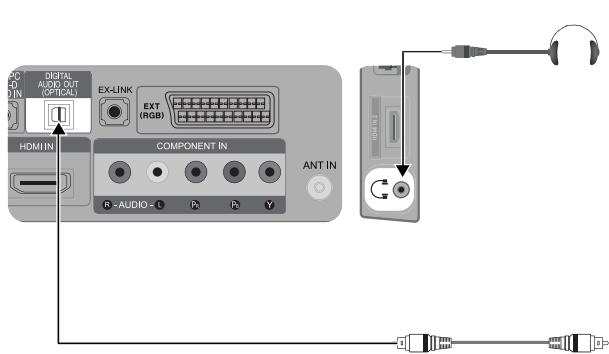
Connecting an audio device
The product colour and shape may vary depending on the model.
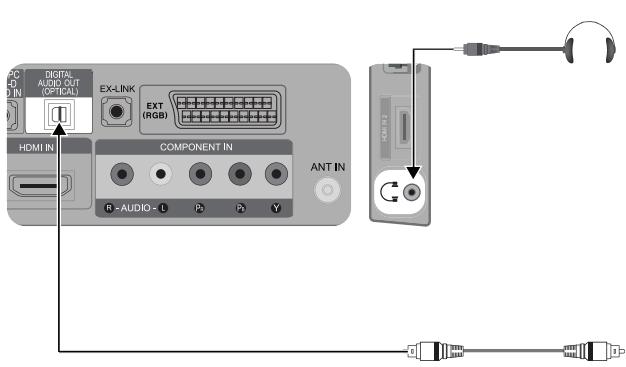

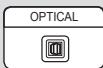
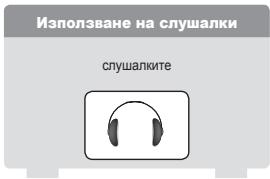
Using a Headphone
Headphone
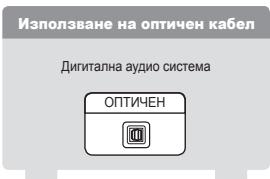
Using an Optical Cable
Digital Audio System
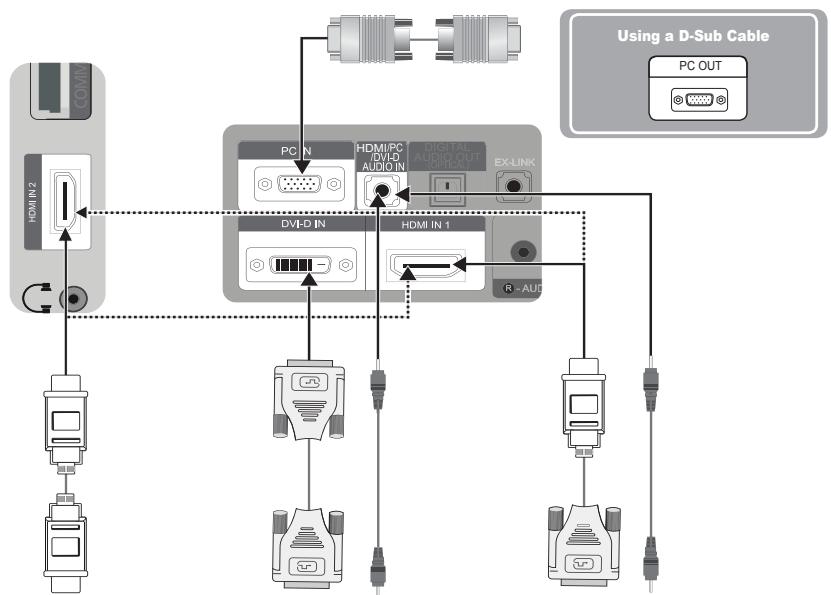
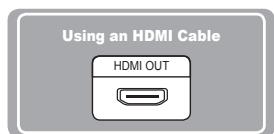
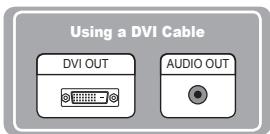
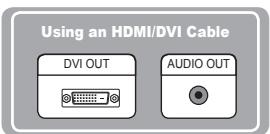
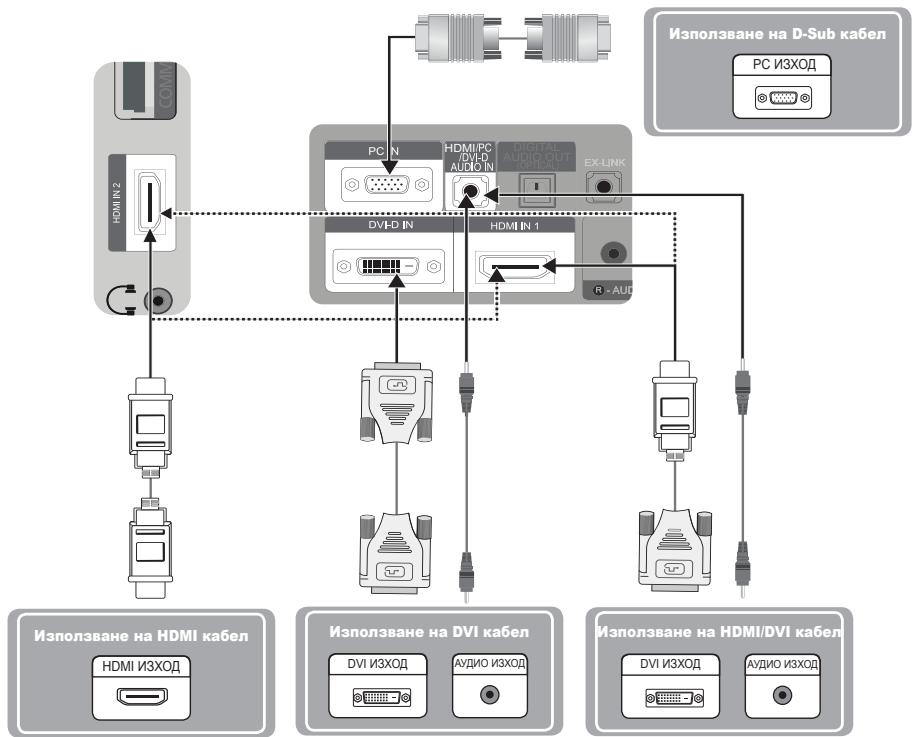
Connecting a PC
The product colour and shape may vary depending on the model.
English-6
Cbpxte ce cbc SAMSUNG IO CEJINCRBT
Ako mATE Bbnpocn INI KOMeHTapn 3a npOyKTInTe Ha Samsung, ce o6bpHeTe KbM cEHTbpa 3a o6cnykBaHe Ha KJIeHTn HA SAMSUNG. (Bx. 3aHnata o6oKka 3a noboe HnΦopMaun.)
PpeoctaBeHnte akcecoapn
Poka3BaHe Ha MeHOTata
Ipei Da I3no3BaTe TeneBn3ra, CneBaTc TbKnTe NO-dOny, 3a Da Ce HayuHrKe KaK Da HABINrpaTe B MeHTo, 3a Da I36nPaTe n perynpate pa3nunHrte FyHKm.
Pa6oTaHaOSD(ekpaHHnДиCnJIeJ)
Ctbnkata 3a doctbn moke da ce pa3nucaba B 3aBcncmoCT OT u36paHOTMeHO.
- Hatnchete 6ytoHa MENU.
- Ha ekpaha CE noK3aBA rnaBHTO MEHIO. OT IraBATA cTpaHa HA MeHOTOMa pa3IyHn HKOHN: KapTnHa, 3Byk, KaHAn, HAcToPka, BxOd, PInpoXeHHa, PoIaPbJka.
- Hatnche 6bytohne A nIu V, 3a da n36epete edha ot IKOHHe.
- CnED TOBA HATUCHETe 6yTOHa ENTER 1 ,3a Da OTBOpHTe NOMeHOTO Ha daHeHATA IKoha.
- Hatnche 6ytoHnTe ▲ nI ▼, 3a da n36epete noDmeHIO Ha daeHa IKOHa.
- HataChete 6bToHa 1nH 3a DaHAMaNITE nH yBENiHTe CTOnHOCTTa Ha daDeH enMeHt. HactPoiKaHa E kEPAHOTO MEHO MOKe DA ce pA3NJUcAB a B3ABCIMOCT OT n35paHOTo MEHO.
- Hatachete byToHa ENTER OTHOBo, 3a da 3abbpHnTe KOHfMypaunrta.
- Hatnche 6ytoHa EXIT 3a n3n3aHe.
3a noBee HnHOpMaun OTHoCNo IpoUeDpyPte Ha paObaT a HapPabTe cnpBaK b CD pIkoBoCTbTO 3a nOTpe6nten.
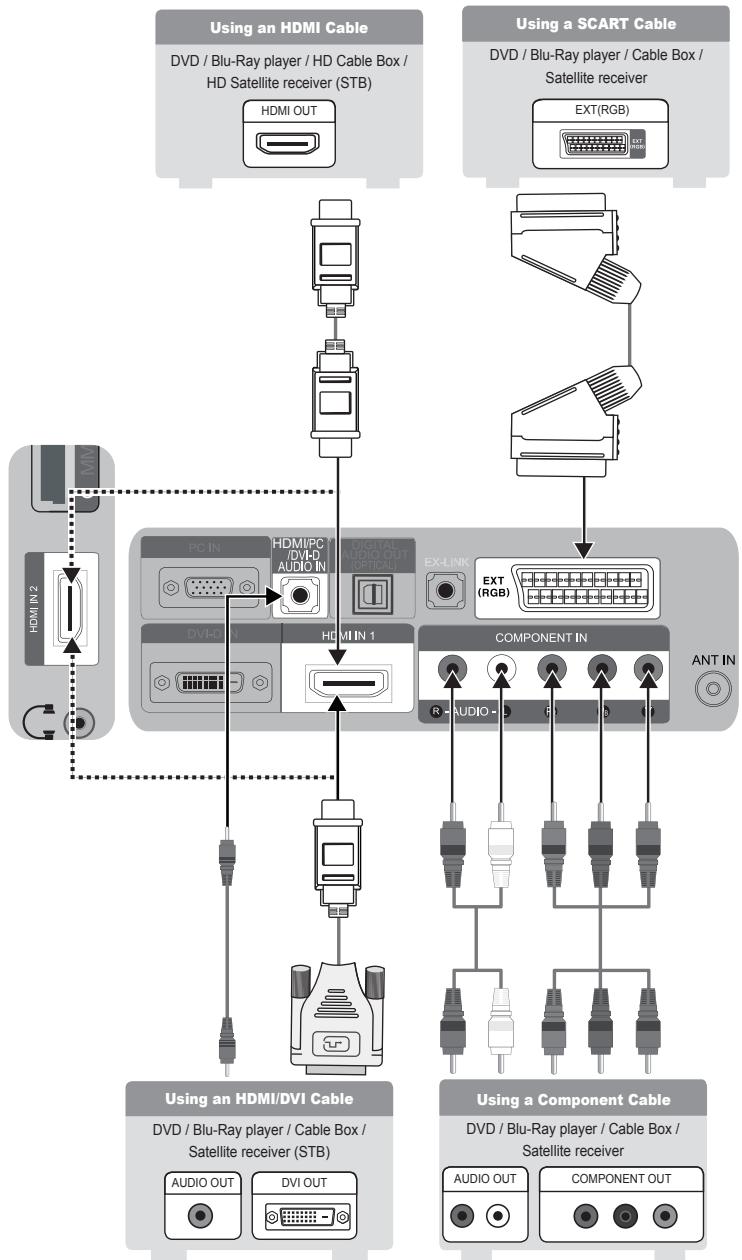
Cbpb3BaHe Ha AV yctpoiCTBO
LBeTbTnΦopMaTaHa npOdykTa MoKe da ce pa3JInuaBat 3a pa3JInuHHTe MOeIN.
BbIrrapckn-5
Cbpb3BaHe KbMa ydno ycTpoCTBOTO
LBeTbI nΦopMaTa Ha npOdykTa MoKe Ja ce pa3NHyaBaT 3a pa3NHyHnTe MoEJI.
Cbbp3BaHe c PC
LBeTbTnΦopMaTaHa npOyKTA MoKe Da ce pa3NHyBaAT 3a pa3NHyHNTe MoJeI.
BbIrrapckn-6
12,4E,6E10E,16E,18E,19E
12,13E3,15E10E,16E,18E19E
12,13E,15E16E,18E,19E
Anvanda OSD (On Screen Display)
If you have any questions or comments relating to Samsung products, please contact the SAMSUNG customer care centre.
| Country | Customer Care Centre® | Web Site |
| AUSTRIA | 0810 - SAMSUNG (7267864, € 0.07/min) | www.samsung.com/at |
| BELGIUM | 02 201 2418 | www.samsung.com/be
www.samsung.com/be_fr |
| CZECH REPUBLIC | 800 - SAMSUNG (800-726786) | www.samsung.com/cz |
| Distributor pro Českou republika:
Samsung Zrt., Česká organizačné složka, Oasis Florec, Sokolovská394/17,
180 00, Praha 8 |
| DENMARK | 8 - SAMSUNG (7267864) | www.samsung.com/dk |
| EIRE | 0818 717 100 | www.samsung.com/ie |
| FINLAND | 30 - 6227 515 | www.samsung.com/fi |
| FRANCE | 01 4863 0000 | www.samsung.com/fr |
| GERMANY | 01805 - SAMSUNG (7267864, € 0.14/Min) | www.samsung.de |
| HUNGARY | 06 - 80 - SAMSUNG (7267864) | www.samsung.com/hu |
| ITALIA | 800 - SAMSUNG (7267864) | www.samsung.com/it |
| LUXEMBURG | 02 261 03 710 | www.samsung.com/lu |
| NETHERLANDS | 0900-SAMSUNG (0900-7267864) (€ 0,10/Min) | www.samsung.com/nl |
| NORWAY | 3 - SAMSUNG (7267864) | www.samsung.com/no |
| POLAND | 0 801 1SAMSUNG(172678)
022 - 607 - 93 - 33 | www.samsung.com/pl |
| PORTUGAL | 808 20 - SAMSUNG (7267864) | www.samsung.com/pt |
| SLOVAKIA | 0800 - SAMSUNG (7267864) | www.samsung.com/sk |
| SPAIN | 902 - 1 - SAMSUNG (902 172 678) | www.samsung.com/es |
| SWEDEN | 075 - SAMSUNG (726 78 64) | www.samsung.com/se |
| SWITZERLAND | 0848 - SAMSUNG (7267864, CHF 0.08/min) | www.samsung.com/ch |
| U.K | 0845 SAMSUNG (7267864) | www.samsung.com/uk |
| TURKEY | 444 77 11 | www.samsung.com/tr |
| ESTONIA | 800-7267 | www.samsung.com/ee |
| LATVIA | 8000-7267 | www.samsung.com/lv |
| LITHUANIA | 8-800-77777 | www.samsung.com/lt |
| KAZAHSTAN | 8-10-800-500-55-500 | www.samsung.com/kz_ru |
| KYRGYZSTAN | 00-800-500-55-500 | - |
| RUSSIA | 8-800-555-55-55 | www.samsung.ru |
| TADJIKISTAN | 8-10-800-500-55-500 | - |
| UKRAINE | 8-800-502-0000 | www.samsung.ua |
| UZBEKISTAN | 8-10-800-500-55-500 | www.samsung.com/kz_ru |