
Ringo Relay - Home Automation Evolveo - Free user manual and instructions
Find the device manual for free Ringo Relay Evolveo in PDF.


| Product Type | Smart Video Doorbell |
| Model | Evolveo Ringo Relay |
| Video Resolution | 1080p Full HD |
| Lens Angle | 140° |
| Night Vision | 6x IR LEDs for invisible illumination |
| Motion Detection | PIR sensor with human detection (AI) |
| Wireless Communication (Door Unit) | 2.4 GHz Wi-Fi |
| Wireless Communication (Doorbell Unit) | 433 MHz |
| Audio | Two-way full duplex |
| Storage | Micro SD card up to 128 GB |
| Power Supply | AC 12-24V for door unit; rechargeable battery for doorbell unit (USB-C 5V2A) |
| Battery Charging Time | At least 4 hours |
| Water Resistance | IP65 (door unit) |
| Compatibility | Smart Life / Tuya app, Google Home, Amazon Alexa |
| Operating System Requirements | iOS 12.0+ or Android 8.1+ |
| Package Contents | Door unit, doorbell unit, USB cable, screw pack, angle bracket, small key, user manual |
| Dimensions (Door Unit) | Approx. 14 x 6 x 3 cm (estimated) |
| Weight (Door Unit) | Approx. 200 g (estimated) |
| Safety Features | Tamper alarm upon removal |
| Dismantling / Repair | No user-serviceable parts; warranty void on unauthorized repair |
Frequently Asked Questions - Ringo Relay Evolveo
User questions about Ringo Relay Evolveo
0 question about this device. Answer the ones you know or ask your own.
Ask a new question about this device
Download the instructions for your Home Automation in PDF format for free! Find your manual Ringo Relay - Evolveo and take your electronic device back in hand. On this page are published all the documents necessary for the use of your device. Ringo Relay by Evolveo.
USER MANUAL Ringo Relay Evolveo
2. OBSAH BALENÍ
3. ZAPOJENÍ
Wi-Fi Router
natural_image
Front view of a device casing with two labeled buttons (ON/OFF, RESET) and a red circular icon on the lower panel (no text or symbols beyond basic labels)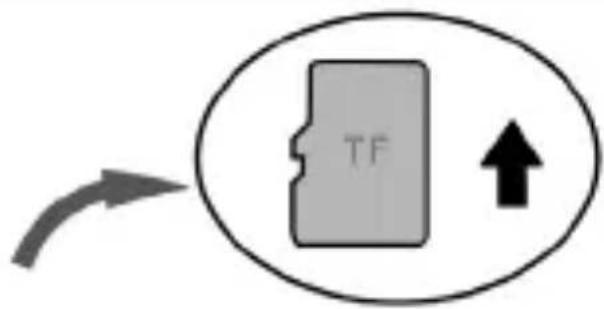
flowchart
graph TD
    A["TF"] --> B["↑"]
    style A fill:#ccc,stroke:#333
    style B fill:#fff,stroke:#333
Krok 4:
6. PÁROVÁNÍ ZVONKOVÉ JEDNOTKY S DVEŘNÍ JEDNOTKOU
SPOLUPRÁCE S GOOGLE HOME
natural_image
Line drawing of a modern office phone with front panel and keypad (no text or symbols)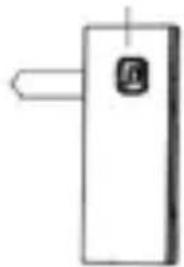
natural_image
Simple line drawing of a rectangular device with a handle and a small square button on the side (no text or symbols)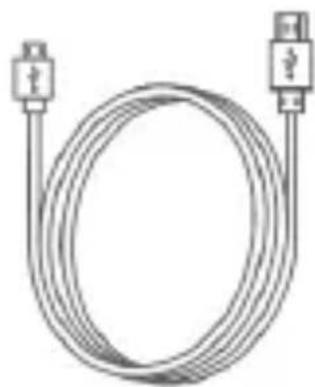
natural_image
Line drawing of a flexible cable with two connectors (no text or symbols)natural_image
Stack of three overlapping paper sheets (no text or symbols)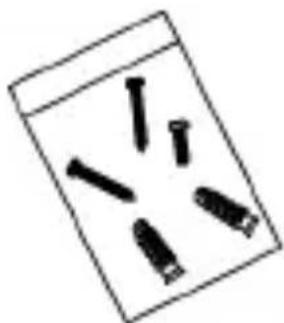
natural_image
Simple line drawing of a pen with five bullet points (no text or symbols)3. KONEKTY
Wi-Fi Router
natural_image
Front view of a device enclosure with two panels, one showing a small connector and the other a red button (no text or symbols visible)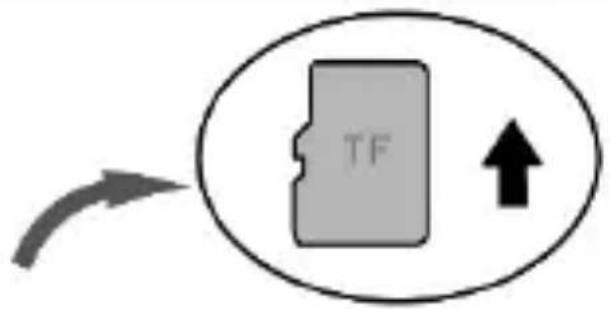
flowchart
graph TD
    A["TF"] --> B["↑"]
    style A fill:#ccc,stroke:#333
    style B fill:#fff,stroke:#333
Krok 4:
6. SPÁROVANIE JEDNOTKY ZVONČEKA S JEDNOTKOU DVERÍ
• 10% wireless operation
- IP65 resistance
• 1080P FULL HD video
• Support for micro SD cards up to 128 GB
- Lens angle 140^
- 6x IR LEDs for nighttime invisible illumination
• PIR sensor for motion detection
- Detect people from images for more accurate alerting.
• 433MHz for communication between units
- 2.4 GHz WiFi for connecting the door unit to the Internet
- Two-way full duplex communication
• Tuya platform, fully functional with Smart life app
2. PACKAGING CONTENT
Open the package and make sure it is complete, intact and has all the accessories listed below.
Warning: The units are not paired out of the box - see Chapter 4 for the procedure.
natural_image
Line drawing of a modern office phone with front panel and keypad (no text or symbols)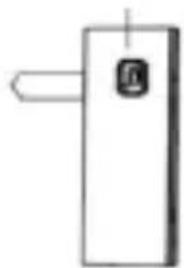
natural_image
Simple line drawing of a rectangular device with a handle and a button (no text or symbols)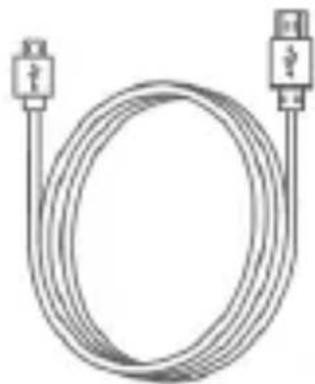
natural_image
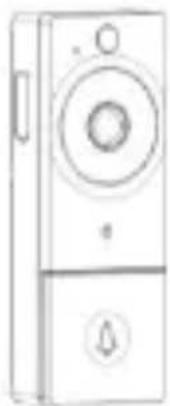
Line drawing of a flexible electrical connector with two terminal connectors (no text or symbols)1 x Door unit (camera) 1x doorbell for socket
1 x USB cable

natural_image
Stack of three overlapping paper sheets (no text or symbols visible)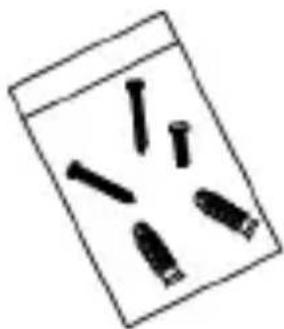
natural_image
Simple line drawing of a tablet with five bullet points (no text or symbols)1 x user manual
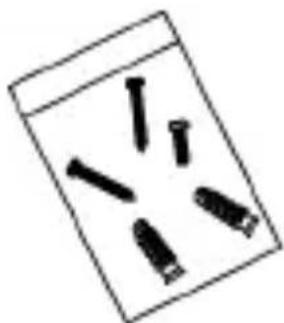
1 x pack of screws Screw, screw cap
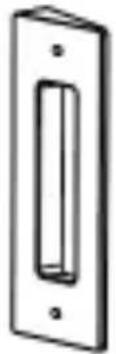 | 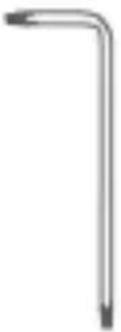 |
| 1 x angle bracket | 1 x small key |
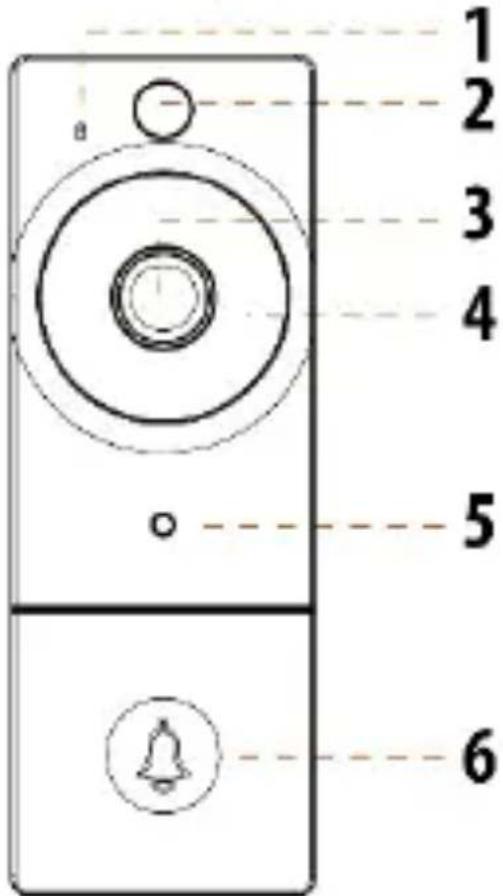 | |
| 1) Microphone2) Motion sensor (PIR)3) Lens | 4) IR LED5) Light sensor6) Doorbell button |
Speaker - from the bottom of the device - for communication with the visitor
Lens - camera lens - keep clean
Infrared LEDs - nighttime invisible illumination
Light sensor - for activating night mode
Indicator light - A status light that displays the working status of the device.
Bell button -press it to receive an alert or call from the app.
Microphone - audio transmission to the "Smart Life" app
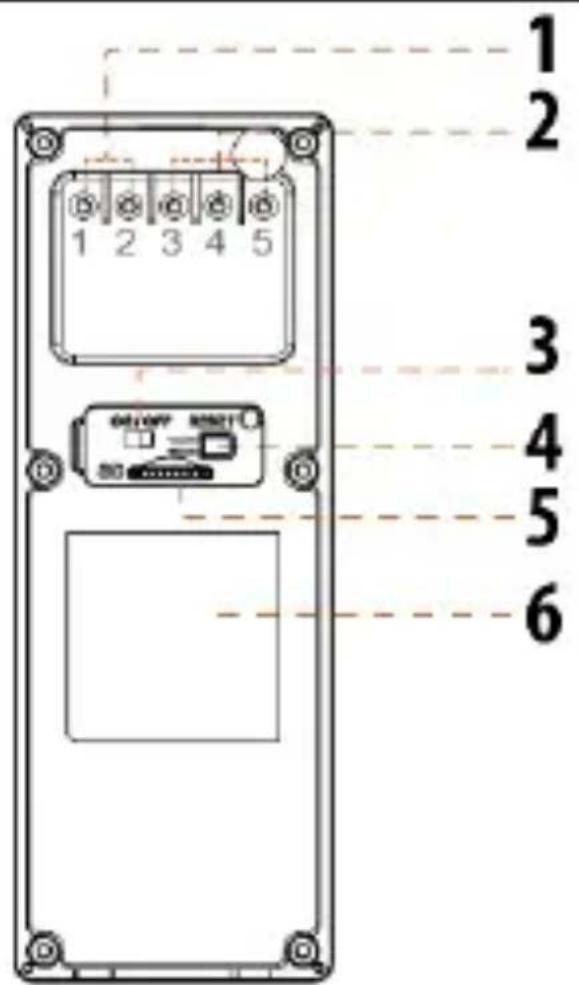
Reset - Press the reset button on the back of the device for more than 3 seconds to hear a sound and see the indicator light flash red. (Please note that all your data on the device will be
Deleted and factory reset) you still need to remove the device in the app.
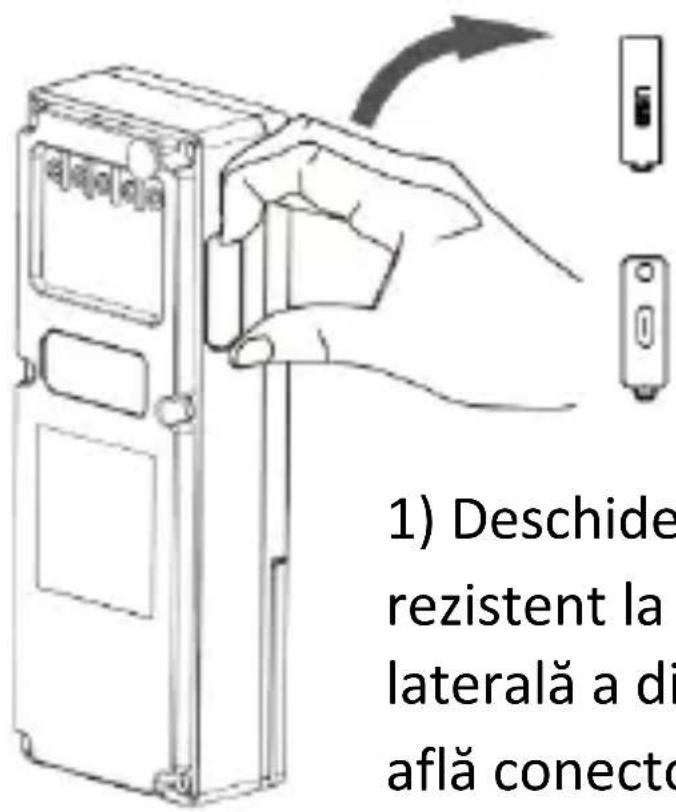
Micro SD slot - supports up to 128GB SD card
Power switch - power off/on
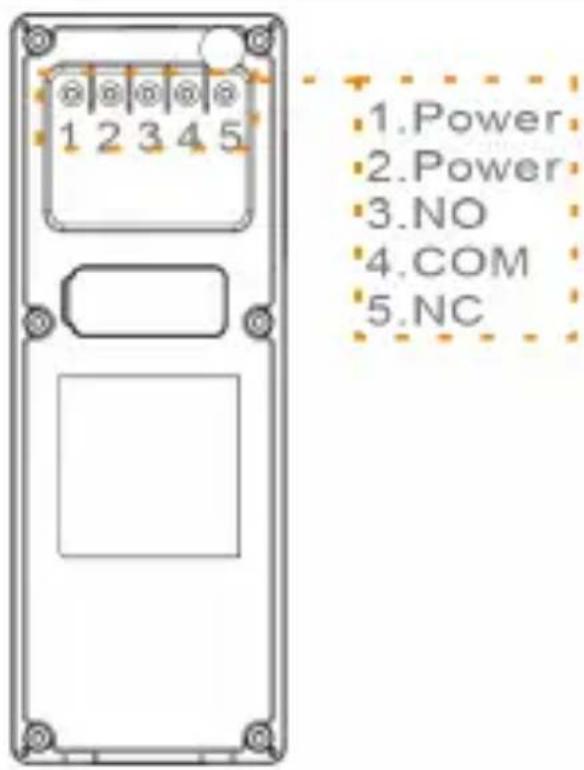
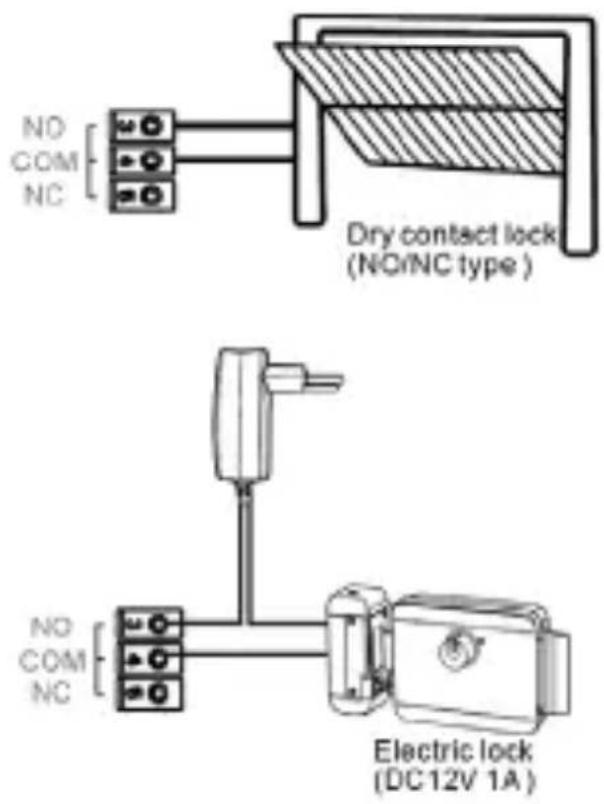
Lock relay (NO COM NC) - Connection of electric door lock NO/NC
AC port - AC 12-24V power connection
Wiring the door lock
3. CONNECTIONS
Smartphone or tablet running IOS 12.0 or Android 8.1 or higher (This model does not work with MAC or Windows PC).
Wi-Fi Router
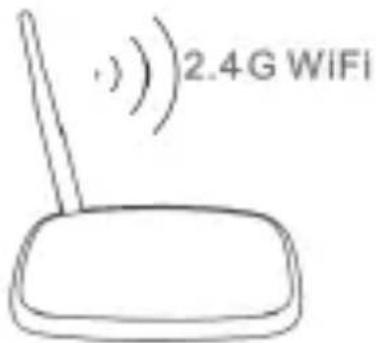
- This device only supports 2.4G WiFi, choose strong WiFi to connect to your mobile phone. The connection distance may vary depending on the number and metric of the masonry.
Wi-Fi Router
natural_image
Front view of a device enclosure with two panels, one showing a small connector and the other a red button (no text or symbols visible)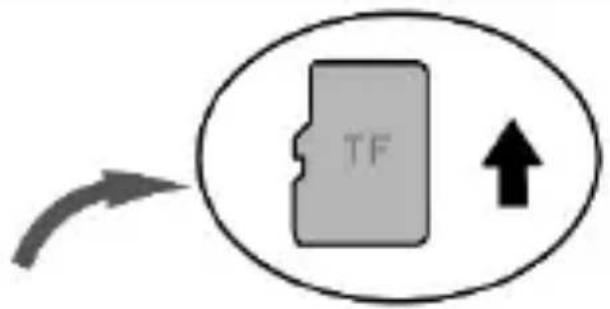
flowchart
graph TD
    A["TF"] --> B["↑"]
    style A fill:#ccc,stroke:#333
    style B fill:#fff,stroke:#333
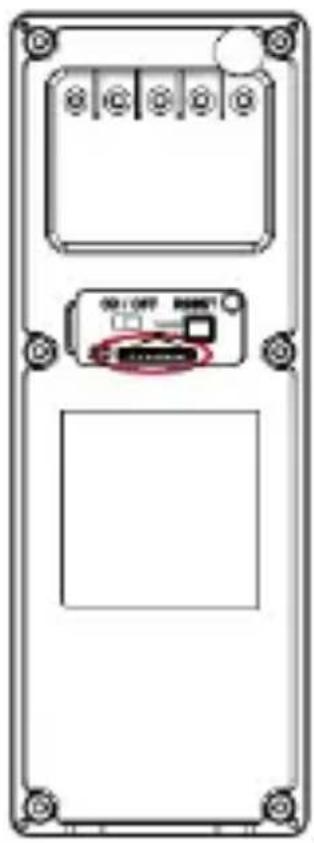
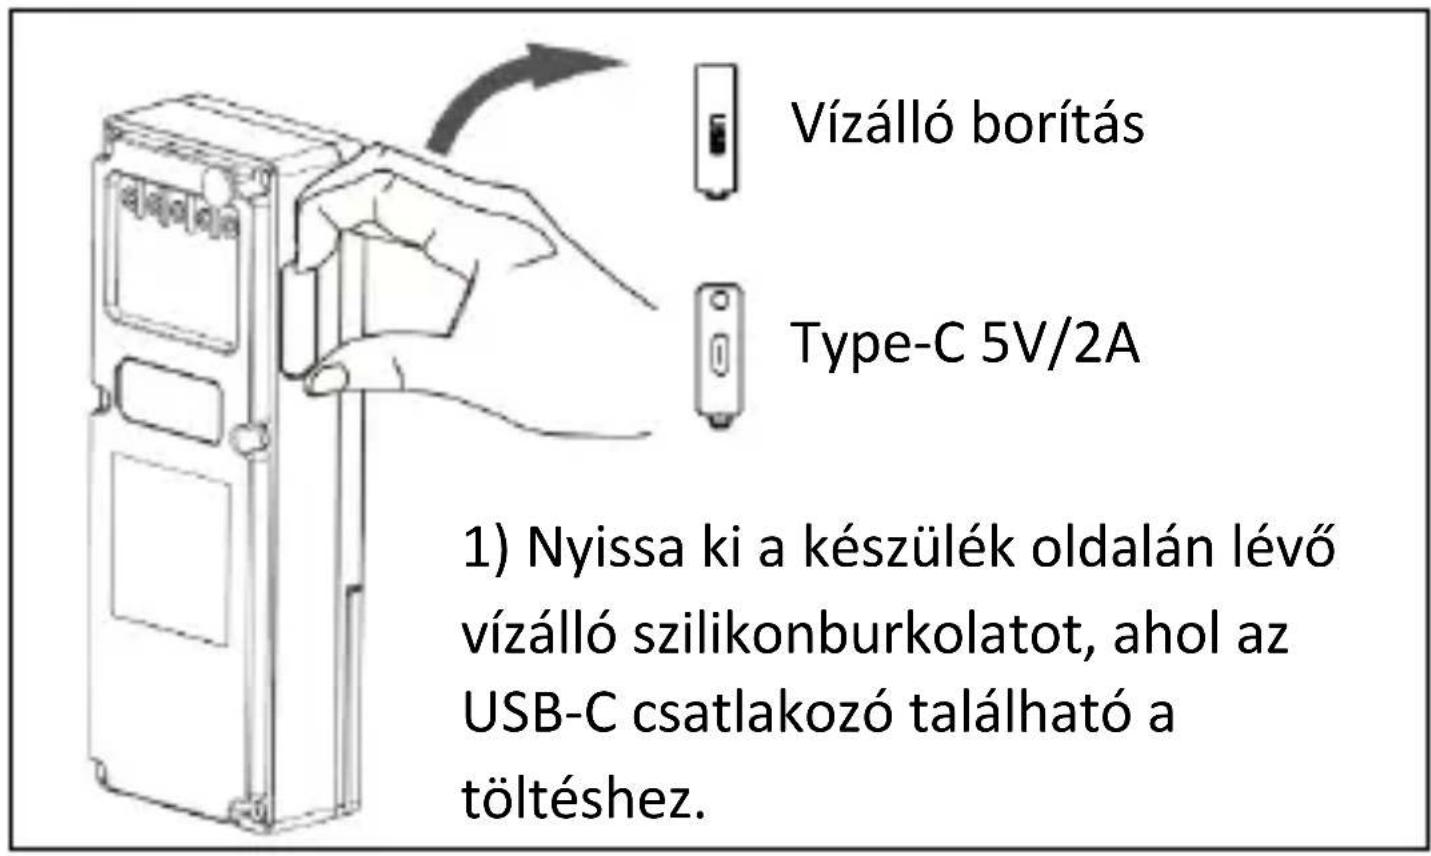
2) Open the silicone cover where the TF card slot is. Insert the card with the gold-plated contacts facing upwards. If the slot is damaged by incorrect insertion of the SD, the warranty is void!
![3) Switch from [OFF] to [0 press the reset buttons for 3s. 4) If the red light is flashing device is ready.](/content/2026/05/853503/images/069c219e1e71c0346e4a12f2ead3d933f83afe2c35b257e1da135482e525d254.jpg)
3) Switch from [OFF] to [ON] and press the reset buttons for at least 3s. 4) If the red light is flashing, the device is ready.
- ICE CONDITIONS - DIAGNOSTICS
| # | LED status | Condition of the device |
| 1 | Blue glowing and slowly flashing red LED | Attempting to connect to a WiFi network |
| 2 | Blue glowing and fast flashing red LED | Connecting to a Wi-Fi network |
| 3 | Blue and red are on | Low power |
| 4 | Blue LED | The network is successful and working properly or watch the live video |
| 5 | Blue and red LEDs are off | Sleep mode or off-line |
5. APPLICATION SETTINGS AND DEVICE CONFIGURATION
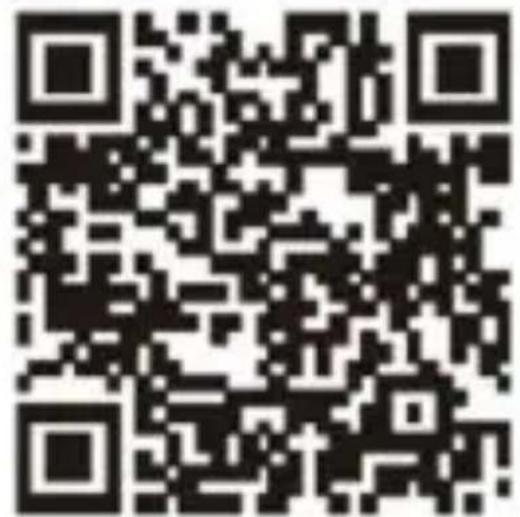
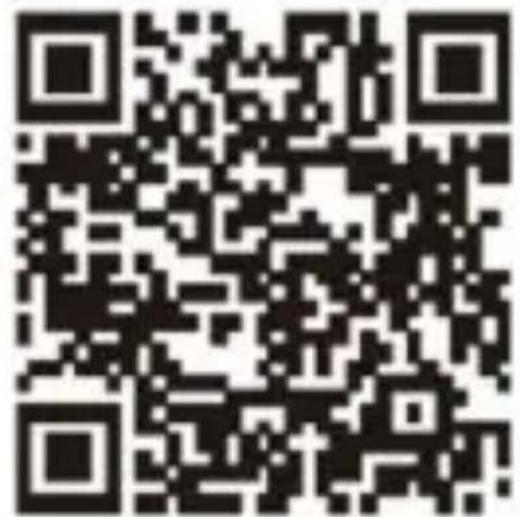
5.1 Search for and download the "Smart Life" app in your app store or scan the QR code below to download the app.
DOWNLOAD APP
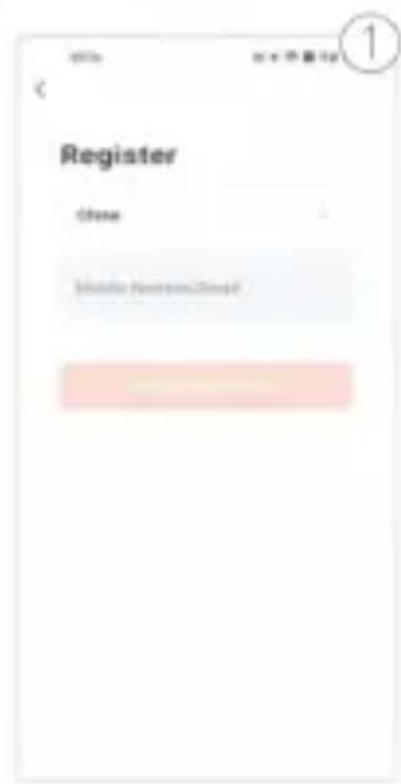
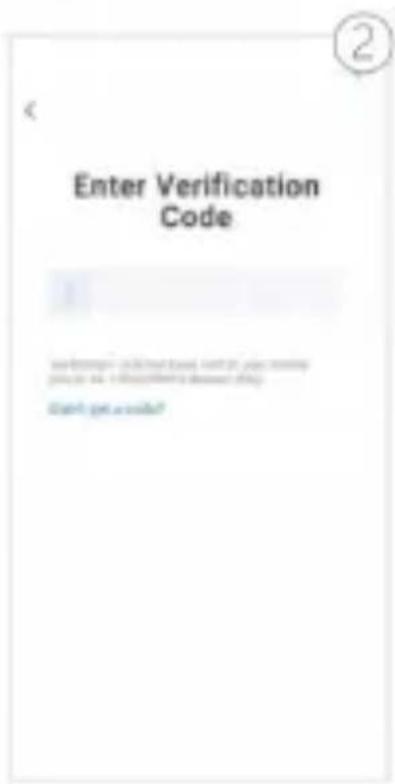
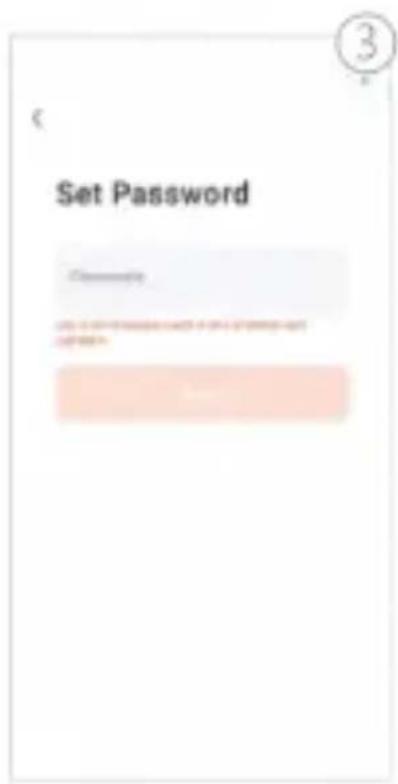
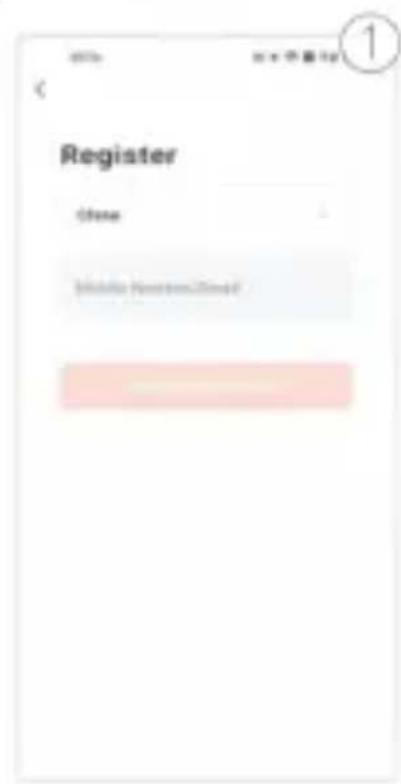
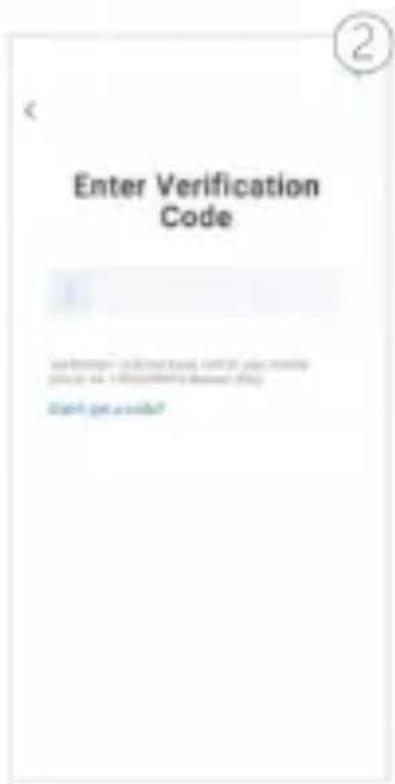
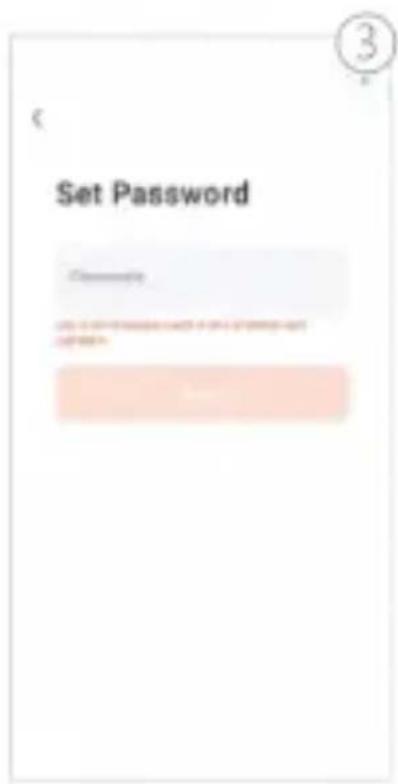
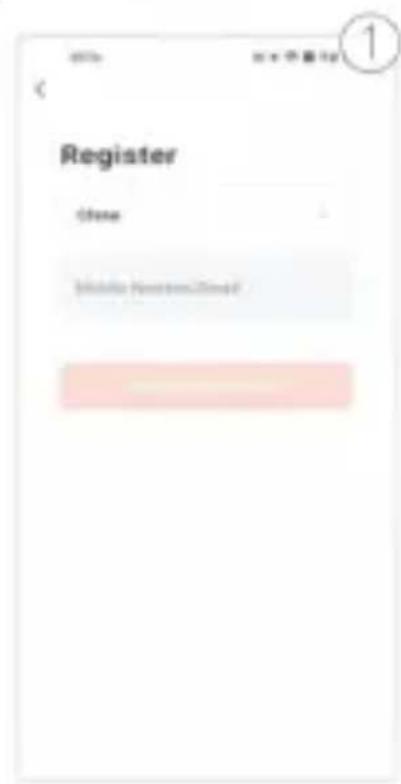
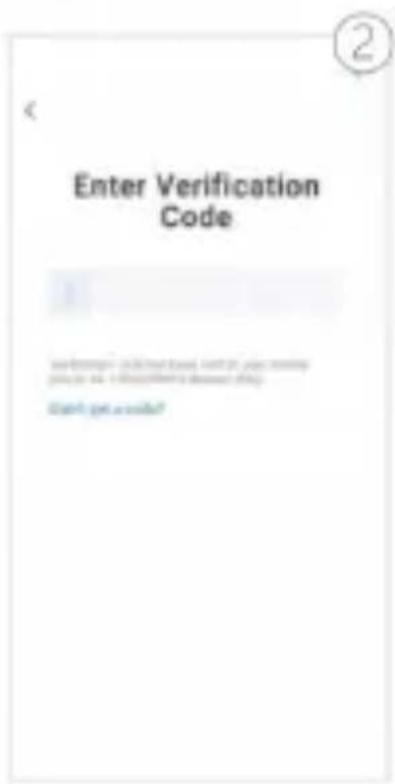
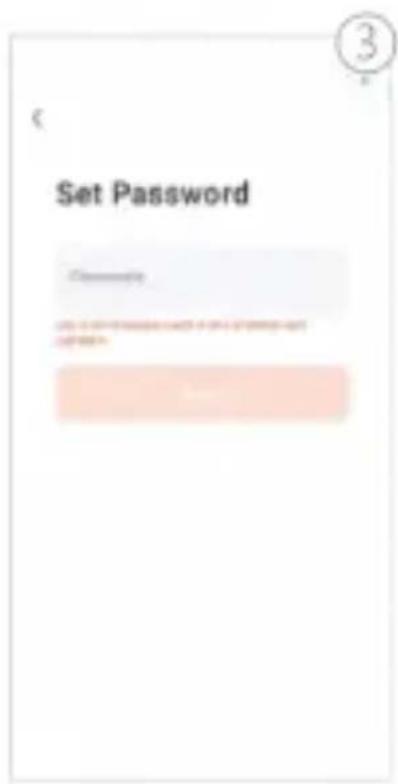
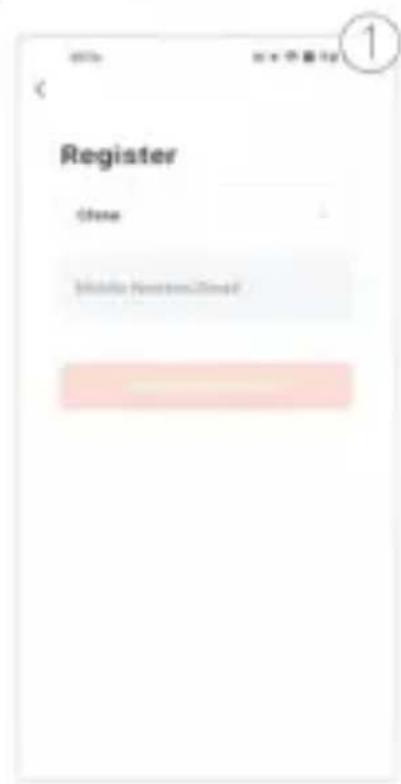
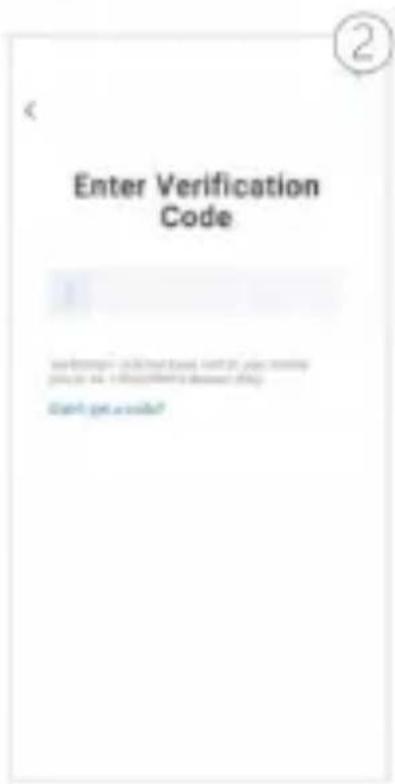
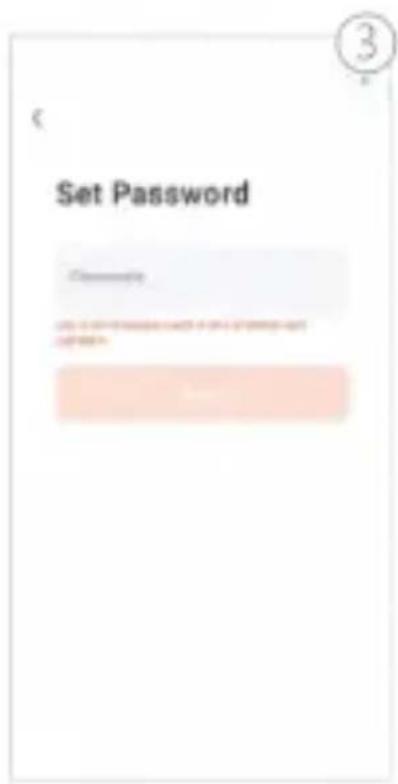
5.1.1 Once you have downloaded the APP to your smartphone, you can access the first page where you can log in with your existing account or register. (If you are a new TUYA/Smart Life user and do not have an account, please select register first and follow the screenshots below to complete your registration.)
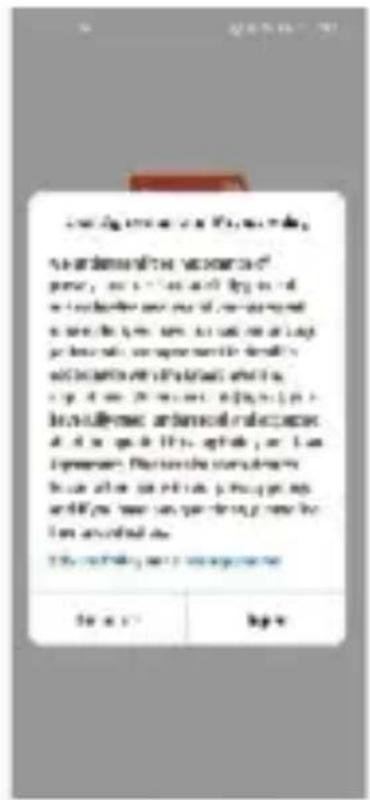
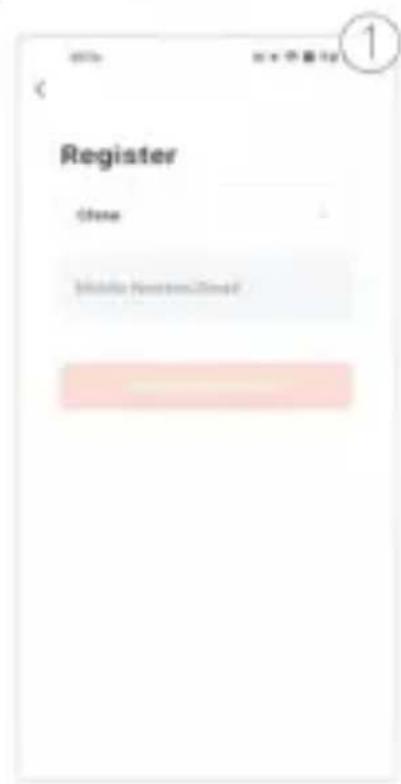
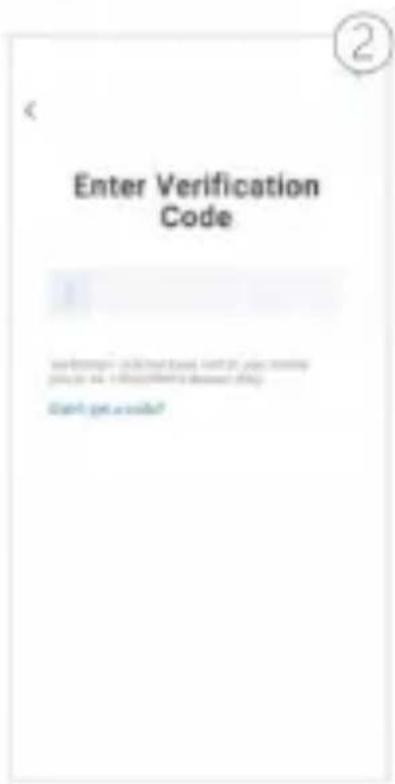
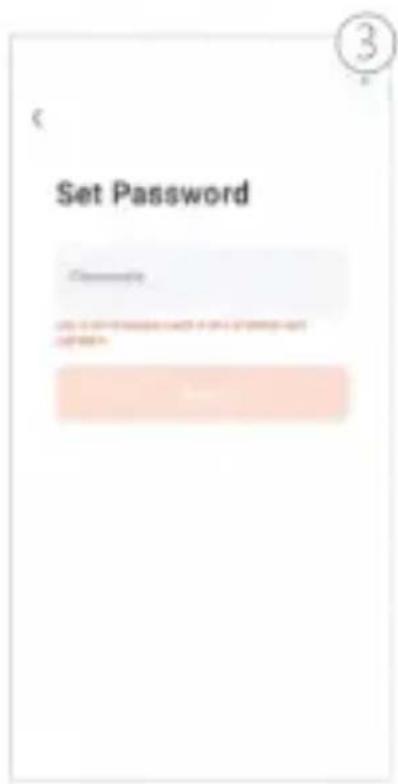
(If you have an existing account, there are two ways to log in, one is with an SMS verification code, the other is with a password. If you forget your password, you can
choose to log in with an SMS verification code or use a password.
Select a forgotten password and reset it by entering the verification code that will be sent to your mobile phone via text message.
5.1.2 After you have successfully set up your account, the "Add Device" page will automatically appear, where you can add your device by following the steps below.
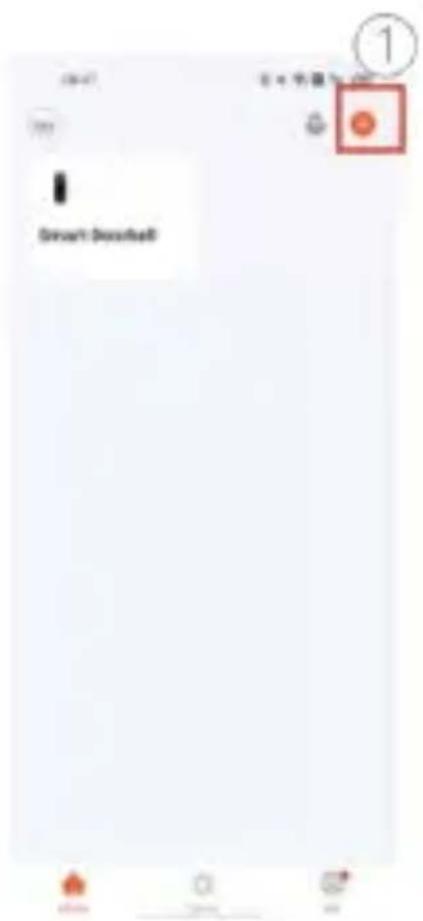
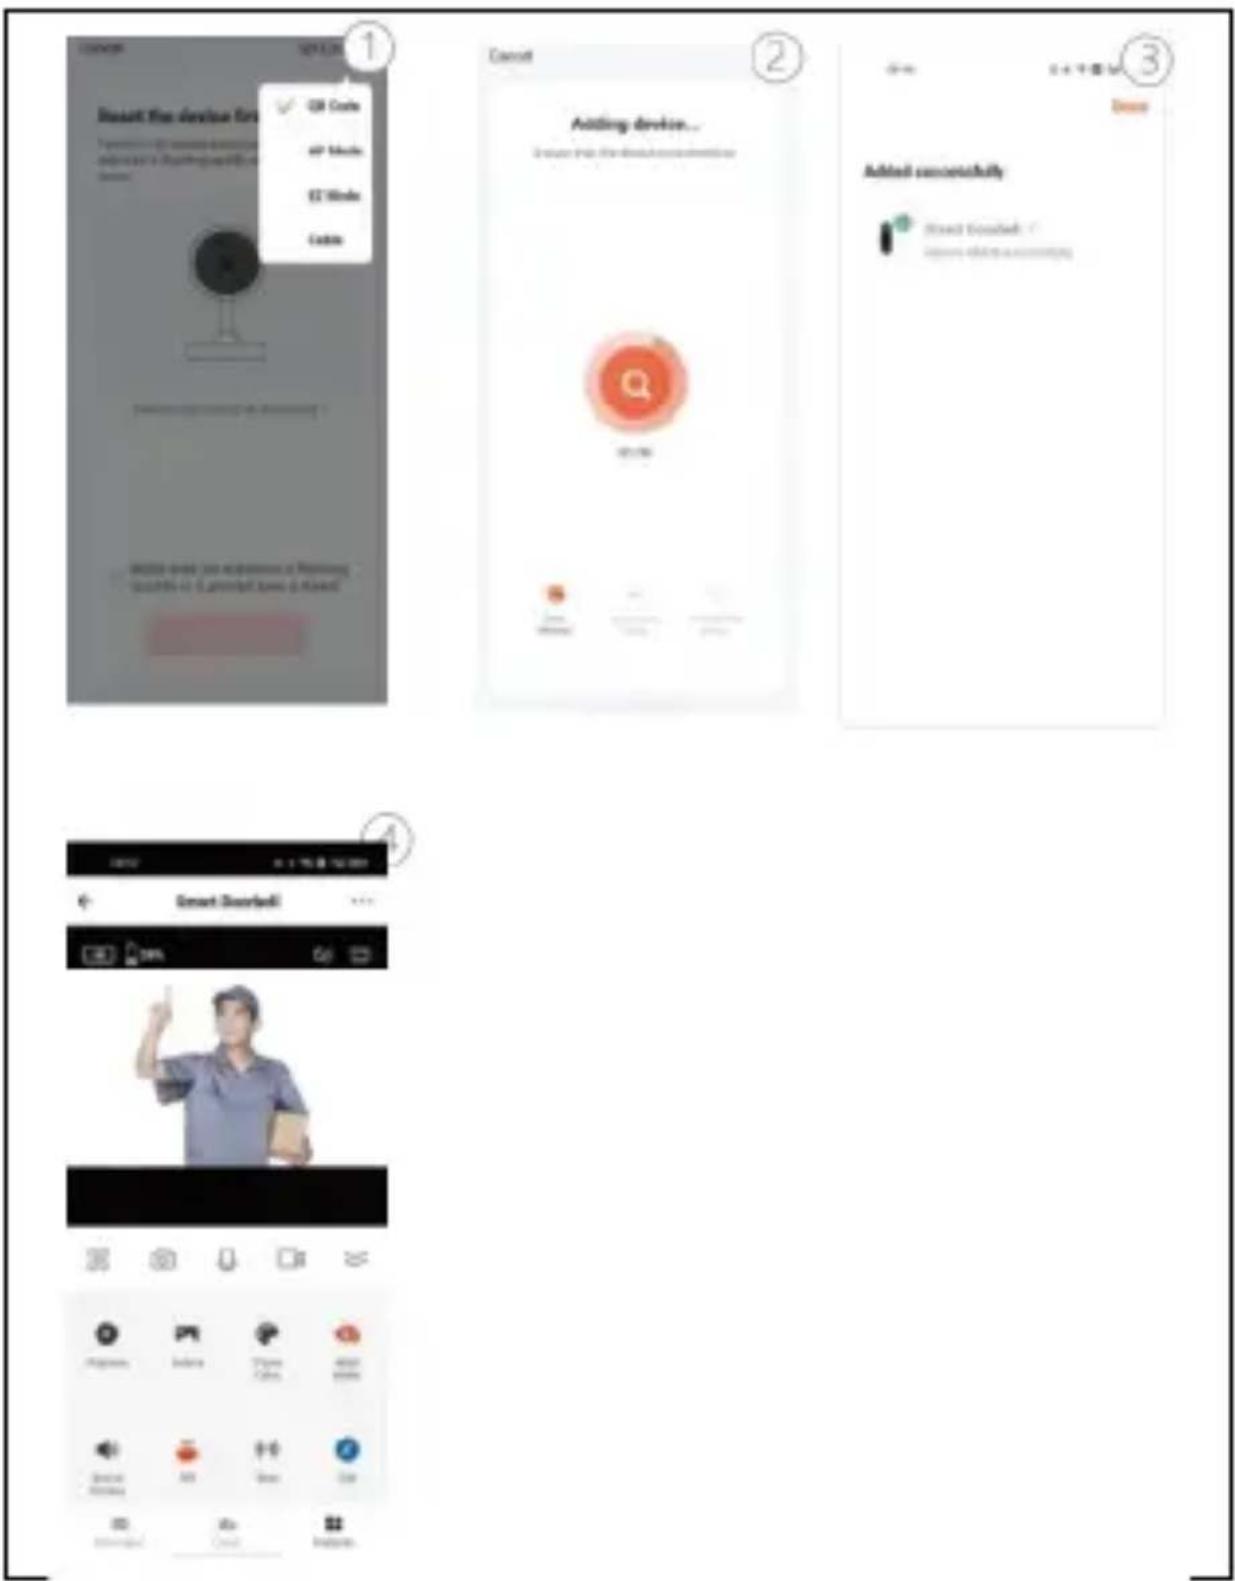
Step 1: Click on "Add Device" or click on "+" at the top right of this page.
Step2: Select "Camera&Lock" Camera&Lock and follow the screenshots below.
- Choose Smart Doorbell
- Verify that the front panel LED flashes
Blue/Purple quickly (after pressing the reset button for 3s) and check the box in the app and select Next
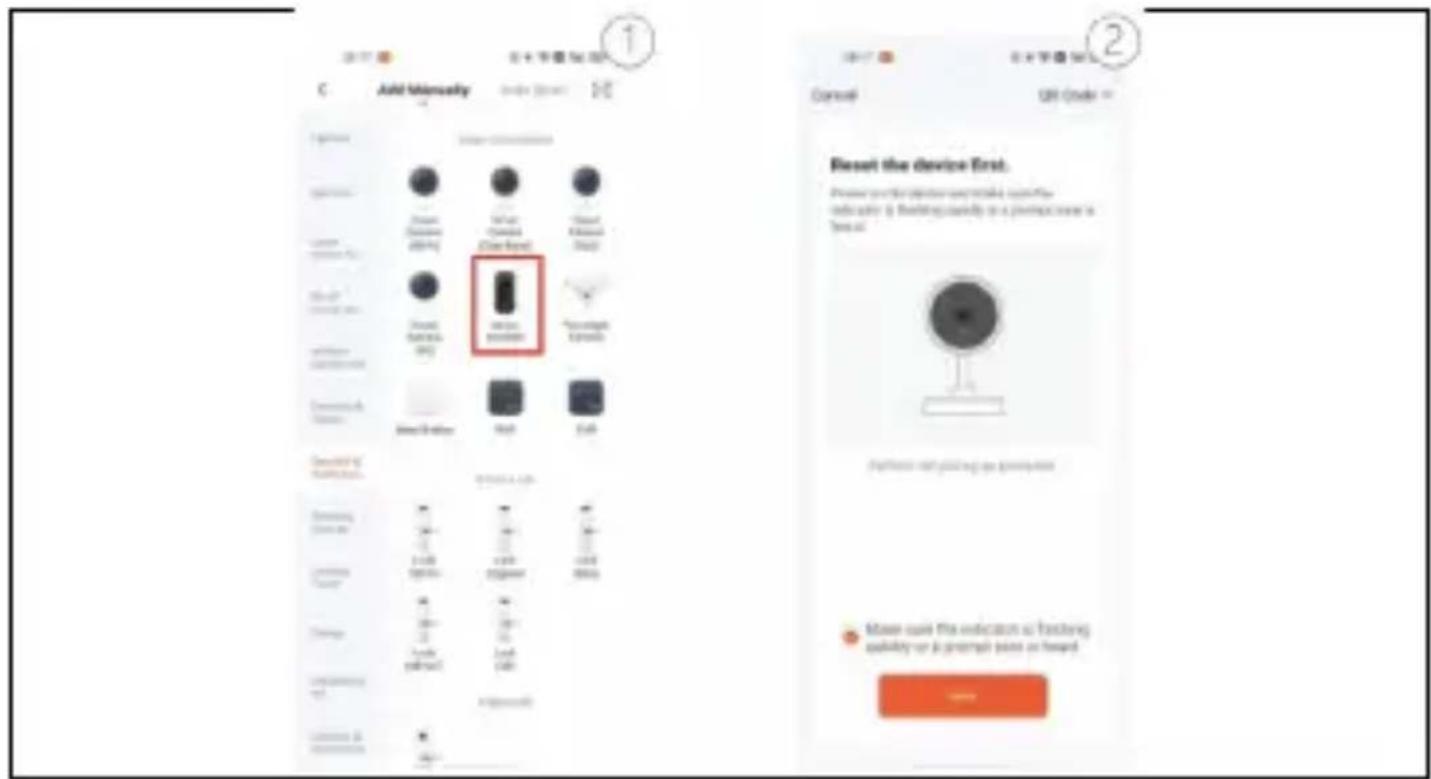
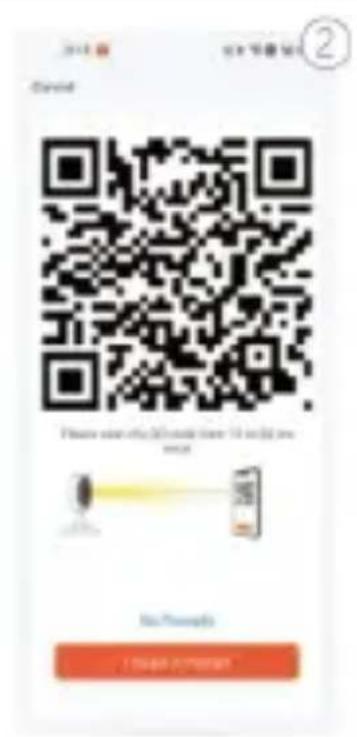
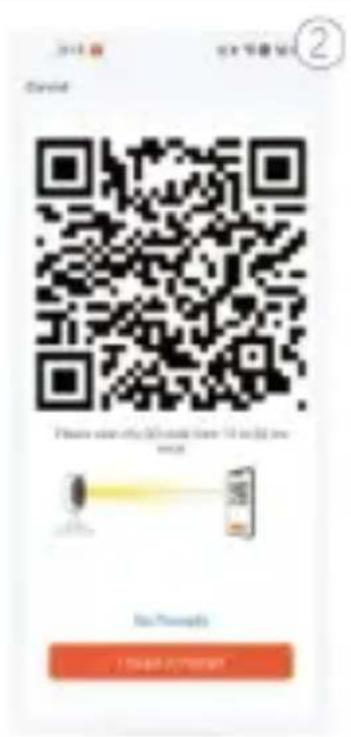
Step3: QR code pairing mode.
-
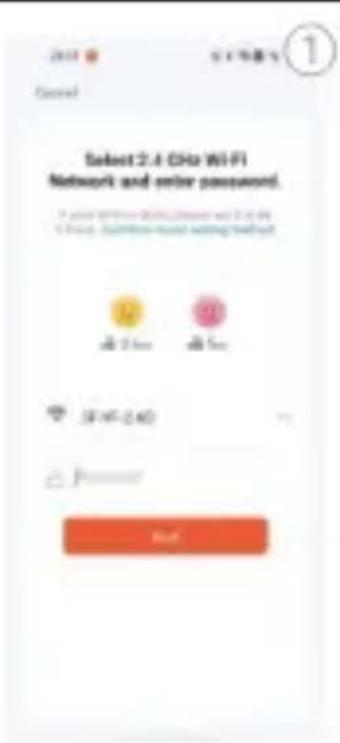
Your phone must be connected to the 2.4GHz WiFi network you will be connecting the doorbell to. In the app, enter the WiFi network and its access password and click "Next".
-
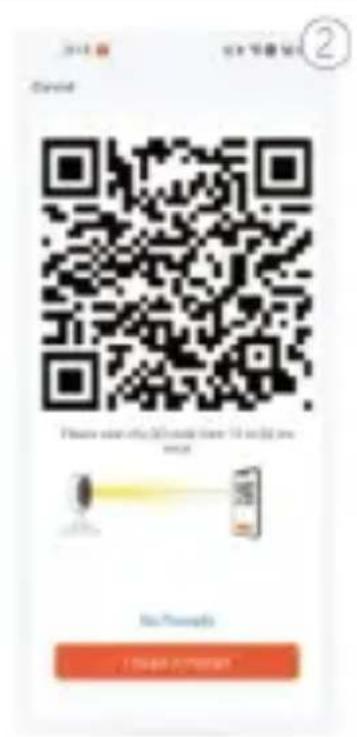
Follow the animation on your phone's screen. Aim the lens at the phone's display so that it can read the QR code and move the phone about 20 ~cm in front of the doorbell camera lens. As soon as the bell beeps.
Confirm on the display with the "Next" button.
Step 4:
- The Conneting device screen and a countdown will appear on the phone display, during which the doorbell will be registered to the Cloud.
- Finally, the Added successfully screen will appear, where you can also change the name of the bell in the app. By clicking on "Done" you have successfully added the device.
If the pairing failed, repeat all the steps again.
6. PAIRING THE DOORBELL UNIT WITH THE DOOR UNIT
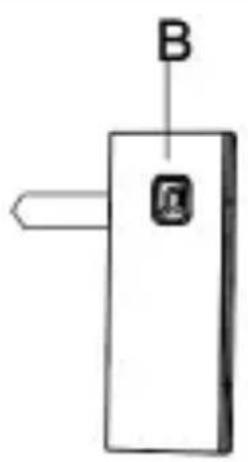
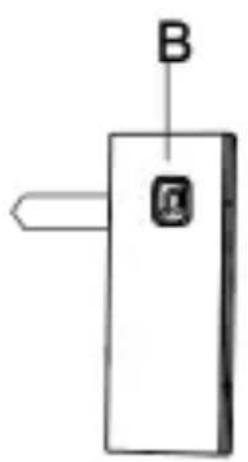
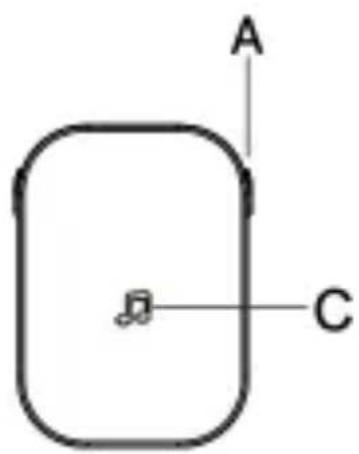
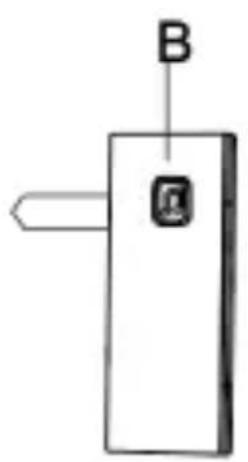
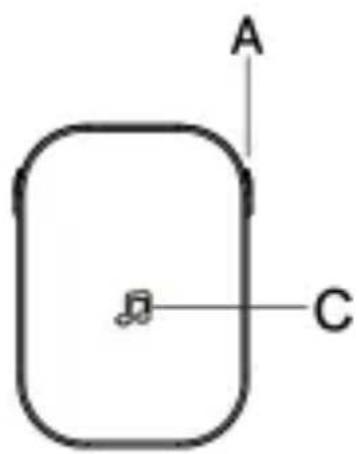
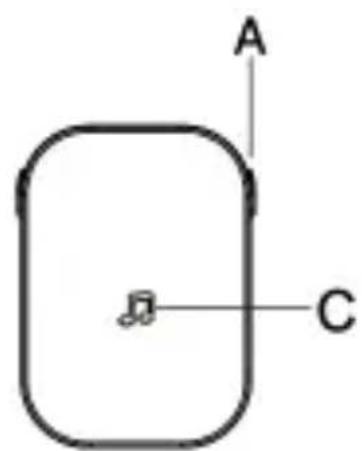
A: Volume button (Pairing button)
natural_image
Simple geometric diagram showing a rounded rectangle with a small musical note and labeled points A and C (no text or symbols beyond labels)B: Melody button C: LED Indicator
The doorbell and the door unit are connected via 433 MHz (not WiFi). After connecting the doorbell to the mobile app, pair the doorbell with the doorbell.
Pairing steps
1) Plug the doorbell into an active 230V socket. The bell starts flashing.
2) Press the volume button repeatedly to select the desired volume. There are 5 options including silent mode (LED blinking only).
3) You can stay with the default tone (go to step 4) or press the Melody button repeatedly to listen to all 52 options.
4) At the desired tone, press and hold the volume button until the blue light comes on.
5) Within 5 seconds, press the ringer button on the doorbell.
Remark: The units should now be paired. You can adjust the volume at any time without having to pair again. Any change in the melody will only become apparent after pairing again. If you change the location of the doorbell, test the connection at the new location and re-pair if necessary.
7. HOW TO INSTALL THE DOORBELL
Method: If you want to install the device on a rough wall (e.g. concrete, brick or wooden surface), use screws to fix the bracket.
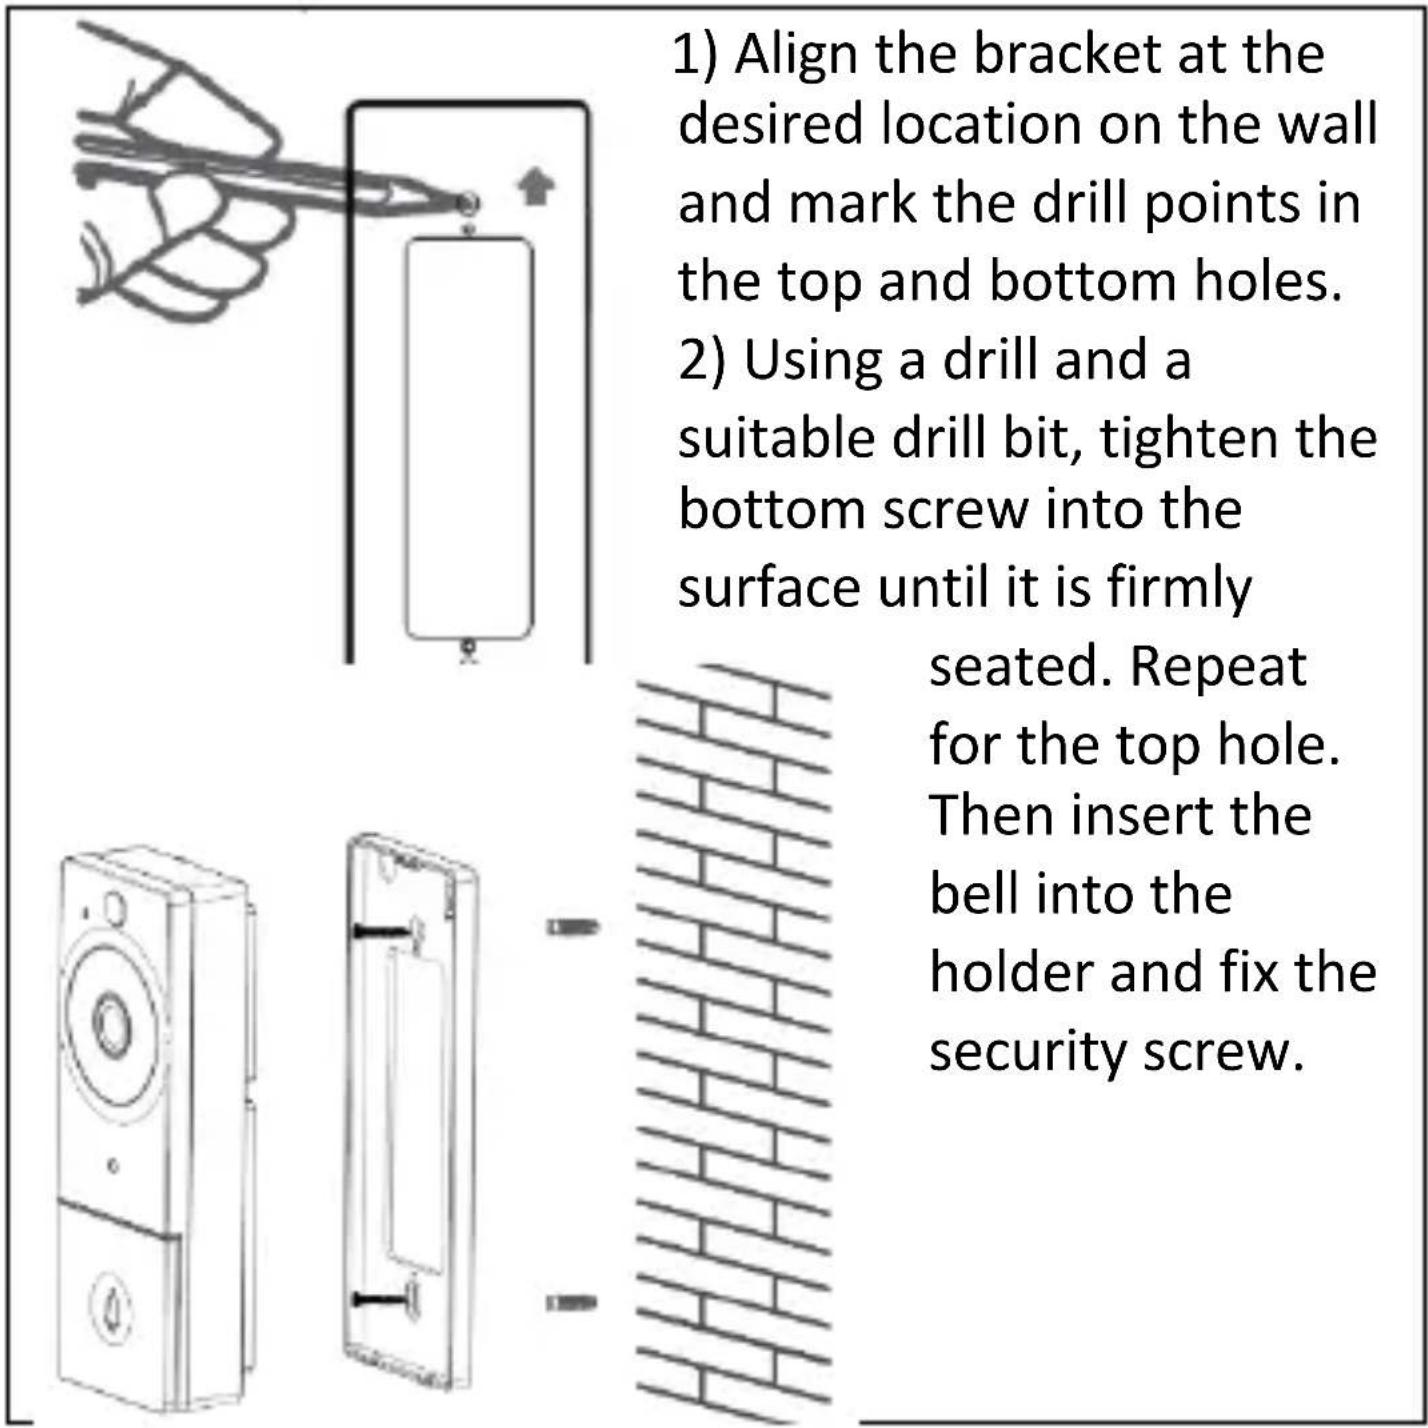
1) Align the bracket at the desired location on the wall and mark the drill points in the top and bottom holes. 2) Using a drill and a suitable drill bit, tighten the bottom screw into the surface until it is firmly
seated. Repeat for the top hole. Then insert the bell into the holder and fix the security screw.
8. CHARGING THE DOORBELL
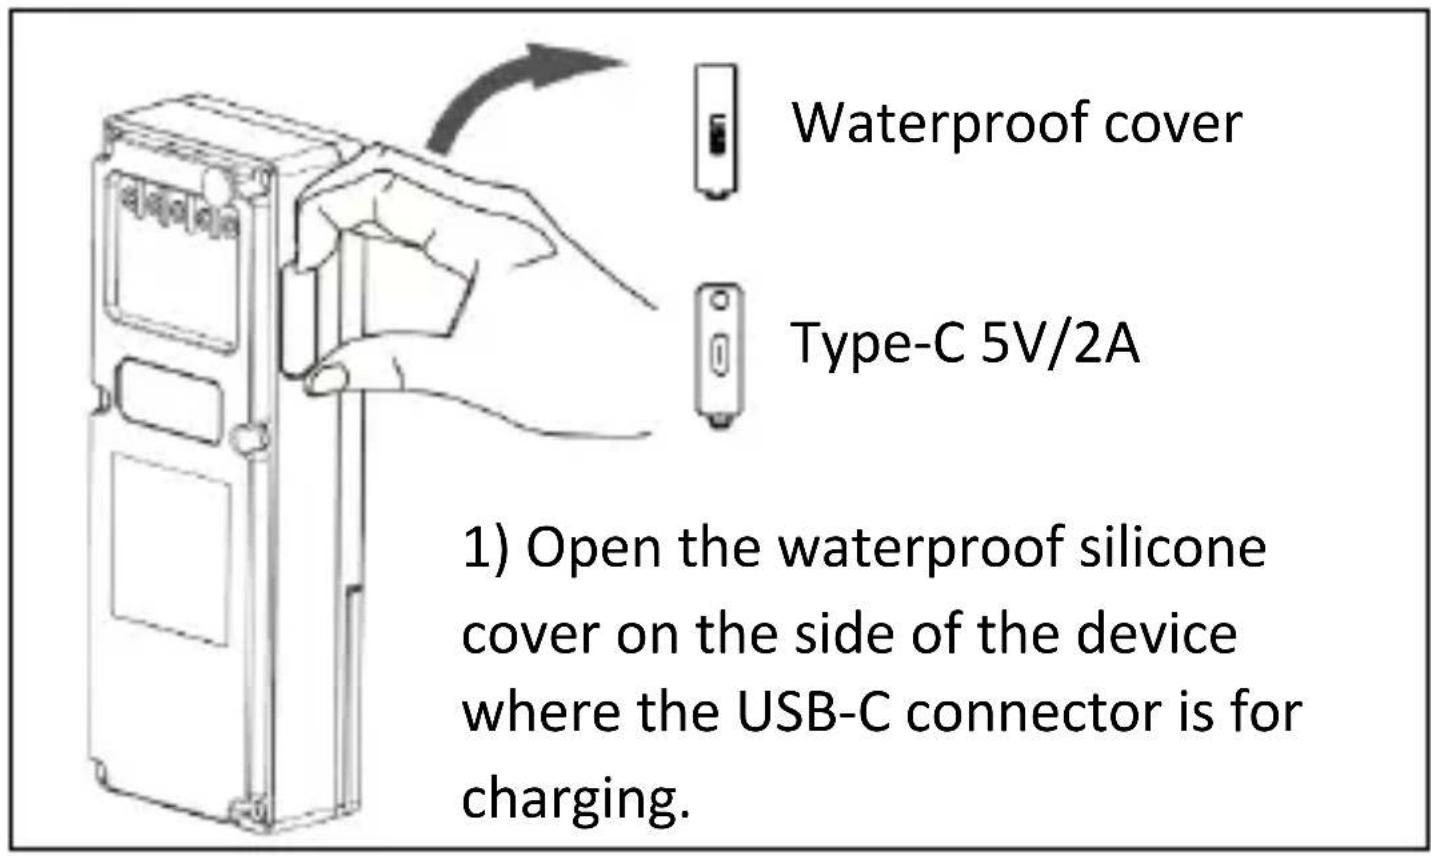
- Loosen the screws at the bottom of the bell and remove the bell from the holder. You will hear the alarm sound for approximately 1 minute. The bell holder is equipped with an anti-theft tamper contact.
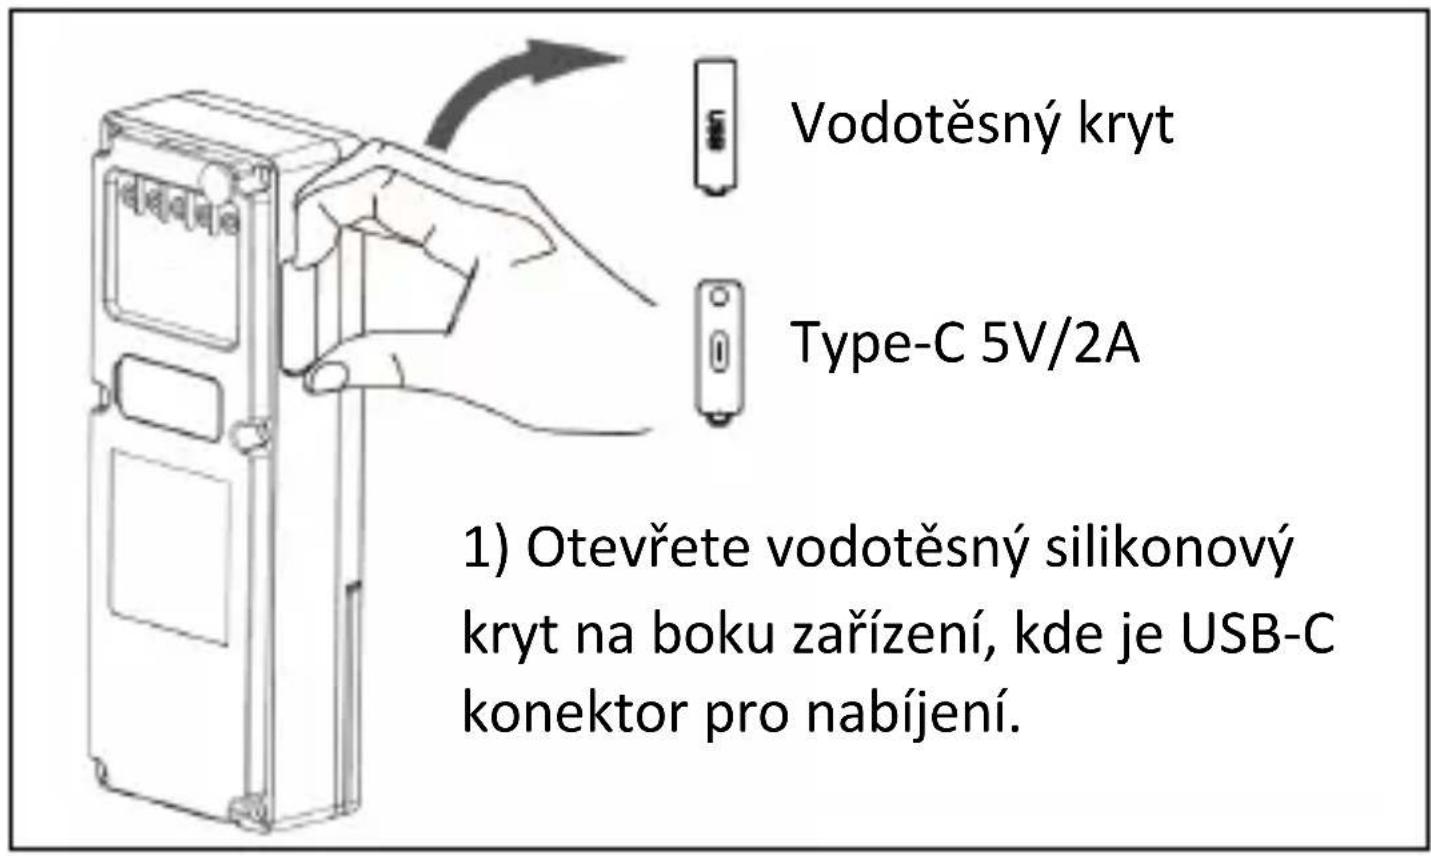
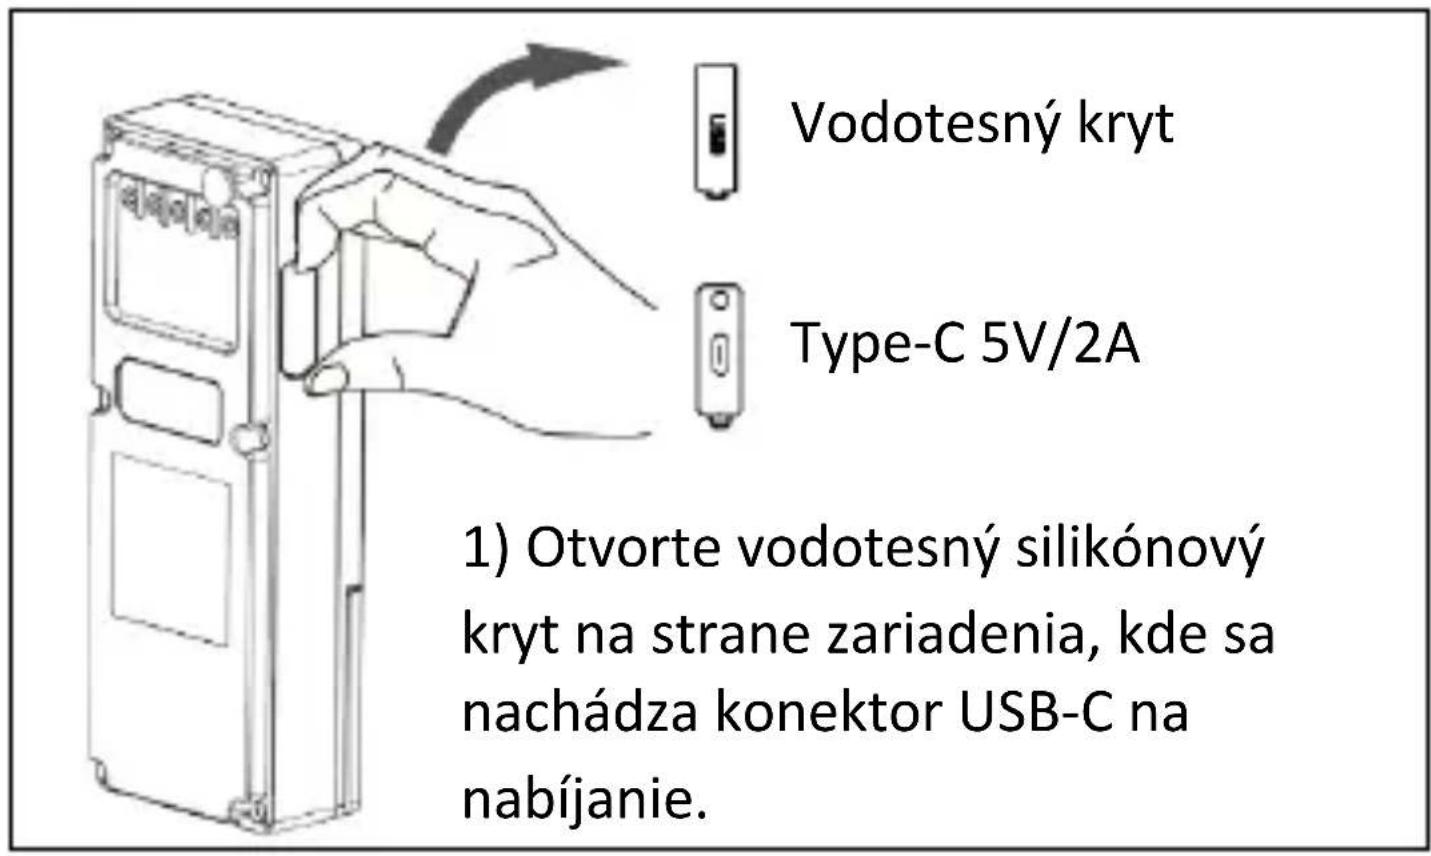
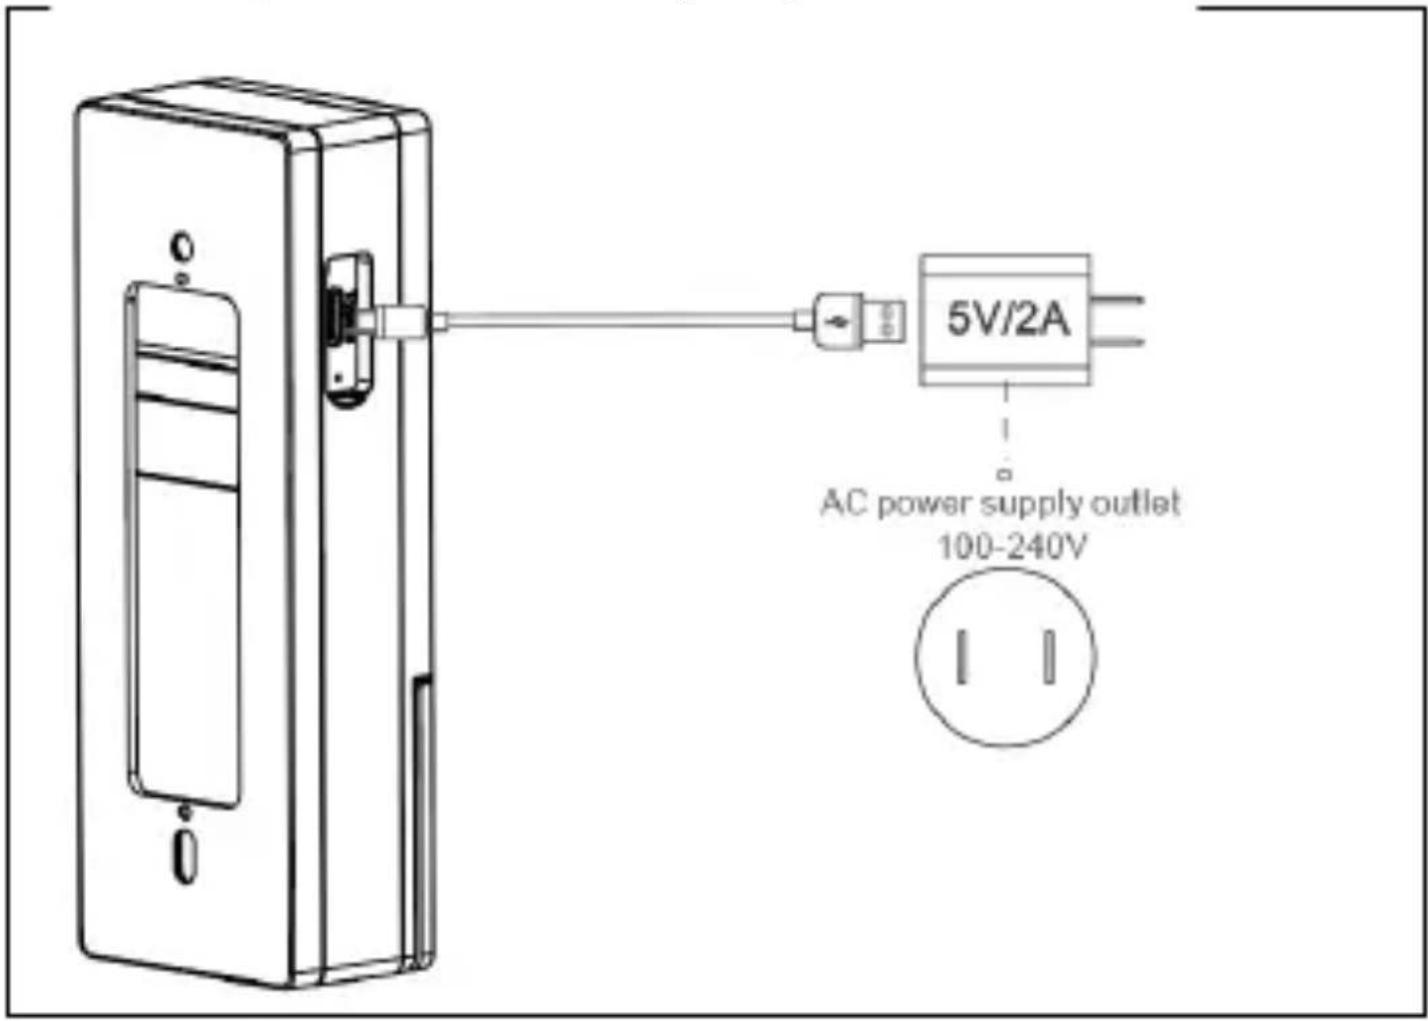
- Take the device inside to charge. Using the supplied Type-C cable, connect the device to the USB 5V2A power adapter and allow the device to charge for at least 4 hours. (For convenience, you can use your mobile phone's USB adapter)
9. SETTINGS IN THE APP
After selecting the EVOLVEO Ringo Relay (displayed under the name given during pairing), a live preview and control panel will appear. Here you can view and capture records, change settings and activate relays Control panel icons (below the live feed):
Screenshot: Saves the current view to the application album.
Talk: Allows two-way conversation.
Recording: Records the current view in the application album.
Playback: Timeline of shots taken.
Cloud: Add paid cloud storage (third party, not required).
Siren: Audible alarm from the doorbell.
Gallery: (scroll down); saved images in the app that can be shared or saved to your phone's library.
NOTIFICATIONS AND NOTIFICATIONS
The system is pre-configured to send a notification to your phone when the doorbell rings or motion is
detected. Click on the alert to see a preview in the app's message center; click View to access the live preview/dashboard. With the real-time preview, you can interact with the visitor. If not, see the next section. You must enable the necessary permissions for the app in your phone settings.
DISPLAY OF RECORDS
In the control panel, select Playback. Here you can navigate to different dates and scroll the timeline to view the captured records, which are displayed as white blocks. Use two fingers to zoom in/out for easy navigation. Swipe right to automatically play the next record, or you can manually scroll left and right to select specific blocks. Here you can also take screenshots/upload images to the app album.
SHARING RECORDS
All screenshots and recordings are saved to an album in the control panel. Here you can select and share clips in several ways.
RECOMMENDED SETTINGS
You can access the doorbell settings by selecting the icon at the top right of the live view. The settings below are only recommended:
- Adjust the PIR sensitivity level to suit your needs: medium is usually suitable for most households. Try what works for you.
Low: In this state, the device will be able to wake up after the device detects motion for 6 seconds.
Medium: In this state, the device will be able to wake up after the device detects motion for 4 seconds.
Tall: In this state, the device will be able to wake up after the device detects motion for 1 s. The device will start taking video and send notifications to the mobile phone at the same time.
-
Turn on human body detection in Detection Alert Settings to detect only human body movement; this will minimize false alarms from animals, vehicles, etc., reducing the number of alerts and battery consumption.
-
Set a low battery level in the Power management settings. This setting sends an alert reminding you to charge the battery.
-
Turn on the Notifications when offline feature. This sends a notification if the doorbell loses signal for more than 30 minutes.
As a reminder, the purchase of VAS/cloud services is not required for this system. It is at your own discretion. These services are operated independently by Smat Life as a third party.
SHARE AND RECEIVE CALLS ON MULTIPLE DEVICES
In Settings, select Share device and Add sharing. There are several ways to send a link to a direct invitation, but the recipient must download the app and create a Smat Life account before they can accept the request.
The recipient can then simply click on the link, open the app and "accept" the viewing. Shared users can view the footage, but they can't edit the settings. There is no limit to the number of shares. You can remove shared users at any time by navigating to the same section in the app.
COOPERATION WITH GOOGLE HOME
Open your Google Home app and select "Smart Life" in Home Control. Enter the correct login details for
successful pairing. Your device will be displayed in the Home Control list.
PAIRING WITH AMAZON ALEXA
1) Connect your Smart Life account to Alexa.
2) Open the Alexa app, select "Skills" from the menu and search for "Smart Life". After selecting "Smart Life", click "Enable" to enable the Smart Life skill.
3) You will be redirected to the login screen. Enter the correct login details for your Smart Life account. Then select "Link Now" to link your accounts.
4) Take control of your device
5) Identify the device: Echo first needs to recognise your device before you can control it. Tell your Echo "Alexa, discover devices." Echo will recognize devices that have already been added in the Smart Life app. An alternative for recognizing a new device is to select the "discover devices" button.
6) The recognized devices will be displayed in the list.
Remark: Whenever you change the name of your device in the Smart Life app, you'll need to pair it again via Echo.
REMOVING THE DOORBELL FROM THE APP
In Settings, scroll all the way down and select Remove device. This will clear all records and settings. The records on the SD card will be preserved.
RESETTING THE DOORBELL
Remove the device from the device list in the app, then press and hold the reset button on the back until you hear a beep. The doorbell switches back to pairing mode. Any records in the app will be lost, so consider backing up/saving them to the app, phone library if necessary. The records on the SD card will be preserved.
10. SOLVING THE PROBLEMS
- The device discharges quickly:
In the mode settings, switch to Power saving mode, if Continuous is selected, continuous recording will occur and the battery will be drained within a few days. The Continuous setting is suitable for power supply via AC adapter.
-
The device has no signal, it constantly reports Offline - it is probably a weak WiFi signal. You need to move the device closer to the WiFi Router, or use an external antenna for the WiFi Router if possible.
-
The device constantly reports false alarms that someone is in front of the camera - if the doorbell is placed in a busy corridor or street, the PIR sensor will often be activated. We recommend lowering the sensor sensitivity and turning on human body detection to minimize the number of notifications. Alternatively, disable the PIR altogether. You will still receive notifications when you ring, and an image will be recorded at the time of the ring.
Technical support
Contact EVOLVEO Technical Support:
www.evolveo.cz/helpdesk/ or by email at
SERVIS@EVOLVEO.COM
The warranty is NOT valid for
- using the device for other purposes
- installing frimware other than that installed in the EVOLVEO Ringo DB2 or that can be downloaded manually or automatically from the device menu
- electromechanical or mechanical damage caused by improper use
- damage caused by natural elements such as fire, water, static electricity, surges, etc.
- damage caused by unauthorised repair
Disposal
The crossed-out container symbol on the product, in the literature or on the packaging means that in the EU all electrical and electronic equipment, batteries and accumulators must be placed in the separate waste stream at the end of their useful life. Do not dispose of these products in unsorted municipal waste.
① C€
DECLARATION OF CONFORMITY
Abacus Electric, s.r.o. hereby declares that the
EVOLVEO Ringo Relay complies with the requirements of the notes and regulations applicable to this type of device.
The full text of the Declaration of Conformity can be found at http://ftp.evolveo.com/CE/
Copyright © Abacus Electric, s.r.o.
www.evolveo.com
www.facebook.com/EvolveoCZ
Importer / Manufacturer
Abacus Electric, s.r.o.
Planá 2, 370 01, Czech Republic
Made in China
All rights reserved. Design and specifications are subject to change without notice.
Tartalomjegyzék
- FÓ FUNKCIÓK.... 93
- CSOMAGOLÁSI TARTALOM.... 94
- KAPCSOLATOK 98
- LED FÉNY ÁLLAPOTA - DIAGNOSZTIKA...... 101
- ALKALMAZÁSBEÁLLÍTÁSOK ÉS ESZKÖZKONFIGURÁCIÓ.... 101
- A CSENGŐEGYSÉG ÉS AZ AJTÓEGYSÉG PÁROSÍTÁSA 108
- HOGYAN KELL FELSZERELNI A CSENGÖT...... 110
- A CSENGŐ FELTÖLTÉSE.... 111
- BEÁLLÍTÁSOK AZ ALKALMAZÁSBAN 112
- A PROBLÉMÁK MEGOLDÁSA.... 118
HU
1. FŐ FUNKCIÓK
2. CSOMAGOLÁSI TARTALOM
natural_image
Line drawing of a modern office phone with front panel and keypad (no text or symbols)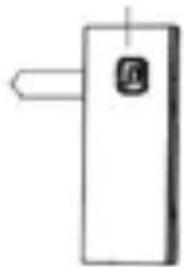
natural_image
Simple line drawing of a rectangular device with a handle and a small square button on the side (no text or symbols)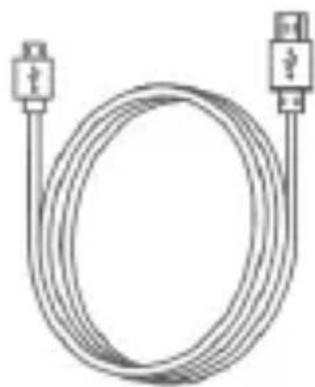
natural_image
Line drawing of a flexible cable with two connectors (no text or symbols)
natural_image
Stack of three overlapping paper sheets (no text or symbols)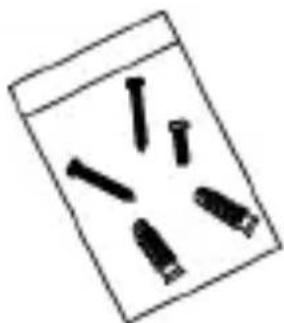
natural_image
Simple line drawing of a pen with five bullet points (no text or symbols)3. KAPCSOLATOK
Wi-Fi Router
natural_image
Front view of a device enclosure with two panels, one showing a small connector and the other a red button (no text or symbols visible)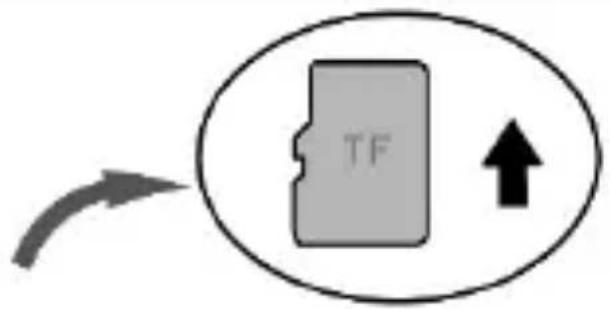
flowchart
graph TD
    A["TF"] --> B["↑"]
    style A fill:#ccc,stroke:#333
    style B fill:#fff,stroke:#333
4. lépés:
7. HOGYAN KELL FELSZERELNI A CSENGÓT
natural_image
Illustration of a hand holding a pen next to a rectangular device with an arrow indicating upward motion (no text or symbols)natural_image
Technical line drawing of a remote control unit and its internal door panel, showing front and side views (no text or symbols)natural_image
Line drawing of a modern office phone with front panel and keypad (no text or symbols)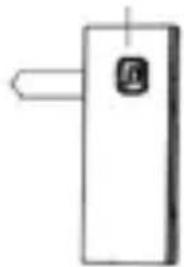
natural_image
Simple line drawing of a rectangular device with a handle and a small square button on the side (no text or symbols)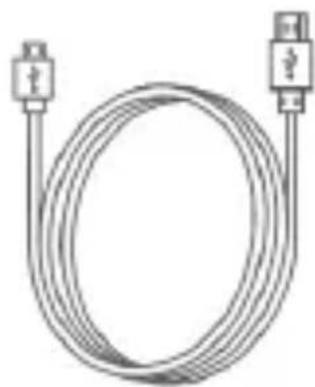
natural_image
Line drawing of a flexible cable with two connectors (no text or symbols)natural_image
Stack of three overlapping paper sheets (no text or symbols)1 x manual de utilizare
natural_image
Simple line drawing of a pen with five bullet points (no text or symbols)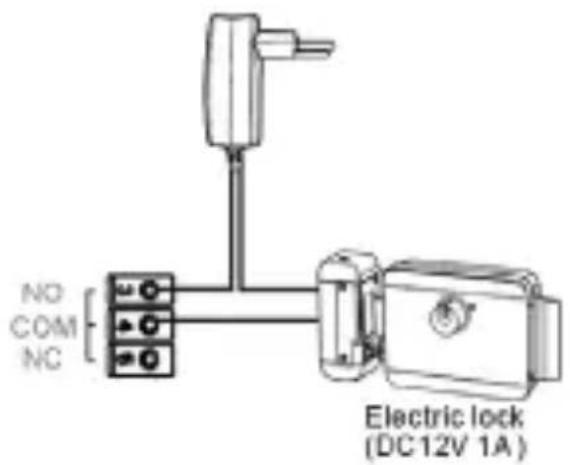
3. CONEXIUNI
Wi-Fi Router
natural_image
Front view of a device enclosure with two panels, one showing a small electronic component and the other displaying a red logo (no text or symbols visible)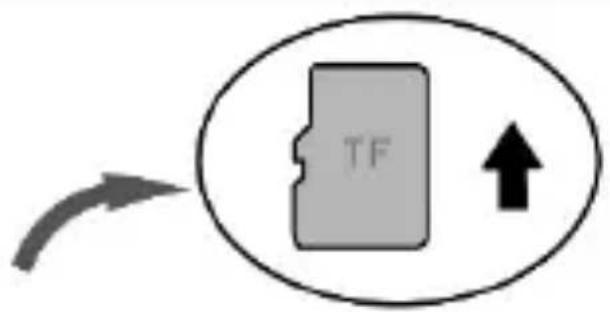
flowchart
graph TD
    A["TF"] --> B["↑"]
    style A fill:#ccc,stroke:#333
    style B fill:#fff,stroke:#333
Pasul 3: Modul de asociere a codurilor QR.
Pasul 4:
6. ÎMPERECHEREA SONERIEI CU UNITATEA DE UŞĂ
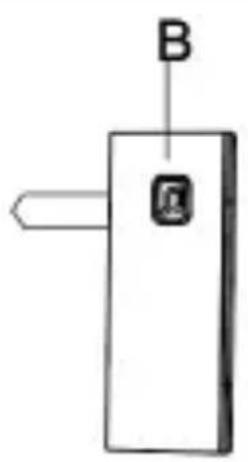
B: Buton melodie C: Indicator LED
Copyright © Abacus Electric, s.r.o.
www.evolveo.com
www.facebook.com/EvolveoCZ


- OBSAH BALENÍ
- ZAPOJENÍ
- Krok 4:
- PÁROVÁNÍ ZVONKOVÉ JEDNOTKY S DVEŘNÍ JEDNOTKOU
- SPOLUPRÁCE S GOOGLE HOME
- KONEKTY
- SPÁROVANIE JEDNOTKY ZVONČEKA S JEDNOTKOU DVERÍ
- PACKAGING CONTENT
- Wiring the door lock
- CONNECTIONS
- Wi-Fi Router
- APPLICATION SETTINGS AND DEVICE CONFIGURATION
- Step 4:
- PAIRING THE DOORBELL UNIT WITH THE DOOR UNIT
- Pairing steps
- HOW TO INSTALL THE DOORBELL
- CHARGING THE DOORBELL
- SETTINGS IN THE APP
- NOTIFICATIONS AND NOTIFICATIONS
- DISPLAY OF RECORDS
- SHARING RECORDS
- RECOMMENDED SETTINGS
- SHARE AND RECEIVE CALLS ON MULTIPLE DEVICES
- COOPERATION WITH GOOGLE HOME
- PAIRING WITH AMAZON ALEXA
- REMOVING THE DOORBELL FROM THE APP
- RESETTING THE DOORBELL
- SOLVING THE PROBLEMS
- Technical support
- The warranty is NOT valid for
- Disposal
- ① C€
- DECLARATION OF CONFORMITY
- Tartalomjegyzék
- FŐ FUNKCIÓK
- CSOMAGOLÁSI TARTALOM
- KAPCSOLATOK
- lépés:
- HOGYAN KELL FELSZERELNI A CSENGÓT
- CONEXIUNI
- Pasul 3: Modul de asociere a codurilor QR.
- Pasul 4:
- ÎMPERECHEREA SONERIEI CU UNITATEA DE UŞĂ
Brand : Evolveo
Model : Ringo Relay
Category : Home Automation