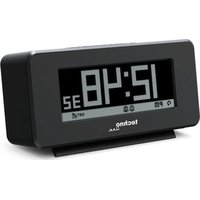
WT295 - Alarm Clock Techno Line - Free user manual and instructions
Find the device manual for free WT295 Techno Line in PDF.


| Product Type | Clock Radio |
| Brand | Techno Line |
| Model | WT295 |
| Dimensions (L x H x D) | 120 x 57 x 45 mm |
| Main Power Supply | 2 AA 1.5V batteries (alkaline recommended) |
| Backlight Power Supply | 2 AA 1.5V batteries (alkaline recommended) in external compartment |
| Display Type | LCD |
| Display Modes | Time, date, temperature, countdown (automatic loop possible) |
| Radio-Controlled Function | DCF77 signal reception (Germany), automatic synchronization |
| Manual Time Setting | Yes, via TIME button (12/24h format) |
| Alarms | 2 independent alarms (ALARM 1 and ALARM 2), alarm duration 2 minutes, snooze 5 minutes |
| Temperature | Display in °C or °F, range -5°C to 50°C |
| Countdown | Days remaining until a target date (up to 10 years), alarm at zero |
| Backlight | Press SNOOZE/LIGHT (5 seconds) or automatic nightlight |
| Automatic Nightlight | AUTO NIGHTLIGHT ON/OFF switch |
| Reverse Display Mode | AUTO REVERSE switch (positive/negative/automatic) |
| Low Battery Indicator | Icon on screen |
| Adjustable Viewing Angle | Swivel stand (bedside or table) |
| Intended Use | Indoor only |
| Batteries | Only non-rechargeable alkaline batteries, respect polarities, replace all at the same time |
| Maintenance | Do not expose to moisture, dust, shocks, direct sunlight |
| Repairability | Do not open the case; spare parts not supplied |
| Radio Signal | DCF77, automatic search at 2am/3am/4am |
Frequently Asked Questions - WT295 Techno Line
User questions about WT295 Techno Line
0 question about this device. Answer the ones you know or ask your own.
Ask a new question about this device
Download the instructions for your Alarm Clock in PDF format for free! Find your manual WT295 - Techno Line and take your electronic device back in hand. On this page are published all the documents necessary for the use of your device. WT295 by Techno Line.
USER MANUAL WT295 Techno Line
natural_image
Simple line drawing of a rectangular box with a small clip on top (no text or symbols)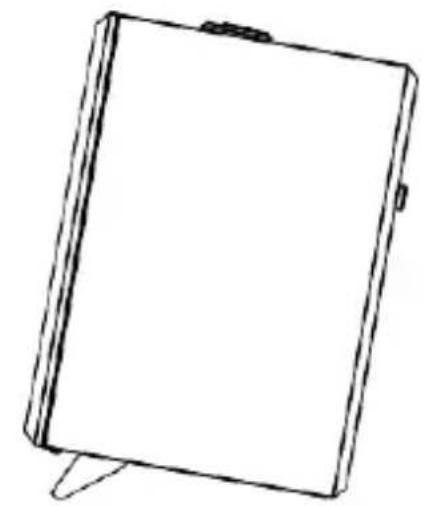
natural_image
Simple line drawing of a blank rectangular object with a clip, no text or symbols present- Remove the battery door and insert 4 x AA batteries into the battery compartment, according to the polarity mark on the battery compartment.
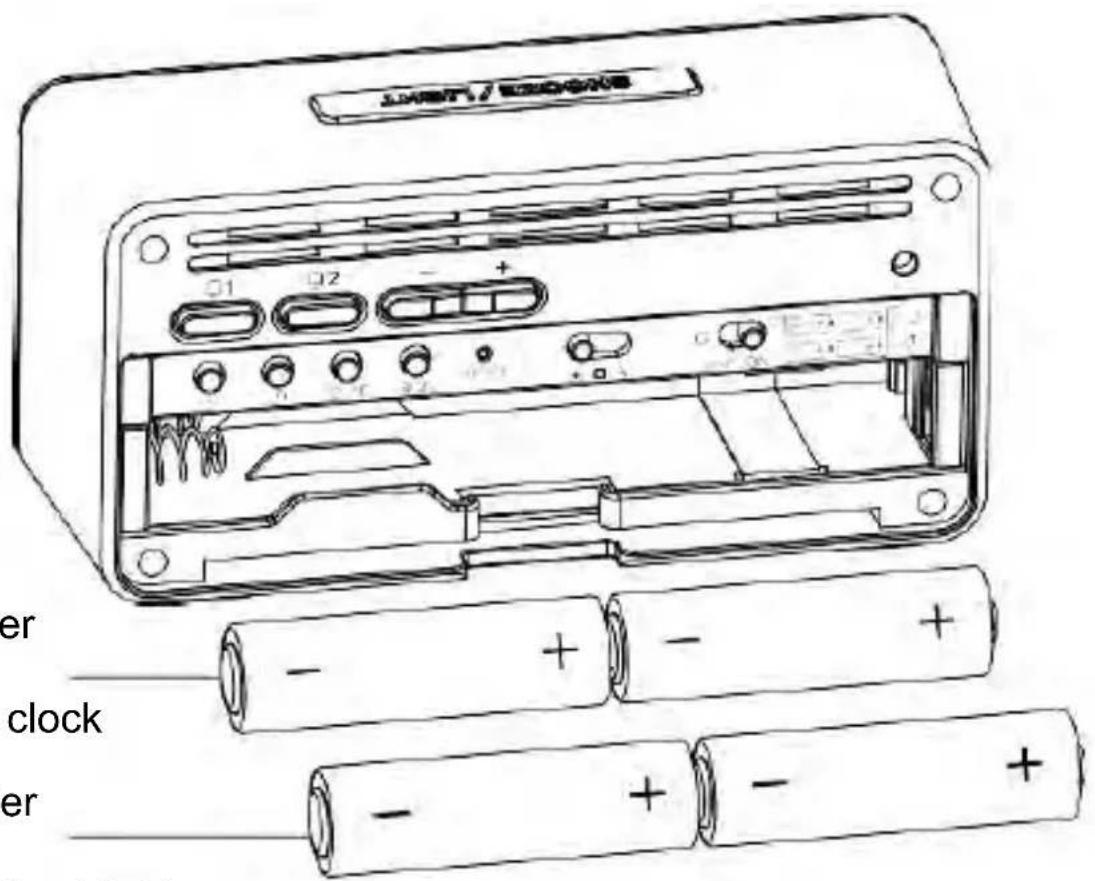
2 batteries in inner compartment for clock 2 batteries in outer compartment for backli
- Once the batteries are installed, all LCD segment will be shown.
- Replace the battery door.
- After few seconds, the clock will start RC signal reception automatically.
- Radio Controlled function, the current time & date automatically synchronized with the time signal transmitted from Germany (DCF77)
NOTES:
- If no display appears on the LCD after installing the batteries, press the [ RESET ] button by using a metal pin.
- Once the clock powered on, the LCD display will change to positive display mode and then start radio signal reception.
DISPLAY MODE
This clock have several display mode, press [ + ] or [ - ] button to view the following modes:
- Time mode (Display of time and active alarms)
- Date mode (Display of Month and Date as D and M icon)
- Temperature mode (Display of Temperature value with °C icon)
- Day countdown mode (Display of counted days with D as text and COUNT DOWN icon)
In normal mode, press and hold [ + ] button with 2 seconds to enable auto loop mode that can show the above modes sequentially, the 📞con will show on the left down corner of the display.
During auto loop mode press [ + ] button to stop auto looping.
DISPLAY SCREEN AND BACKLIGHT
This clock can allow user to select positive or negative display mode, this function can follow the backlight status to change the display mode status.
Slide the [ AUTO REVERSE ] slide switch to select the display mode as below table.
| Switch status | Mode | Display status |
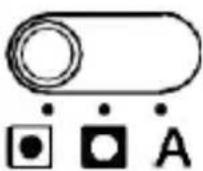 | Positive display mode | 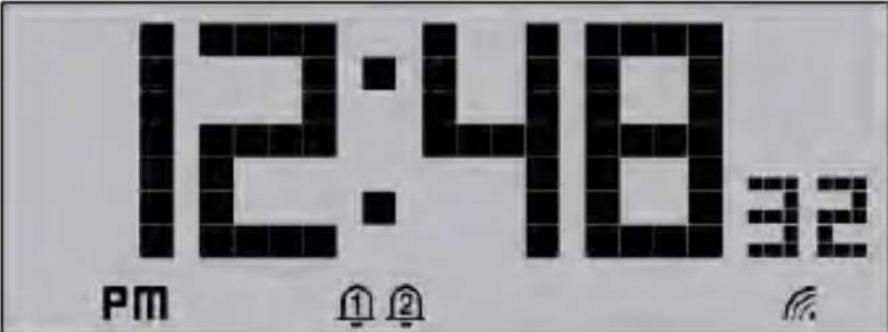 |
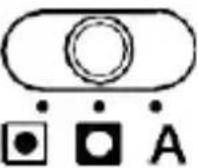 | Negative display mode | 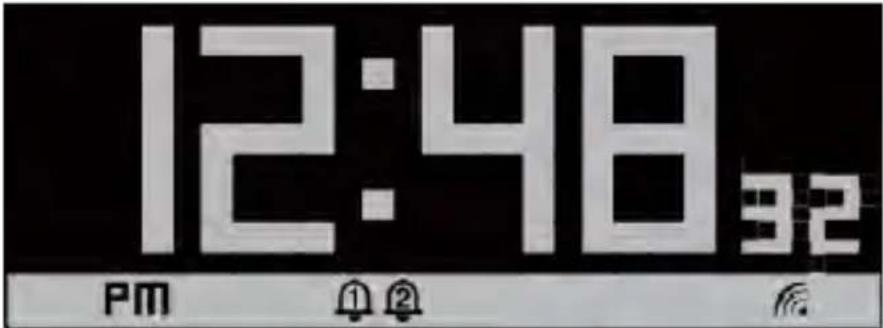 |
| Auto mode | Depend on the status:Display change to negative automaticallywhen in dark environment or when backlight /night light is on. |
BACKLIGHT
Press the [ SNOOZE / LIGHT ] button to turn on the backlight for 5 seconds.
AUTO NIGHT LIGHT
The auto night light function can automatically turn on the dim backlight under dark environment, which can allow user to view the time without affecting the dark
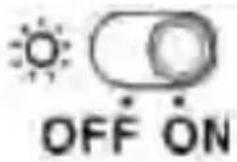
environment for sleeping, Slide the [ AUTO NIGHTLIGHT ] slide switch to ON / OFF position to enable / disable this function.
RADIO CONTROLLED FUNCTION
The time & date are radio-controlled. The current time & date are automatically synchronized with the time signal transmitted from Germany (DCF77).
When used for the first time (after inserting the batteries) or pressing the [ RESET ] button,, the clock will start to receive the RC signal after 5 minutes with the signal strength indicator flashing. If it cannot receive the signal after 5 minutes, you can press [ RCC ] button to receive the RC signal once.
RADIO CONTROLLED SIGNAL INDICATOR
The signal indicator displays signal strength in 4 levels. Wave segment flashing means time signals are being received. The signal quality could be classified into as below:
 |  |  |
| No signal | Weak signal | Good signal |
NOTES:
- This clock will automatically search for the time signal at 2:00am. The clock will repeat the process again at 3:00am (or 4:00am), if it does not receive successfully at 2:00am (or 3:00am).
-
During the radio controlled signal reception, the display will keep in positive display mode.
-
Always place the unit away from interfering sources such as TV set, computer, etc.
- Avoid placing the unit on or next to metal plate.
- Closed area such as airport, basement, tower block or factory is not recommended.
- Do not start reception on a moving article such as vehicle or train.
PERMANENT ENABLE & DISABLE OF RCC FUNCTION
To suspend radio controlled function, press and hold the RCC button for 8 seconds until display “OFF”. To resume this function, press and hold 8 seconds until display “ON”.
DAYLIGHT SAVING TIME (DST)
This clock has been programmed to automatically switch when the daylight saving time (DST) is in effect. User can disable the DST function on clock in time and calendar setting mode.
NOTE:
DST AUTO/OFF setting is only available when RCC function (radio-controlled time) is ON.
TIME AND CALENDAR SETTING
- In normal time mode, press and hold [TIME] button for 2 seconds to enter 12/24 hour format setting.
-
Press [ + ] or [ - ] button to set your desired. (Press it without releasing to speed up the setting.)
-
Press [TIME] key again to step the setting items in below sequence:

flowchart
graph LR
    A["Select 12/24 hour format"] --> B["Set hour"]
    B --> C["Set minute"]
    C --> D["Set second"]
    E["Set year"] --> F["Select MD/DM"]
    F --> G["Set month"]
    G --> H["Set date"]
    I["Set time zone (±23 hour)"] --> J["Set DST AUTO ON/OFF"]
    J --> K["END"]
- Press [TIME] key to save and exit the setting mode, or it will automatically exit the time setting mode 60 seconds later without pressing any key.
NOTE:
Press and hold the [TIME] button for 2 seconds to exit the setting during any setting step.
DISPLAY AND SET ALARM TIME
TO DISPLAY ALARM TIME
-
In normal time mode, press [ ALARM 1 ] button to display alarm 1
-
Press [ ALARM 1 ] button again to turn on / off alarm 1, once the alarm 1 turned on the “icon will show on the display and the alarm time will show on the display with 5 seconds, and then back to normal mode.
Repeat the above step by pressing [ ALARM 2 ] button to display and turn on/off alarm 2.
TO SET ALARM TIME
- Press and hold [ ALARM 1 ] button for 2 seconds until the alarm Hour digit flashes to enter alarm time setting mode.
- Press [ + ] or [ - ] button to adjust the value. Press and hold the [ + ] or [ - ] for quick adjust.
- Press [ ALARM 1 ] button again to step the setting value to minute with the minute digit flashing.
- Press [ + ] or [ - ] button to adjust the value.
- Press [ ALARM 1 ] button to save and exit the setting, or the clock will automatically exit the setting mode 60 seconds later without pressing any button.
Once you set the alarm time, the alarm will be turned on and the “ ” icon will also display. Following the above step by using [ ALARM 2 ] button to
set alarm 2
NOTE:
- The alarm beeping sound will stop automatically after 2 minutes.
- User may press [ SNOOZE / LIGHT ] button or [ COUNTDOWN ] button to stop the alarm beeping any time and back to “----” display.
USING ALARM AND SNOOZE FUNCTION
- Set the desired alarm time as described in the above section.
- Make sure the “①” and / or “②” icon is displayed on the LCD.
- When clock reaches the time of alarm 1 or 2, the alarm sound will start.
Alarm can be stopped by the following operations:
- Auto-stop after 2 minutes alarming if without any operation and the alarm will activate again in the next day.
- By pressing [ SNOOZE / LIGHT ] button to enter snooze that the alarm will sound again after 5 minutes.
- By pressing and hold [ SNOOZE / LIGHT ] button for 2 seconds to stop the alarm and will activate again in the next day.
- By pressing [ ALARM 1 ] or [ ALARM 2 ] button to stop the alarm and the
alarm will activate again in the next day.
NOTE:
- The snooze could be used continuously in 24 hours.
- During the snooze function, the “ 📄 or “ “ icon will keep flashing.
DISPLAY TEMPERATURE
In normal mode, press [+] or [-] button until temperature is displayed or press [^/^] button to display the temperature directly.
During temperature mode, press [^/^] button to toggle the temperature unit.
COUNTDOWN TIME
The countdown function shows remaining days to any date in the next 10 years set by the user. On the last day, display will show the remaining time (in hours, minutes & seconds) until it reaches 00:00:00.
In normal mode, press [ + ] or [ - ] button until countdown mode is displayed or press [ COUNTDOWN ] button to display countdown directly.
During countdown mode, press [ COUNTDOWN ] button again to view the target date detail in sequence:
SET COUNTDOWN TIME
- During normal mode, press [ COUNTDOWN ] button to enter countdown mode.
- Press and hold [COUNTDOWN] button with 2 seconds to set the year of the desired target date by using [ + ] or [-] button.
- Press [ COUNTDOWN ] button to set the month by using [ + ] or [ - ] button.
- Press [ COUNTDOWN ] button to set the day by using [ + ] or [ - ] button.
- Press [ COUNTDOWN ] button to set the hour by using [ + ] or [ - ] button.
- Press [ COUNTDOWN ] button to set the minute by using [ + ] or [ - ] button
- Press [ COUNTDOWN ] button to complete the setting and the number of data will show on the display. E.g.: number of days from 20 Feb 2019 to 21 Nov 2022 is 1369 days remaining.
NOTE:
At any time during the setting, user may press [ + ] & [ - ] buttons together to clear any setting time, and then press [ COUNTDOWN ] button to exit.
Once the countdown target date & time reach 00:00:00, the alarm sound will beep.
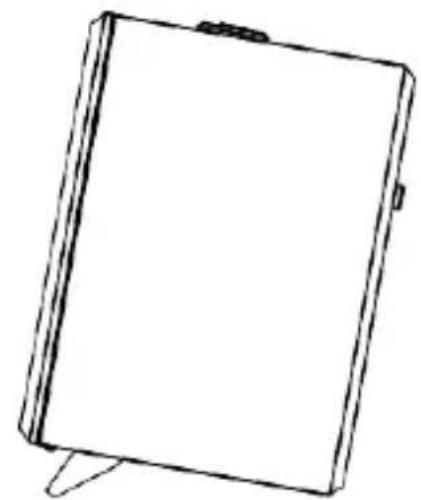
ADJUST THE VIEW ANGLE
This clock have adjustable table stand for elevated viewing angle.
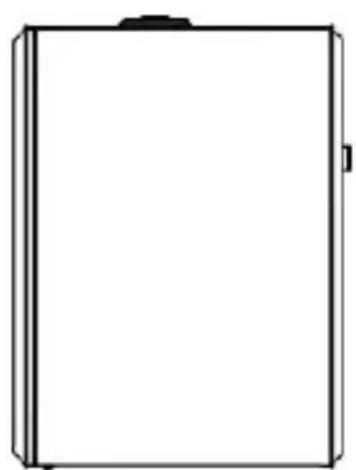
natural_image
Simple line drawing of a rectangular box or container with no text, numbers, or symbols.For bed side use
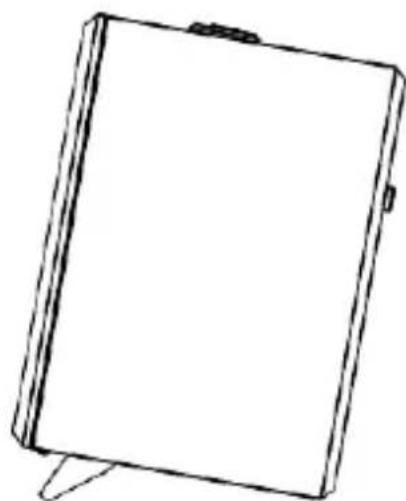
natural_image
Simple line drawing of a blank rectangular frame with a small clip at the top (no text or symbols)For table use
LOW BATTERY INDICATOR
If the low battery indicator “ ” appear on the bottom side of display, it indicates that the battery power of the clock is not enough, You should
replace with 2 AA size batteries at once in battery compartment for clock. If the backlight becomes dim, it indicates that the flashlight battery power is not enough. You should replace with 2 AA size batteries at once in battery compartment for the backlight.
NOTE:
The batteries for backlight are on the outside of the compartment, so change these batteries do not affect the clock operation.
SPECIFICATION
| Dimensions (W x H x D) | 120 x 57 x 45mm |
| Main power | 2 x AA size 1.5V batteries(Alkaline battery recommended) |
| Backlight power | 2 x AA size 1.5V batteries(Alkaline battery recommended) |
| Operating temperature range | -5°C to 50°C (23°F to 122°F) |
| Resolution of temperature | 1 °C or °F |
| Radio controlled signal | DCF 77 |
ENVIRONMENTAL RECEPTION EFFECTS
The clock obtains the accurate time with wireless technology. Same as all wireless devices, the reception is maybe affected by the following circumstances:
- long transmitting distance
• nearby mountains and valleys - near freeway, railway, airports, high voltage cable etc.
- near construction site
- among tall buildings
• inside concrete buildings
• inside moving vehicles
- near electrical appliances (computers, TV's, etc) and metallic structures
Place the clock at a location with optimal signal, i.e. close to a window and away from metal surfaces or electrical appliances.
PRECAUTIONS
- This main unit is intended to be used only indoors.
- Do not subject the unit to excessive force or shock.
- Do not expose the unit to extreme temperatures, direct sunlight, dust or humidity.
-
Do not immerse in water.
-
Avoid contact with any corrosive materials.
- Do not dispose this unit in a fire as it may explode.
- Do not open the inner back case or tamper with any components of this unit.
BATTERY SAFETY WARNINGS
- Use only alkaline batteries, not rechargeable batteries.
• Install batteries correctly by matching the polarities (+/-).
• Always replace a complete set of batteries. - Never mix used and new batteries.
- Remove exhausted batteries immediately.
- Remove batteries when not in use.
- Do not recharge and do not dispose of batteries in fire as the batteries may explode.
- Ensure batteries are stored away from metal objects as contact may cause a short circuit.
- Avoid exposing batteries to extreme temperature or humidity or direct sunlight.
- Keep all batteries out of reach from children. They are a choking hazard.
Use the product only for its intended purpose!
Consideration of duty according to the battery law
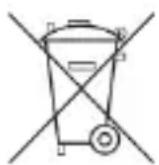
Old batteries do not belong to domestic waste because they could cause damages of health and environment. You can return used batteries free of charge to your dealer and
collection points. As end-user you are committed by law to bring back
needed batteries to distributors and other collecting points!
Consideration of duty according to the law of electrical devices
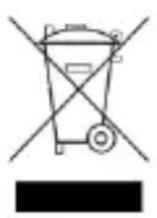
This symbol means that you must dispose of electrical
devices separated from the General household waste when it
reaches the end of its useful life. Take your unit to your local
waste collection point or recycling centre. This applies to all countries of the European Union, and to other European countries with a separate waste collection system.
WT295 – MANUEL DE L'UTILISATEUR
VUE D'ENSEMBLE
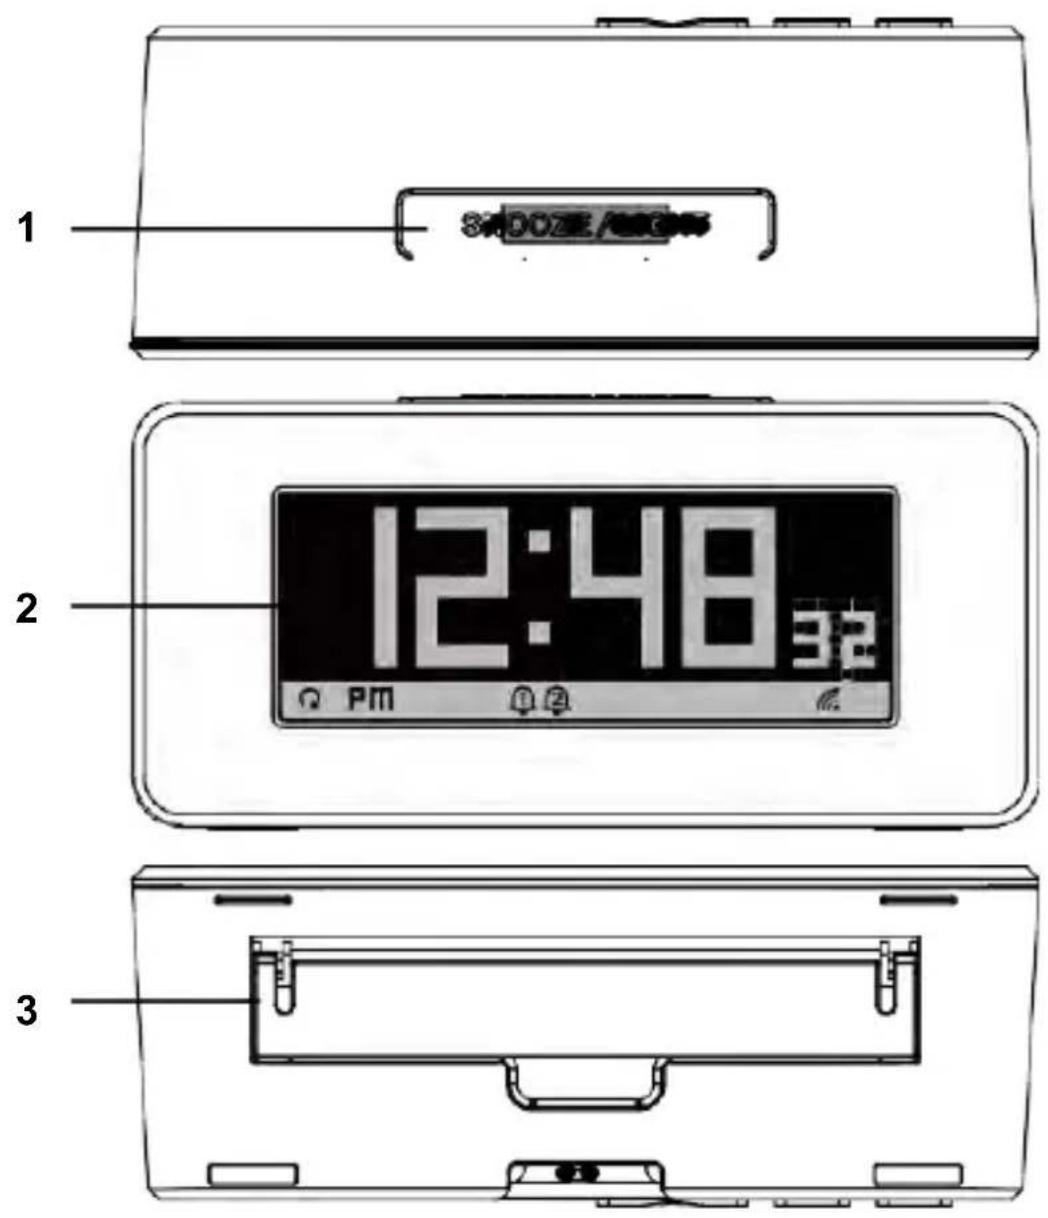
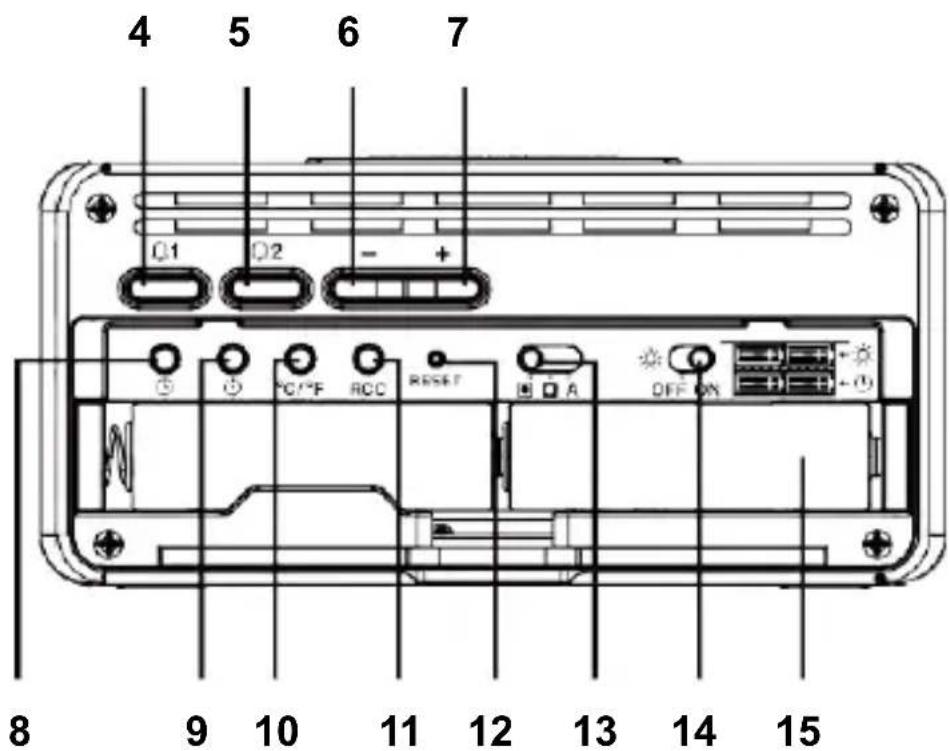
- Touche [SNOOZE/LIGHT]
- Écran LCD
- Socle
- Touche [ALARM 1]
- Touche [ALARM 2]
- Touche [-] (changer le mode d'affichage)
- Touche [+] (changer le mode d'affichage)
- Touche [TIME]
- Touche [COUNTDOWN]
- Touche [°C/°F]
- Touche [RCC]
- Touche [RESET]
- Commutateur coulissant [AUTO REVERSE]
- Commutateur coulissant [AUTO NIGHTLIGHT]
- Compartiment à piles
PREMIÈRE UTILISATION
natural_image
Simple line drawing of a rectangular box or container with no text, numbers, or symbolsnatural_image
Simple line drawing of a blank rectangular frame with a clip, no text or symbols present.natural_image
Simple line drawing of a rectangular box or container with no text, numbers, or symbols.natural_image
Simple line drawing of a blank rectangular object with a small clip, no text or symbols present.Para su uso en mesa
INDICADOR DE BATERÍA BAJA
natural_image
Simple line drawing of a rectangular box or container with a small protrusion on top (no text or symbols)Voor gebruik in bed
natural_image
Simple line drawing of a blank rectangular object with a clip, no text or symbols presentnatural_image
Simple line drawing of a rectangular box or container with no text, numbers, or symbolsnatural_image
Simple line drawing of a blank rectangular frame with a paperclip at the top (no text or symbols)natural_image
Simple line drawing of a rectangular box or container with a small protrusion on top (no text or symbols)natural_image
Simple line drawing of a blank rectangular object with a clip, no text or symbols presentPro použití na stůl
INDIKÁTOR SLABÝCH BATERIÍ
natural_image
Simple line drawing of a rectangular box or container with no text, numbers, or symbolsnatural_image
Simple line drawing of a blank rectangular object with a clip, no text or symbols present
- NOTES:
- DISPLAY MODE
- DISPLAY SCREEN AND BACKLIGHT
- BACKLIGHT
- AUTO NIGHT LIGHT
- RADIO CONTROLLED FUNCTION
- RADIO CONTROLLED SIGNAL INDICATOR
- PERMANENT ENABLE & DISABLE OF RCC FUNCTION
- DAYLIGHT SAVING TIME (DST)
- NOTE:
- TIME AND CALENDAR SETTING
- DISPLAY AND SET ALARM TIME
- TO DISPLAY ALARM TIME
- TO SET ALARM TIME
- set alarm 2
- USING ALARM AND SNOOZE FUNCTION
- DISPLAY TEMPERATURE
- COUNTDOWN TIME
- SET COUNTDOWN TIME
- ADJUST THE VIEW ANGLE
- LOW BATTERY INDICATOR
- ENVIRONMENTAL RECEPTION EFFECTS
- PRECAUTIONS
- BATTERY SAFETY WARNINGS
- Consideration of duty according to the battery law
- WT295 – MANUEL DE L'UTILISATEUR
- PREMIÈRE UTILISATION
- INDICADOR DE BATERÍA BAJA
- INDIKÁTOR SLABÝCH BATERIÍ
Brand : Techno Line
Model : WT295
Category : Alarm Clock