H-8520 - Tool cart Uline - Free user manual and instructions
Find the device manual for free H-8520 Uline in PDF.

User questions about H-8520 Uline
0 question about this device. Answer the ones you know or ask your own.
Ask a new question about this device
Download the instructions for your Tool cart in PDF format for free! Find your manual H-8520 - Uline and take your electronic device back in hand. On this page are published all the documents necessary for the use of your device. H-8520 by Uline.
USER MANUAL H-8520 Uline
TOOLS NEEDED

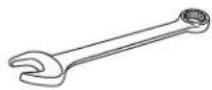
5 mm Hex Wrench 13 mm Wrench
natural_image
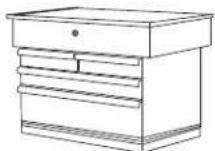
Line drawing of a multi-tiered office cart with wheels and handle (no text or symbols)PARTS
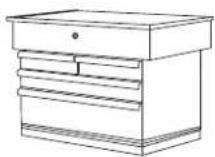
Chest x 1
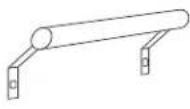
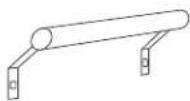
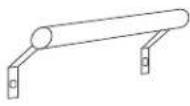
Handle x 1
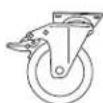
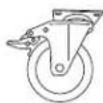
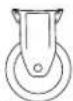
Swivel
Caster x 2
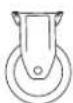
Rigid
Caster x 2

5/16×1/2"
Bolt x 38

5/16 × 5/8"
Bolt x 2

M8 x 15 mm
Hex Head
Bolt x 16

13 mm
Nut x 40

M8 Nut
x 16
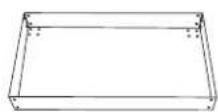
Bottom Tray x 1

Long Strut x 2

Leg x 4
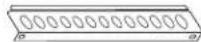
Short Strut x 2
Cart Key x 2

Drawer Liner x 4
SAFETY

CAUTION! Only open one drawer at a time to keep cart from tipping over.
- Close chest lid and lock drawers before moving.
- Do not stand on the cart or climb on drawers. Doing so may result in injury.
-
Do not place the cart on truck bed or any other moving object.
-
Lock swivel casters to keep cart stationary.
- Do not pull. Push to move.
- Lubricate the top and bottom channels of the drawer slides at least twice a year.
ASSEMBLY
text_image
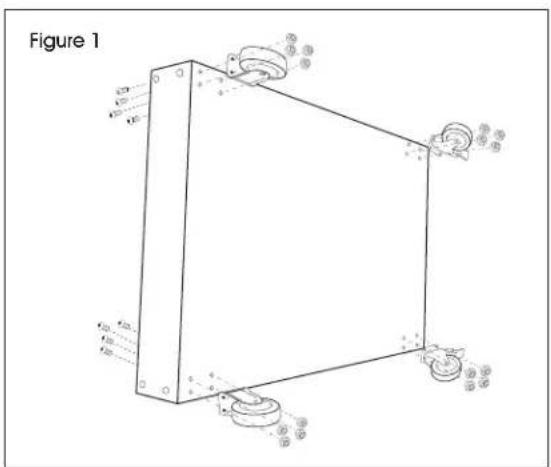
Figure 1ATTACH CASTERS
- Place bottom tray on side. (See Figure 1)
- Align caster with holes on bottom tray.
- Attach caster to the bottom of tray with four M8 hex head bolts and four M8 nuts. Ensure the bolt heads are inside the tray. Use hex wrench to tighten, but don't fully secure until all casters are attached.
- Repeat Step 3 for the remaining casters.

NOTE: Install rigid casters on one end of bottom tray and swivel casters with brakes on the opposite end.
- Completely tighten all bolts.
ASSEMBLY CONTINUED
natural_image
Technical line drawing of a wheeled cart with wheels and a magnified inset showing internal components (no text or symbols)
text_image
Figure 3 Lip Short Strut Long Strut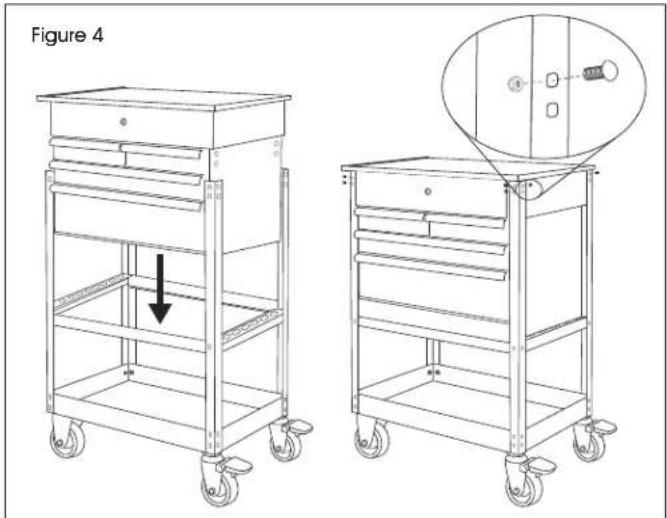
natural_image
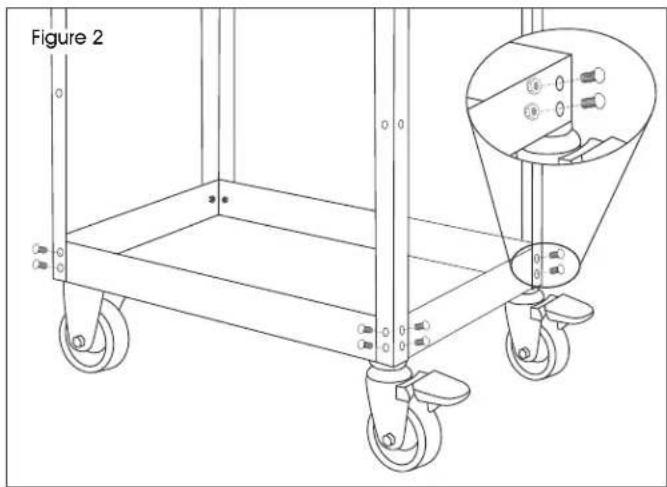
Technical line drawing of two empty metal carts with wheels, one showing a downward arrow and the other showing a close-up detail (no text or symbols)ATTACH LEGS
- Place the bottom tray (with casters) upright. Lock the swivel casters. (See Figure 2)
- Attach leg to the outside of tray with four 5/16 x 1/2" bolts and four 13 mm nuts.

NOTE: Position leg so two holes near middle are closer to bottom tray.

NOTE: Ensure that bolt heads face outward.
- Repeat Step 2 for the remaining three legs.
- Completely tighten all bolts.
ATTACH STRUTS
- Attach long strut to the inside of the legs with two 5/16 x 1/2" bolts and two 13 mm nuts. (See Figure 3)

NOTE: Ensure that the strut lip faces inward and downward.
-
Repeat Step 1 for the second long strut.
-
Attach short strut to the inside of the legs with two 5/16 x 1/2" bolts and two 13 mm nuts.

NOTE: Ensure that the strut lip faces inward and holes face upward.
- Repeat Step 3 for the second short strut.
- Completely tighten all bolts.
ATTACH CHEST
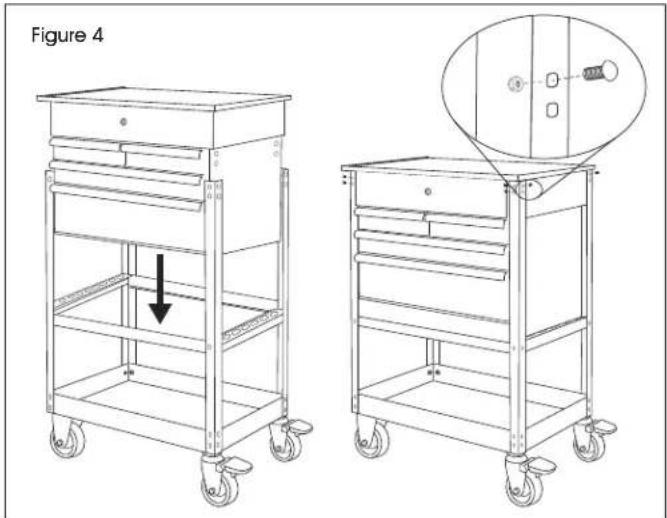
- Place chest inside legs. Make sure that holes at the top of the legs align with holes on chest. (See Figure 4)
- Choose which side to install handle. On the side without the handle, thread four 5/16 x 1/2" bolts and four 13 mm nuts to each corner. On the side where handle will be installed, only thread two 5/16 x 1/2" bolts and two 13 mm nuts on top, leaving the bottom holes open.
ASSEMBLY CONTINUED
text_image
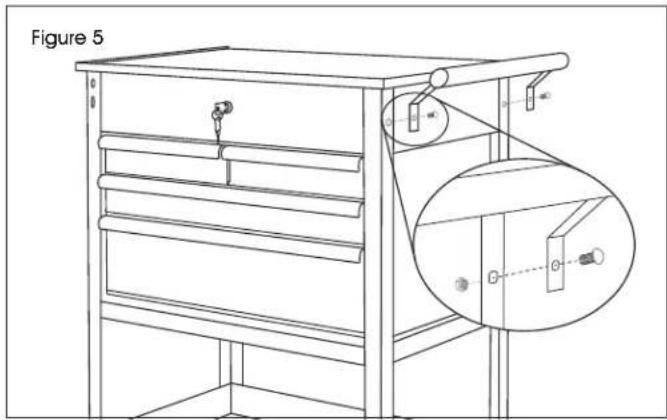
Figure 5ATTACH HANDLE
- Align handle with remaining open holes from last step. (See Figure 5)
- Attach handle with the two 5/16 x 5/8" bolts and two 13 mm nuts. Tighten nuts from inside the chest.
ULINE H-8520
CARRITO PARA HERRAMIENTAS CON 4 CAJONES
800-295-5510
uline.mx
natural_image
Line drawing of a multi-tiered office cart with wheels and handle (no text or symbols)PARTES
1 Caja
1 Asa 2 Ruedas
Giratorias
2 Ruedas
Rígidas

38 Pernos de 5/16 x 1/2"

2 Pernos de 5/16 x 5/8"

16 Pernos
de Cabeza
Hexagonal
M8 x 15 mm

40 Tuercas
de 13 mm

16 Tuercas
M8
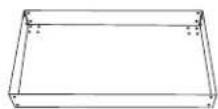
1 Bandeja Inferior

2 Refuerzos Largos

4 Patas

2 Refuerzos Cortos
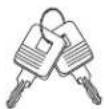
2 Llaves para Carrito

4 Forros para
Cajones
SEGURIDAD

natural_image
Technical line drawing of a wheeled cart with wheels and a magnified inset showing internal components (no text or symbols)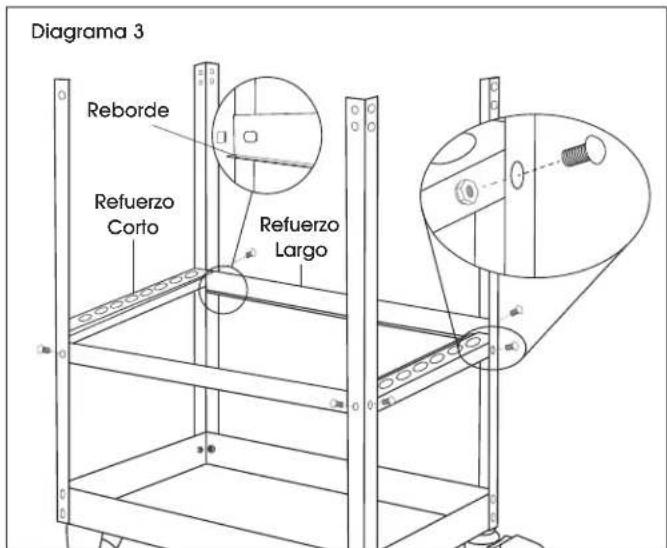
natural_image
Line drawing of a multi-level office cart with wheels and handle (no text or symbols)PIÈCES
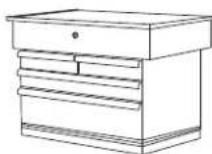
Coffre x 1
natural_image
Technical line drawing of a wheeled cart with wheels and a magnified inset showing internal components (no text or symbols)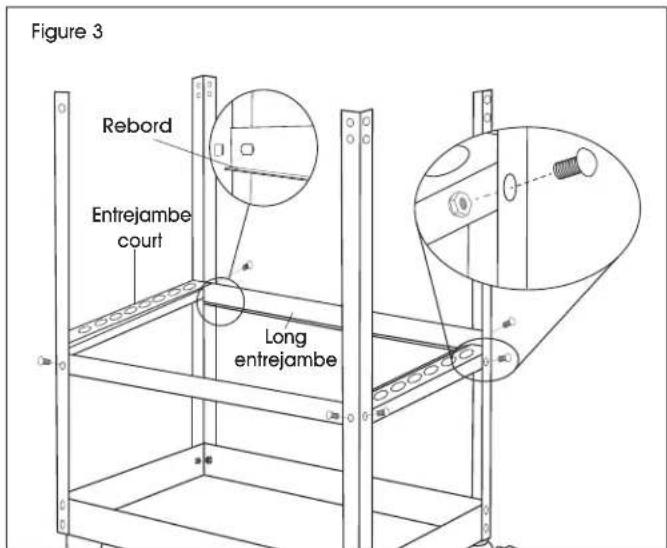
text_image
Figure 3 Rebord Entrejambe court Long entrejambe