
JBT03N1 - Bike trailer Vevor - Free user manual and instructions
Find the device manual for free JBT03N1 Vevor in PDF.
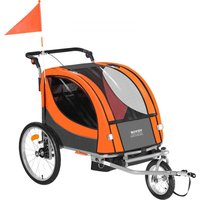


| Product type | Child bike trailer convertible to stroller |
| Brand | Vevor |
| Model | JBT03N1 |
| Maximum load capacity | 88 lb (approx. 40 kg) total, 44 lb (20 kg) per child |
| Number of seats | 2 children |
| Dimensions (L x W x H) | 74 x 62 x 56 cm (29.1 x 24.4 x 22 inches) |
| Wheels | 2 rear wheels 12 inches, 1 front wheel 20 inches |
| Material | Steel, Oxford fabric, PVC |
| Color | Orange and dark gray |
| Usage | Bike trailer, stroller (with detachable handlebar) |
| Safety | 5-point safety harness, parking brake, safety flag, rear reflectors, safety hitch |
| Canopy | Integrated sunshade and rain cover (foldable) |
| Recommended age | From 12 months (child able to sit without assistance) |
| Maximum recommended speed | 10 mph (16 km/h) |
| Care and cleaning | Clean with warm water and mild soap; lubricate moving parts; check tires and fasteners before each use |
| Warranty | Electronic warranty certificate available at www.vevor.com/support |
Frequently Asked Questions - JBT03N1 Vevor
User questions about JBT03N1 Vevor
0 question about this device. Answer the ones you know or ask your own.
Ask a new question about this device
Download the instructions for your Bike trailer in PDF format for free! Find your manual JBT03N1 - Vevor and take your electronic device back in hand. On this page are published all the documents necessary for the use of your device. JBT03N1 by Vevor.
USER MANUAL JBT03N1 Vevor
Technical Support and E-Warranty Certificate
www.vevor.com/support
We continue to be committed to provide you with tools at competitive prices. "Save Half", "Half Price", or any other similar expressions used by us only represent the savings you might benefit from buying certain tools with us compared to top brands and does not necessarily mean to cover all categories of tools offered. We kindly remind you to verify carefully when placing an order with us to ensure you are actually saving half in comparison with the top major brands.
VEVOR®
TOUGH TOOLS, HALF PRICE
NEED HELP? CONTACT US!
Have product questions? Need technical support? Please feel free to contact us:
Technical Support and E-Warranty Certificate www.vevor.com/support
This is the original instruction. Please read all manual instructions carefully before operating. VEVOR reserves the right to interpret the user manual. The appearance of the product shall be subject to the product you received. Please forgive us that we won't inform you of any technology or software updates on our product.
WARNING
Do read instructions before driving. Failure to comply with the instructions and warnings in this manual could result in serious injury or death.
● The maximum weight capacity per child is 44 lbs. The total weight capacity of the trailer cannot exceed 88 lbs. - Max recommended trailer speed is 10 mph. Always maintain a safe speed. - Do not use the trailer on rocky roads or other dangerous roads. - Never leave children in or near the trailer unattended. - Never have more than two children in the trailer at one time. - Never use with children who cannot support their own head. - Never use the trailer with children who cannot sit unaided. - Bicycle riders using the trailer must be 18 years old or older and must be in good physical condition. - Riders and children must wear approved safety helmets. - Recommended passenger age is at least 12 months old and weighing up to 44 lbs. - Assemble trailer strictly according to this instruction manual. - Never park the trailer near a trench or dangerous road. - Check tire air pressure before every trip. - If necessary, inflate the tires to within the range shown on the tire sidewall.
Always use a foot or hand pump to inflate the tires.
• Overinflation of tires may result in failure and risk of serious injury.
Do not exceed maximum pressure as shown on tires.
- Check that the bicycle is in proper technical condition.
- Always check the proper connection of the coupling.
- Always have the canopy in place.
- Take proper precautions while riding in traffic, especially when turning.
- Always check that all parts of the trailer are connected properly and tightly.
- Do not use trailer with motorized vehicles. Increased speed of motorized bicycles can damage the trailer and cause injury.
- Avoid serious injury from falling or sliding out. Always use the safety harness.
- Take extra precautions when using in the rain. Ride slowly and allow a greater margin of safety when starting, stopping, and turning.
- Do not ride on surfaces where sand, gravel, ice, oil, or slippery substances are present.
- Never tow the trailer over curbs, stairs or escalators. If you must travel through stairs, have children get out of the trailer, disconnect the trailer from the bike and take it over the stairs independently.
- Never use bike trailer without provided safety flag and reflectors.
- Do not make any modifications to the trailer which may increase the risk of failure.
- Check the trailer for damage. Do not use if damaged.
- Be sure the fasteners are tight. Tighten if necessary.
- Be sure the brakes work properly. Braking distance is increased when pulling a trailer.
- The trailer requires a wide turning radius. Do not turn sharply. Sharp changes in direction may cause a tip over.
- The assembly can only be carried out by an adult.
- Use caution when turning on loose or uneven surfaces and when going downhill.
- Allow extra clearance for the trailer when near curbs, parked cars and other obstacles.
- Do not ride over curbs, bumps or holes.
- Do not use the trailer in hazardous weather.
- Do not pull or push the trailer with a vehicle.
- This product is not suitable for running or skating.
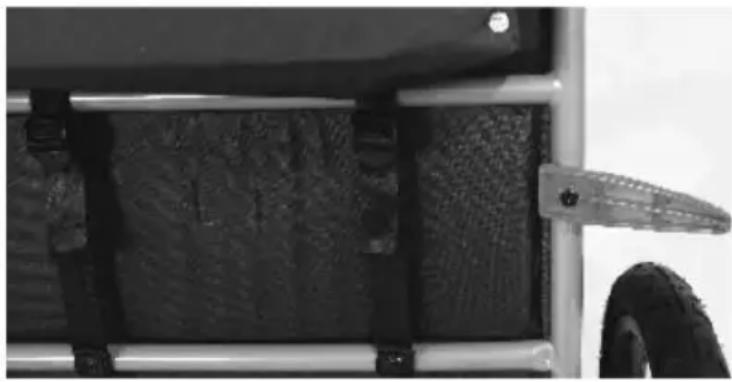
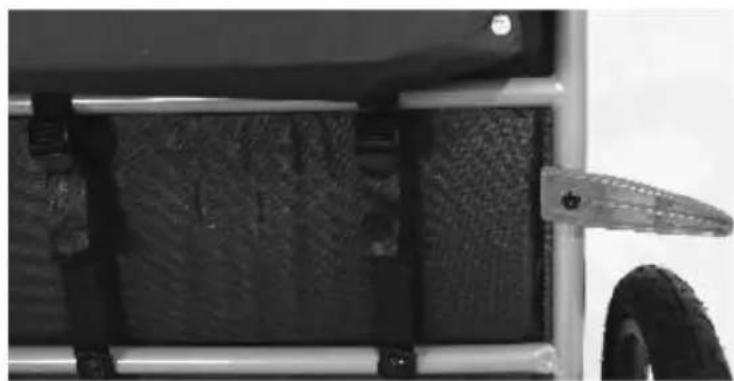
- Red reflectors must be visible on the rear of the trailer.
- Never ride a bicycle at night without adequate lighting. Obey all local legal requirements for lighting.
MODEL AND PARAMETERS
| Model | JBT03N1 |
| Type | Tow/Hand Push |
| Max. Load | 88lbs |
| Seating | 2 |
| Inner Bin Size | 29.1*24.4*22inch |
| Wheels | 12+20inch |
| Color | Orange & Darkgray |
| Material | Steel,Oxford cloth,PVC |
PARTS LIST
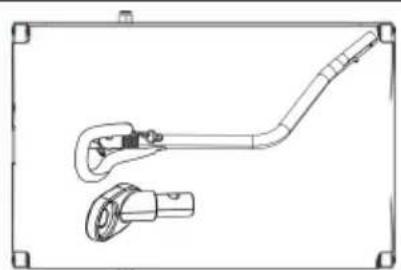
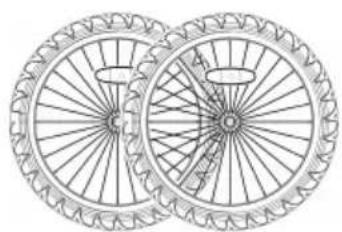
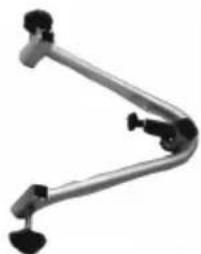
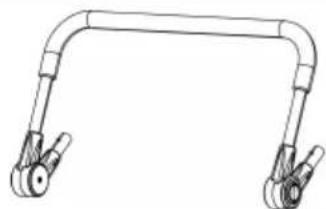
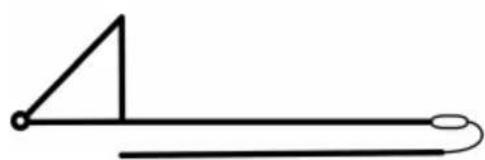
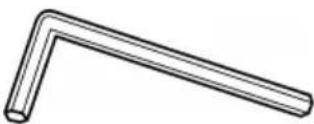 |  |
| 1 x Hex Key | 1 x User Manual |
HOW TO ASSEMBLE AND USE
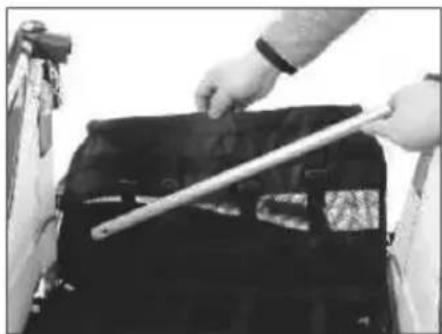
Unfold the Frame:
- Raise both side panels to an upright position
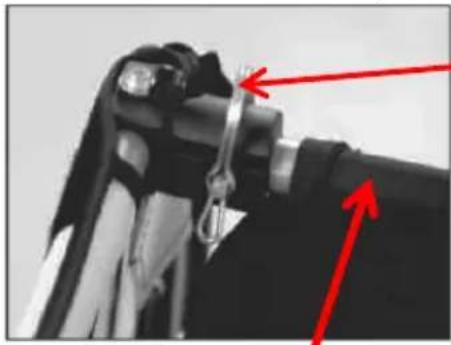
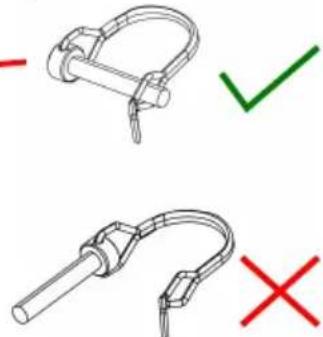
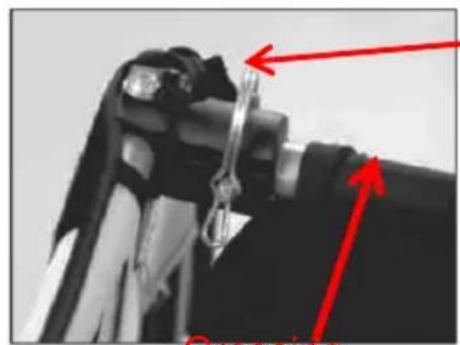
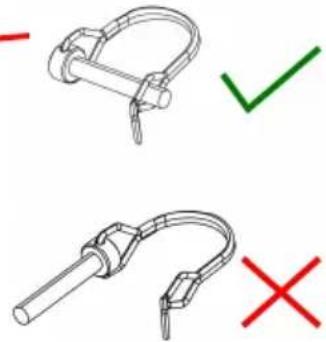
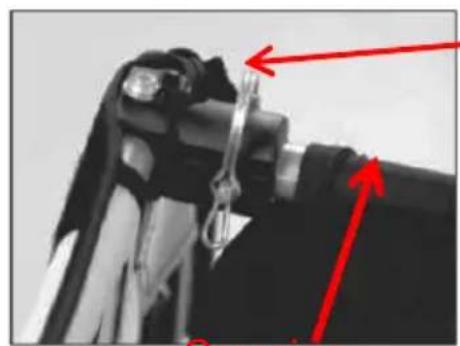
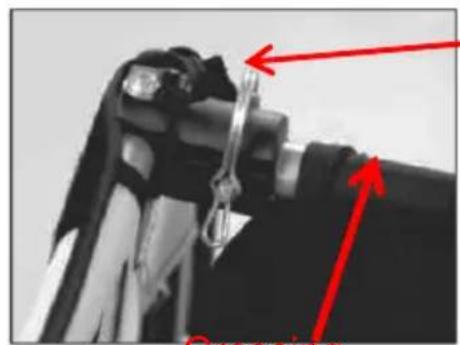
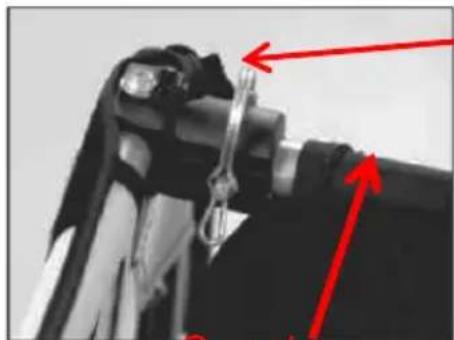
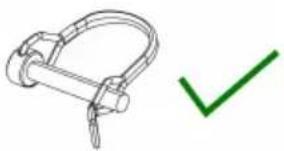
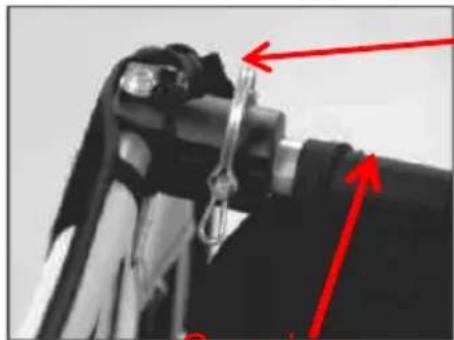
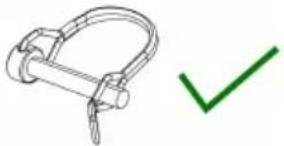
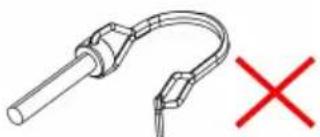
- Wearing the top of the back seat cloth into the cross bar and locking the pin latch.
- Ensure the cross bar is locked into place by pulling up and down on it.
Crossing
Attach The Canopy:
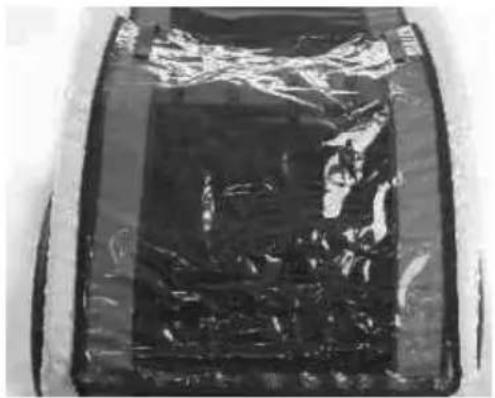
- In case of rain, pull down the attached transparent rain protector and connect it to the Velcro. The canopy of the trailer is water resistant. Eventually use a waterproofing spray.
- Roll the weather shield up into the Velcro at the top of the canopy if you are not using it.
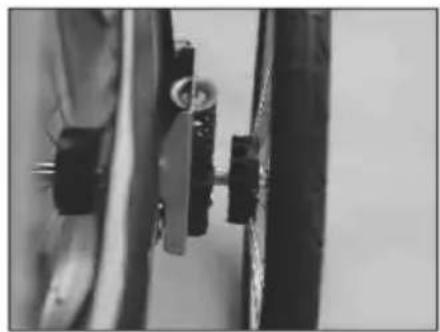
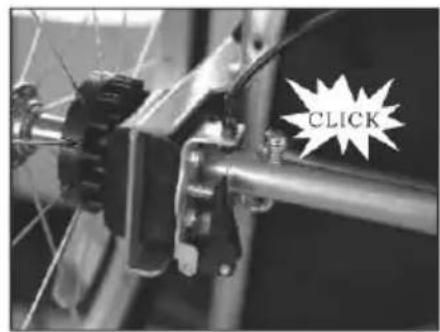
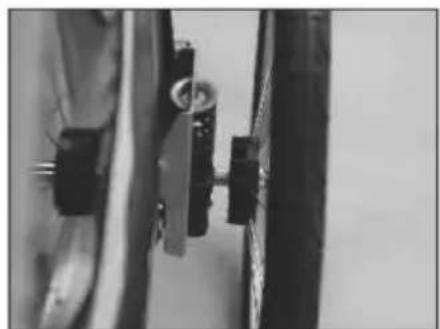
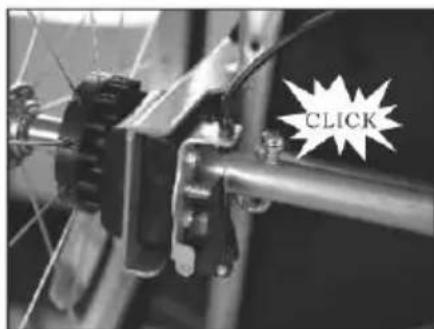
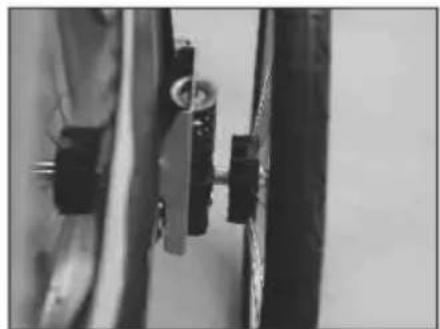
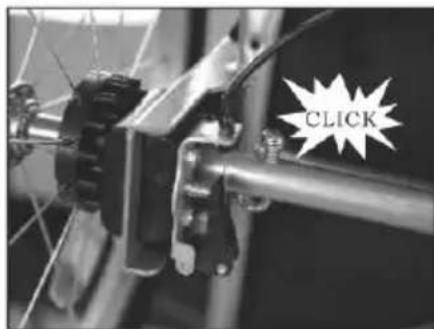
Attach The Rear Wheels:
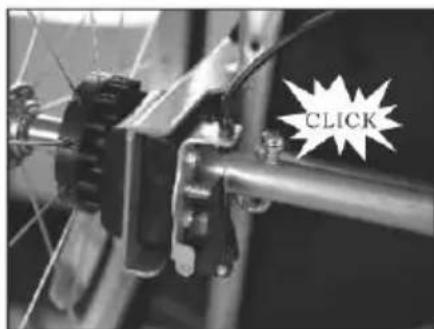
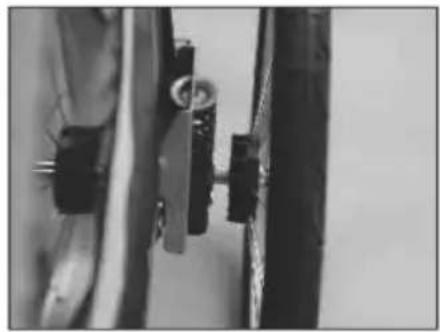
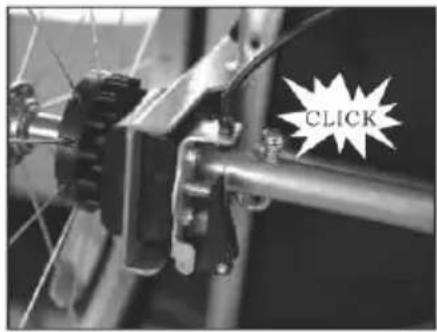
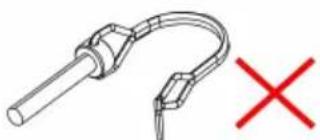
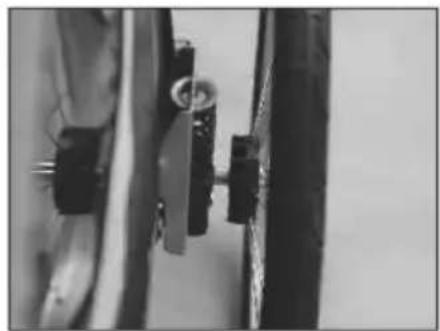
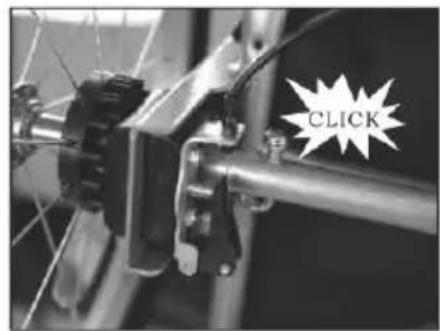
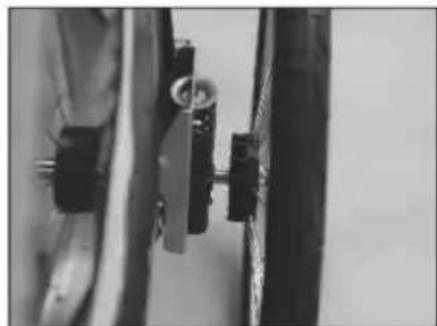
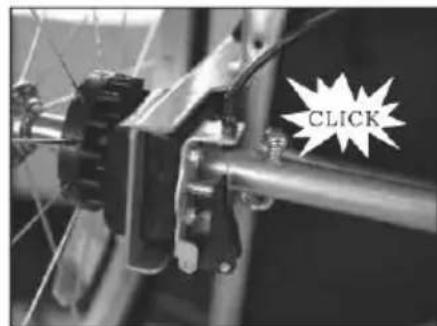
- Press the axle spring lock under the frame. At the same time insert the wheel into the wheel hole.
- Until the axle of the wheel cannot be pushed, then release the spring lock.
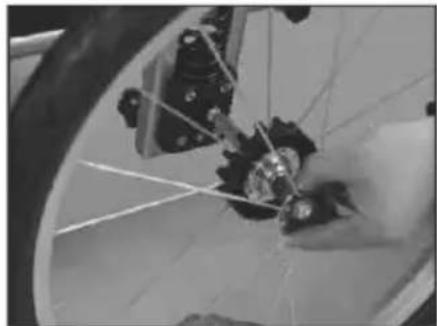
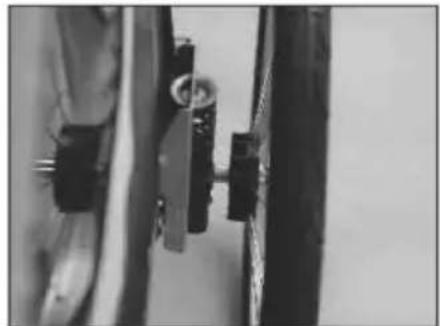
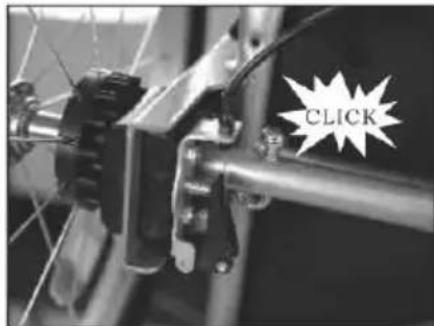
WARNING: Wheels that are not securely locked in place may fall off the track and cause serious injury or death. Always ensure the wheels are securely locked in place before use!
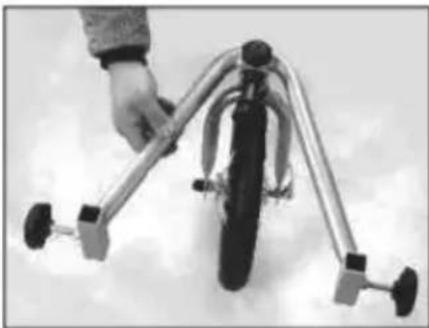
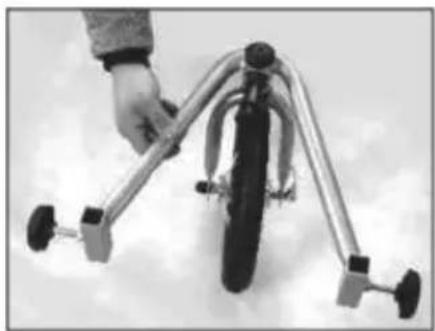
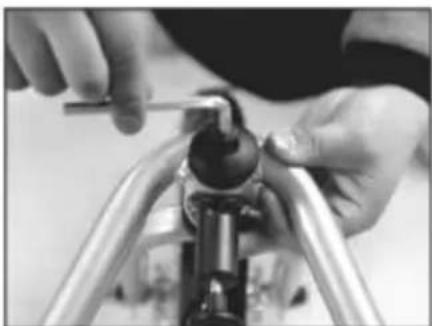
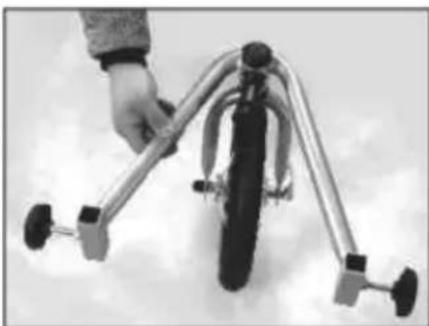
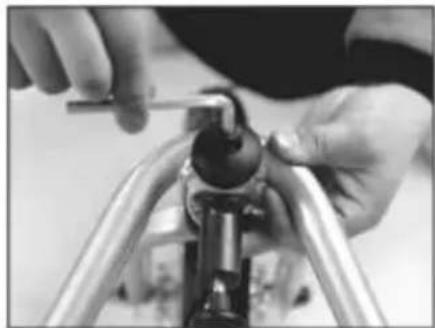
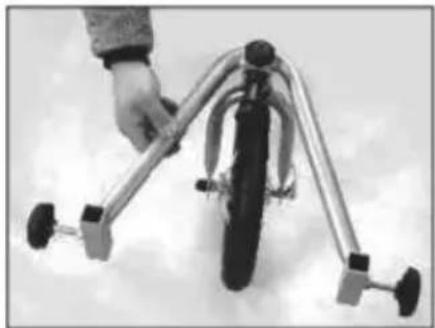
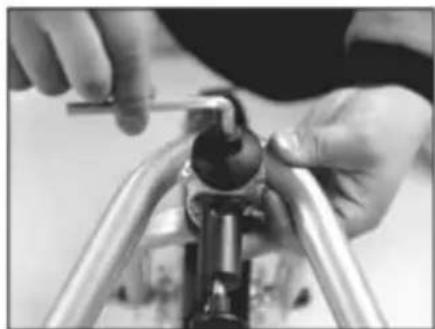
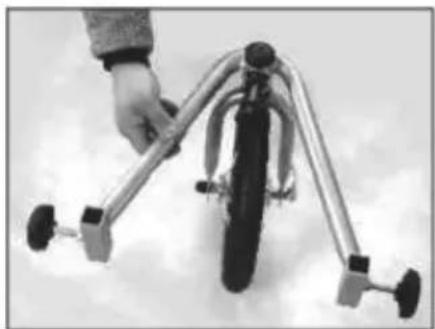
Attach The Front Wheel:
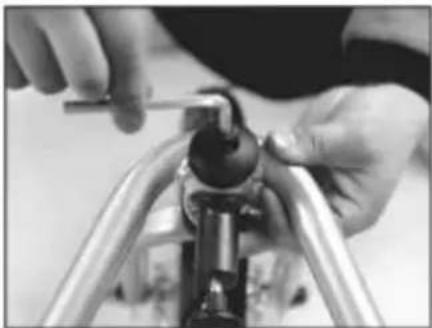
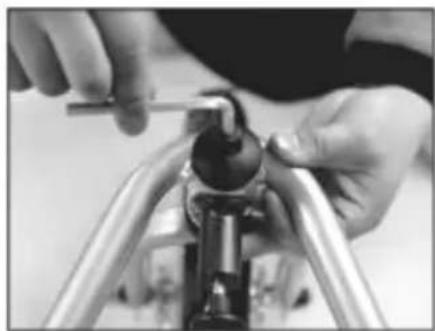
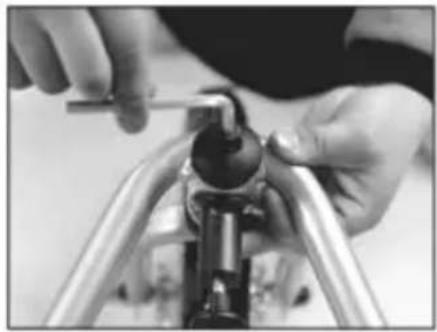
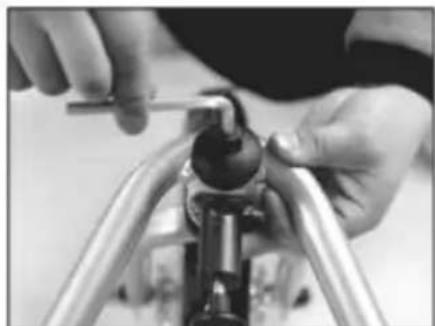
- Remove the screw and big black plastic nut and washer in the fork.
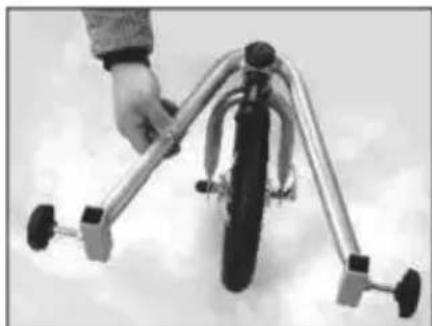
- Insert the front wheel into the fork.
- Place the washer and plastic nut on, then fasten it.
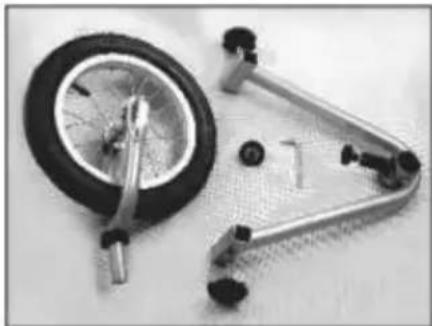
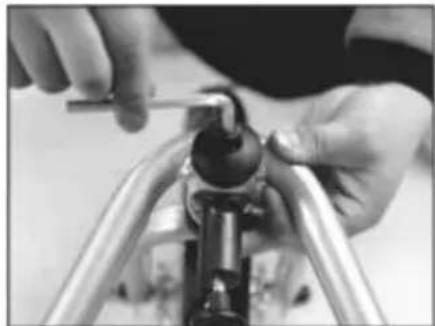
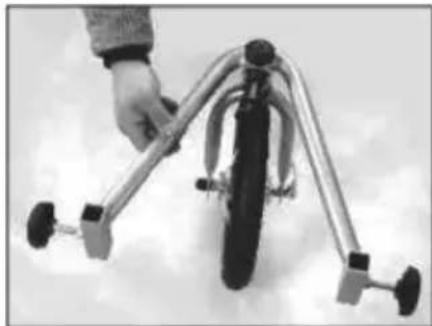
WARNING: When using it as a trailer, detach the front wheel and store it in the storage area.
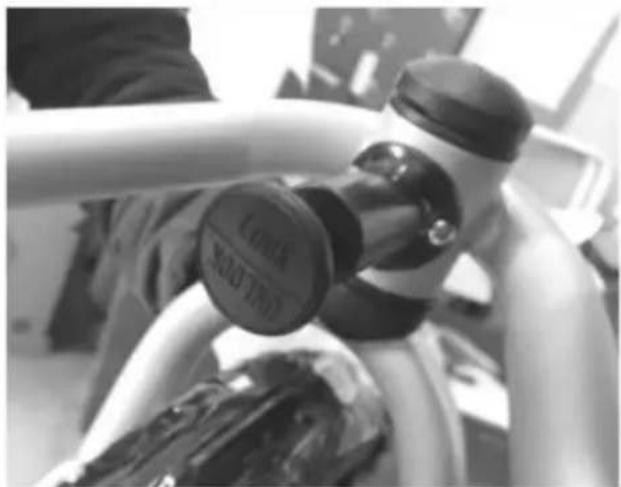
NOTE: The black knob can control the wheel.
- Pull out and turn the black knob to control the wheel position.
- When the mark "LOCK" is on top, the wheel can be used as a unicycle.
- When the mark "UNLOCK" is on top, the wheel can be used as a unicycle.
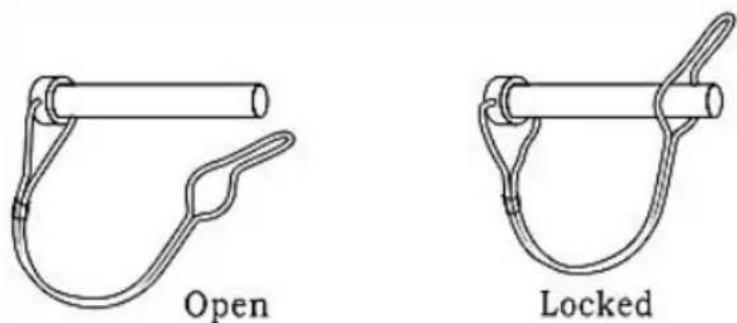
Extend and secure the tow bar:
- Place the trailer on its side with the tow bar facing up.
- Remove the locking pin from the tow bar bracket.
- Rotate the tow bar to the front of the trailer.
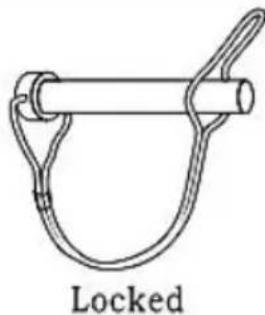
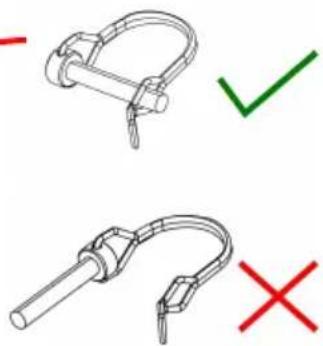
- Insert the locking pin completely through the hole in the end of the tow bar bracket.
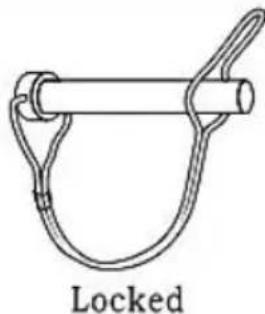
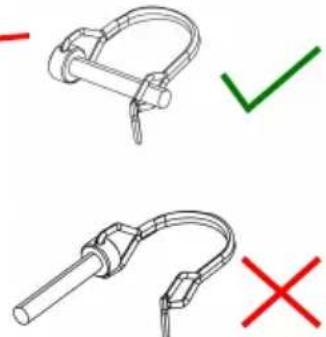
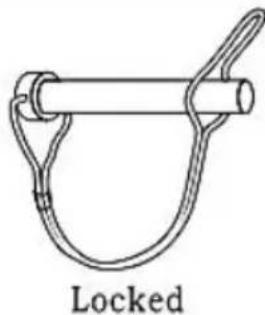
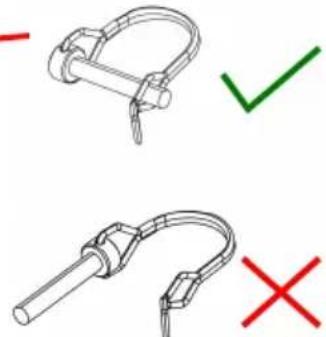
- Slide the end of the metal safety loop over the end of the locking pin. The locking pin is securely in place.
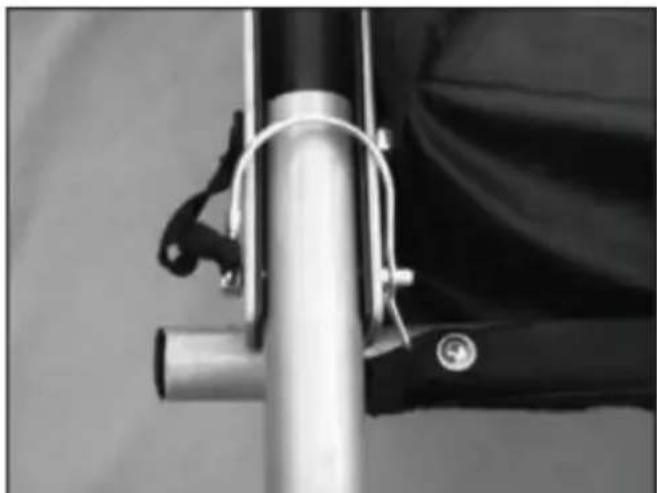
WARNING: Both safety pins must be locked in place before using the trailer. Otherwise, the roll bar or tongue could shift and cause an accident or serious injury.
Insert the safety flag:
- Assemble the flag pole sections by sliding the top half of the pole into the opening of the bottom half of the pole.
- Insert the flag pole into the sleeve located at the rear corner of the trailer.
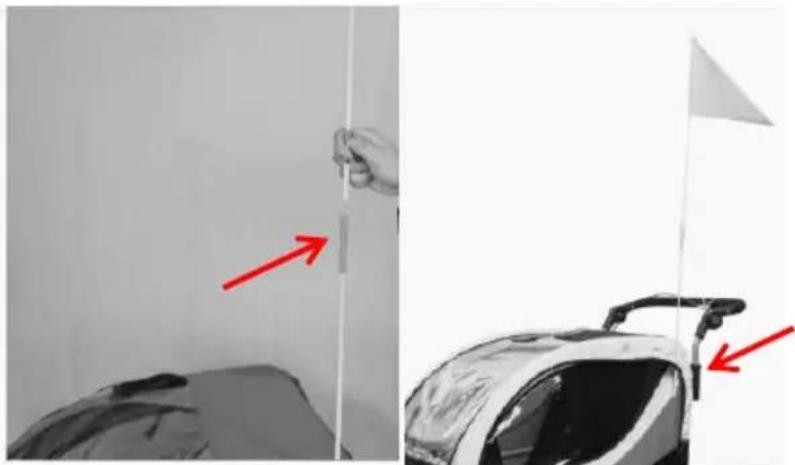
WARNING: The safety flag is an important safety feature that warns others that the trailer is present and on the bicycle. Always have the safety flag on the trailer in use!
Attach the stroller handle:
- Press the pin on both sides of the handlebar.
- Insert into the holder on the frame together until the pins slide into the holder.
- Check the handlebar by pulling it up and down to ensure it is securely attached to the frame.
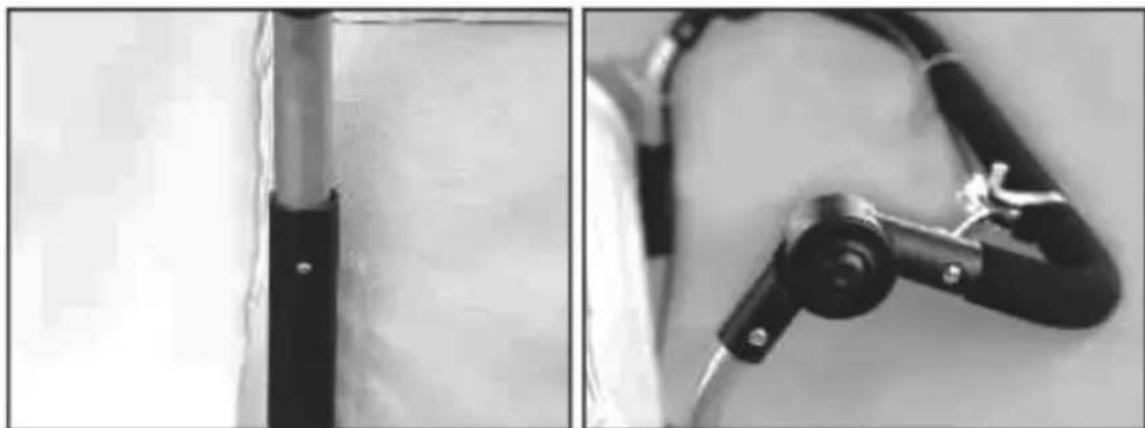
WARNING: If the handlebar is not securely in place, it may fall off the trail, causing the operator to lose control and result in serious injury or death. Always ensure the handlebar is securely in place before use as a stroller.
Adjust The Height Of Handlebar:
- Press the buttons on both sides of the handlebar at the same time.
- While pressing, adjust the height to a comfortable position.
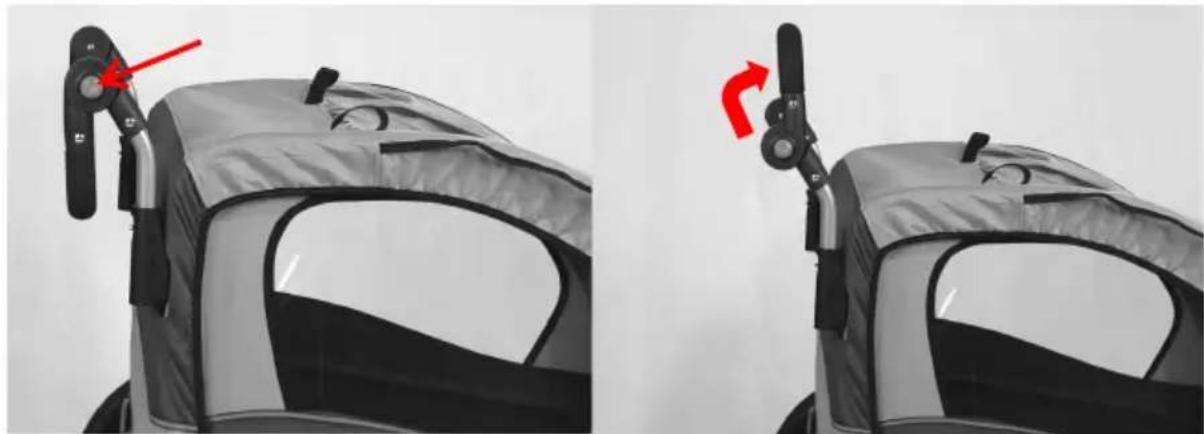
Using The Parking Brake:
The parking brake prevents the bicycle trailer from unintentionally rolling away when stationary. It is not suitable for braking a rolling bicycle trailer. Always engage the parking brake when you:
1.) Park the jogger or buggy.
2.) Allow your child to get in and out of the trailer when using it as a jogger or bicycle trailer.
3.) Fold the trailer so that it does not roll away.
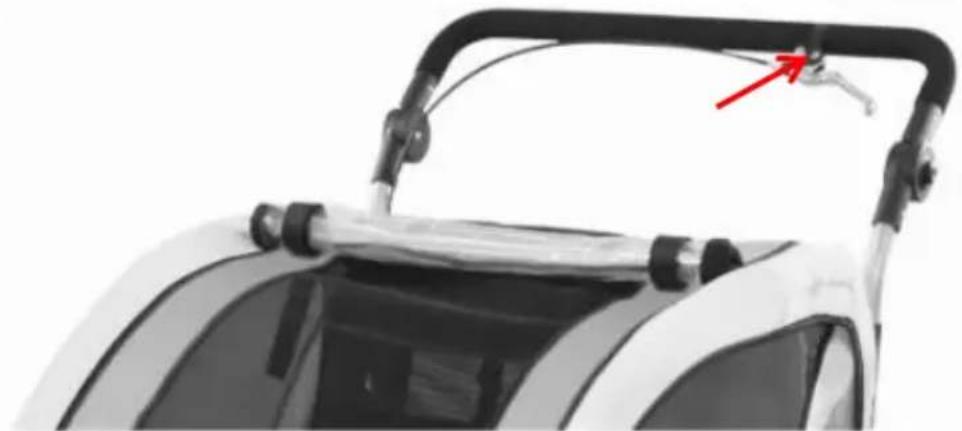
- Press the knob on the handbrake until it locks.
- Press the knob again and release it quickly when moving after a stopover.
WARNING:
Always apply the parking brake after parking the trailer and when getting in or out of the trailer with the children. Check that the trailer cannot roll away by moving it slightly forwards and backwards. An unsecured trailer could cause accidents
with life-threatening injuries by rolling away or could roll away when getting in or out of the trailer, causing serious injuries to the children.
• Always engage the parking brake at each stopover. - If the rod can't be slid into the socket easily, try to move the trailer forward to ensure the brake is working. - Never drive with the parking brake applied! This can damage the brake mechanism.
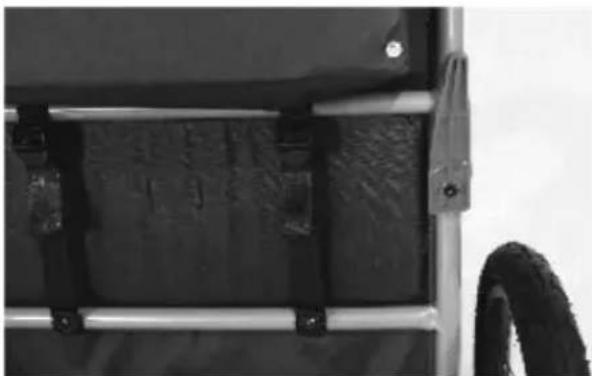
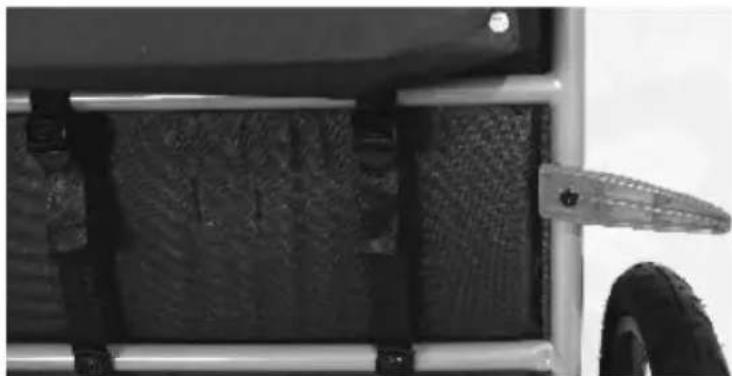
Using The Bumper Guard:
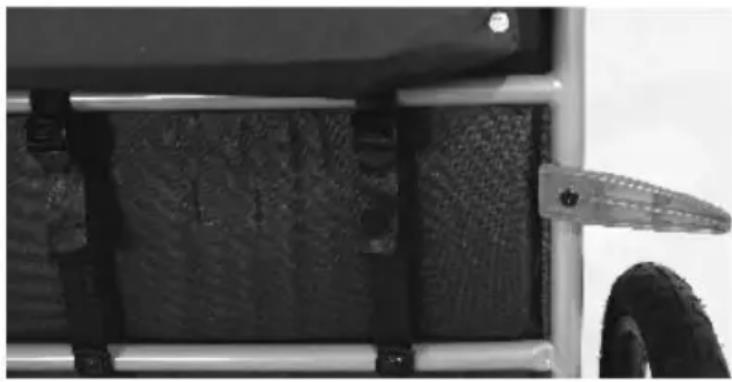
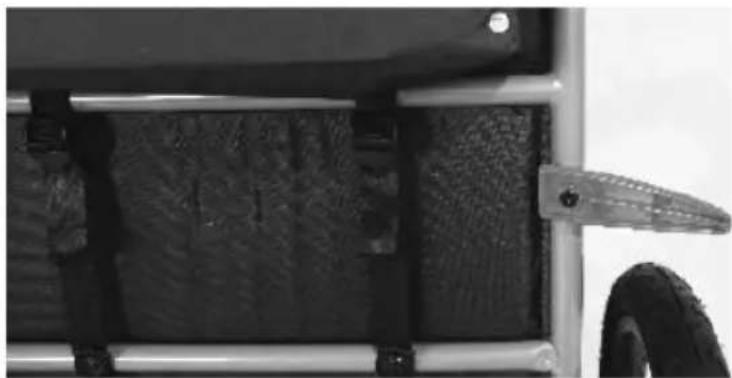
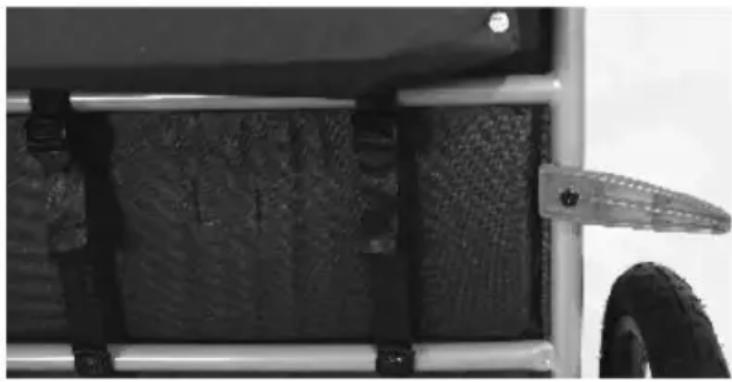
Open and fold the plastic bumper guard by rotation.
Using The Safety Harness:
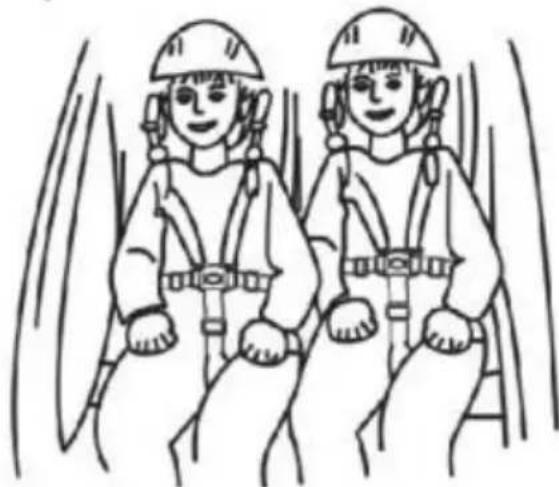
- Unbuckle the shoulder straps from the center of the lap buckle.
- Seat each child in the center of each passenger compartment.
- Place the lap buckle between the child's legs.
- Place the shoulder straps over each child's shoulders with the waist belt under the child's arm.
Important: Adjust the straps so the lap buckle meets at the child's stomach.
- Clip the shoulder straps into the lap belt buckle, and adjust the shoulder straps.
WARNING:
- Avoid serious injury from falling or sliding out. Always properly secure the passengers with the safety harness. • It may be dangerous to leave your child unattended. Never leave your child unattended in or near the bicycle trailer.
- Never transport babies under 6 months or children who cannot yet sit independently.
Attaching the Trailer to Bicycle:
Check whether the towing bike is approved by the manufacturer for towing trailers! Pulling trailers with an unsuitable towing bike can lead to frame fracture and accidents with life-threatening injuries.
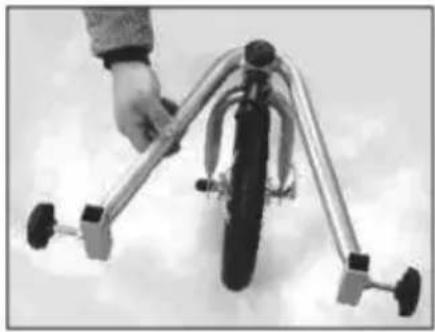
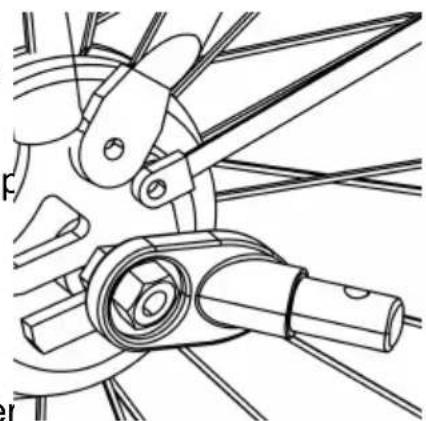
1. Quick-release Axle: Remove the quick-release
from the left side of the bike's rear axle. Install the hitch between the quick-release and frame. Tighten the quick-release following the bike manufacturer's instructions. The hitch can remain on the bike when the trailer is removed.
WARNING: The tension-adjusting nut must engage the threads for at least five full turns in order to provide adequate clamping force for holding the rear wheel.
securely. Failure to tighten the tension-adjusting nut fully may result in accident with serious injury or death. If the quick-release skewer is too short, it must be replaced. Consult a professional bicycle mechanic for the appropriate parts and assistance.
- Nutted Axle: Unscrew the nut with washer from the left side of the bike's rear axle. Install the hitch onto the axle and screw the nut back on with the washer.
WARNING: The axle nut must engage the threads at least five full turns in order to ensure adequate force for holding the rear wheel securely. Failure to tighten the nut fully may result in accidents with
injury or death. If the axle is too short, the Universal Hitch cannot be used! Consult a professional bicycle mechanic for the appropriate parts and assistance.
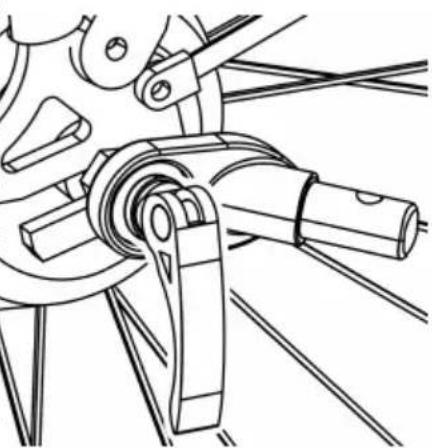
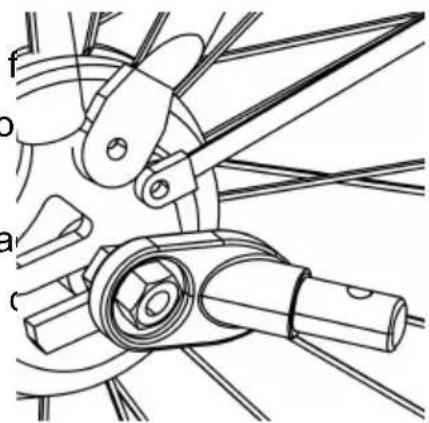
- Thru Axle: The universal hitch doesn't fit a bike with thru axle. Please contact the retailer for possible solution.
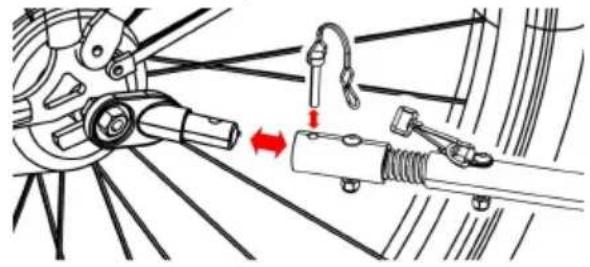
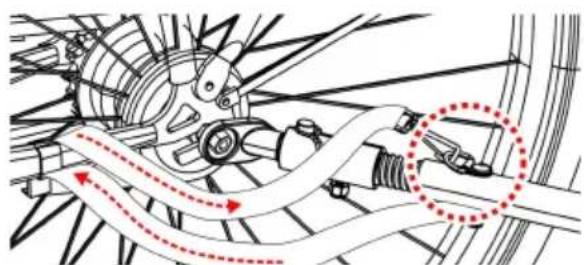
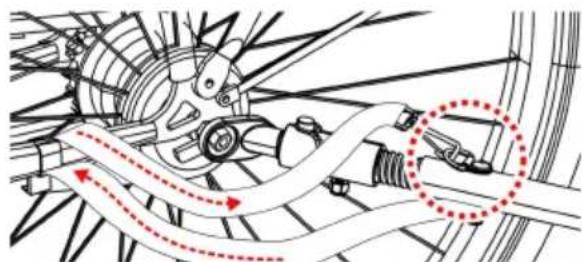
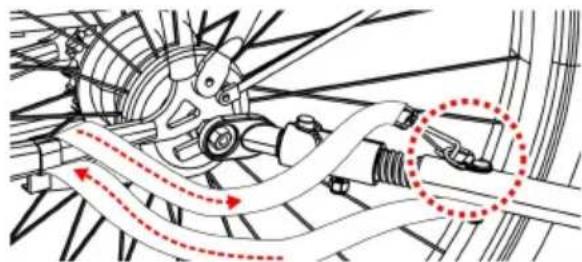
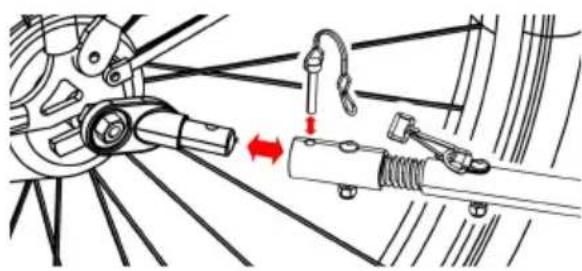
Connect the coupler on the tow bar and secure the safety pin.
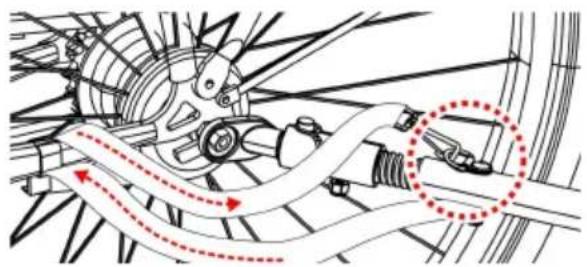
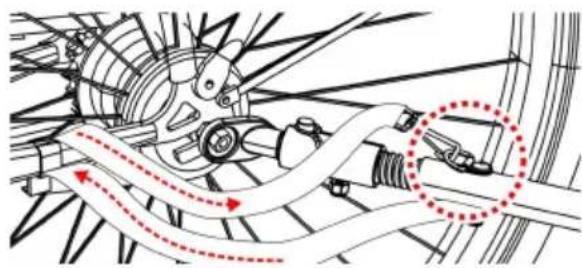
Once the tow bar is attached, wrap the safety belt around the frame of the bike and hook onto the D-ring on the tow bar.
Before You Ride
Check before each use:
- Wheels are properly secured to the trailer.
- Tires are inflated to the recommended pressure indicated on the tire sidewall.
- Tow bar is properly secured to the trailer.
- Hitch is properly secured to the bicycle.
- All safety pins are securely locked in place.
- Safety strap on the tow bar is properly installed.
- Make sure that the bicycle is in proper working order, especially brakes and (refer to bicycle manufacturer's instructions).
- Safety flag is in place.
MAINTENANCE
Maintain and clean the trailer regularly to keep it in good condition for a long time.
- Check your trailer and accessories regularly for damage and signs of wear.
- Check all metal components for possible breaks or cracks. Do not use the trailer if any metal components are cracked or damaged.
- Check the trailer for bent, defective, missing, or loose fasteners or catches. Tighten loose fasteners or catches and replace damaged or missing parts.
- Inspect the fabric regularly for tears, worn spots, or other signs of damage.
- Clean the child carrier regularly with warm water and a mild soap solution. Do not use aggressive cleaning agents or solvents. - Clean the wheel axles and lubricate all exposed moving parts with grease. Always check the wheels and carry out maintenance at least once a year.
Storage:
- Store your trailer and accessories in a dry place out of direct sunlight.
- Before storage, the child carrier must be dry to prevent the formation of bacteria.
Address: Baoshanqu Shuangchenglu 803long 11hao 1602A-1609shi Shanghai Imported to AUS: SIHAO PTY LTD. 1 ROKEVA STREETEASTWOOD NSW : Australia
Imported to USA: Sanven Technology Ltd. Suite 250. 9166 Anaheim Place, Rancho Cucamonga, CA 91730
| EC | REP |
SHUNSHUN GmbH
Römeräcker 9 Z2021, 76351
Unit 5 Albert Edward House, The
Pavilions Preston, United Kingdom
Made In China
VEVOR®
TOUGH TOOLS, HALF PRICE
Technical Support and E-Warranty Certificate
www.vevor.com/support
VEVOR®
TOUGH TOOLS, HALF PRICE
We continue to be committed to providing you tools with competitive prices. "Save Half", "Half Price", or any other similar expressions used by us only represent the savings you might benefit from buying certain tools with us compared to top brands, and do not necessarily mean that all categories of tools offered are covered. We kindly remind you to verify carefully when placing an order with us to ensure you are actually saving half in comparison with the top major brands.
VEVOR®
TOUGH TOOLS, HALF PRICE
NEED HELP? CONTACT US!
Have product questions? Need technical support? Please feel free to contact us:
Technical Support and E-Warranty Certificate www.vevor.com/support
This is the original instruction. Please read all manual instructions carefully before operating. VEVOR reserves the right to interpret the user manual. The appearance of the product shall be subject to the product you received. Please forgive us that we won't inform you of any technology or software updates on our product.
⚠ WARNING
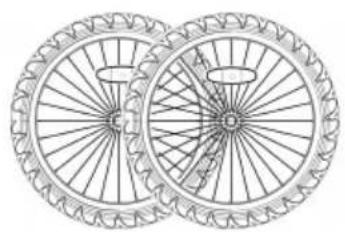
1 x main frame
2 x wheels
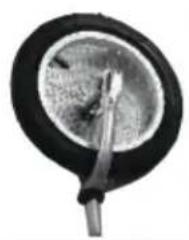
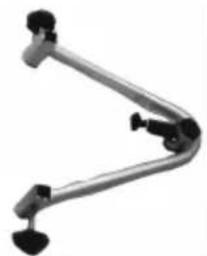
1 x front wheel
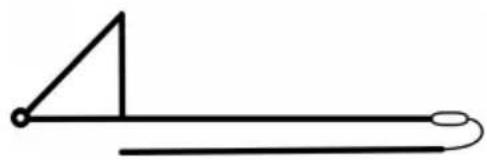
VEVOR®
1 x hex key
HOW TO ASSEMBLE AND USE
Unfold the frame:
Crossing
Attach the canopy:

WARNING:
Connect the coupler on the tow bar and secure the safety pin.
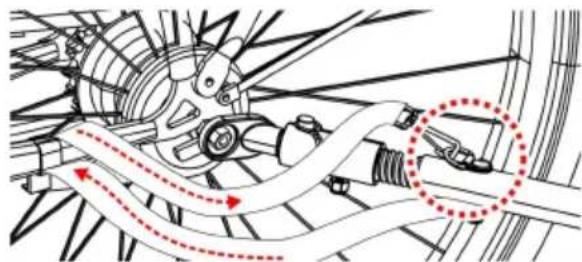
Once the tow bar is attached, wrap the safety belt around the frame of the bike and hook onto the D-ring on the tow bar.
Before You Ride
Unit 5 Albert Edward House, The
Pavilions Preston, United Kingdom
Made in China
VEVOR®
TOUGH TOOLS, HALF PRICE
www.vevor.com/support
CHILD BIKE TRAILER
We continue to be committed to providing you tools with competitive prices. "Save Half", "Half Price" or any other similar expressions used by us only represent an estimate of savings you might benefit from buying certain tools with us compared to top brands and does not necessarily mean to cover all categories of tools offered. We kindly remind you to verify carefully when placing an order with us to ensure you are actually saving half in comparison with the top major brands.
VEVOR®
TOUGH TOOLS, HALF PRICE
NEED HELP? CONTACT US!
Have product questions? Need technical support? Please feel free to contact us:
Technical Support and E-Warranty Certificate www.vevor.com/support
This is the original instruction. Please read all manual instructions carefully before operating. VEVOR reserves a clear interpretation of the user manual. The appearance of the product shall be subject to the product you received. Please forgive us that we won't inform you of any technology or software updates on our product.
⚠️ WARNING
HOW TO ASSEMBLE AND USE
Crossing
WARNING:
Connect the coupler on the tow bar and secure the safety pin.
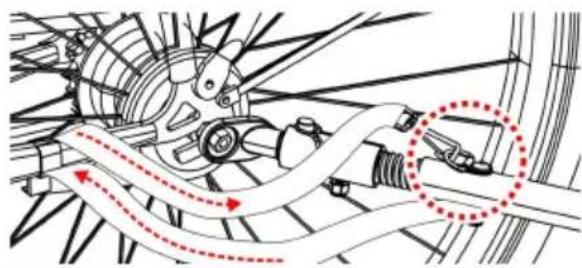
Once the tow bar is attached, wrap the safety belt around the frame of the bike and hook onto the D-ring on the tow bar.
Before You Ride
Unit 5 Albert Edward House, The
Pavilions Preston, United Kingdom
www.vevor.com/support
VEVOR®
TOUGH TOOLS, HALF PRICE
We continue to be committed to provide you tools with competitive price. "Save Half", "Half Price" or any other similar expressions used by us only represent savings you might benefit from buying certain tools with us compared to top brands and does not necessarily mean to cover all categories of tools offered. We kindly remind you to verify carefully when placing an order with us that you are actually saving half in comparison with the top major brands.
VEVOR®
TOUGH TOOLS, HALF PRICE
NEED HELP? CONTACT US!
Have product questions? Need technical support? Please feel free to contact us:
Technical Support and E-Warranty Certificate www.vevor.com/support
This is the original instruction. Please read all manual instructions carefully before operating. VEVOR reserves a clear interpretation of the user manual. The appearance of the product shall be subject to the product you received. Please forgive us that we won't inform you of any technology or software updates on our product.
ATTENTION
HOW TO ASSEMBLE AND USE
Open the frame:
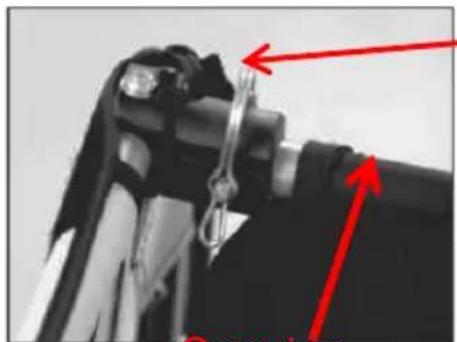
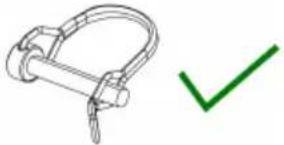
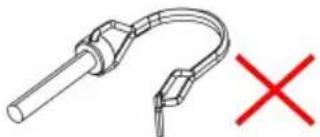
Crossing
Connect the rear wheels:
WARNING:
Connect the coupler on the tow bar and secure the safety pin.
Once the tow bar is attached, wrap the safety belt around the frame of the bike and hook it onto the D-ring on the tow bar.
Before You Ride
Unit 5 Albert Edward House, The
Pavilions Preston, United Kingdom
Made in China
VEVOR®
TOUGH TOOLS, HALF PRICE
www.vevor.com/support
VEVOR®
TOUGH TOOLS, HALF PRICE
We continue to be committed to providing you with tools at competitive prices. "Save Half", "Half Price", or any other similar expressions used by us only represent the estimate of savings you might benefit from buying certain tools with us compared to top brands and does not necessarily mean to cover all categories of tools offered. We kindly remind you to verify carefully when placing an order with us that you are actually saving half in comparison with the top major brands.
VEVOR®
TOUGH TOOLS, HALF PRICE
NEED HELP? CONTACT US!
Have product questions? Need technical support? Please feel free to contact us:
Technical Support and E-Warranty Certificate www.vevor.com/support
This is the original instruction. Please read all manual instructions carefully before operating. VEVOR reserves a clear interpretation of the user manual. The appearance of the product shall be subject to the product you received. Please forgive us that we won't inform you of any technology or software updates on our product.
WARNING
HOW TO ASSEMBLE AND USE
Unfold the frame:
Crossing
Attach the canopy:
WARNING:
Connect the coupler on the tow bar and secure the safety pin.
Once the tow bar is attached, wrap the safety belt around the frame of the bike and hook onto the D-ring on the tow bar.
Before You Ride
Unit 5 Albert Edward House, The
Pavilions Preston, United Kingdom
Made in China
VEVOR®
TOUGH TOOLS, HALF PRICE
www.vevor.com/support
BICYCLE TRAILER FOR CHILDREN
MODEL: JBT03 N 1
We continue to be committed to provide you with tools at competitive prices. "Save Half", "Half Price" or any other similar expressions used by us only represent savings you might benefit from buying certain tools with us compared to top brands and does not necessarily mean to cover all categories of tools offered. We kindly remind you to verify carefully when placing an order with us that you are actually saving half in comparison with the top major brands.
VEVOR®
TOUGH TOOLS, HALF PRICE
NEED HELP? CONTACT US!
Have product questions? Need technical support? Please feel free to contact us:
Technical Support and E-Warranty Certificate www.vevor.com/support
This is the original instruction. Please read all manual instructions carefully before operating. VEVOR reserves a clear interpretation of the user manual. The appearance of the product shall be subject to the product you received. Please forgive us that we won't inform you of any technology or software updates on our product.
WARNING
HOW TO ASSEMBLE AND USE
Unfold the frame:

Crossing
Attach the canopy:
Attach the rear wheels:
WARNING:
Connect the coupler on the tow bar and secure the safety pin.
Once the tow bar is attached, wrap the safety belt around the frame of the bike and hook onto the D-ring on the tow bar.
Before You Ride
Unit 5 Albert Edward House, The
Pavilions Preston, United Kingdom
www.vevor.com/support
VEVOR®
TOUGH TOOLS, HALF PRICE
Technical Support and E-Warranty Certificate www.vevor.com/support
CHILD BIKE TRAILER
MODEL: JBT03 N 1
We continue to be committed to provide you tools with competitive price. "Save Half", "Half Price" or any other similar expressions used by us only represent savings you might benefit from buying certain tools with us compared to top brands and does not necessarily mean to cover all categories of tools offered. We kindly remind you to verify carefully when placing an order with us to ensure you are actually saving half in comparison with the top major brands.
VEVOR®
TOUGH TOOLS, HALF PRICE
NEED HELP? CONTACT US!
Have product questions? Need technical support? Please feel free to contact us:
Technical Support and E-Warranty Certificate www.vevor.com/support
This is the original instruction. Please read all manual instructions carefully before operating. VEVOR reserves a clear interpretation of our user manual. The appearance of the product shall be subject to the product you received. Please forgive us that we won't inform you again if there are any technology or software updates on our product.
⚠ WARNING
HOW TO ASSEMBLE AND USE
the frame out:
Crossing
Attach the canopy:
WARNING:
Connect the coupler on the tow bar and secure the safety pin.
Once the tow bar is attached, wrap the safety belt around the frame of the bike and hook onto the D-ring on the tow bar.
Before You Ride
Unit 5 Albert Edward House, The
Pavilions Preston, United Kingdom
Made in China
VEVOR®
TOUGH TOOLS, HALF PRICE
www.vevor.com/support
VEVOR®
TOUGH TOOLS, HALF PRICE
www.vevor.com/support
BICYCLE TRAILER
MODEL: JBT03 N 1
We continue to be committed to providing you with tools at competitive prices. "Save Half", "Half Price", or any other similar expressions used by us only represent an estimate of savings you might benefit from buying certain tools with us compared to top brands, and does not necessarily mean to cover all categories of tools offered. We kindly remind you to verify carefully when placing an order with us that you are actually saving half in comparison with the top major brands.
VEVOR®
TOUGH TOOLS, HALF PRICE
NEED HELP? CONTACT US!
Have product questions? Need technical support? Please feel free to contact us:
Technical Support and E-Warranty Certificate www.vevor.com/support
This is the original instruction. Please read all manual instructions carefully before operating. VEVOR reserves the right to interpret the user manual. The appearance of the product shall be subject to the product you received. Please forgive us that we won't inform you of any technology or software updates on our product.
WARNING
HOW TO ASSEMBLE AND USE
Unfold the frame:
Crossing
Attach the canopy:
Attach the rear wheels:
WARNING:
Connect the coupler on the tow bar and secure the safety pin.
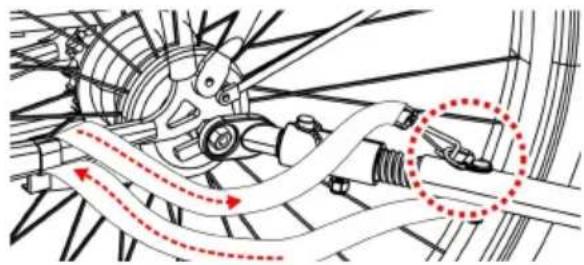
Once the tow bar is attached, wrap the safety belt around the frame of the bike and hook it onto the D-ring on the tow bar.
Before You Ride
Unit 5 Albert Edward House, The
Pavilions Preston, United Kingdom
Made in China
VEVOR®
TOUGH TOOLS, HALF PRICE
www.vevor.com/support
- VEVOR®
- NEED HELP? CONTACT US
- WARNING
- MODEL AND PARAMETERS
- PARTS LIST
- HOW TO ASSEMBLE AND USE
- UNFOLD THE FRAME
- ATTACH THE CANOPY
- ATTACH THE REAR WHEELS
- ATTACH THE FRONT WHEEL
- EXTEND AND SECURE THE TOW BAR
- INSERT THE SAFETY FLAG
- ATTACH THE STROLLER HANDLE
- ADJUST THE HEIGHT OF HANDLEBAR
- USING THE PARKING BRAKE
- USING THE BUMPER GUARD
- USING THE SAFETY HARNESS
- ATTACHING THE TRAILER TO BICYCLE
- QUICK-RELEASE AXLE: REMOVE THE QUICK-RELEASE
- BEFORE YOU RIDE
- CHECK BEFORE EACH USE
- MAINTENANCE
- STORAGE
- TOUGH TOOLS, HALF PRICE
- ⚠ WARNING
- CHILD BIKE TRAILER
- ⚠️ WARNING
- ATTENTION
- OPEN THE FRAME
- CONNECT THE REAR WHEELS
- BICYCLE TRAILER FOR CHILDREN
- THE FRAME OUT
- MADE IN CHINA
- BICYCLE TRAILER
- MODEL: JBT03 N
Brand : Vevor
Model : JBT03N1
Category : Bike trailer