
6604 - Power tool Vevor - Free user manual and instructions
Find the device manual for free 6604 Vevor in PDF.
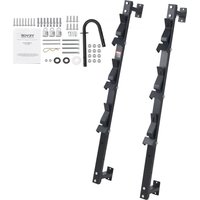


| Product Type | Lawn Mower Support |
| Brand | Vevor |
| Model | 6604 |
| Mounting Type | Floor or Wall Mount |
| Maximum Load Capacity | 22 lb per slot (66 lb total) |
| Total Product Height | 1190 ± 10 mm |
| Number of Slots | 3 |
| Main Material | Steel |
| Built-in Lock | 3-digit combination lock, adjustable |
| Included Accessories | Posts, support frames, rope hook, locks, bolts, nuts, washers, spring, pin, expansion anchors, self-tapping screws, manual |
| Number of Pieces | 17 (including hardware) |
| Type of Included Screws | Bolt M10x85, M10x40, M8x80; nuts M10, M8; hexagon socket self-tapping screws |
| Number of Hooks | 1 rope hook |
| Number of Washers | 3 (1 large washer, 2 rubber gaskets) |
| Spring Included | 1 spring |
| R-pin | 1 |
| Applications | Open trailer, wooden wall post, solid concrete wall |
| Recommended Maintenance | Check screws every 2 months, repaint chipped areas |
| Safety Instructions | Wear safety goggles, check location of lines before drilling |
| Intended Use | Storage of lawn mower |
| Warranty | Technical support via www.vevor.com/support |
Frequently Asked Questions - 6604 Vevor
User questions about 6604 Vevor
0 question about this device. Answer the ones you know or ask your own.
Ask a new question about this device
Download the instructions for your Power tool in PDF format for free! Find your manual 6604 - Vevor and take your electronic device back in hand. On this page are published all the documents necessary for the use of your device. 6604 by Vevor.
USER MANUAL 6604 Vevor
Technical Support and E-Warranty Certificate www.vevor.com/support
TRIMMER RACK
MODEL: 6604
We continue to be committed to providing you with tools at competitive prices. "Save Half", "Half Price", or any other similar expressions used by us only represent the savings you might benefit from buying certain tools with us compared to top brands, and do not necessarily mean to cover all categories of tools offered. We kindly remind you to verify carefully when placing an order with us to ensure you are actually saving half in comparison with the top major brands.
VEVOR®
TOUGH TOOLS, HALF PRICE
TRIMMER RACK
MODEL: 6604
NEED HELP? CONTACT US!
Have product questions? Need technical support? Please feel free to contact us:
Technical Support and E-Warranty Certificate www.vevor.com/support
This is the original instruction. Please read all manual instructions carefully before operating. VEVOR reserves the right to interpret the user manual. The appearance of the product shall be subject to the product you received. Please forgive us that we won't inform you of any technology or software updates on our product.
SAFETY INSTRUCTIONS
- Always wear safety glasses when using power tools.
- Check under the trailer and/or fender for locations of brake lines and electrical wiring, etc., before drilling any holes. Any damage to the trailer during installation is the installer's sole responsibility.
- Due to the many different ways trailers are built, the hardware required to attach the rack is not included and must be supplied by the user.
- Prepare the tools required for the installation by yourself.
MODEL AND PARAMETERS
| Model | 6604 |
| Mounting Type | Standing Mounted or Wall Mounte |
| Slot | 3 |
| Maximum Load Capacity | 22 lbs / Slot |
| Total Product Height | 1190±10mm |
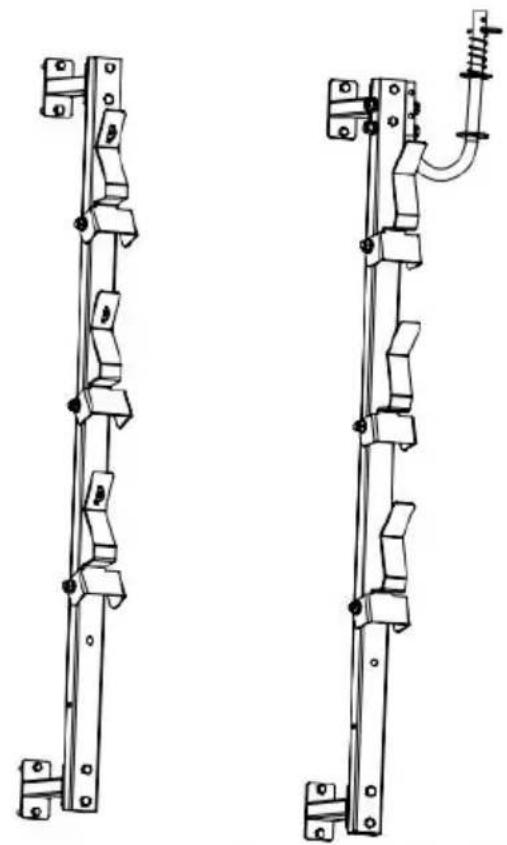
STRUCTURE DIAGRAM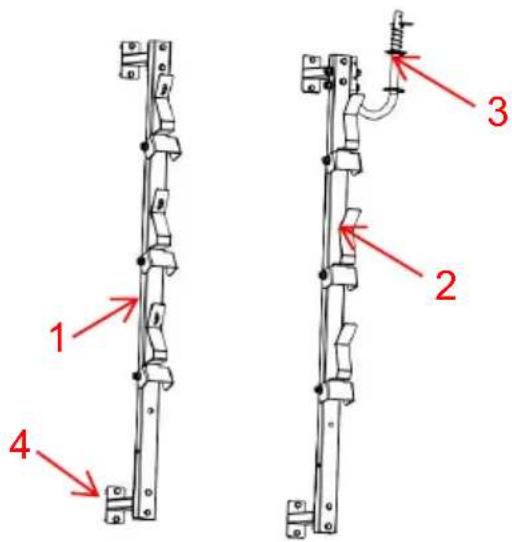
COMPONENTS
| No. | Picture | Name | Qty |
| 1 |  | Locking Pole | 1 |
| 2 |  | Compression Pole | 1 |
| 3 |  | Support Frame | 4 |
| 4 | 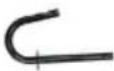 | Rope Hook | 1 |
| 5 | 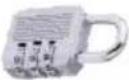 | Coded Lock | 3 |
| 6 |  | Large Gasket | 1 |
| 7 |  | Spring | 1 |
| 8 | 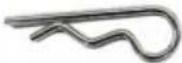 | R-pin | 1 |
| 9 | 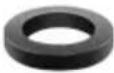 | Rubber Gasket | 2 |
| 10 | 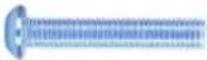 | Bolt(M8*80) | 2 |
| 11 |  | Nut(M8) | 2 |
| 12 |  | Bolt(M10*85) | 4 |
| 13 |  | Nut(M10) | 12 |
| 14 | 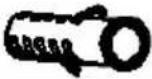 | Expansion Plug | 8 |
| 15 | 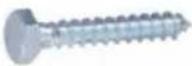 | Hexagon Self-tapping Screw | 8 |
| 16 |  | Bolt(M10*40) | 8 |
| 17 |  | User Manual | 1 |
ASSEMBLY AND USE
NOTE: There are three application scenes.
A: For the Open Trailer
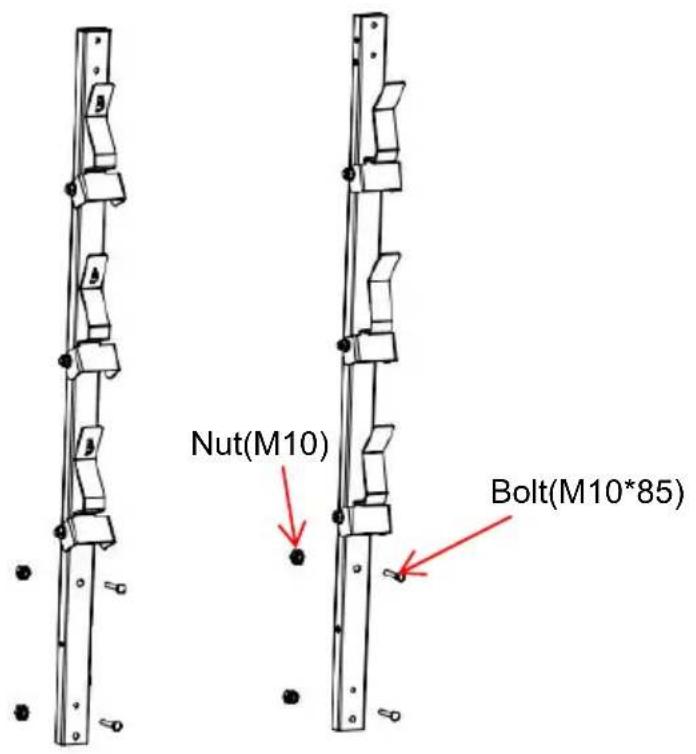
B: Installation on Wooden Wall Post
Step 1: Install the support frame on the pole.
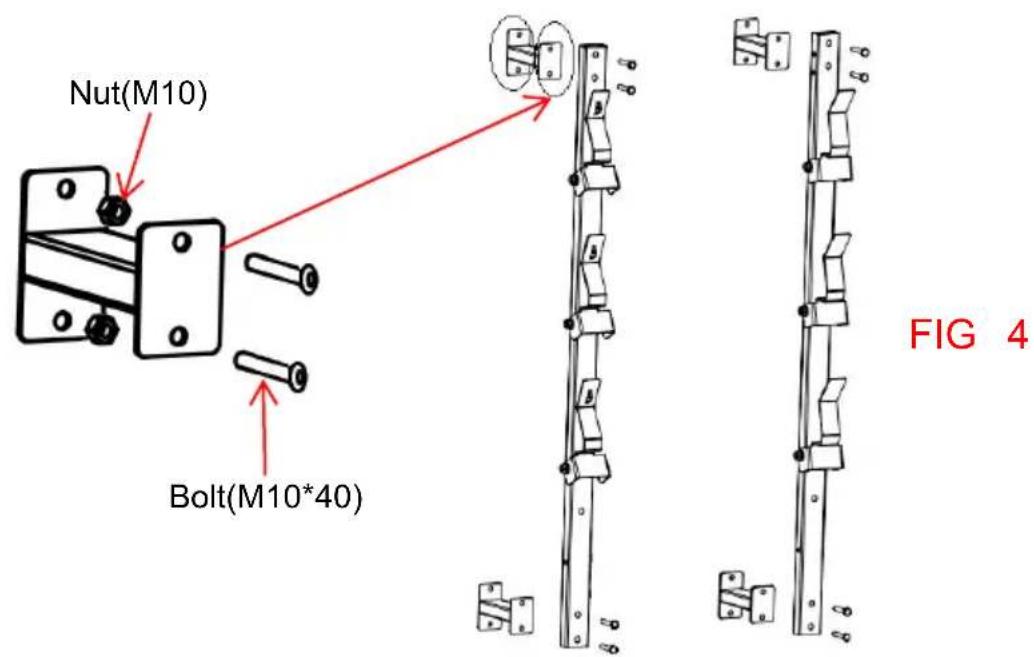
Step 2: Install the TRIMMER RACK as shown below.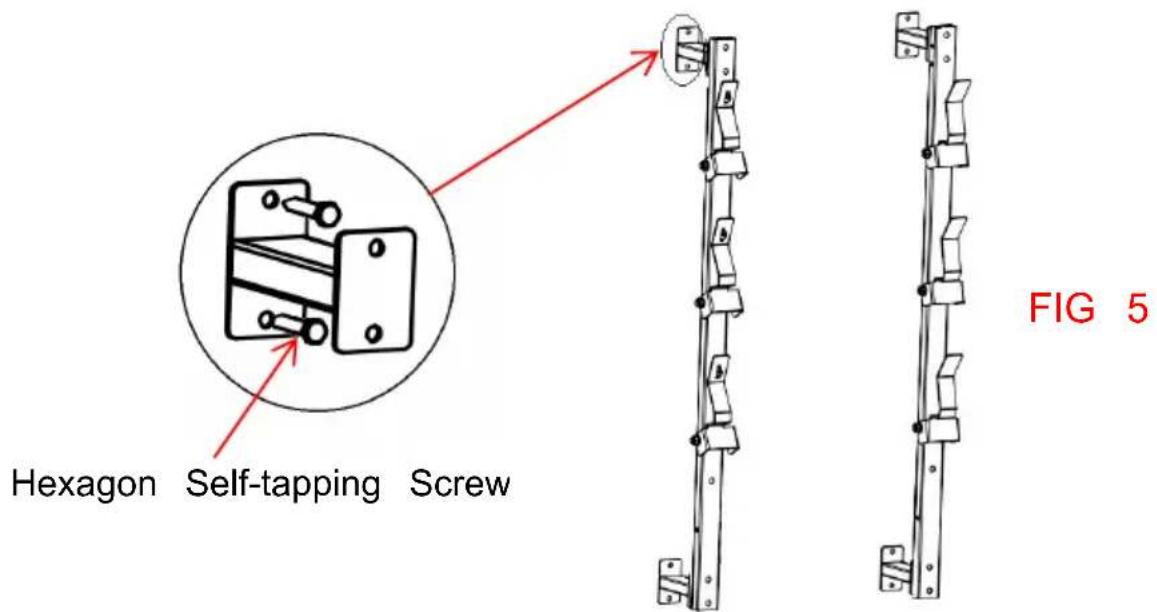
C: Installation on Solid Concrete Walls
Step 1: Drill holes (Φ12x50mm) into the wall. After clearing the residual in the hole, tap the expansion plug into the hole completely.
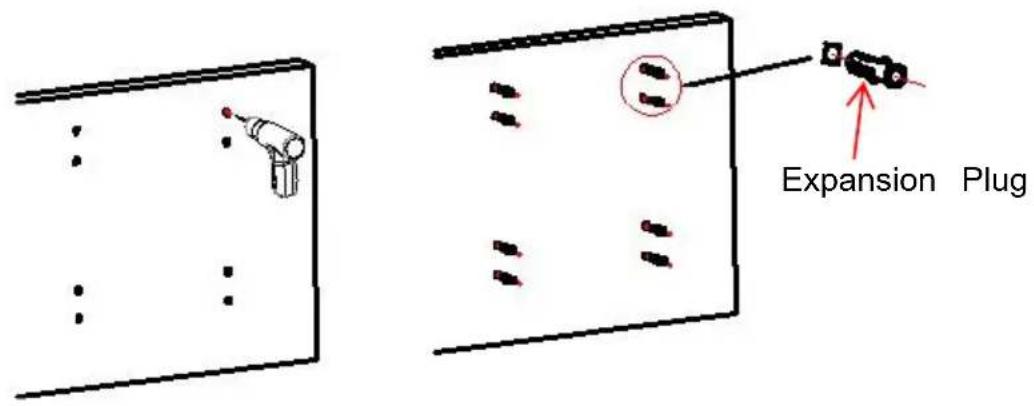
Step 2: Install the support frame on the pole as shown in FIG 4.
Step 3: Install the TRIMMER RACK as shown in FIG 5.
D: Mount the Rope Hook at the position that suits your needs.
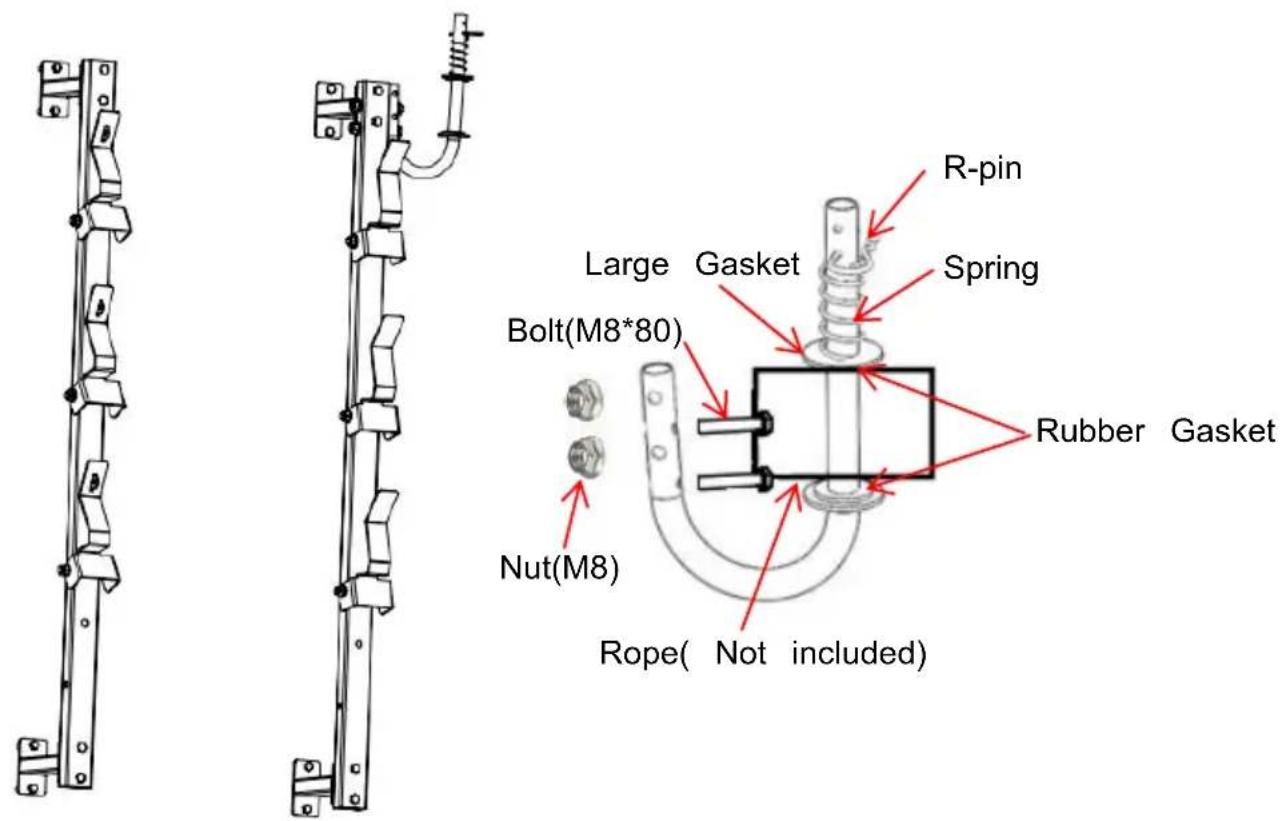
INSTRUCTIONS FOR THE CODED LOCK
The lock is opened at the original number 0-0-0, aligned with the indentation line. (Even though the dials may be positioned at different numbers.)
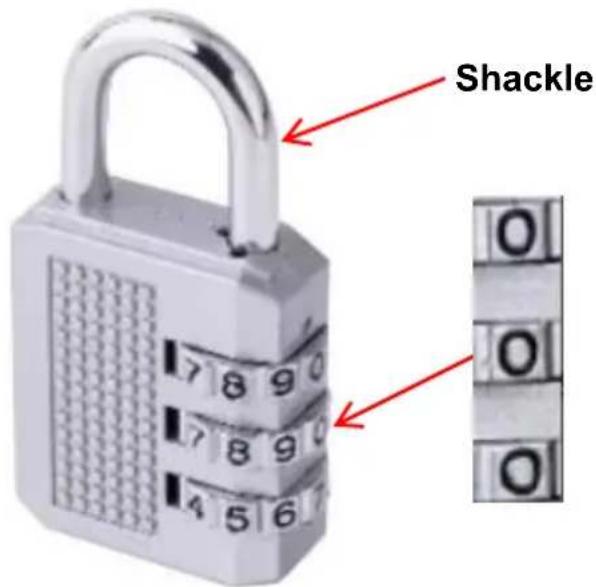
To set your personal combination, follow these steps:
- Pull up the shackle to open the lock.
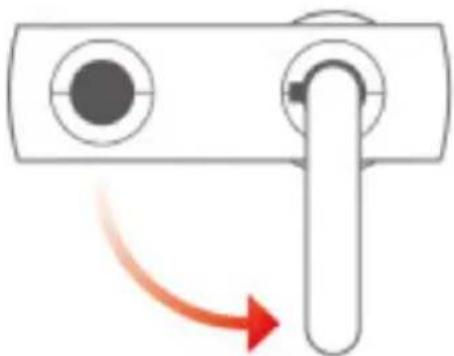
- Rotate the shackle 90° counterclockwise and press it all the way down. (Note: Keep pressing until the password is changed.)
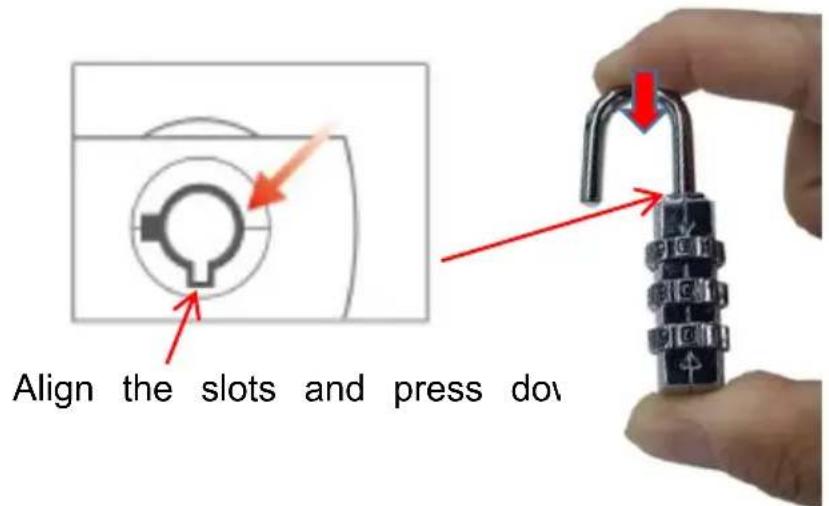
- Set your own combination by turning the dials.
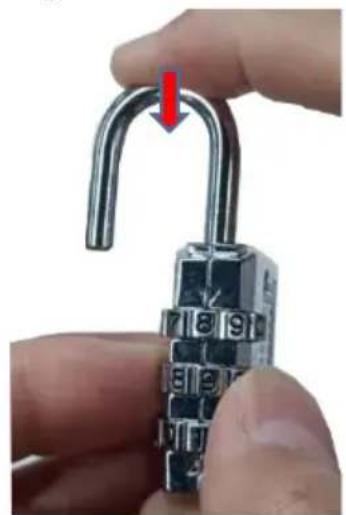
Keep pressing until the password is changed.
- Turn the shackle back to its normal position. Then the setting is completed.
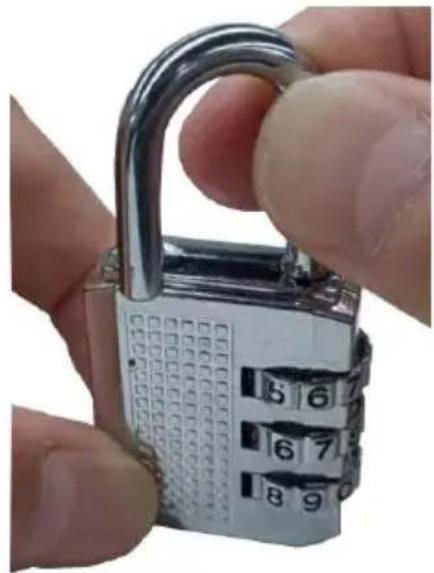
MAINTENANCE
- Do not overload.
- Please check and confirm whether the screws are loose every two months.
- If any part of the paint is broken, please repair the paint as soon as possible to prevent rust.
VEVOR®
TOUGH TOOLS, HALF PRICE
Technical Support and E-Warranty Certificate
www.vevor.com/support
VEVOR®
TOUGH TOOLS, HALF PRICE
NEED HELP? CONTACT US!
MAINTENANCE
MAINTENANCE
www.vevor.com/support
VEVOR®
TOUGH TOOLS, HALF PRICE
MAINTENANCE
electronic www.vevor.com/support
VEVOR®
TOUGH TOOLS, HALF PRICE
MAINTENANCE
NEED HELP? CONTACT US!
Press until
MAINTENANCE
NEED HELP? CONTACT US!
MAINTENANCE
warranty certificate www.vevor.com/support
VEVOR®
TOUGH TOOLS, HALF PRICE
NEED HELP? CONTACT US!
MAINTENANCE
www.vevor.com/support

Brand : Vevor
Model : 6604
Category : Power tool