
WBS008 - DIY tool Vevor - Free user manual and instructions
Find the device manual for free WBS008 Vevor in PDF.
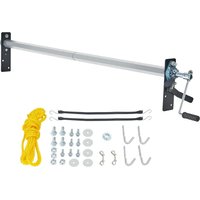


| Product Type | Tarpaulin Roll Kit for Dump Truck |
| Brand | Vevor |
| Model | WBS008 |
| Main Material | Aluminum Alloy |
| Telescopic Length | 64 to 104 inches (163 to 264 cm) |
| Power Source | Manual (Ratchet Crank) |
| Primary Function | Rolling and unrolling a protective tarpaulin on a dump truck |
| Included Components | Inner and outer hexagonal tubes, bearing supports, crank, straps and hooks, pull rope, tarpaulin trap |
| Intended Use | Construction vehicles or dump trucks |
| Safety Instructions | Wear safety glasses and gloves; keep area clean; do not use under influence |
| Installation | Mount on dump body with bearing supports, fasten with screws and nuts |
| Maintenance | Inspect before each use for loose or worn parts; replace if necessary |
| Cleaning | Not specified in manual; use a dry cloth if needed |
| Storage | Store away from sources of ignition and out of reach of children |
| Spare Parts and Repairability | Contact technical support via www.vevor.com/support |
| Warranty | Technical assistance and electronic warranty certificate available online |
| Approximate Weight | About 7 to 10 kg (estimate) |
Frequently Asked Questions - WBS008 Vevor
User questions about WBS008 Vevor
0 question about this device. Answer the ones you know or ask your own.
Ask a new question about this device
Download the instructions for your DIY tool in PDF format for free! Find your manual WBS008 - Vevor and take your electronic device back in hand. On this page are published all the documents necessary for the use of your device. WBS008 by Vevor.
USER MANUAL WBS008 Vevor
Technical Support and E-Warranty Certificate www.vevor.com/support
DUMP TARP ROLLER KIT
MODEL: WBS008
We continue to be committed to providing you with tools at competitive prices. "Save Half", "Half Price", or any other similar expressions used by us only represent an estimate of savings you might benefit from buying certain tools with us compared to top brands, and does not necessarily mean that all categories of tools offered will actually save you half compared to the top major brands. Please verify carefully when placing an order with us.
MODEL: WBS008
NEED HELP? CONTACT US!
Have product questions? Need technical support? Please feel free to contact us:
Technical Support and E-Warranty Certificate www.vevor.com/support
This is the original instruction. Please read all manual instructions carefully before operating. VEVOR reserves the right to interpret the user manual. The appearance of the product shall be subject to the product you received. Please forgive us that we won't inform you of any technology or software updates on our product.
SAFETY INSTRUCTIONS

WARNING: Read and understand this manual before assembling, installing, operating, or servicing this product. Failure to follow these warnings and instructions can cause death, personal injury, or damage to valuable property.
- While assembling and using this product, keep the work area clean and well lighted, and keep spectators and children out of the work area.
- Wear ANSI-approved safety goggles and heavy-duty work gloves during use.
 | Warning- Be sure to wear eye protectors when us product. |
 | Warning- Be sure to wear gloves when using this |
- Before each use, inspect the general condition of the product. Check for broken, cracked, or bent parts, loose or missing parts, and any situation that may affect the proper operation of the product.
- This product is not a toy. Store the product in a safe, dry location out of reach of children and non-authorized people.
- Use as intended only.
- Use common sense when working. Stay alert and concentrate when setting up and using this product. Never operate while under the influence of alcohol, drugs or medications.
- Dress appropriately. Never wear loose fitting clothing or jewelry when using. Contain long hair, and keep hair, clothing and gloves away from moving parts.
SAVE THESE INSTRUCTIONS
PRODUCT PARAMETERS
Main material: Aluminum alloy
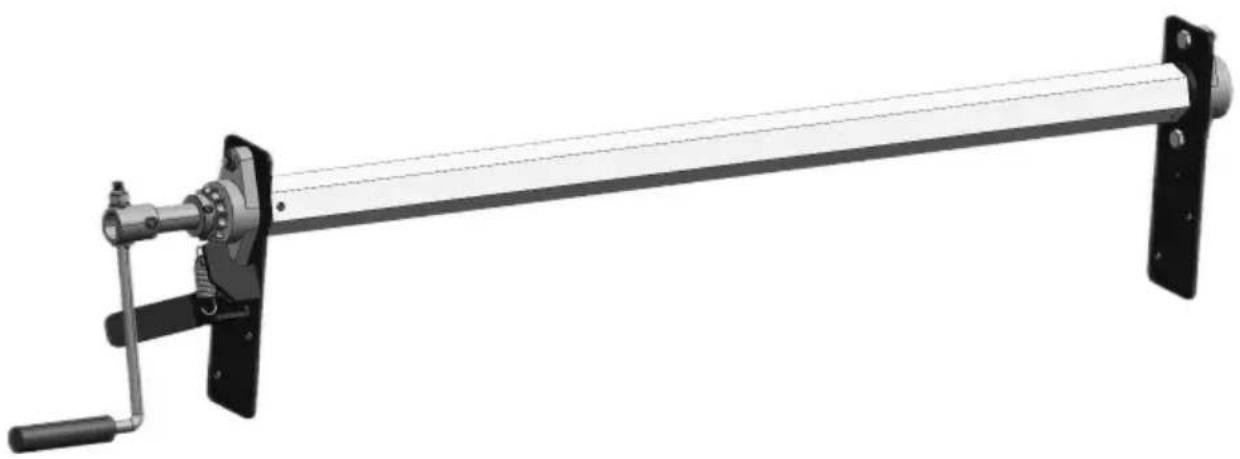
Telescopic length: 64 to 104 inches. See the picture below.
Max Width: 104 in.
Min Width: 64 in.

PARTS LIST

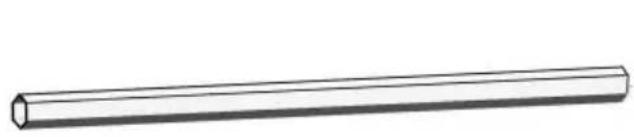
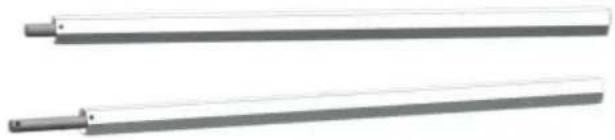
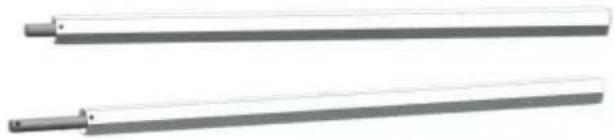
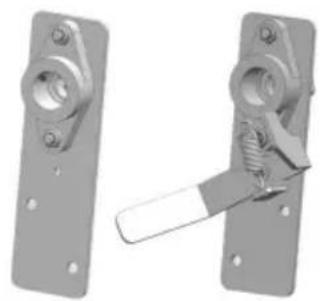
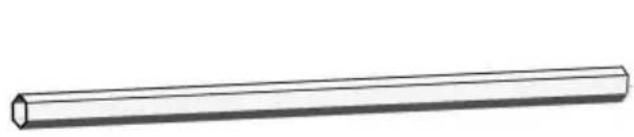
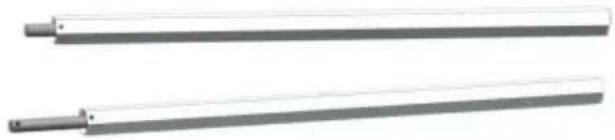
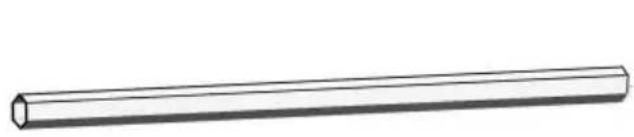
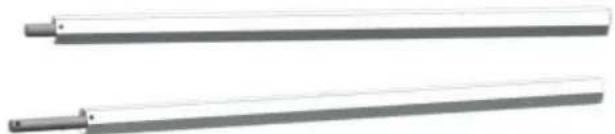
Inner Hex Tube (A) Outer Hex Tubes (B1/B2)
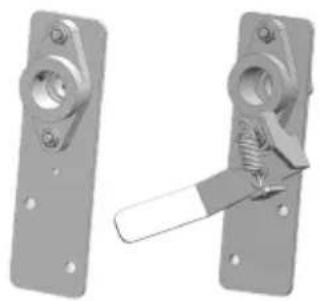
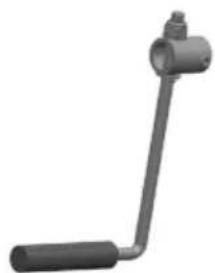
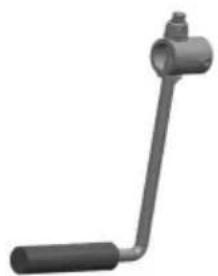
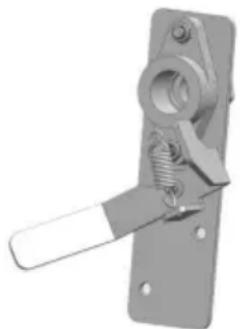
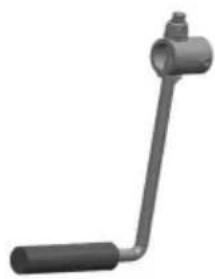
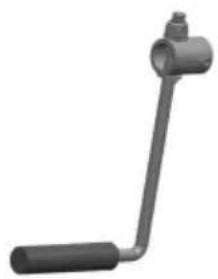
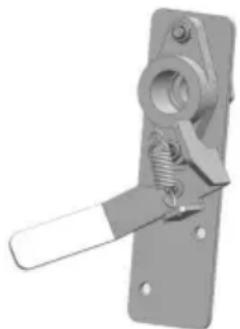
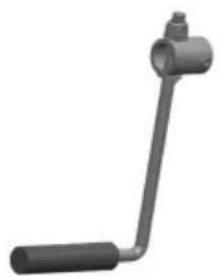
Bearing Brackets (C1/C2) Hand Crank with Detent (D)
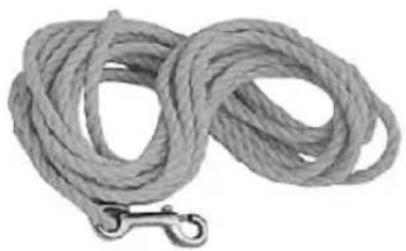
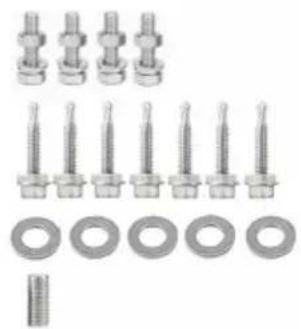
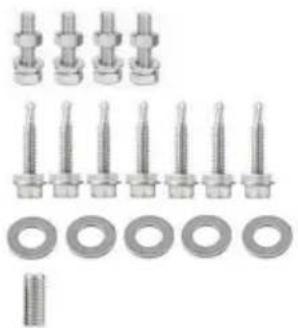
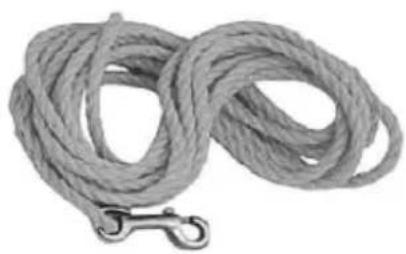
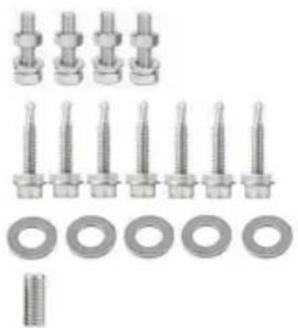
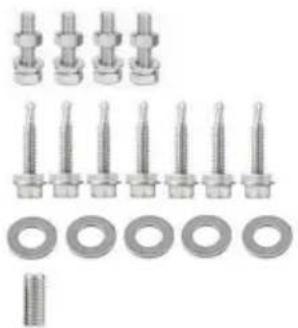
Pull Rope (E) Bolts/Screws (F)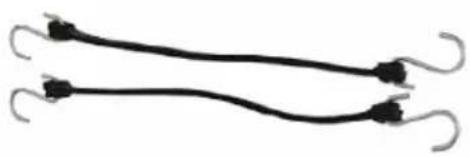
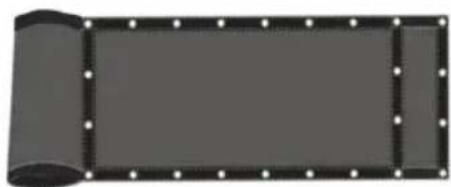
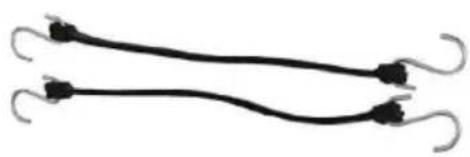
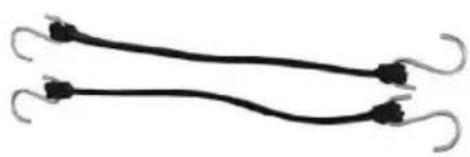
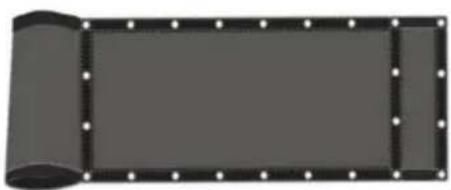
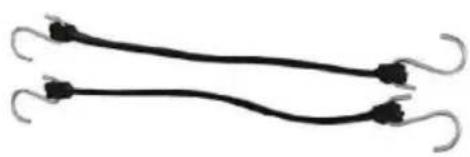
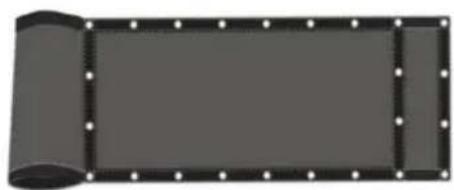
Bungees and Hooks (G) Trap (H)
- Determine where you would like to place the tarp roller on your truck. We recommend mounting the roller outside the dump body's load area to prevent damage from loading the dump truck's body. You'll want to place the roller where the winder is easily accessible.
- Now that you have determined where to place the tarp roller kit, attach the bearing bracket (C1/2) assemblies to your desired location. The bearing bracket with the detent lever (C2) should be placed on the side. Ensure these brackets are aligned on each side vertically. Additionally, mount the brackets high enough to accommodate the entirety of the tarp when fully rolled up onto the roll bar.
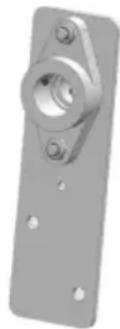
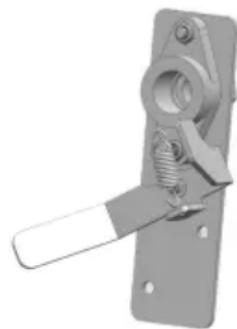
Bearing Bracket (C1) Bearing Bracket (C2)
- To begin installing the brackets (C1/C2), mark the location of the bearing bracket's mounting holes on each side of the dump truck body. Now drill 13/32" holes into the four marked locations.
- The holes have been drilled, now assemble the bearing brackets to the dump body using four 3/8"x1" cap screws, nuts, and lock washers (F) that are supplied. However, avoid tightening the fasteners at this point, tighten them with your hands to keep them in place.
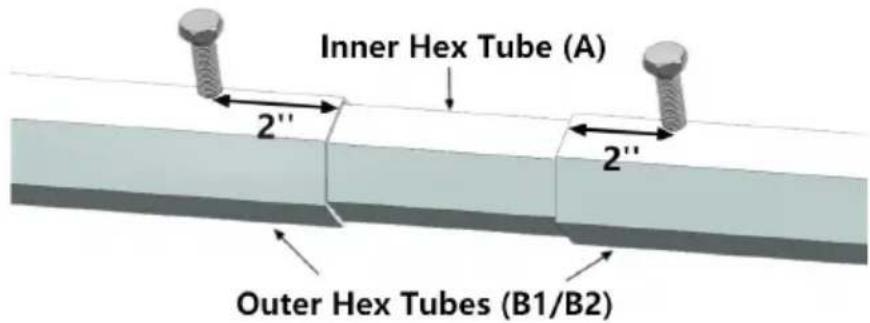
- Take out the inner hex tube (A) and mark the center of the tube's length with a pencil. Insert that tube halfway into the driver's side roll tube. On the passenger side, insert the other side of the roll tube (B2) onto the opposite end of the inner hex tube (A). Now, measure the distance between the inside of the mounted bearing brackets (C1/C2). If the measurement is less than 64", both roll tube assemblies must be shortened by equal amounts. Separate the two roll tubes to ensure that
complete roll tube assembly is 1/4" less than the distance between mounting brackets. Reference your pencil marking to verify the inner hex tube (A) is centered inside the outer roll tube assembly (B1/B2). If it is centered, screw each roll tube assembly to the inner hex tube using 1/4" x 1" self drilling and tapping screw (F), screw is 2" from the end of tube.
- Slide the entirety of the roll tube (A/B) into the 5-1/2" loop in the tarp (H). Ensure the webbing on the seams of the tarp will rest on the bottom of the tarp when installed.
- Ensure the roll tube (A/B) is centered within the tarp (H). Tightly hold the roll tube at the end of the pocket, and screw in place using 1/4" x 1" self drilling tapping screws (F) and fender washers. Space them evenly and center across the roll tube. Ensure the screws are at least 2" from the end of the roll tube. Also, do not screw into the shaft adapters on each
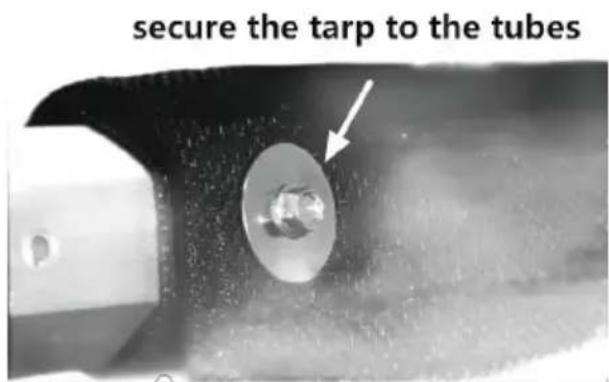
- Remove either one of the bearing brackets (C) and slide the tarp into the remaining bracket. Now that the tarp roll is placed, reposition the bearing bracket and reassemble it to the dump body. Afterward, tighten the 3/8" bracket mounting bolts.
- Center your tarp roll (A/B) between each mounting bracket (C) and tighten the set screws into each bearing race.
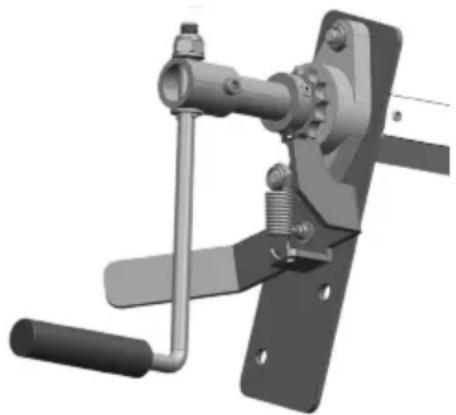
- Take the sprocket and assemble it onto the 1" shaft on the drive end of the roll tube assembly. Ensure the detent lever (D) is in the operation position and slide the sprocket down the shaft until it's tight against the bearing.
- Now use the 1/4" x 2" screw and lock nut that are provided to attach a crank handle (D) onto the driver's side of the roll tube shaft (A/B).
- The two small hooks on the straps should be attached to the rear corner holes on the tarp. Now crimp the large hooks (G) around the grommets (H). The straps are now securely attached to the tarp.
- Take your included pull rope (E) and attach it to the center grommet at the rear of the tarp (H).
- Attach the two rope storage hooks to the dump body. These hooks store the pull rope (E) while the tarp (H) covers the dump body. The hooks must be horizontally mounted and can be bolted or welded onto the dump body. We recommend a distance of 15"-17" between the two hooks.
- Now on the other side, assemble two more rope storage hooks on the side of the dump body near the crank handle (D). When the tarp is retracted and rolled up, these hooks store the pull rope (E). These hooks must be placed vertically and can be bolted or welded on, similar to step 14.
MAINTENANCE
- Inspect all equipment for loose or worn parts before each use and replace or tighten as needed.
- The tarp should be stored away from fire sources.
VEVOR®
TOUGH TOOLS, HALF PRICE
Technical Support and E-Warranty Certificate
www.vevor.com/support
VEVOR®
TOUGH TOOLS, HALF PRICE
NEED HELP? CONTACT US!
PRODUCT PARAMETERS
PARTS LIST
Pull rope (E) Bolts/Screws (F)
ASSEMBLY AND INSTALLATION
Bearing support (C1)
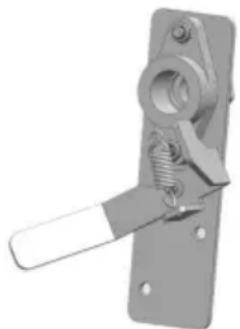
Bearing support (C2)
PARTS LIST

Pulley (H)
ASSEMBLY & INSTALLATION
Bearing bracket (C1)
Bearing bracket (C2)
www.vevor.com/support
VEVOR®
TOUGH TOOLS, HALF PRICE
electronics www.vevor.com/support
ROLLER KIT FOR TILT-UP DOOR
MODEL: WBS008
PARTS LIST

Elastic bands and hooks (G)
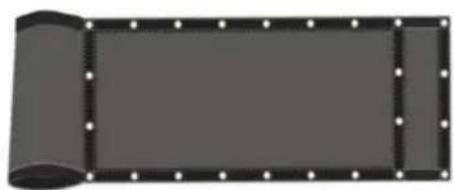
Trap (H)
electronics www.vevor.com/support
VEVOR®
TOUGH TOOLS, HALF PRICE
PARTS LIST
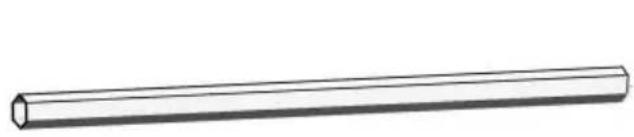
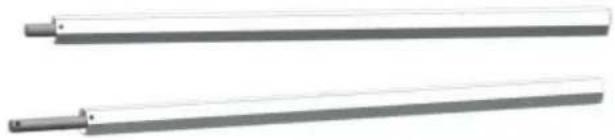
External hexagonal tubes (B1/B2) Hexagonal tube
Bungees and hooks (G)
Trap (H)
Bearing support (C1)
NEED HELP? CONTACT US!
PARTS LIST
Bungees and hooks (G) Trap (H)
ASSEMBLY AND INSTALLATION
NEED HELP? CONTACT US!
PARTS LIST
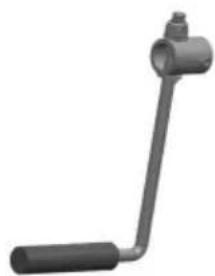
Bearing brackets (C1/C2) Hand crank with lock (D)
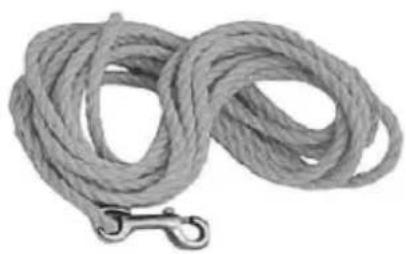
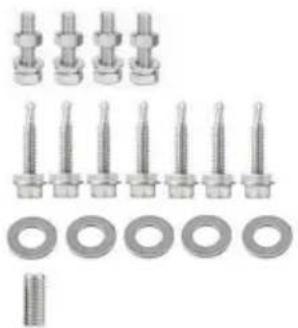
Bolts/Screws (F) Pull rope (E)
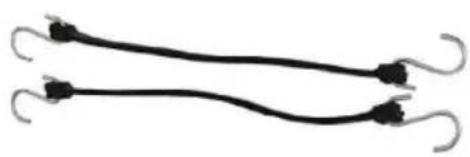
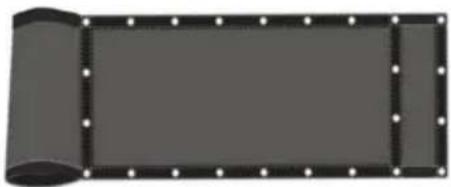
Bungees and hooks (G) Trap (H)
ASSEMBLY & INSTALLATION
Bearing bracket (C1)
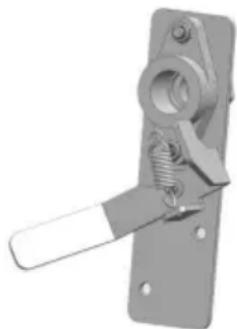
Bearing bracket (C2)
www.vevor.com/support
DUMP TARP ROLLER KIT
MODEL: WBS008
NEED HELP? CONTACT US!
PARTS LIST

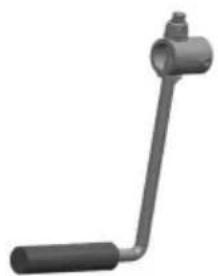
Pull rope (E) Bolts/screws (F)
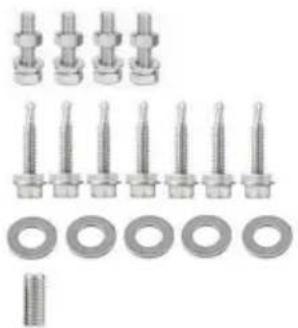
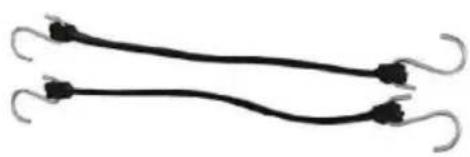
Bungees and Hooks (G) Tarp (H)
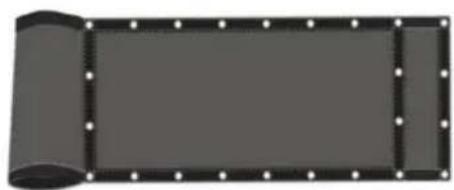
ASSEMBLY & INSTALLATION
Bearing bracket (C1)
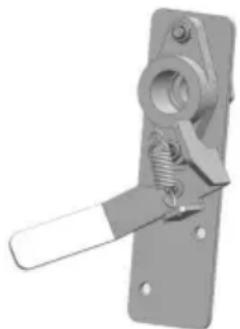
Bearing bracket (C2)
- Slide the entire roller tube (A/B) into the 5-1/2" loop in the tarp (H).
www.vevor.com/support
Brand : Vevor
Model : WBS008
Category : DIY tool