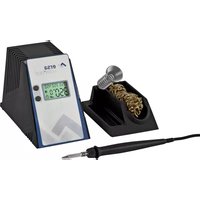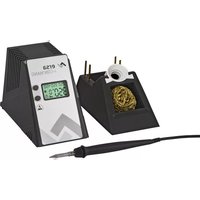
i-Con NANO MK2 - Welding machine Ersa - Free user manual and instructions
Find the device manual for free i-Con NANO MK2 Ersa in PDF.


User questions about i-Con NANO MK2 Ersa
0 question about this device. Answer the ones you know or ask your own.
Ask a new question about this device
Download the instructions for your Welding machine in PDF format for free! Find your manual i-Con NANO MK2 - Ersa and take your electronic device back in hand. On this page are published all the documents necessary for the use of your device. i-Con NANO MK2 by Ersa.
USER MANUAL i-Con NANO MK2 Ersa
natural_image
Product photo of an i-CON®NANO temperature sensor device with a digital display and a soldering tool inside (no visible text or symbols on main components)English 8 User Manual
natural_image
Close-up of a vintage electronic device labeled 'SATEI' and 'COMPANATE', with no visible text or symbols on the device itself.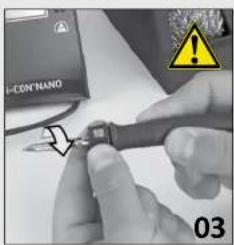
text_image
H-CON'NANO 03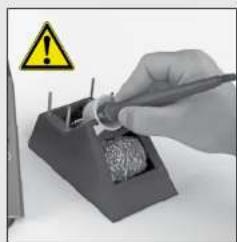
natural_image
Hand holding a tool interacting with a mechanical component, no visible text or symbols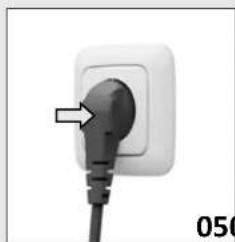
natural_image
Close-up of a white electrical plug with a black socket and cable, no visible text or symbols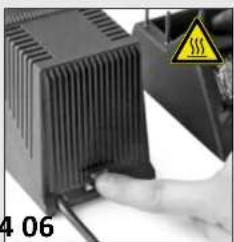
natural_image
Close-up of a hand pressing a component into a black heating element, with a warning symbol (no text or labels visible)DE
natural_image
Hand using a tool to test a textured object on a dark base, with a warning symbol above (no text or labels)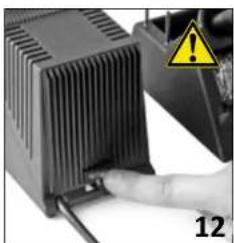
natural_image
Close-up of a hand inserting a heat sink into a cooling unit, with warning symbol and page number 12 (no text or symbols on main subject)Löten
natural_image
Close-up of hands holding a soldering iron with a tip, no visible text or symbols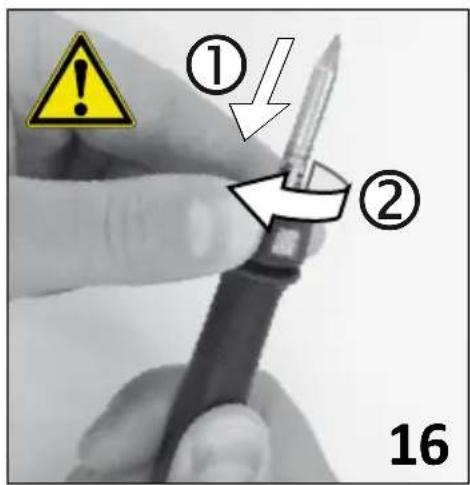
text_image
① ② 16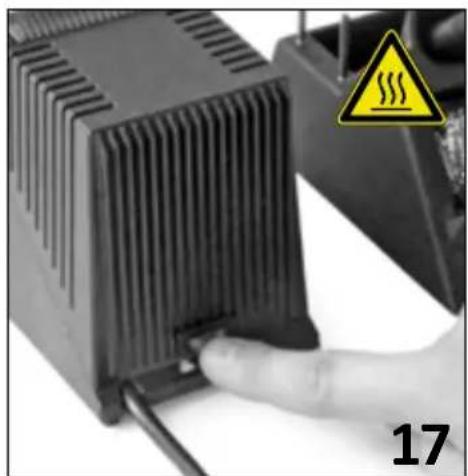
natural_image
Close-up of a black industrial fan or heat sink with a hand inserting a cable, next to a warning symbol (no readable text or symbols)
text_image
ersa 36.5°C i-CON*NAND 18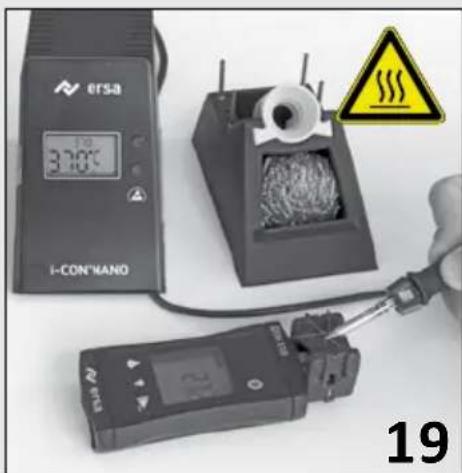
natural_image
Close-up of electronic testing devices including a digital temperature display and a soldering tool, with warning symbol and label '19' (no readable text or symbols on main objects)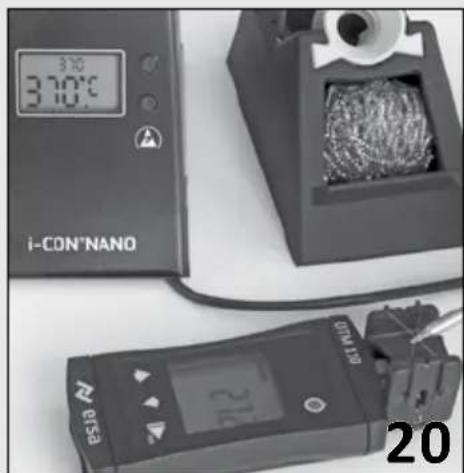
natural_image
Three electronic devices: a digital display showing 370°C, a microplate with a textured sample, and a handheld device with a probe (no visible text or symbols)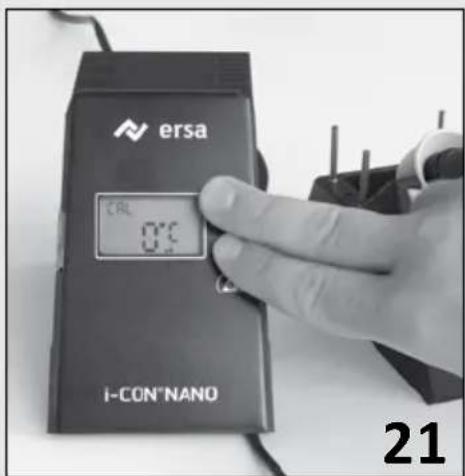
text_image
ersa CRL 0°C i-CON*NANO 21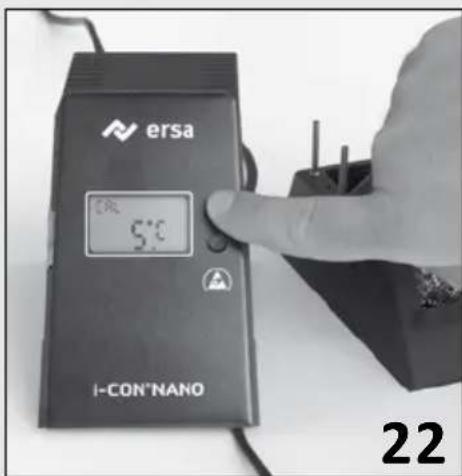
text_image
ersa 5°C I-CON'NANO 22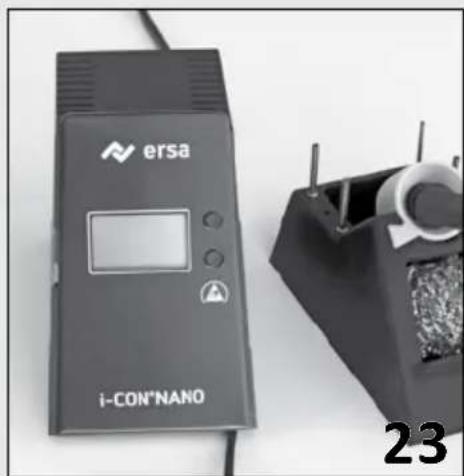
natural_image
Exterior view of a i-CON*NANO device and its 3D model (no visible text or symbols on the device body)Lötspitze wechseln
01 Adjust mains voltage in accordance with type plate.
02 Set up soldering station and stand in a dry place.
03 Check for correct fit of soldering tip.
04 Place soldering iron into holder stand.
05 Insert plug into socket.
06 Switch on soldering station.
ATTENTION! Soldering tip is hot! Risk of burns!
Commissioning
Many thanks for purchasing an Ersa soldering station.
Read user manual and safety instructions carefully and keep in a safe place for future use.
Check contents of package to ensure that no components are missing. Contact dealer if a component is missing.
Scope of delivery:
- i-CON NANO MK2 soldering station
- i-TOOL NANO MK2 soldering iron
- soldering tip (fitted)
- holder stand
- user manual
- set of safety instructions
Key to symbols:
Soldering
07 Soldering station heats up to the default value.
08 Press top key to increase temperature, press bottom key to decrease temperature.
09 Digital display shows actual value (A) and default value (B).
10 Solder when the set temperature has been reached.
11 Place soldering iron only onto holder stand.
12 After work or during prolonged breaks, switch off appliance and remove plug.
The soldering station is designed for soft solder soldering at various temperatures. After appliance is switched on, the soldering tip is heated up automatically to the most recently set temperature.
The soldering results depend on how suitable the soldering tip is to the job. When soldering large-size jobs, our more powerful i-CON 1 and i-CON 2 soldering stations should be used.
Default value: 360 °C / 680 °F Value range: 150 to 450 °C 300 to 842 °F
Changing the soldering tip
Various soldering tips can be used with the i-CON NANO MK2 soldering station. In this way, the soldering station can be adapted to various areas of operation.
More soldering tips are available from the Ersa dealer. Downloadable overview of i-TOOL tips:
142.ersa.com
13 Switch off soldering station and allow soldering tip to cool to approx. 40 °C / 104 °F.
14 CAUTION! Hot soldering tip! Risk of burns! Unlock [1] and pull out [2] the soldering tip of the bayonet mount
15 Remove soldering tip from soldering iron.
16 Fit the soldering tip [1], overcome the spring force and lock the bayonet mount [2]
17 Fit soldering tip with knurled section onto soldering iron and check for correct fit.
18 Switch on soldering station. ATTENTION! Soldering tip is hot! Risk of burns!
Temperature calibration
If the set temperature and the actual temperature of the soldering tip do not concur, then the temperature can be calibrated in order to resume work at exact soldering temperatures.
Default value: 0
Value range: -70 to +50 °C
-126 to +90 °F
19 Select reference value for calibration at the soldering station.
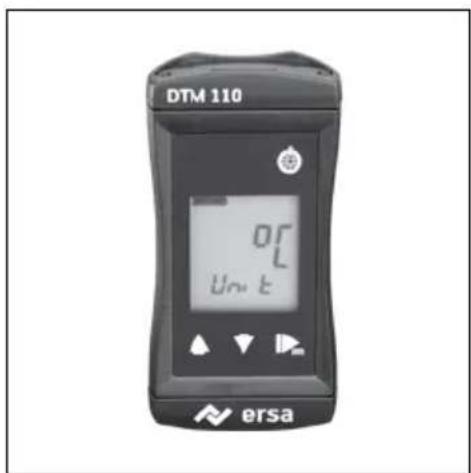
20 Determining actual temperature using a digital temperature-measuring instrument, e.g. Ersa DTM 110.
21 Calculating deviation between reference value and actual value.
22 Press both keys briefly to call up the calibration menu.
23 Setting temperature using the keys in accordance with the deviation.
24 Wait five seconds to save the value.
Standby time Soldering iron
SD card
After a certain time, the appliance reduces the soldering temperature to save power.
Default value: 5 min.
Value range: 0 to 60 min. 0 = Off
A Hold down both keys for a prolonged period to open the standby time menu.
B Adjust standby time by pressing the keys (0 = Off).
C Wait five seconds to save the value.
If required, the soldering iron can be changed or exchanged.
Use only soldering irons bearing the description Ersa i-TOOL NANO MK2.
Installation of the exchange iron is by analogy the reverse of the dismantling sequence.
A Turn appliance onto its side.
B Pull cable of soldering iron out of holders.
C Remove plug in the direction of the operating panel.
Using a micro SD card will permit further settings to be made via software:
- Standby temperature & time
- Shutdown time
- Keylock function
- Display in °C or °F
- Up to 3 fixed temperatures
- Power functions can be as-signed
For further information on using the micro SD (HC) card, please consult the software manual. Both software and the manual can be downloaded free by going to the following link: nano.ersa.com
Error codes
In the event of an error, an error code appears on the display. The number above the label 'Err' provides information about the error present.
Codes 7 and 8 indicate faults in the heating element in the soldering iron:
- Err7 Insert heating element and press key.
- Err8 Change heating element
For further information, go to the following link: nano.ersa.com
Technical specifications
i-CON NANO MK2 soldering station:
Power rating:
Operating voltage:
Temperature range:
Dimensions L x W x H:
Weight:
i-TOOL NANO MK2 soldering iron:
Dimensions:
Weight:
Holder stand:
Dimensions L x W x H:
Weight:
Order no.: 0IC1205A
68 watts
220 - 240 V \~ 50/60 Hz
110 - 120 V \~ 50/60 Hz
150 - 450 °C / 300 - 842 °F
145 mm x 80 mm x 103 mm
1050 g
Order No.: 0125CDK
L x handle-∅ / 175 mm x 15 mm
30 g (without cable)
Order No.: 0A59
140 mm x 80 mm x 80 mm
200 g
Guarantee
Heating element, and soldering and desoldering tips constitute parts subject to wear that are not covered by the guarantee. Material defects or manufacturing defects must be stated in addition to providing proof of purchase prior to certified return of goods.
Statement of defects and proof of purchase must be returned along with the goods.
Ersa has created this manual with the utmost care. However, no guarantee is provided as regards content, completeness and quality of the details contained in this manual. Content is maintained and adapted to prevailing conditions.
All data published in this manual and details on products and methods have been ascertained by using state-of-the-art aids according to the best of our knowledge. These details are not binding and do not relieve the user of personal responsibility to check the appliance prior to use. We accept no responsibility for infringements of third-party patent rights for applications and procedures without prior express and written acknowledgement. We reserve the right to undertake technical improvements for the purposes of product improvement.
As part of legal means, liability for direct damage, consequential damage and third-party damage resulting from the acquisition of this product is excluded.
All rights reserved. Without written approval of Ersa GmbH, this instruction manual may not, even in extract form, be reproduced, transmitted or translated into another language.
Disposal
Should be done according to Directive 2002/96/EC of the European Parliament and of the Council
dated 27.01.2003 applicable to used electrical and electronic appliances.
Products bearing the symbol of a struck through refuse bin must not be disposed of along with unsorted domestic refuse. The municipalities have set up collection points for this purpose. Please consult your municipal or local authority concerning facilities available for separate collection of used appliances.
In this way, you contribute to re-use or other forms of utilisation of used appliances in the interests of environmental protection and human health.
FR
- Aanduiding in °C of °F
Replacement parts and Accessories
natural_image
Close-up of a soldering iron with a coiled wire and terminal tip (no text or symbols visible)Soldering iron
Ersa i-TOOL NANO MK2 0125CDK
natural_image
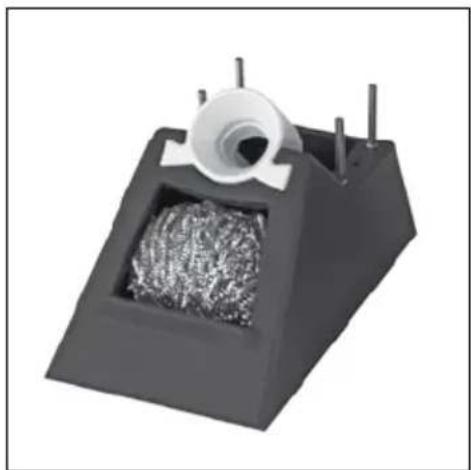
3D rendering of a mechanical device with a cylindrical component and internal granular material (no text or symbols visible)Holder stand, antistatic 0A59
natural_image
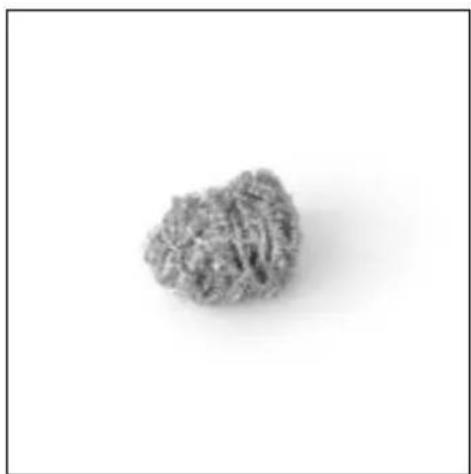
Close-up of a textured, irregularly shaped object against a plain white background (no text or symbols visible)Dry sponge 0008M
text_image
DTM 110 OR L Unit ersaDigital temperature measuring device
Ersa DTM 110
0DTM110

kurtz ersa
Ersa GmbH