
Floorclean 80Pro+ - Vacuum Cleaner Ulsonix - Free user manual and instructions
Find the device manual for free Floorclean 80Pro+ Ulsonix in PDF.
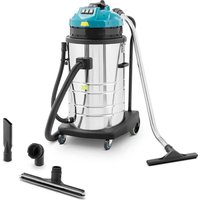


| Product type | Wet and dry vacuum cleaner |
| Model | Floorclean 80Pro+ |
| Rated voltage | 230 V ~ / 50 Hz |
| Rated power | 3000 W (adjustable 1000/2000/3000 W) |
| IP protection rating | IPX4 |
| Tank capacity | 80 L |
| Dimensions (L × W × H) | 540 × 495 × 1025 mm |
| Weight | 24 kg |
| Operating modes | Dry and wet vacuuming |
| Filtration | Cloth filter (remove for wet vacuuming) |
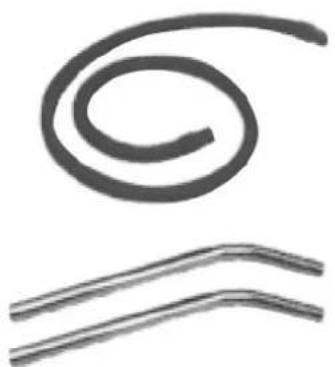
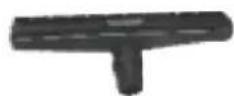
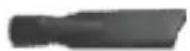
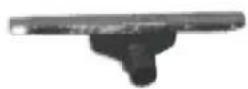
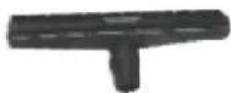
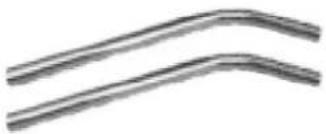
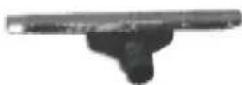
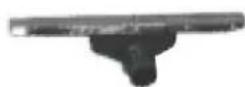
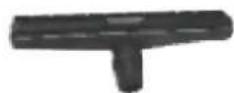
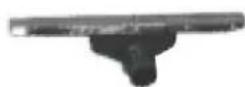
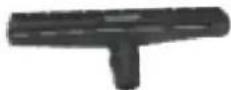
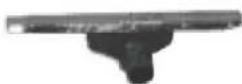
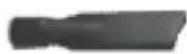
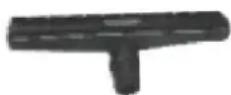
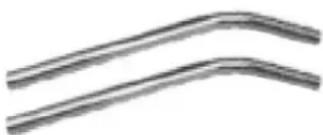
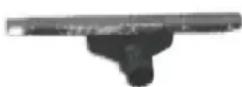
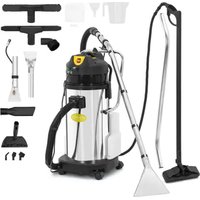
| Included accessories | Suction hose, metal tubes A/B, dry floor nozzle, wet floor nozzle, crevice tool, dusting brush |
| Power levels | 3-level selector (1000/2000/3000 W) |
| Motor protection | Float (automatic shut-off in case of overflow) |
| Continuous operation time | Max 2 hours |
| Durable materials | Tank and head in robust plastic |
| Safety | Use with a residual current circuit breaker; do not use in acidic, alkaline or extreme temperature environments |
| Daily maintenance | Empty the tank, clean the cloth filter, check connections and power cord |
| Repairability | Power cord replaceable only by a professional; spare parts available |
| Warranty | Warranty void in case of unauthorized modification or improper use |
Frequently Asked Questions - Floorclean 80Pro+ Ulsonix
User questions about Floorclean 80Pro+ Ulsonix
0 question about this device. Answer the ones you know or ask your own.
Ask a new question about this device
Download the instructions for your Vacuum Cleaner in PDF format for free! Find your manual Floorclean 80Pro+ - Ulsonix and take your electronic device back in hand. On this page are published all the documents necessary for the use of your device. Floorclean 80Pro+ by Ulsonix.
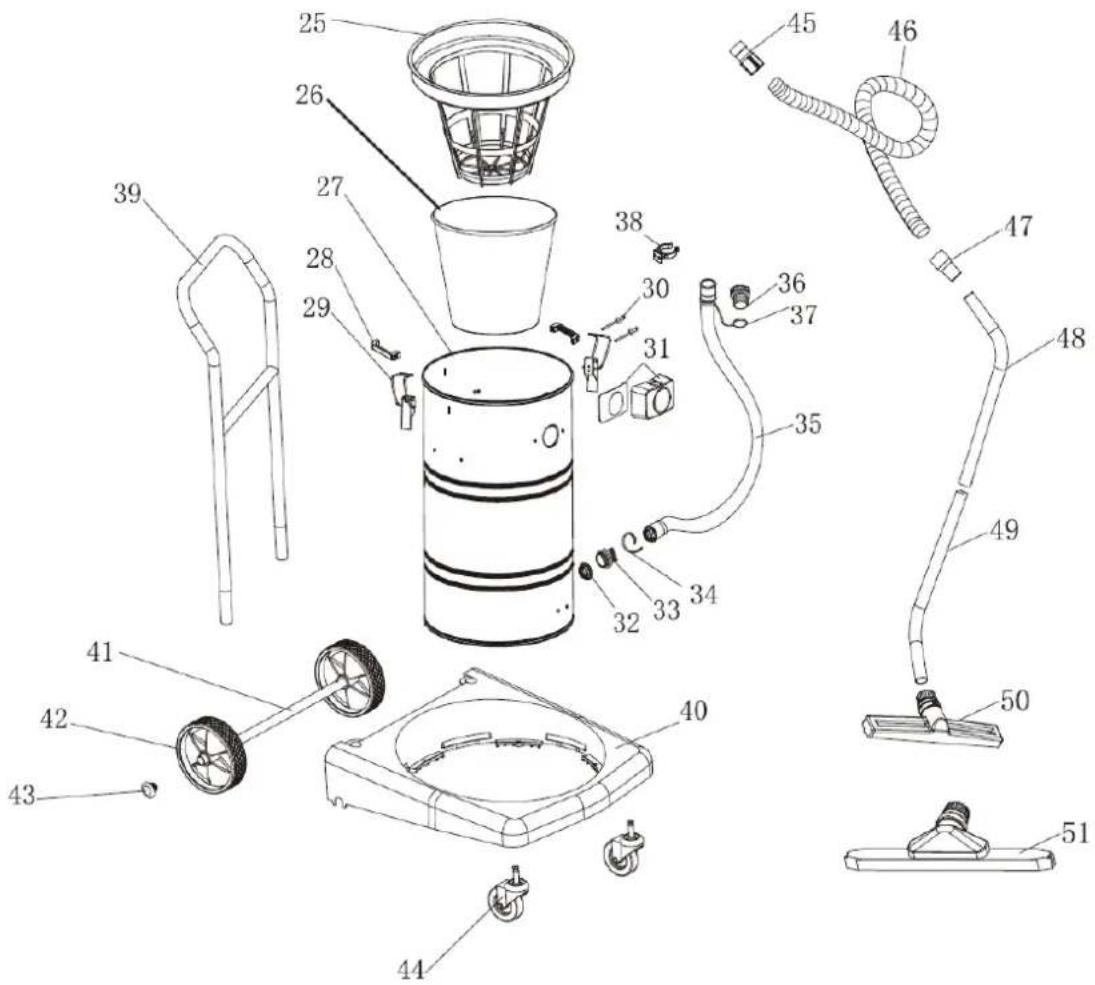
USER MANUAL Floorclean 80Pro+ Ulsonix
3
5
2
4
6
Figure 1
Figure 2
Figure 3
Figure 4
This User Manual has been translated for your convenience using machine translation. Reasonable efforts have been made to provide an accurate translation; however, no automated translation is perfect nor is it intended to replace human translators. The official User Manual is the English version. Any discrepancies or differences created in the translation are not binding and have no legal effect for compliance or enforcement purposes. If any questions arise related to the accuracy of the information contained in the User Manual, please refer to the English version of those contents which is the official version.
Technical data
| Parameter description Parameter value | |
| Product name | Wet and Dry Vacuum Cleaner |
| Model | FLOORCLEAN 80PRO+ |
| Rated voltage [V~] / frequency [Hz] | 230/50 |
| Rated power [W] | 3000 |
| Protection rating IP | IPX4 |
| Capacity [l] | 80 |
| Dimensions [width x depth x height; mm] | 540 x 495 x 1025 |
| Weight [kg] | 24 |
IMPORTANT STATEMENT
- The content of this manual is for all users. Please read this manual carefully.
- Manufacturer takes no responsibility for any damage due to operating the machine without following this manual.
- Manufacturer takes no responsibility for any damage due to modifying, disassembling, or performing any other operations on the machine.
- This manual provides important instructions on product operation. The manufacturer reserves the right to update and revise it. If there are any differences, the actual product shall prevail.
Attention
- This manual includes instructions on operation and maintenance.
- Please read this manual carefully before operating and maintaining the machine.
Description of symbols

Warning. Text starting with this symbol is closely related to safety, indicating potential accidents and human injuries. If this symbol appears in a chapter, read the text starting with the "warning" symbol in that chapter.

Text starting with this symbol indicates what will cause damage to the machine. If this symbol appears in a chapter, read the text starting with the "caution" symbol in that chapter.

Follow the notes during operation.
Keep it away from flammable or explosive materials and corrosive solutions.
Please read the operating manual and instructions before starting the machine.
Keep it away from fire.
Indication for strong current and avoidance of water.
Maintenance information
Please note that the following cases will make the warranty invalid:
- Any damage caused to the machine by unauthorized modification.
- Any damage caused by the installation of unauthorized components or accessories.
- Any damage caused by operating the product in a way that disobeys the product manual.
- Any damage that is not due to quality-related reasons.
Daily Maintenance
When the cleaning work is over:
- Clear debris in the barrel after use. Clean the fittings periodically and check for perforation or air leaks.
- Check whether the power cable and the plug are intact. Coil the power cable and hang it on the top cover.
- After vacuuming, make sure the air inlet is clear. Remove clogs and make sure the buoy cover is fitted properly.
- Check whether the barrel is cleared and whether the fittings are clogged, such as the hose, the nozzles, and the cloth filter.
- Check whether the machine's suction power is normal. If not, check whether the connected fittings are connected well and whether the motor base seal is in good order.
- Check the cleaning work. If it is dust vacuuming, fit the cloth filter. If it is wet work, remove the cloth filter. However, the machine cannot be used to clean areas with too much debris and mud.
Troubleshooting by regular checking
- If there is dirt in the cloth filter, clean the cloth filter thoroughly.
- If there is too much rubbish in the barrel, clear the rubbish.
- If the hose and the nozzles are clogged, clear out the hose and the nozzles.
In the following cases, our company accepts no responsibility.
- Check the voltage on the nameplate, and make sure that the voltage you are using is suitable for the machine. Our company accepts no responsibility for damage or human injuries caused by using wrong power sources.
- Do not use the machine over its load. Our company accepts no responsibility for damage to any components caused by using the machine over its load.
- Do not use the machine in adverse environment, such as acid, alkaline, and too high or too low temperature environment. Our company accepts no responsibility for damage, accidents or human injuries caused by using the machine in this kind of environment.
- Use and maintain the machine according to the product manual. Our company accepts no responsibility for problems or damage caused by not obeying the product manual.
- Our company accepts no responsibility for damage or human injuries caused by refitting the machine without permission.
Safety precautions
This manual contains important information about the safe use of the machine, operation guide, recommendation and things requiring attention. Please read it carefully.
Don'ts:
• Do not block the ventilating place and the heat-discharge place; - Do not move, change or cover the safety information sign; • To ensure personal safety, the machine must be operated by a trained technician. (New users can be trained the basic operation in the field by the sales agent.)
Safety precautions
Precautions before starting the machine:
- Check the voltage on the nameplate and make sure the voltage you are using is suitable for the machine. If not, do not use it.
- Check whether the power cable, the plug, and the switch are intact.
- Check whether the switch of the machine is aligned with the square connector. If not, adjust it to align with the square connector; otherwise, some other fittings may be easily broken.
- Check whether the barrel is cleared up and whether the fittings are clogged, such as the hose, the nozzles, and the cloth filter.
- Check whether the machine's suction power is normal. If not, check whether the connected fittings are connected well and whether the motor base seal is in good order.
- Check the cleaning work. If it is a dust vacuuming, fit the cloth filter. If it is a wet work, remove the cloth filter. However, the machine cannot be used to clean areas with too much debris and mud.
Precautions while operating the machine
- Check whether the power cable plug is connected well and stable. If not, the machine will work in snatches and the suction power of the motor will not be enough, which will affect the lifespan of the motor.
- If there is a lot of cleaning foam in the water while sucking water, it is necessary to put an appropriate amount of defoamer solution into the barrel; otherwise, the foam is easy to get into the motor and damage it.
- While the machine is working, the power cable should not be too long, so do not prolong the power cable without permission. And the cable diameter cannot be shorter than the specified diameter. Do not circle the cable, which will generate a magnetic field and result in a low voltage of the machine.
- Pay attention to the sound of the machine. If the sound becomes deep, check whether the hose and the barrel are full of debris. If they are, clear out the hose and the barrel.
- Do not make the barrel upside-down to prevent liquid, including corrosive liquid, from getting into the motor. Remove the machine head before dealing with the liquid in the barrel.
- Do not use the machine for a long time continuously. And keep the continuous working time within 2 hours to extend service life.
Safety precautions
Safe use regulation
Follow the following basic precautions before using the machine:
- Before fixing components, please switch off the power of the machine and pull out the power plug.
- Before disassembling any connected part of the machine, please switch off the power of the machine and pull out the power plug.
- Children are not allowed to use this machine.
- If the power cable is broken, in avoidance of danger, contact the manufacturer, after-sales service, or a professional person to replace it.
Accessories
1
2
3
5
4
6
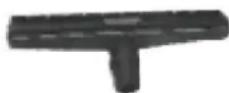
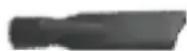
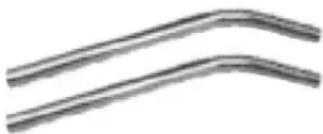
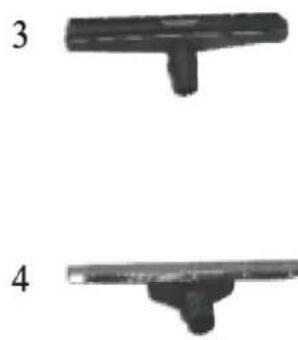
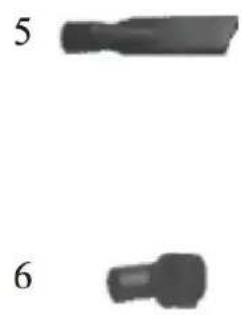
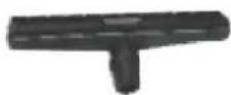
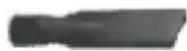
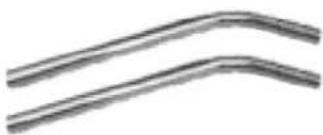
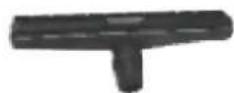
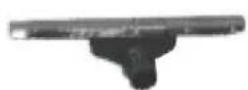
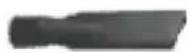
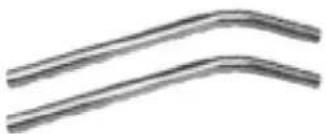
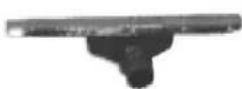
1 Suction hose 2 Metal tube A/B 3 Dry floor nozzle 4 Wet floor nozzle 5 Crevice tool 6 Dust brush
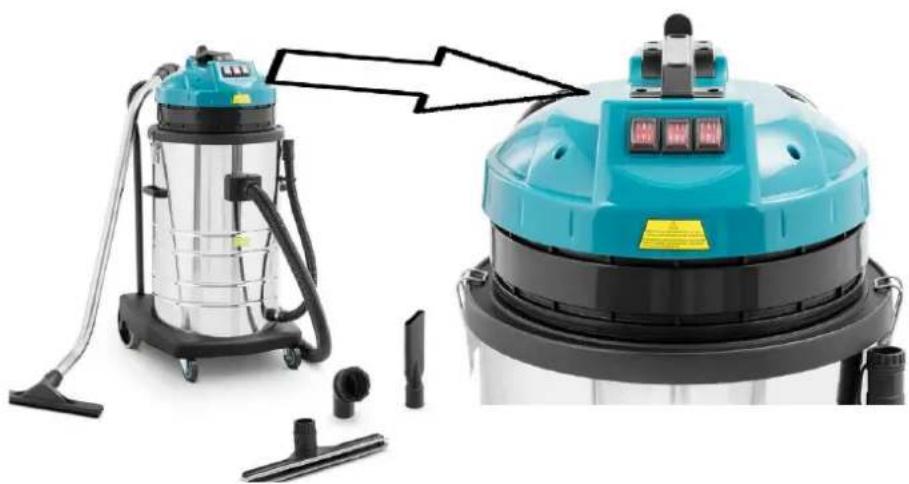
Individual motor switches - choice of 3 power levels (1000/2000/3000 W)
Operating instruction
Operating steps
- Fix the fittings according to the cleaning work. If it is a dust vacuuming, the cloth filter should be fixed; if it is a wet work, the cloth filter should be removed. (Figure 1).
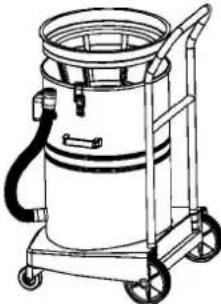
Figure 1
- Put the machine head on the machine body and make sure the power switch centre in the machine head is aligned with centre of square connector. Then fasten the two buckles to fix the machine body. (Figure 2).
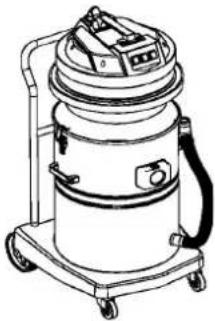
Figure 2
- Put the hose end with the short connector into the square connector and insert the switch of the square connector into the groove of the short connector. The other end of the hose should be attached with different fittings according to the cleaning work, such as the dry floor nozzle assembly, the wet floor nozzle assembly. (Figure 3).
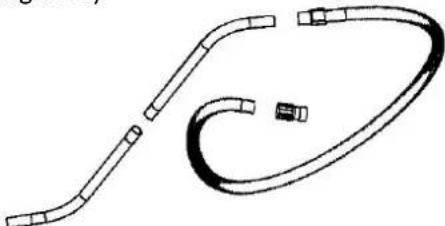
Figure 3
- After all the fittings needed for the work are fixed, the machine can be operated.
Attention
Ensure that leakage protector is available before use. Check the voltage on the nameplate and make sure the voltage you are using is suitable for the machine. Check whether the power cable, the plug and the switch are intact. While the machine is working, the power cable should be put behind the barrel and the nozzle. (Figure 4).
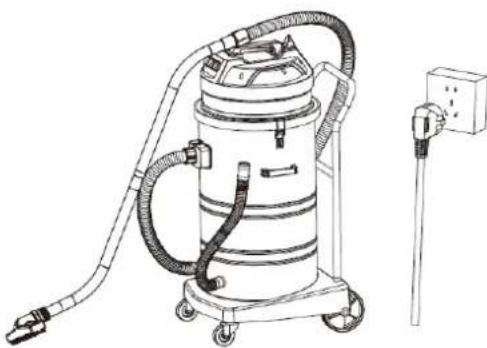
Figure 4
- For narrow and rough floors, connect the crevice tool or the dust brush directly to the hose for cleaning.
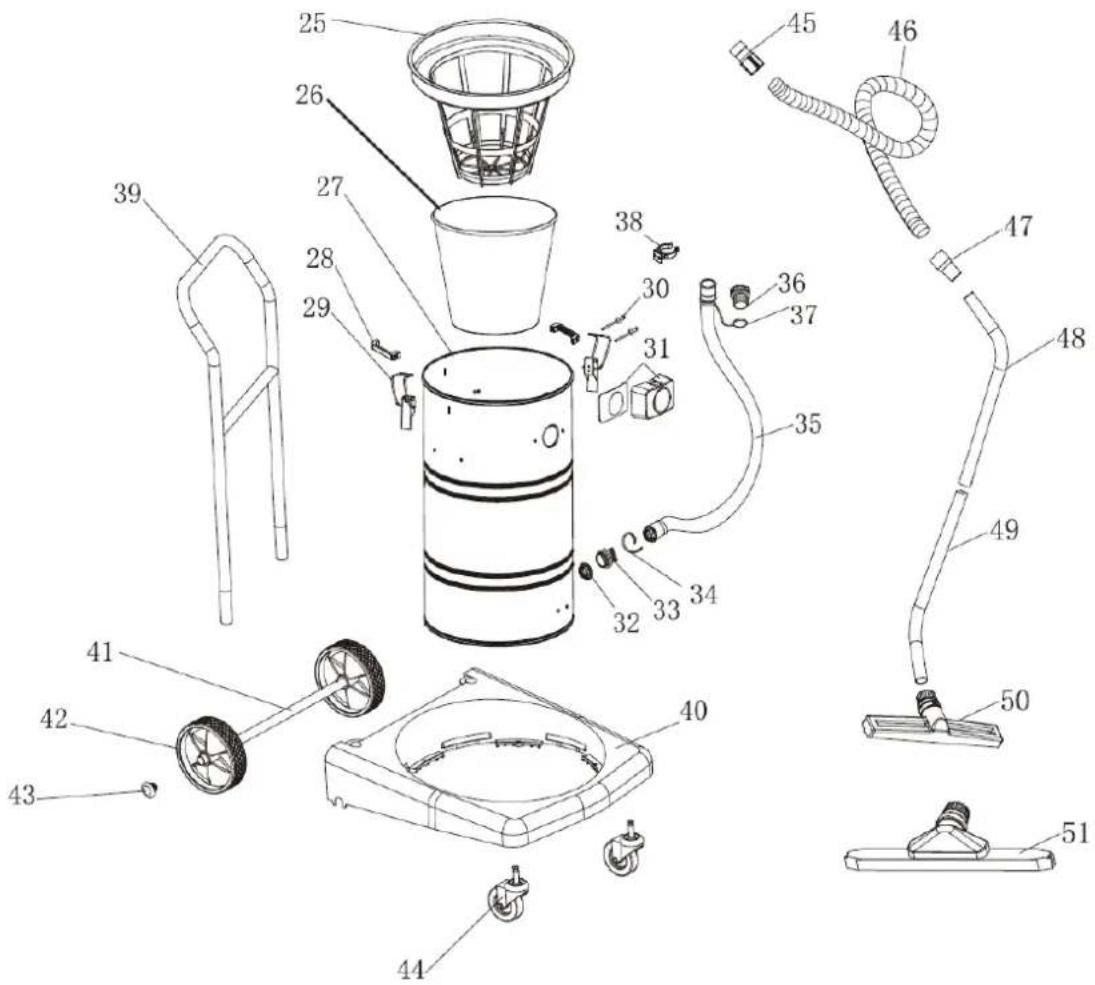
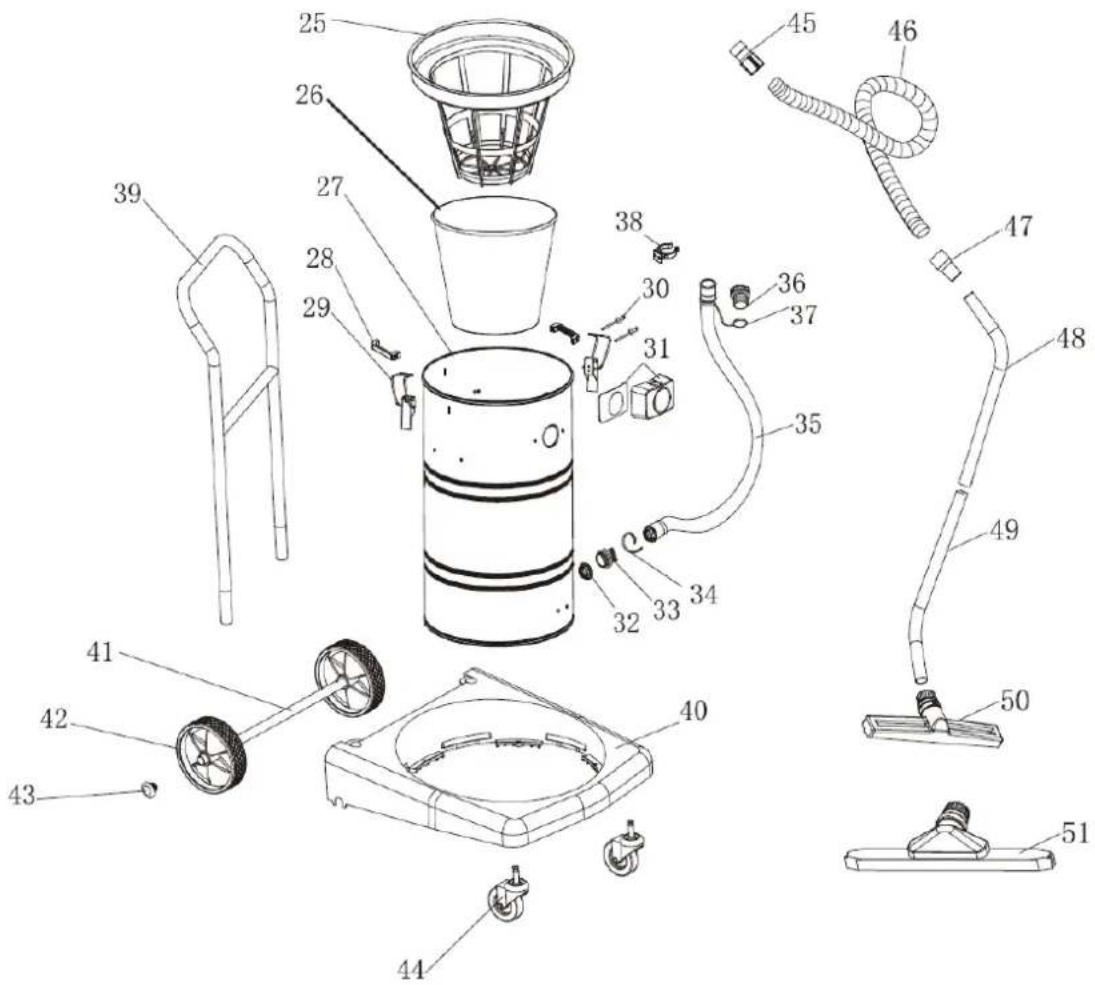
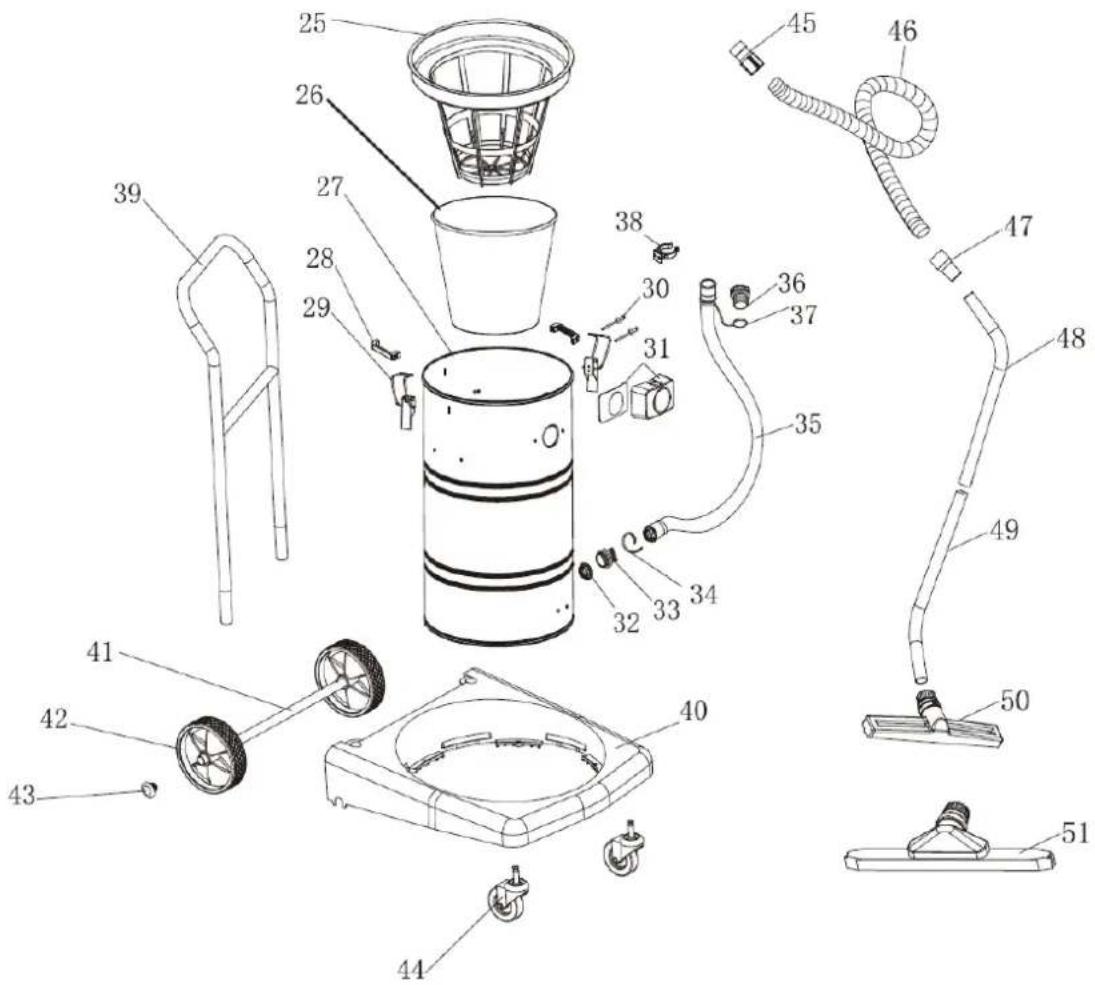
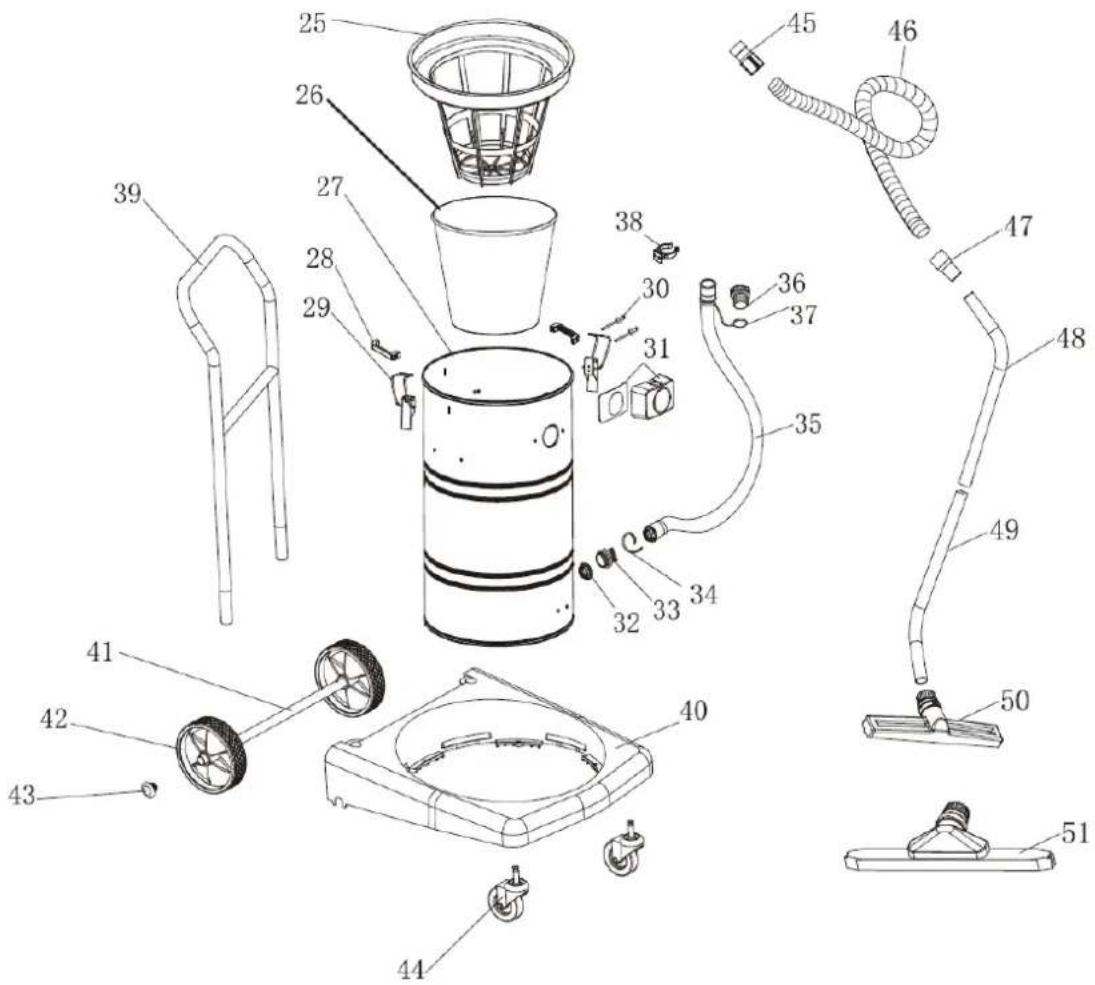
Machine diagram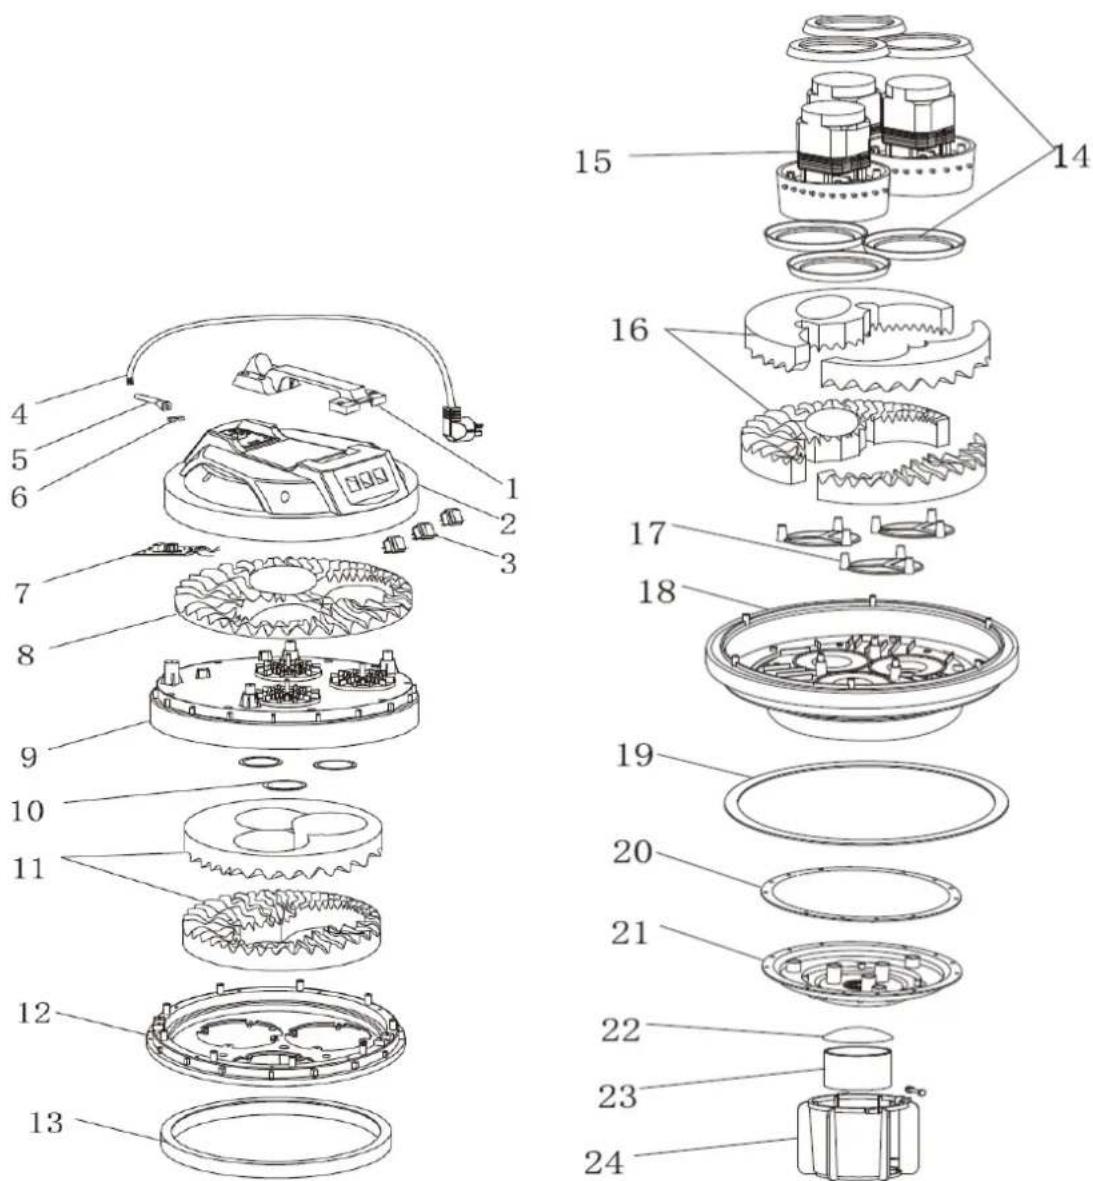
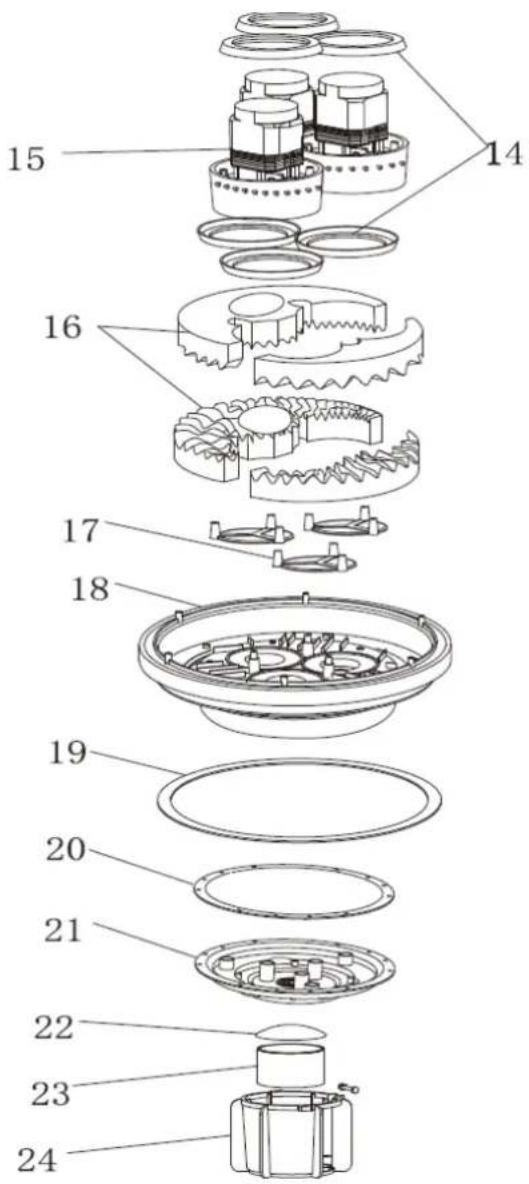
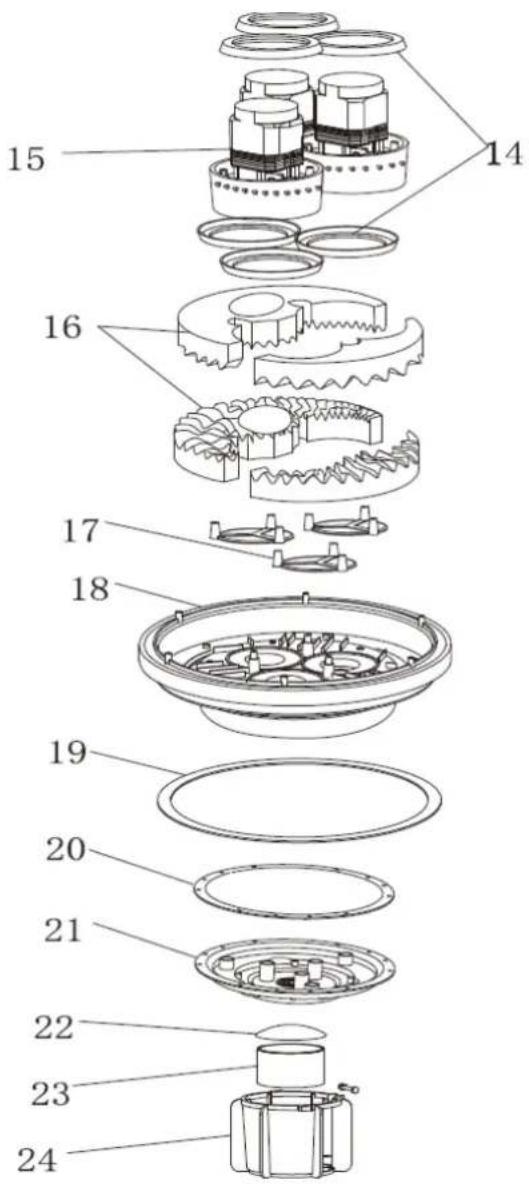
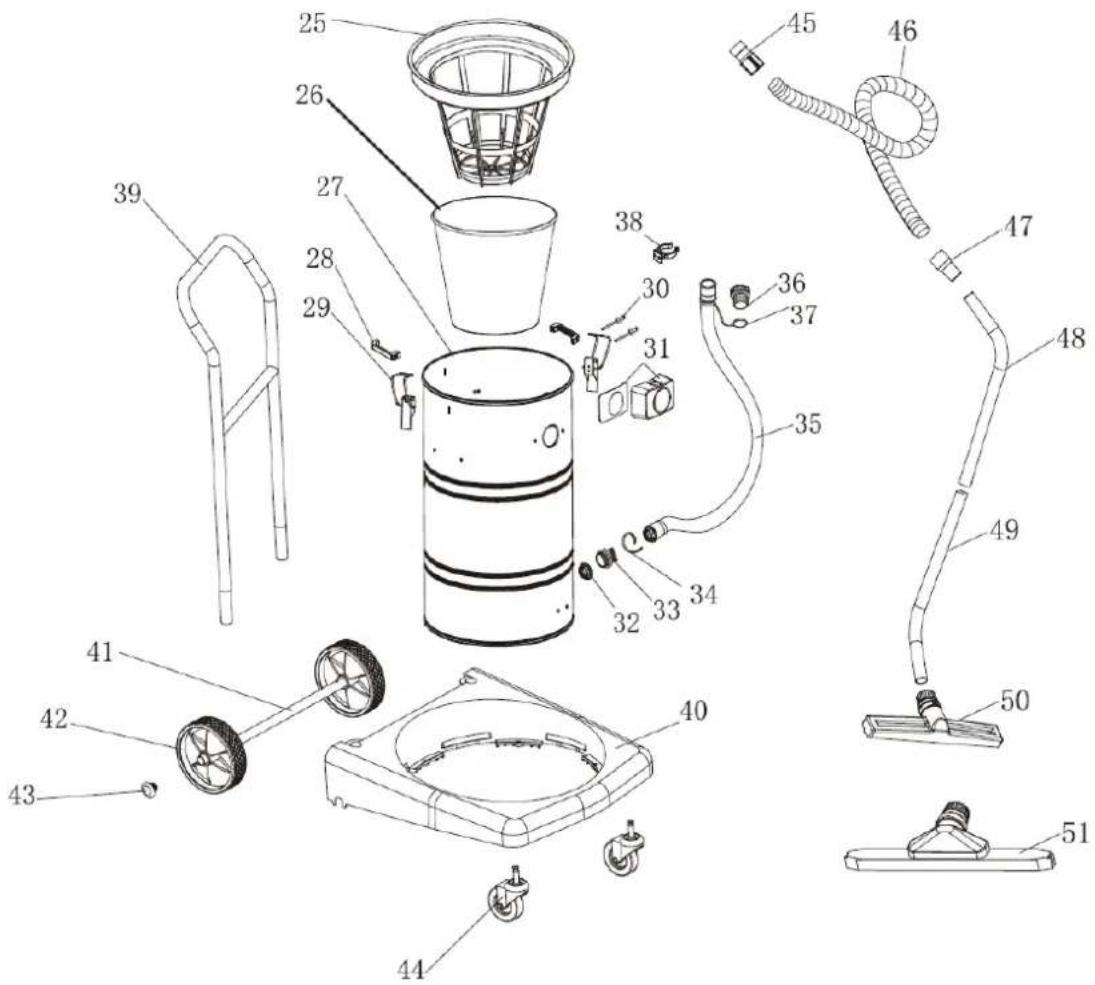
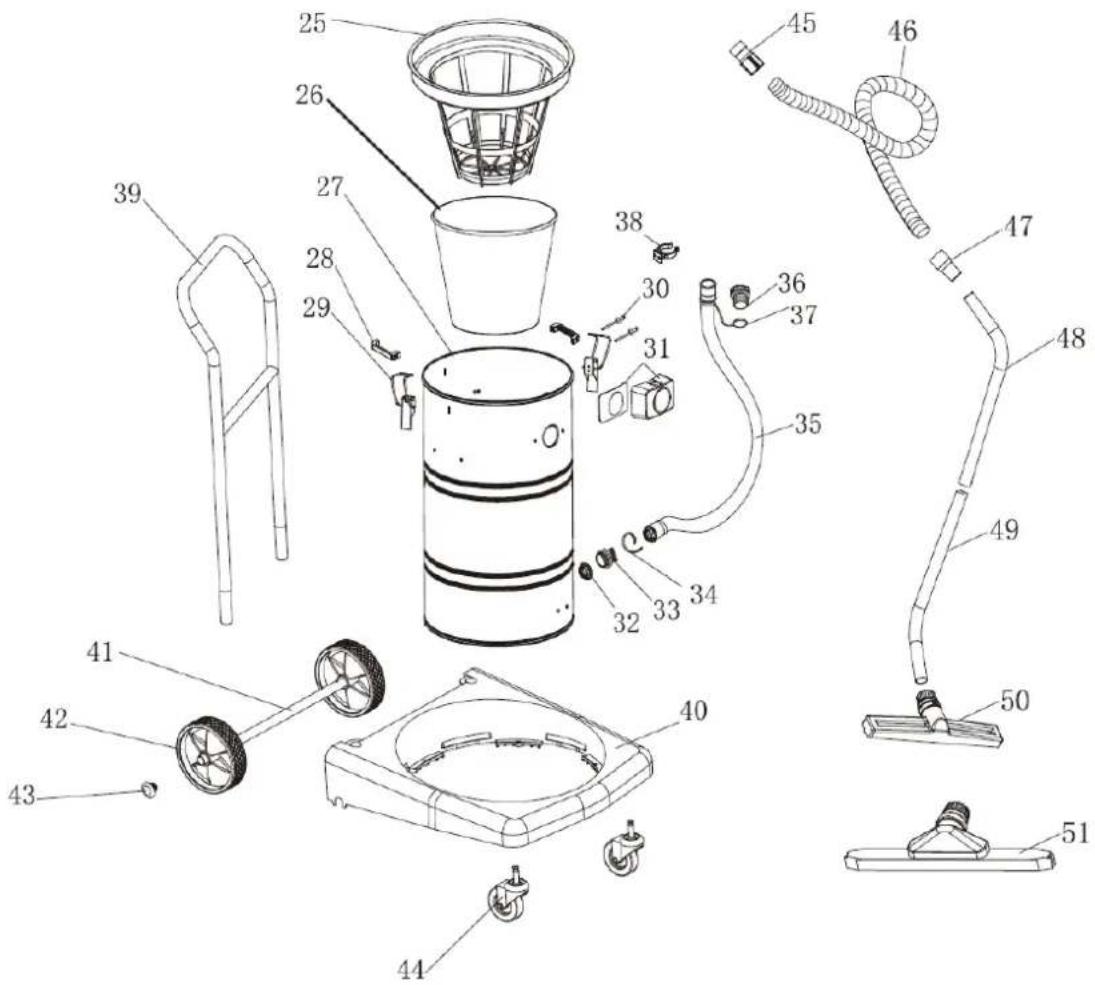
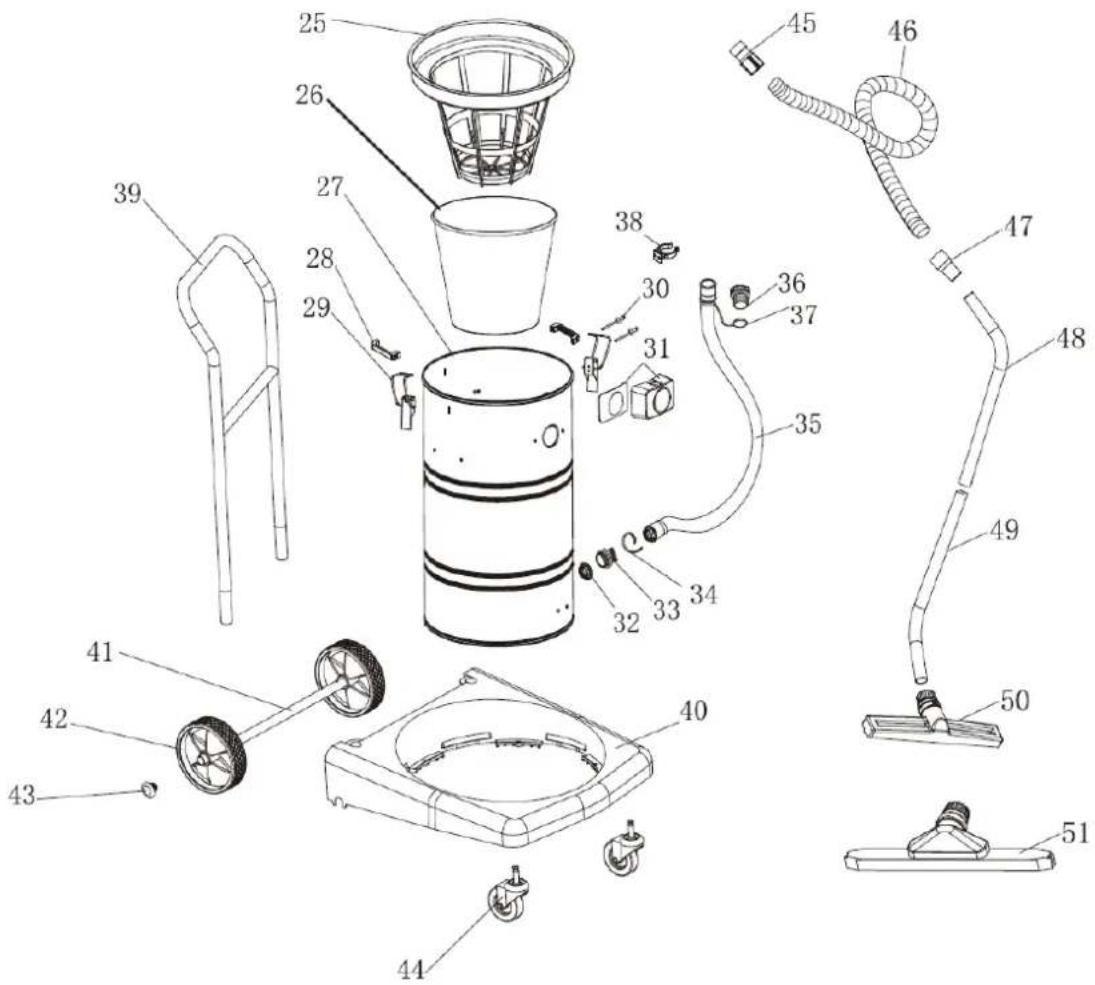
- Handle
- Top cover
- Power switch
- Power cable
- Bushing
- Cord holder
- Circuit board
- Surface cover sponge
- Surface cover
- Surface cover seal
- Upper choke sponge
- Motor choke (black)
- Inner choke sponge
- Motor apron
- Motor
- Base sponge
- Triangle pad
- Motor base
- Base apron
- Holder seal
- Buoy rack holder
- Buoy cover
- Buoy
- Buoy rack
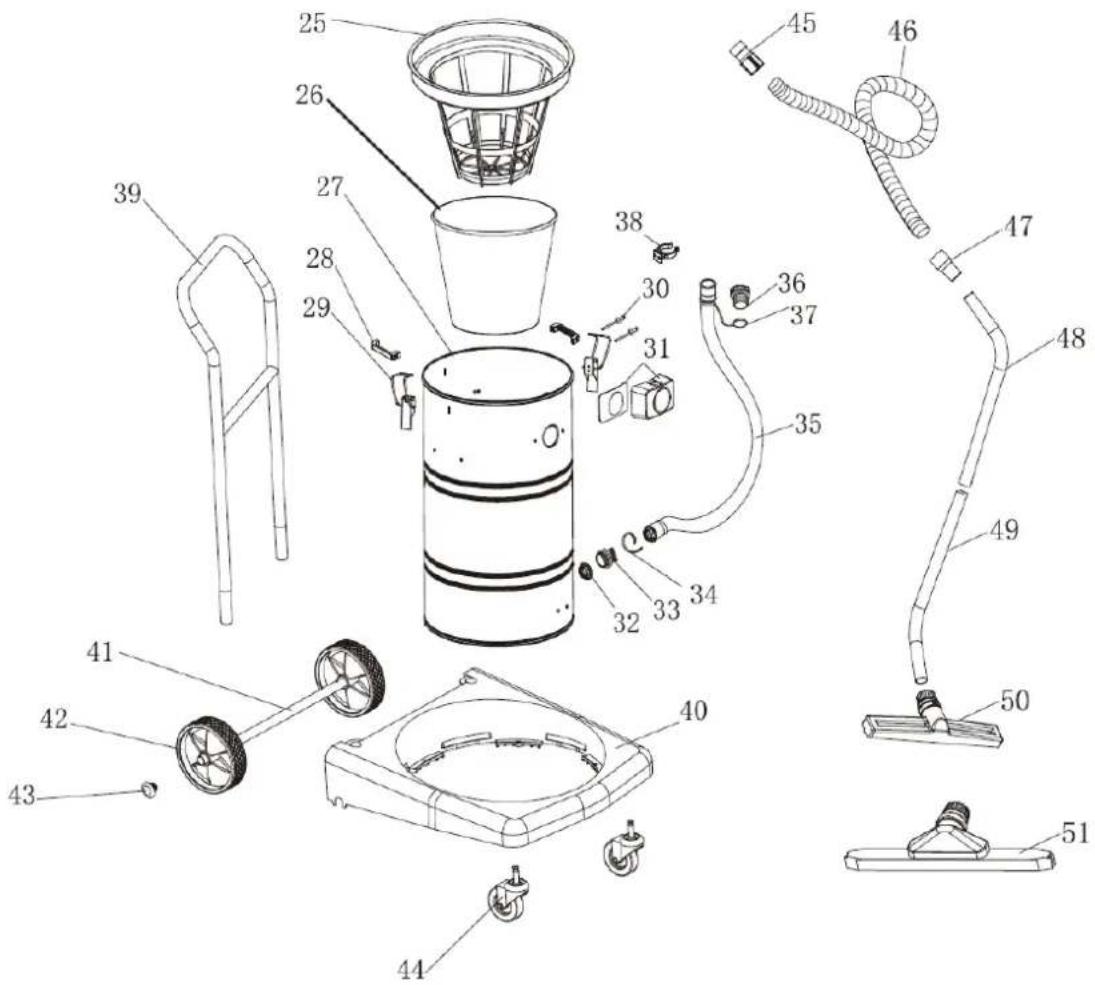
- Cloth filter apron
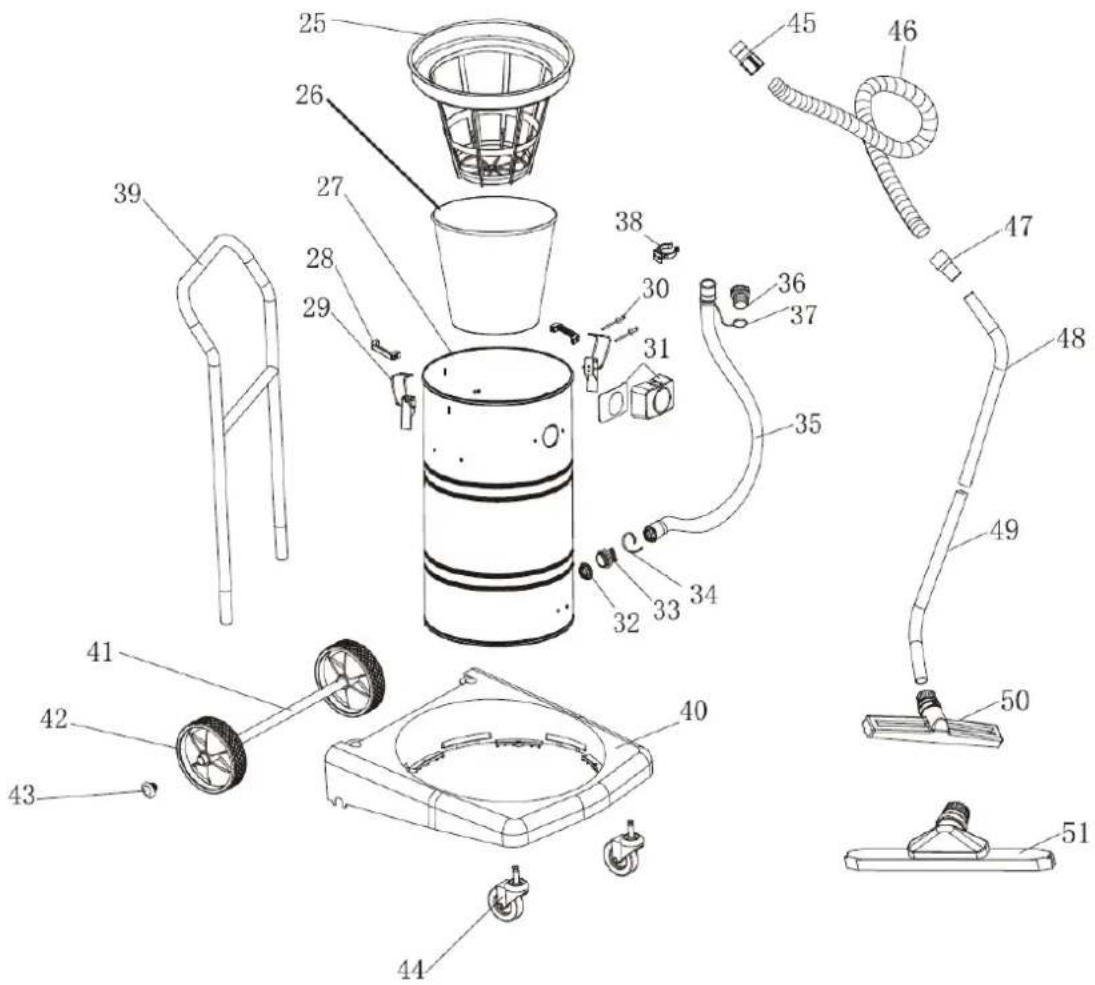
- Cloth filter
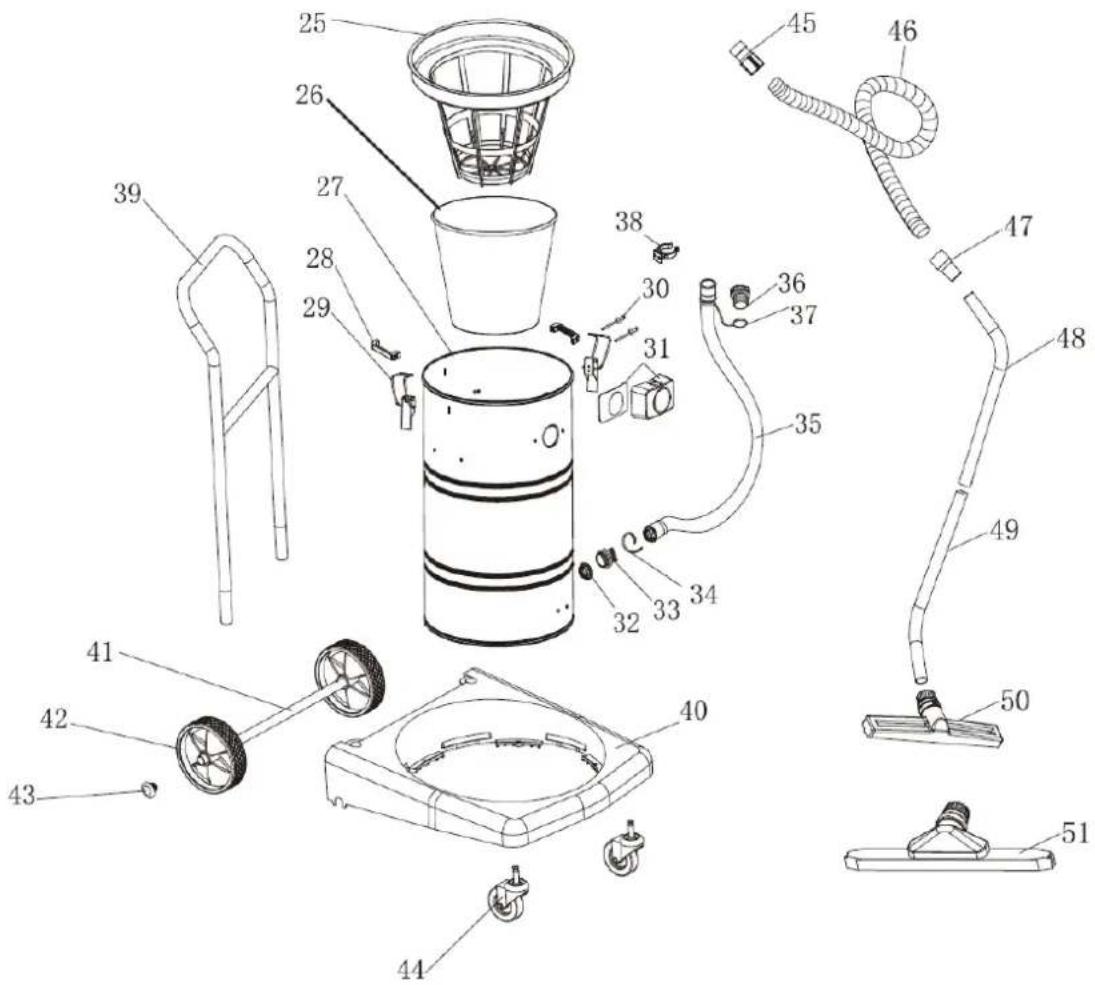
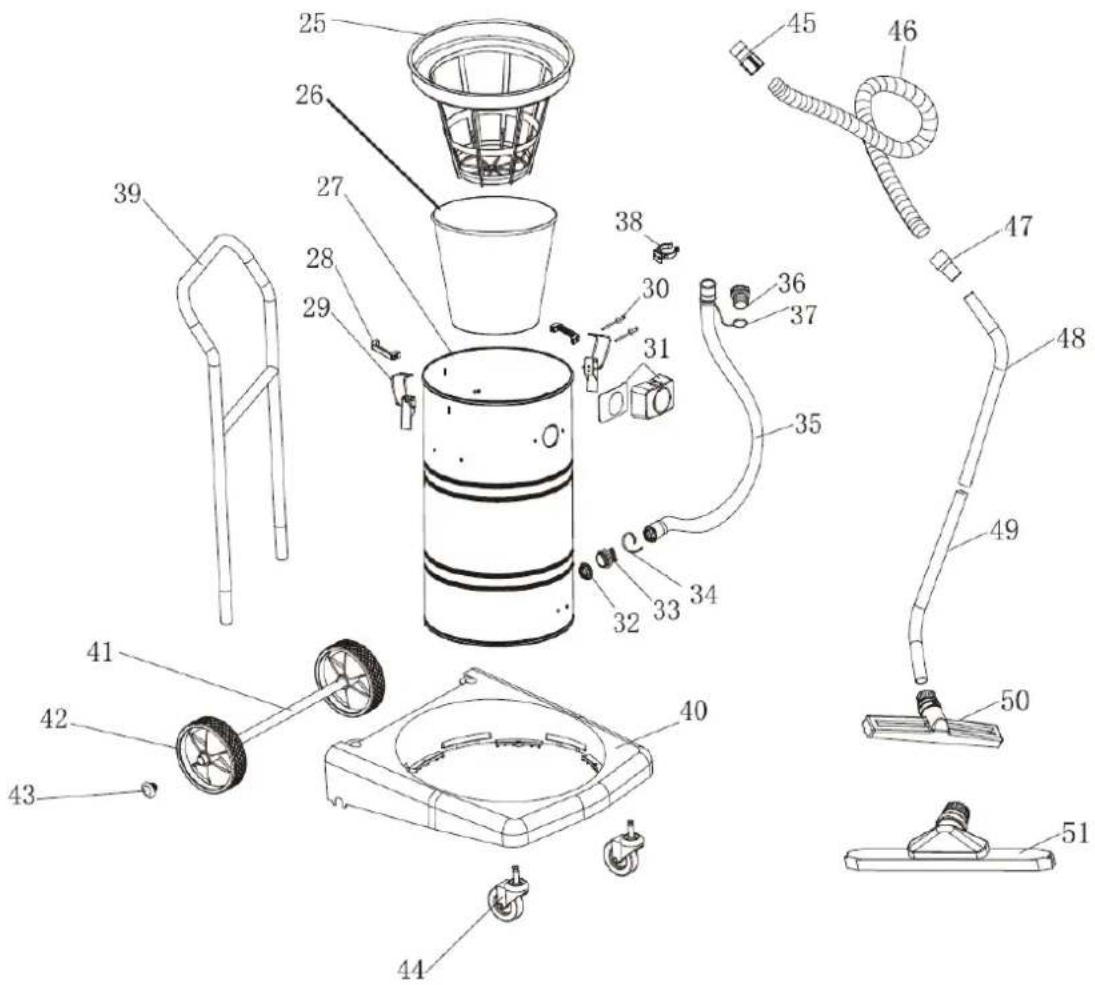
27.80 litres tank
- Tank handles
- Tank buckles assembly
- Core extractor pin
- Square connector assembly
- Drain hose nut
- Drain hose connector
- Hose clamp
- Drain hose
- Drain hose piston
- Drain hose double aprons
- Drain hose hook
- Armrest
- Frame base
- Frame axle
- Big rear wheel
- Axle stopper
- Frame front wheel
- Short connector
- Hose
- Long connector
- Metal tube A
- Metal tube B
- Dry nozzle assembly
- Wet nozzle assembly

3
5

2
4
6
Figure 1
Figure 2
Figure 3
Figure 4
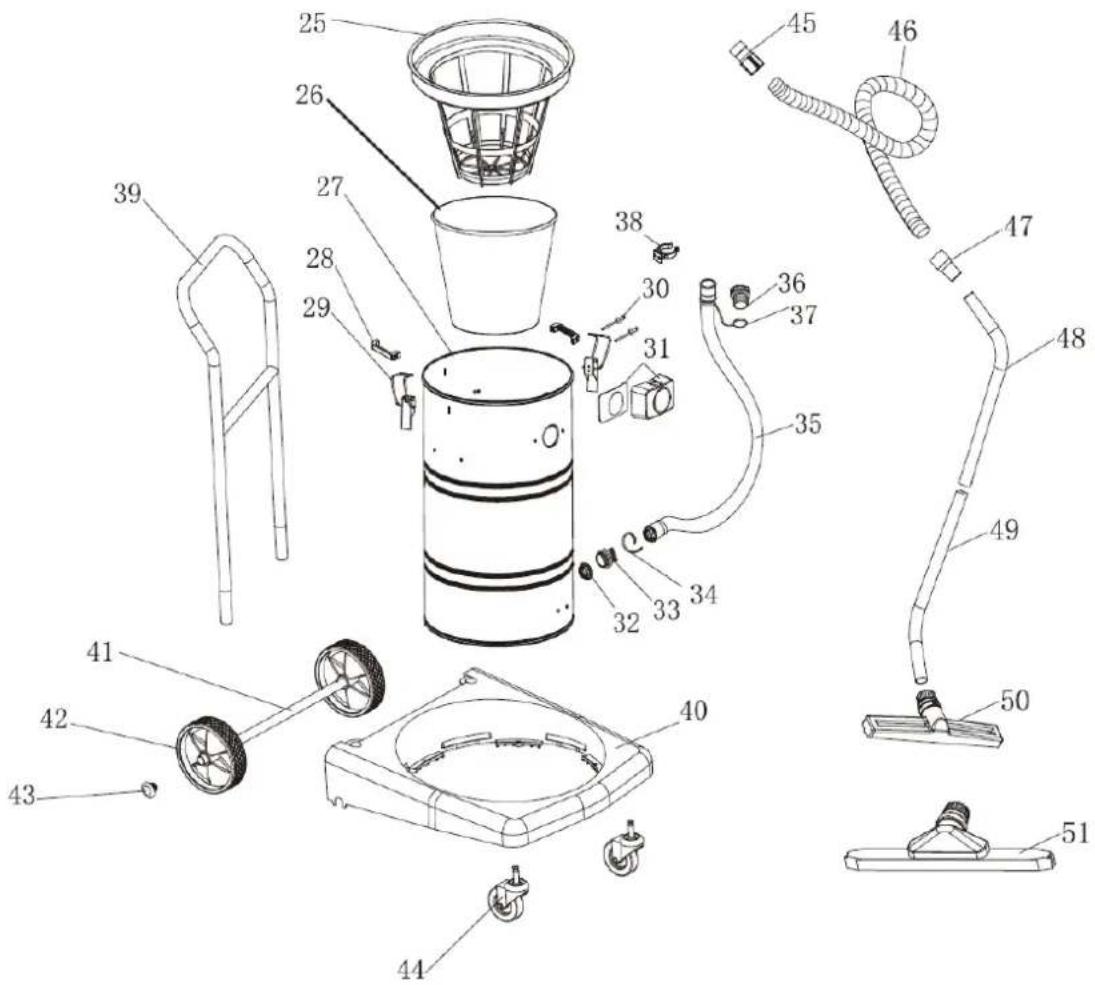
Figure 1
Figure 2
Figure 3
Figure 4
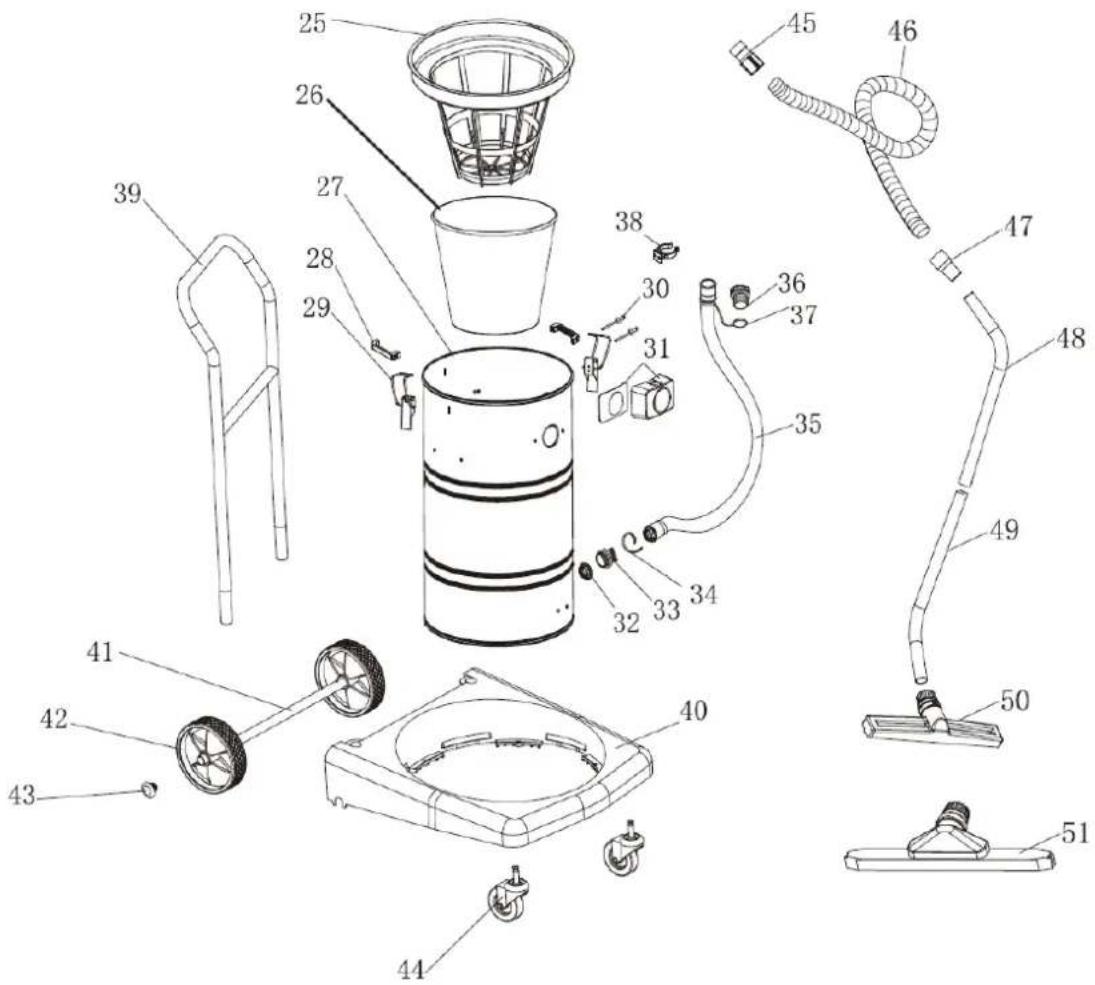
Figure 1
Figure 2
Figure 3
Figure 4
Motor circuit breakers
Figure 1
Figure 2
Figure 3
3
5
2
4
6
Figure 1
Figure 2
Figure 3
Figure 4
3
4
5
6
3
4
5
6
Figure 1
Figure 2
Figure 3
Figure 4
3
5
4
6
Figure 1
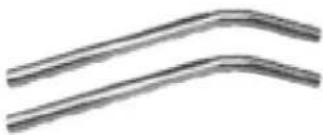
6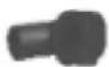
Figure 1
Figure 2
Figure 3
Figure 4
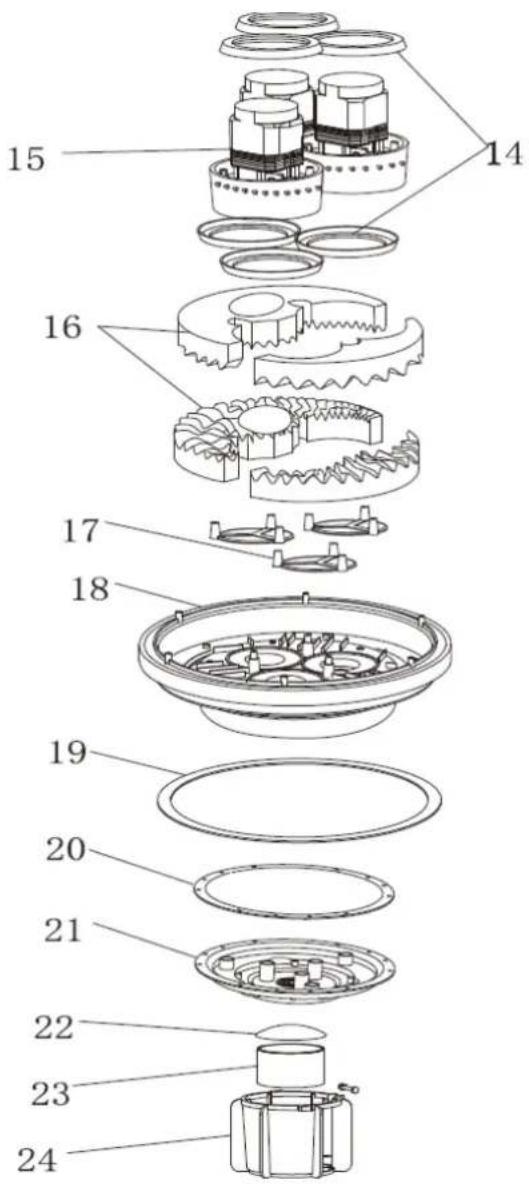
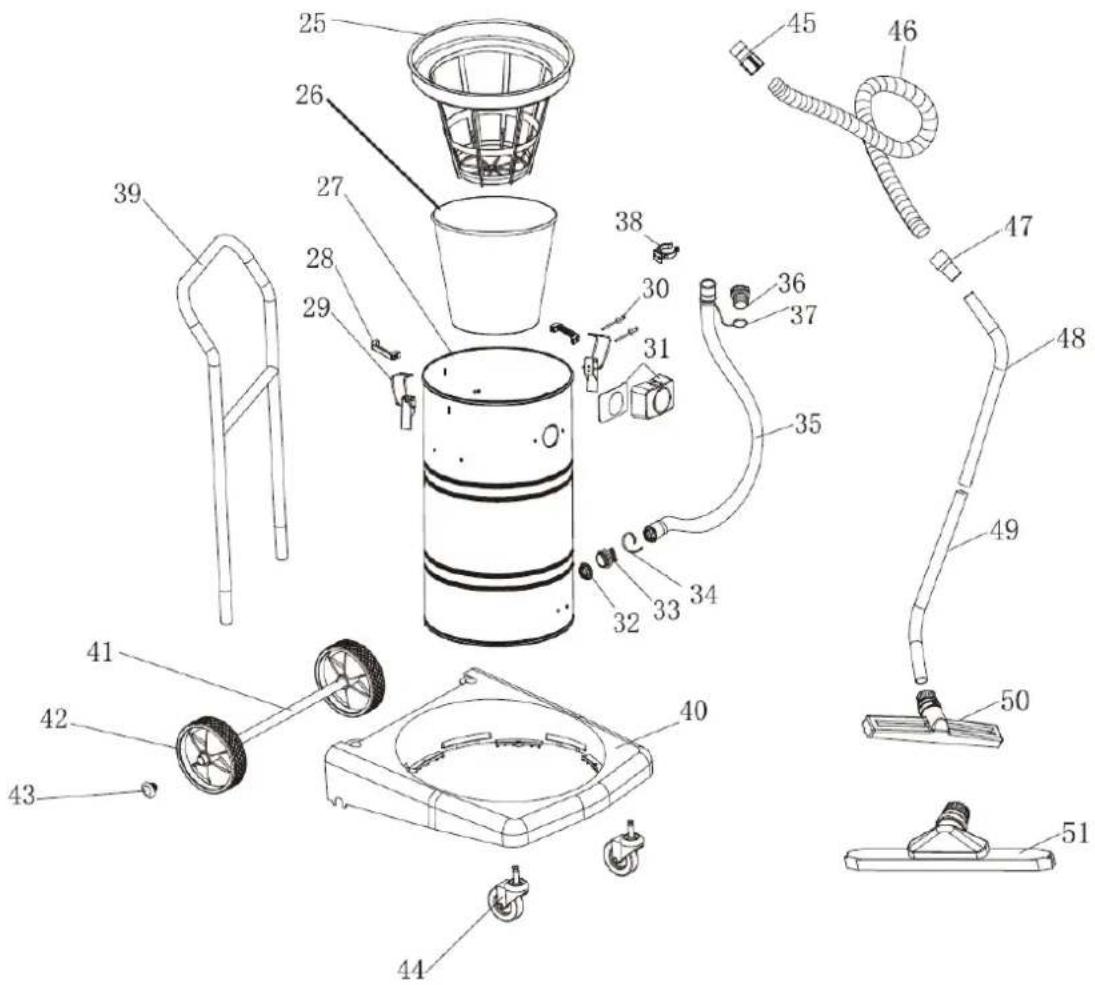
| 1. Håndtak | 2. ∅vre deksel | 3. Strømbryter | 4. Strømkabel |
| 5. Bøssing | 6. Linjeholder | 7. Kretskort | 8. Overflatedekkende svamp |
| 9. Overflatedeksel | 10. Overflatedekseltetning | 11. ∅vre chokesvamp | 12. Motorchoke (svart) |
| 13. Innvendig strupesvamp | 14. Motorforkle | 15. Motor | 16. Base svamp |
| 17. Trekantpute | 18. Motorbase | 19. Base forkle | 20. Holderforsegling |
| 21. Bøyestativholder | 22. Bøyedeksel | 23. Bøye | 24. Bøyestativ |
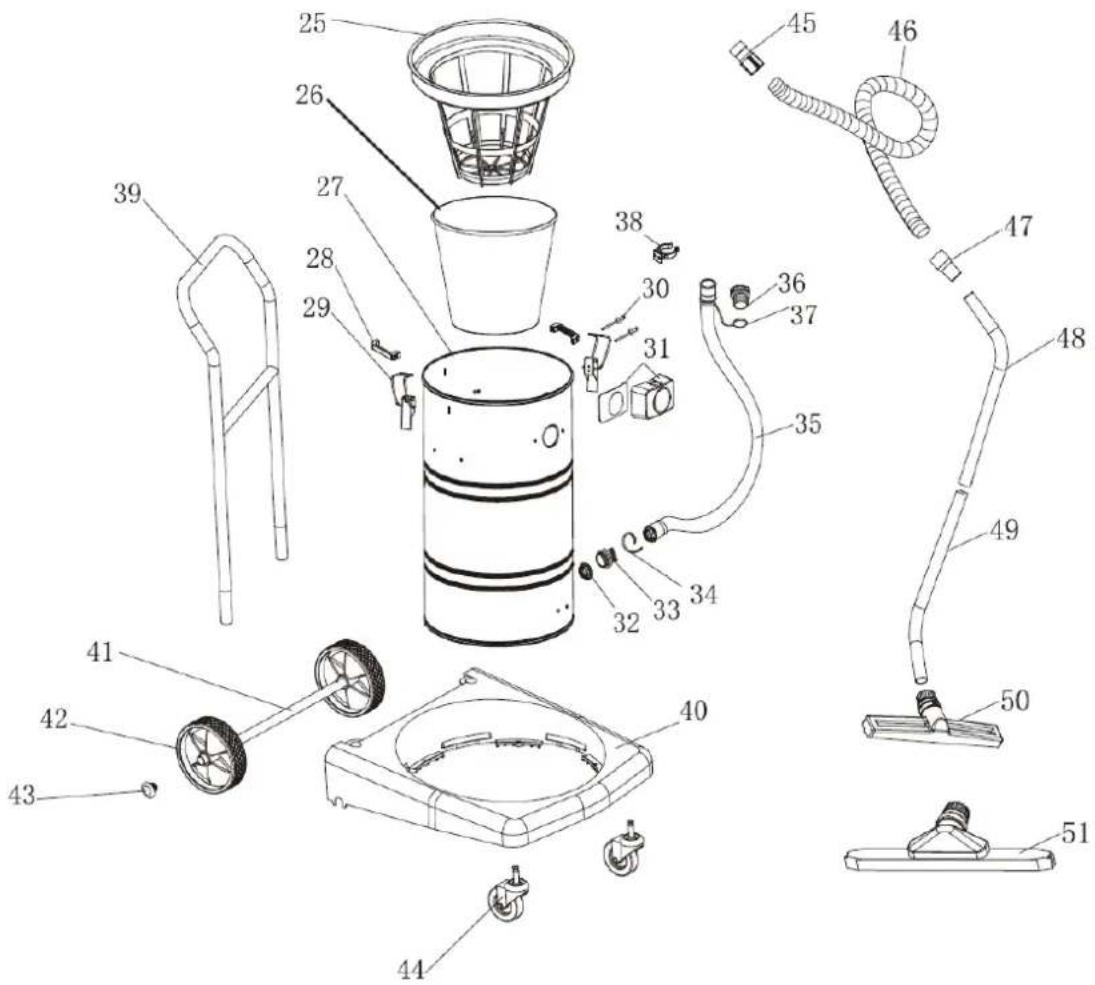
| 25. Klutfilterforkle | 26. Klutfilter | 27. 80 liters tank | 28. Tankhåndtak |
| 29. Tankspenner | 30. Kjerneavtrekksstift | 31. Firkantet koblingsenhet | 32. Dreneringsslangens mutter |
| 33. Avløpsslangekobling | 34. Slangeklemme | 35. Avløpsslange | 36. Dreneringsslangestem pel |
| 37. Avløpsslange doble forklær | 38. Avløpsslangekrok | 39. Armlene | 40. Rammebase |
| 41. Rammeaksel | 42. Stort bakhjul | 43. Akselstopper | 44. Ramme forhjul |
| 45. Kort kontakt | 46. Slange | 47. Lang kontakt | 48. Metallrør A |
| 49. Metallrør B | 50. Tørr dysemontering | 51. Våtdysemonteri |

3
4
5
6
Individual motor switches - selection of 3 power levels (1000/2000/3000 W)
Operating instructions
Operating steps
Figure 1
Figure 2
Figure 3
Figure 4
3
5
4
6
Figure 1
Figure 2
Figure 3
Figure 4
- Part 2. Top cover 3. Switch 4. Power cord
- Socket 6. Line holder 7. Circuit board 8. Sponge
- Cover 10. Cover seal 11. Surface sponge 12. Motor choke (black)
- Sponge 14. Motor apron 15. Motor 16. Base sponge internal choke
- Triangular pad 18. Motor base 19. Base apron 20. Support seal
- Float support 22. Float cover 23. Float 24. Float support
- 26. Filter apron. 27. Cloth filter. 28. 80-liter tank. 29. Tank cloth handles.
- 30. Assembly. 31. Tank buckle assembly. 32. Core extractor pin. 33. Hose connector nut. 34. Hose clamp. 35. Drain hose. 36. Hose piston.
- Drain hose for double aprons.
- Frame axle.
- Short connector.
- Metal tube B.
- Hook for drain hose.
- Large rear wheel.
- Hose
- Dry nozzle assembly
- Elbow rest
- Axle stop
- Long connector
- Wet nozzle assembly
- Frame base
- Front wheel frame
- Metal tube A

3
4
5
6
Figure 1
Figure 2
Figure 3
Figure 4
3
5
2
4
6
Figure 1
Figure 2
Figure 3
Figure 4
3
5
2
4
6
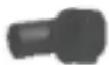
Figure 1
Figure 2
Figure 3
Figure 4
3
4
5
6
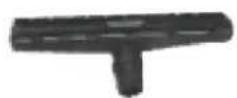
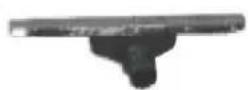
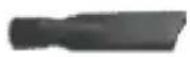
1 Flexible hose 2 Metal pipe A/B 3 Dry floor nozzle 4 Wet floor nozzle 5 Crevice tool 6 Dust brush
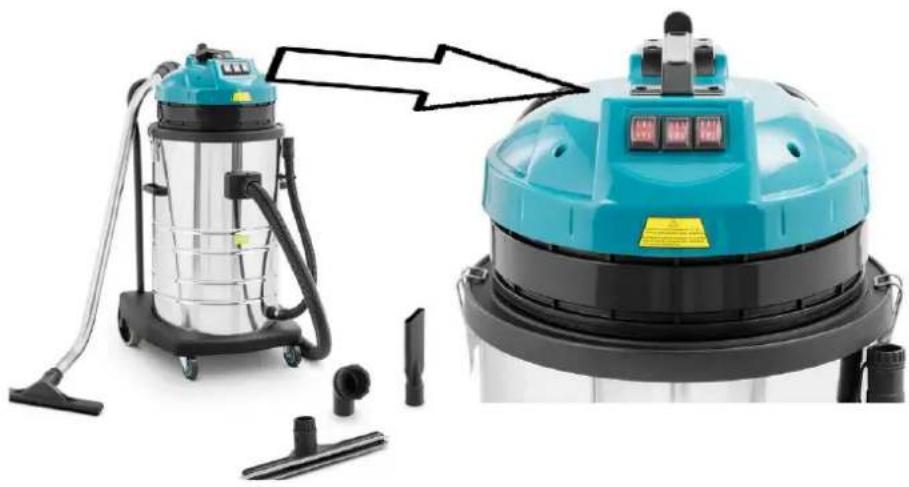
Individual motor switches - selection of 3 power levels (1000/2000/3000 W)
HR
Operating instructions
Work steps
- Attach the accessories according to the cleaning task. For dry vacuuming, the cloth filter must be in place; for wet cleaning, remove the cloth filter. (Figure 1).
Figure 1
Figure 4
- For narrow and rough floors, connect the crevice tool or dust brush directly to the cleaning hose.
Machine diagram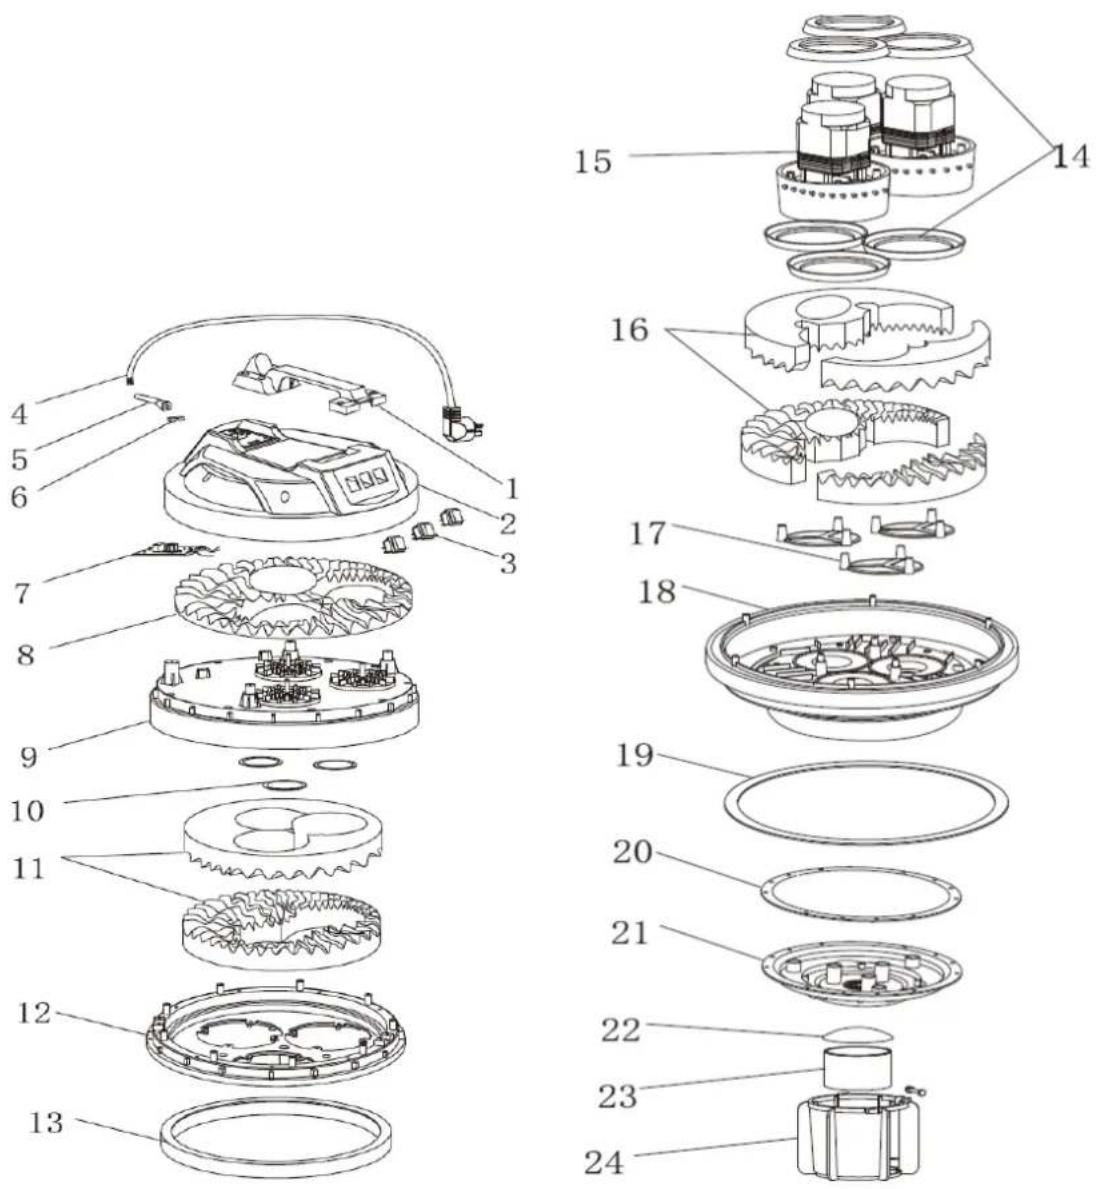
| 1. Ručka5. Čahura | 2. Gornji poklopac6. Držač linije | 3. Prekidač napajanja7. tiskana ploča | 4. Kabel za napajanje8. Spužva zapokrivanjepovršine |
| 9. Površinski pokrov | 10. Površinska brtva poklopca | 11. Gornja spužva zaprigušnicu | 12. Prigušnica motora(crna) |
| 13. Unutarnja spužvaza gušenje | 14. Motorna pregača | 15. Motor | 16. Bazna spužvica |
| 17. Trokutastapodloga | 18. Baza motora | 19. Osnovna pregača | 20. Brtva držača |
| 21. Držač nosačaplutača | 22. Poklopac plutače | 23. Plutača | 24.Stalak za plutače |
| 25. Filtarska pregača od tkanine | 26. Filter od tkanine | 27.Rezervoar 80 litara | 28. Ručke spremnika |
| 29. Sklop kopčispremnika | 30. Zatik za izvlačenjejezgre | 31. Sklop četvrtastog priključka | 32. Matica odvodnogcrijeva |
| 33. Priključakovdvodnog crijeva | 34. Stezaljka za crijevo | 35. Odvodno crijevo | 36. Klip odvodnogcrijeva |
| 37. Dvostruke pregače odvodnog crijeva | 38. Kuka za odvodnocrijevo | 39. Naslon za ruke | 40. Baza okvira |
| 41. Osovina okvira | 42. Veliki stražnjikotač | 43. Stoper osovine | 44. Okvir prednjegkotača |
3
4
5
6
1 pav
2 pav
3 pav
IMPORTANT DECLARATION
3
4
5
6
Figure 1
Figure 2
Figure 3
Figure 4
3
4
5
6
1 Suction hose 2 Hose A/B 3 Nozzle for dry floors 4 Nozzle for wet floors 5 Crevice tool 6 Dust brush
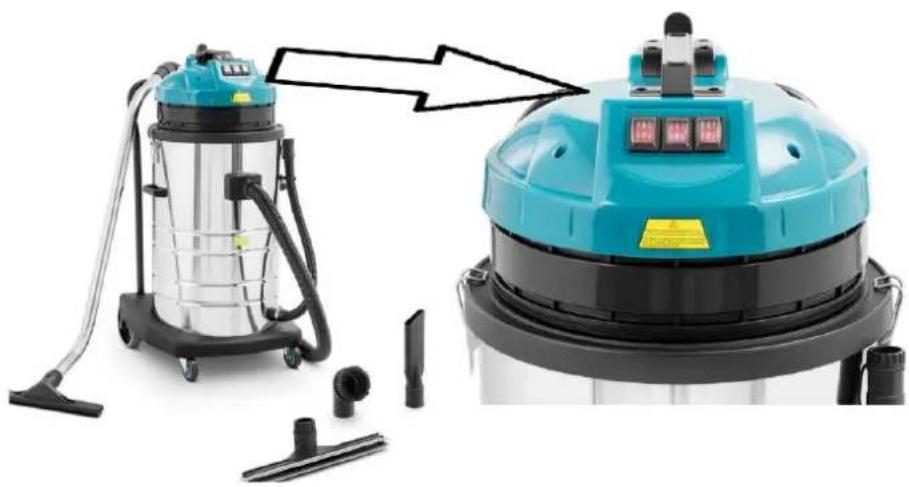
Figure 1
Figure 2
Figure 3
Figure 4
For the disposal of the device, please consider and act according to the national and local rules and regulations.
CONTACT
expondo Polska sp. z o.o. sp. k.

- IMPORTANT STATEMENT
- ATTENTION
- MAINTENANCE INFORMATION
- DAILY MAINTENANCE
- TROUBLESHOOTING BY REGULAR CHECKING
- SAFETY PRECAUTIONS
- PRECAUTIONS BEFORE STARTING THE MACHINE
- PRECAUTIONS WHILE OPERATING THE MACHINE
- ACCESSORIES
- OPERATING INSTRUCTION
- OPERATING STEPS
- OPERATING INSTRUCTIONS
- HR
- WORK STEPS
- FIGURE
- IMPORTANT DECLARATION
- CONTACT
Brand : Ulsonix
Model : Floorclean 80Pro+
Category : Vacuum Cleaner