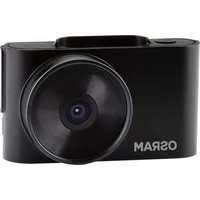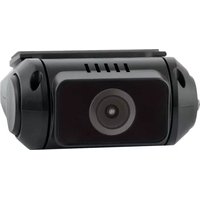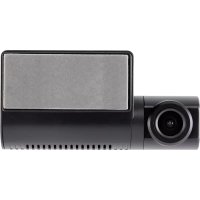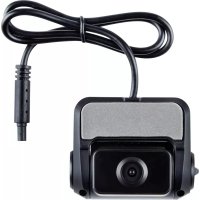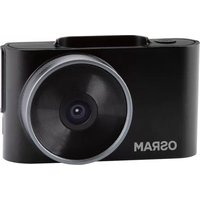
ROADsight 30 - Dashcam Osram - Free user manual and instructions
Find the device manual for free ROADsight 30 Osram in PDF.


User questions about ROADsight 30 Osram
0 question about this device. Answer the ones you know or ask your own.
Ask a new question about this device
Download the instructions for your Dashcam in PDF format for free! Find your manual ROADsight 30 - Osram and take your electronic device back in hand. On this page are published all the documents necessary for the use of your device. ROADsight 30 by Osram.
USER MANUAL ROADsight 30 Osram
Mobile connected Dashcam HD 1080p
English

Deutsch

Français

Espanol

Italiano

Dutch

Polski
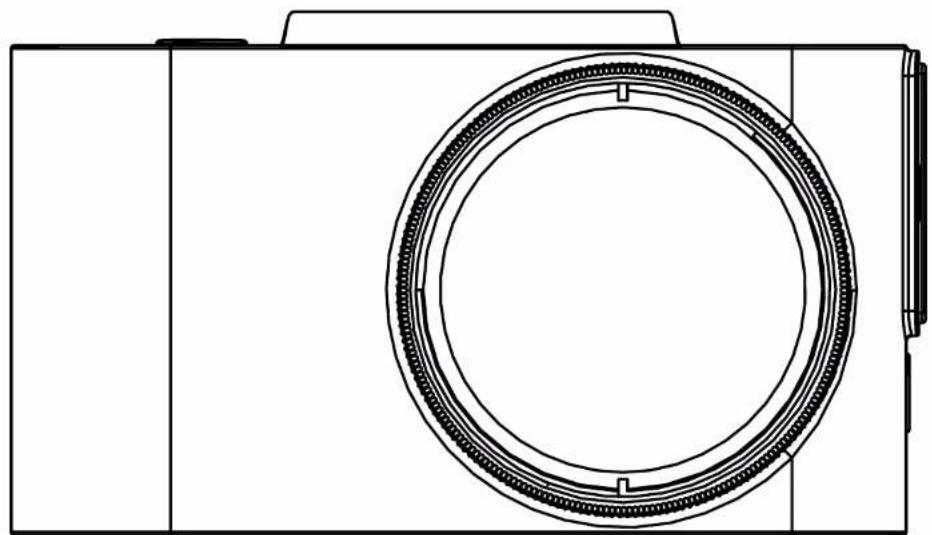
WARNING
1 Individual special requirements and legislation of the countries must be observed, especially concerning the duration of the records/use and the transfer of data. Please make yourself familiar with the data protection laws of your country and ensure that you comply with them. Please also familiarize yourself and comply with the relevant laws and regulations regarding the use and ownership of dash cameras in your country.
DE/AT: Permanent and occasion-free recordings are not permitted, i.e. no recording of the entire route, license plates or strangers (so-called loop function). When recording an event, e.g. an accident, all parties involved must be informed about the recording and about its transfer to the police. No posting of recordings in public media (Internet, social media) without the consent of all persons concerned or only after disguising the persons and license plates. It must be impossible to draw conclusions about persons, e.g. through pictures of the surroundings.
2 The dashcam must not be fitted in a position which obscures the driver's view of the road ahead.
3 Only use the supplied power adapter, otherwise damage may occur to the dashcam. Take care when cleaning the dashcam lens and only use a suitable lens cleaner and a soft cloth. Do NOT expose this product to rain, moisture or water under any circumstances; doing so may result in the risk of electric shock or fire. Do NOT perform servicing other than that contained in the instruction manual, unless you are qualified to do so. When installing in a vehicle, always place the device securely against the windscreen and where possible conceal the power cable under the vehicles interior trim. Make sure that the power cable doesn't interfere with the driver's controls such as the steering wheel, pedals or gear lever. Do NOT mount the dashcam in front of an airbag deployment area or in a position to obscure any interior mirrors. Do NOT operate while driving and only adjust settings or review recordings while not driving.
BEFORE YOU BEGIN
If you haven't already downloaded the app, do so now to get the most from your dashcamera.
1 Download the app by searching for OSRAMconnect in the App Store (iPhone) or Google Play (Android).
2 Open the app, follow the setup process shown and enable all necessary settings when prompted.


OSRAM
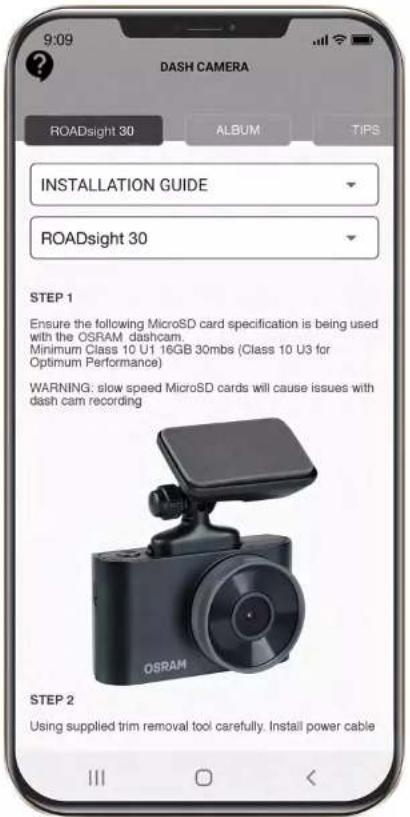
PACKAGE CONTENTS
1 Dashcam
2 Quick Start Guide
3 Magnetic Mount
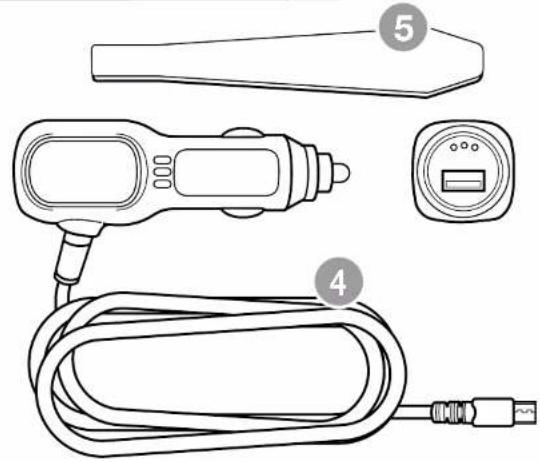
4 USB Charging Cable
5 Trim Removal Tool
6 Window Sticker
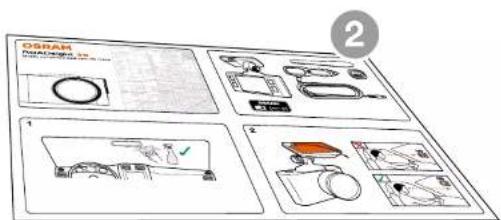
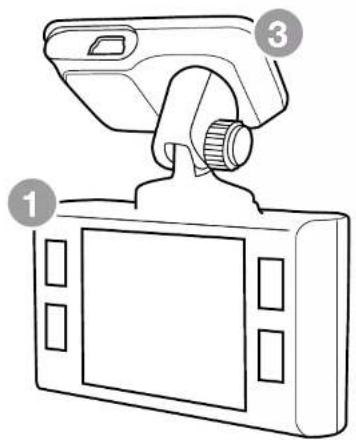


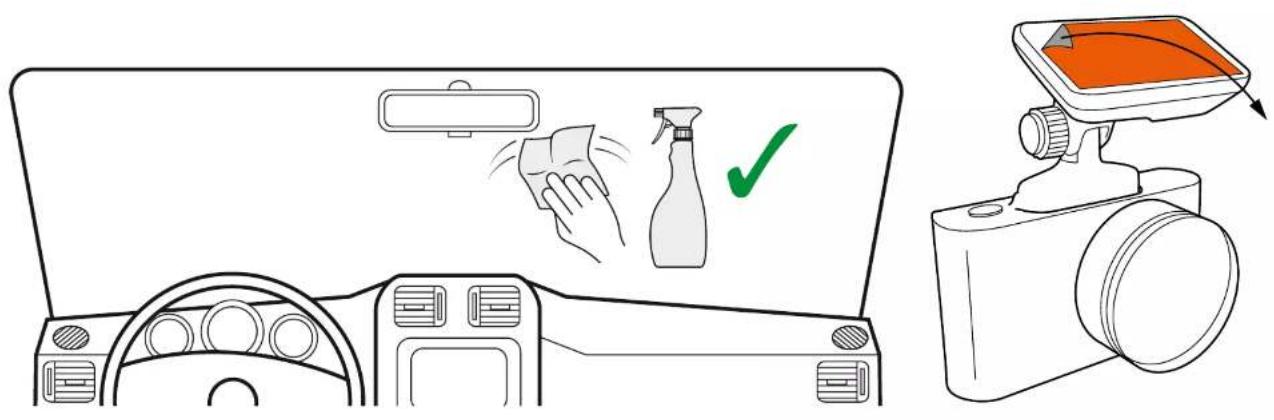
ATTENTION! Choose the installation location in advance, as the adhesive tape on the mount is of single use.
1 Ensure glass is dirt, dust and grease free.
2 Warm adhesive pad part of mount in hands to ensure strong adhesion to glass.
3 Once mount has been positioned connect dash camera to the magnetic mount.
To power the device and charge the battery, use only the power adapter included. Connect the power cable to the mount, and then plug the USB charger into the vehicles 12V power socket.
When the vehicle's engine starts, the device turns on automatically.
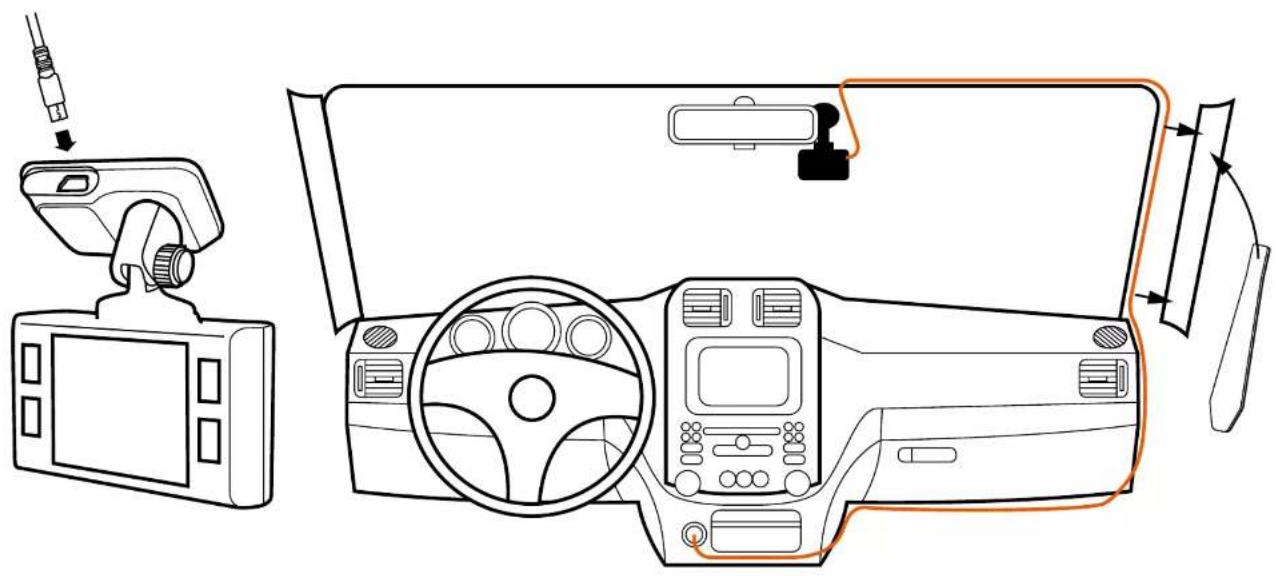
ADJUSTING VIEWING ANGLE

ATTENTION! Adjusting the viewing angle can only be done along the vertical axis, so be sure to position the device correctly on the windshield along the horizontal axis as close as possible to the windshield's center.
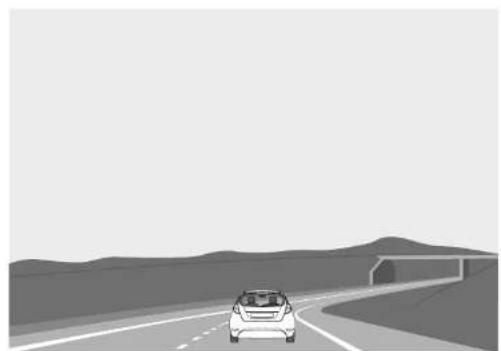
While pulling or pushing the device in the holder, ensure that the camera captures the image in proportions of 30% sky / 70% road.
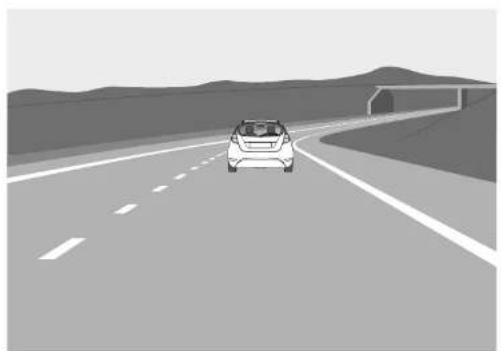
Good Bad
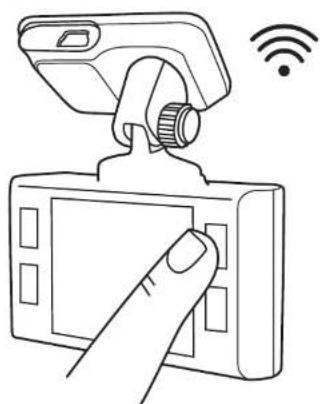
CONNECTING TO MOBILE
1 Hold down power button to switch on dashcamera.
2 Press UP arrow for 3 seconds to open Wi-Fi hotspot details screen.
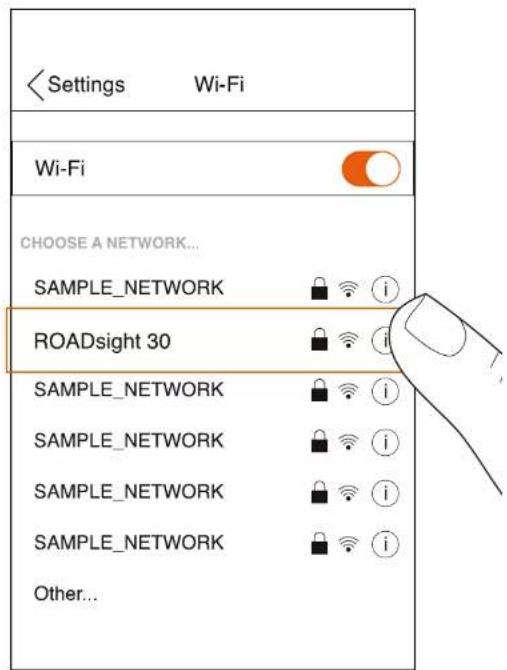
3 Open your phone's Settings.
4 Tap on Wi-Fi or Connections.
5 Select the dashcamera hotspot and enter the password that is displayed on the dashcamera.
6 You are now connected to your device.
CONFIGURATION

Power Button: Press to turn the device on. Press and hold to turn the device off.
Menu Button: Use this button to switch between the video, photo and playback. Press this button during recording to take picture.
Up Button: Press to move up the menu. In the VIDEO and PHOTO mode, press and hold to zoom in; in Playback mode, use to select a file.
Down Button: Press to move down the menu. In the VIDEO and PHOTO mode, press and hold to delete the image (if you used zoom + before); in the Playback mode, press to select a file.
Rec Button: Press to start/stop recording. When in the menu, use to confirm the selected menu item.

Reset Button (on bottom of camera): Press to reboot, if no other button responds.
PHOTO MODE
Stop recording and then press and hold Menu button for 2 seconds to enter Photo Mode. Press Rec to capture image.
PLAYBACK MODE
When in Photo Mode press and hold the Menu button for 2 seconds to enter Playback Mode. Press the Up and Down button to choose video playback or image viewer. Press Ok button to play selected video. Press and hold the Menu button for 2 seconds to exit Playback Mode.
MENU OPTIONS
Stop recording then press Menu key once to enter Menu options and using Up and Down button to set the options, press Rec to confirm.

INSTALLING microSD CARD
1 Before installing a memory card, make sure the device is turned off.
2 Insert the memory card until it clicks into place.
3 Removing a card: press the card slightly and then remove it from the slot.
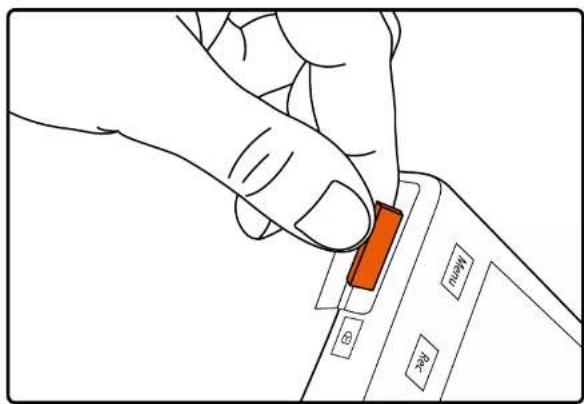

WARNING! Do not apply excessive force when inserting a memory card to avoid damage to the device. If necessary, use a thin pointed device to push the card further. To remove the memory card, push the card until it clicks and remove the card from the slot.
TURING ON/OFF
- When the vehicle ignition is turned ON the dashcam turns on automatically.
To turn the device on manually, press the power button.
To turn the device off press and hold the power button for approx. 3 seconds.

LOOP RECORDING
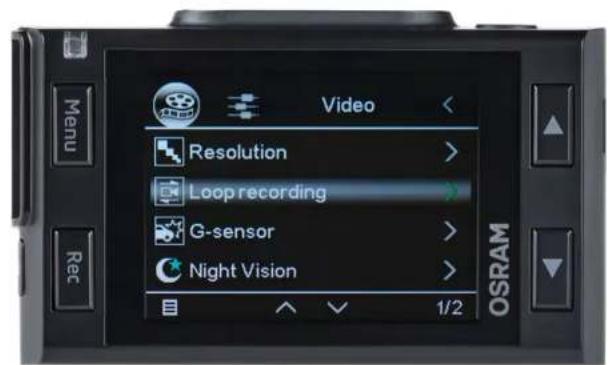
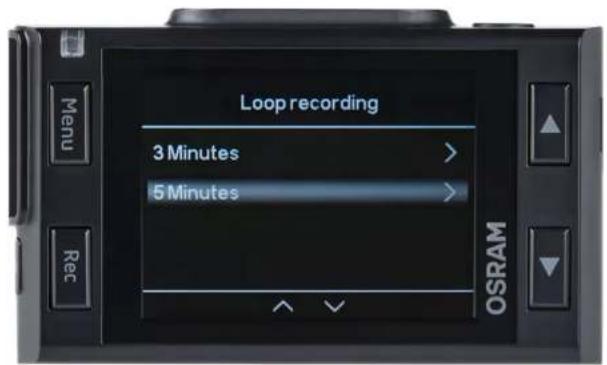
1 Insert the microSD card into the memory card slot; the Loop Recording mode is set to 3 minutes as default.
2 When the memory card storage is full, the device will automatically replace the oldest video file with the newest one; exception is the files protected from deletion.
EMERGENCY RECORDING
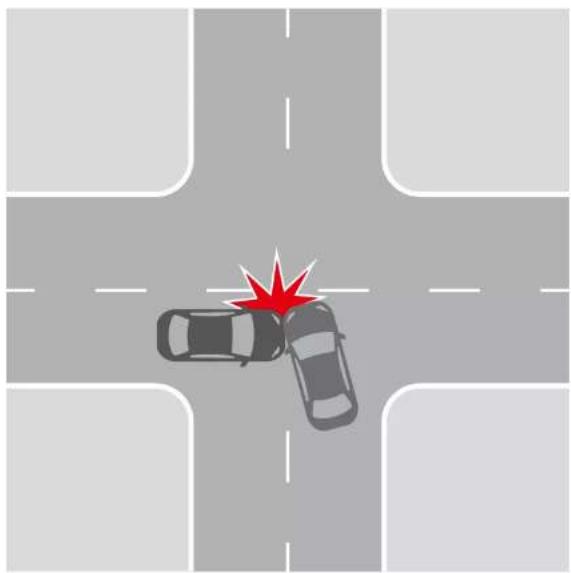
1 Emergency recording is to protect the current video file from being overwritten and deleted.
2 Emergency recording is activated automatically when the G-sensor triggers (sudden acceleration /deceleration), or at point of collision. Emergency recording is locked automatically to avoid erasing during loop recording.
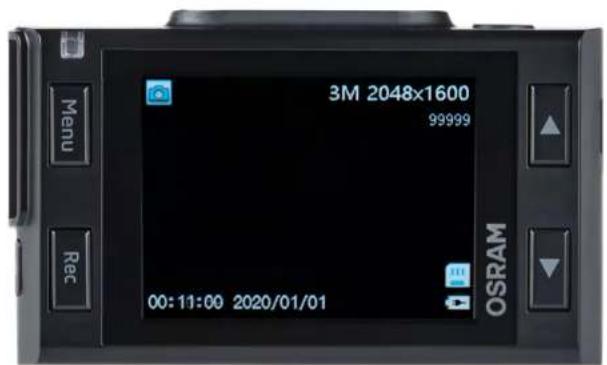
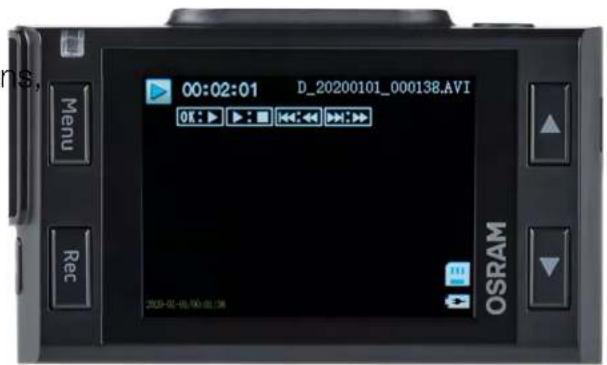
RECORDING PLAYBACK
1Playback (ensure dashcam recording has stopped).
In the standby mode, press and hold the MENU button to switch between Video & Photo.
2 Video & Photo Mode.
- Select the file to view using the Up / Down and Confirm buttons.
Using the Up / Down button select the file you need to view and click the Confirm button to start playback.
DELETE FILES
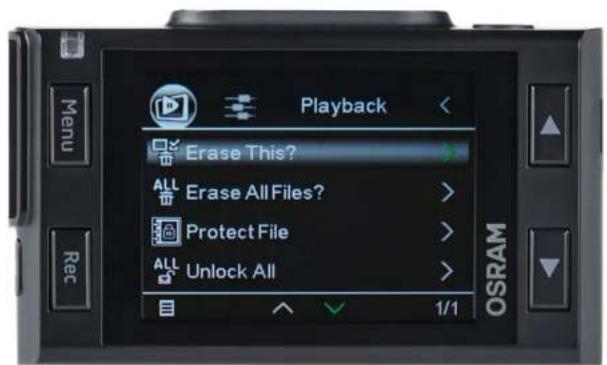
1 Press the Menu button to enter the submenu (ensure dashcam recording has stopped).
2 Use the Up / Down buttons to select Delete and press the Rec button.
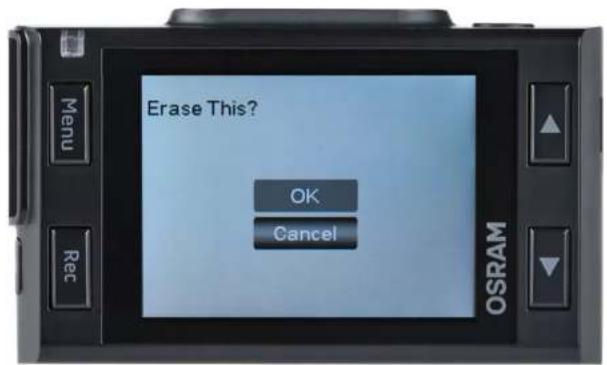
3 Select the option to delete all files / one file, then confirm your choice by following the instructions on the display.

ATTENTION! Locked files can only be deleted when unlocked; to unlock them, use the Lock item of the submenu in the Playback mode. Another way to delete locked files is to format the memory card all data from memory card will be deleted!
WARNING! Deleted files cannot be restored.Backup necessary files before proceeding with deletion.
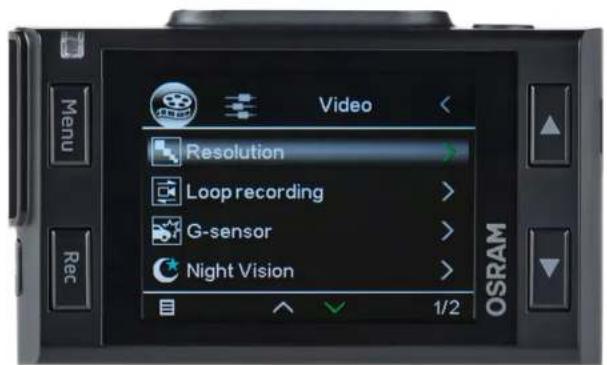
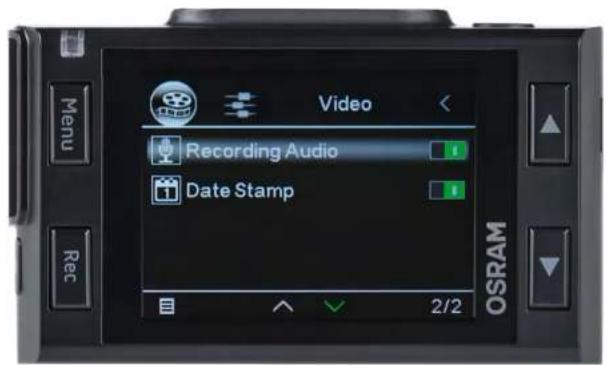
GENERAL SETTINGS
To access General Settings, press the Menu Button once from the Home screen.
Video Resolution: Select required option (the highest option provides the optimum viewing performance).
Loop Recording: 3 or 5 minutes
G-Sensor: OFF/LOW/MEDIUM/HIGH
Night Vision: OFF/ON/AUTO
Recording Audio: OFF/ON
Date Stamp: OFF/ON
ADVANCED SETTINGS
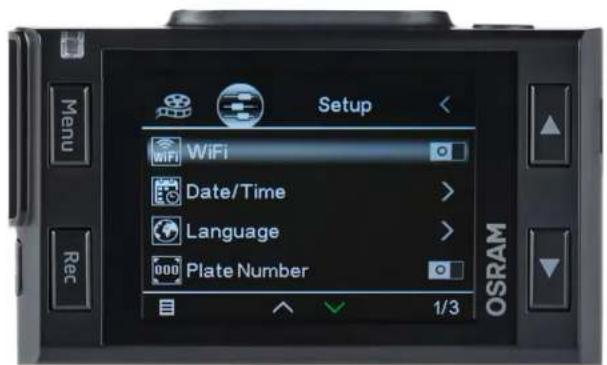
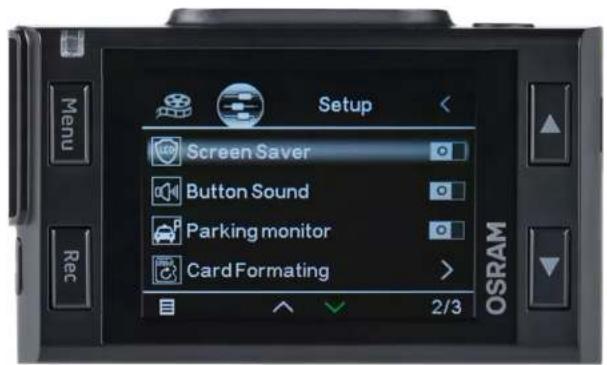
To access Advanced Settings, press the Menu Button twice from the Home screen.
WiFi: OFF/ON
Date/Time: Adjust for correct Date and Time.
Language: Select the preferred menu language from the list.
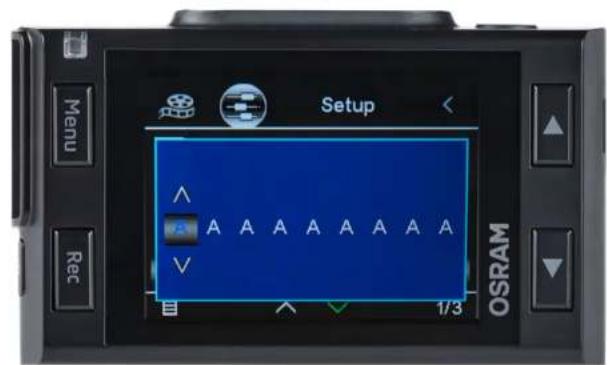
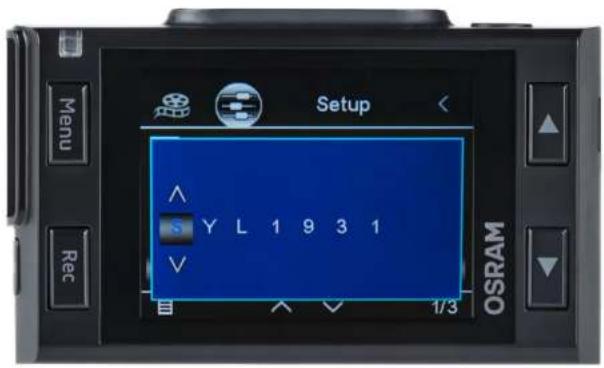
Plate Number: OFF/ON
Screen Saver: OFF/ON
Button Sound: OFF/ON
Parking Monitor: OFF/ON
Card Formatting: Before using camera, format SD card for optimal performance.
ADVANCED SETTINGS
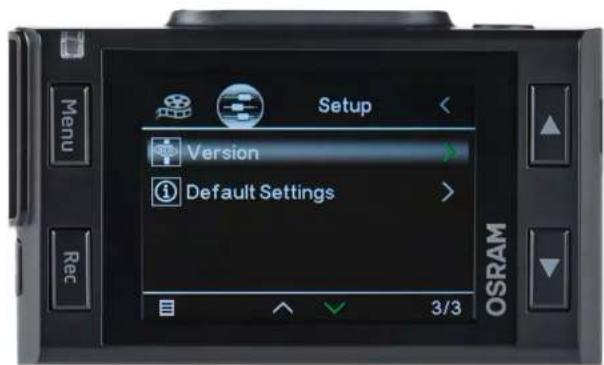
Version: Shows installed firmware version, and where to get updates.
Default Settings: Reset the camera to its original configuration.
LICENSE PLATE
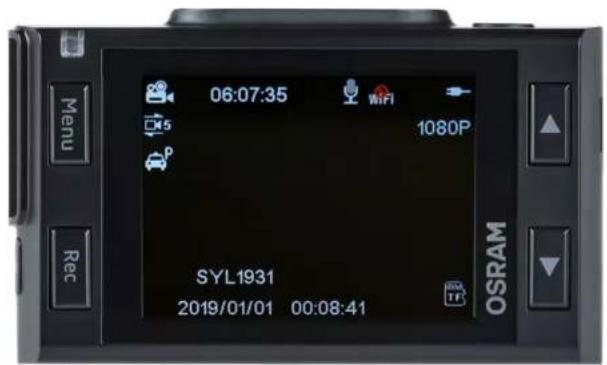
When choosing ON, you will be prompted to enter in your license plate number. The license plate number will display on your recording.
FAQs MENU
In the App:
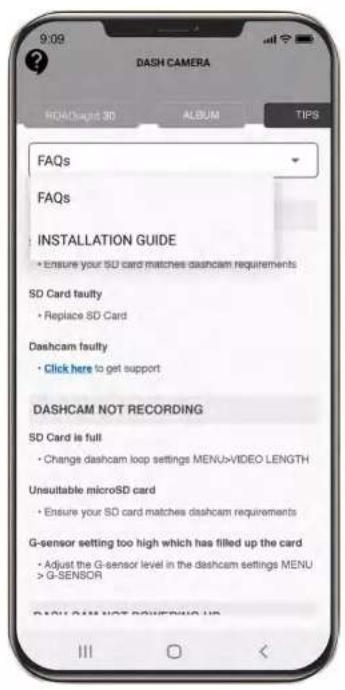
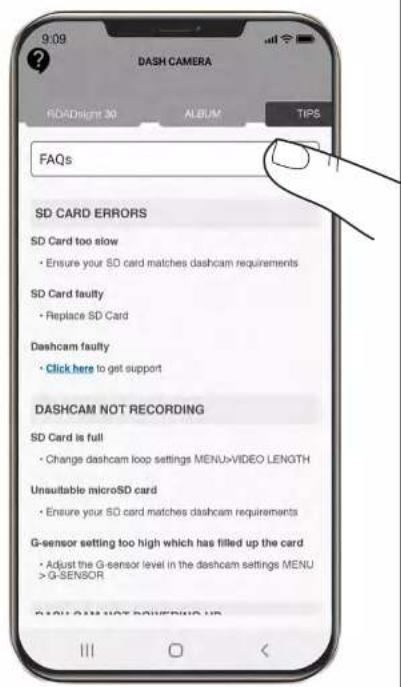
To access the FAQs Menu, press the dropdown menu and select FAQs.
Swipe up or down to view all common frequently asked questions.
Check if there is enough free space on the micro SD card.
RECORDING HAS STOPPED
Too many video files stored. Only use at least class 10 U1 high-speed micro SD cards by proven manufacturers.
When you try to view a photo/play a video file, the "wrong file" message appears.
File writing failure due to micro SD card file system error. Format the micro SD card.
BLURED IMAGE
Ensure removal of lens sticker. Check for dirt on the lens. If there is any, wipe the lens with a soft cloth before use (it is recommended to use special care products for the optics in order not to damage the surface of the lens).
HANG UP (NO IMAGE, NO BUTTON RESPONSE)
Press the RESET button to reboot the device.
MicroSD Card not recognized when used in dashcam ROADsight 30 please format card * **
1 Ensure MicroSD cards is inserted correctly into dashcam
2 Press menu button twice to enter settings menu
3 Using UP and DOWN buttons select the FORMAT option
4 Select YES to FORMAT the MicroSD card
- Format MicroSD card will delete all information and recordings from the MicroSD card
** Dashcam will have a constant beep noise if card is not recognized and needs to be formatted
UPDATING FIRMWARE
1 Download the firmware file at Dashcam Support | OSRAM Automotive and extract the file from the archive onto computer and Unzip.
2 Ensure your MicroSD card has been formatted.
3 Copy Firmware file (.bin) onto your MicroSD card.
4 Insert the MicroSD card with the downloaded file into the dashcam memory card slot.
5 Connect dashcam to a power source and turn it on.
The indicator lights will flash while the firmware is being downloaded to the dashcam.
Upon completion of the process, the dashcam will automatically restart.
8 Format the memory card with the dashcam menu.

ATTENTION! If the memory card is not formatted after the update, the update process will be started again the next time it is turned on.
ATTENTION! Do not turn off the dashcam power during the firmware update.
FEATURES
| ROADsight 50 | 1440p | ≤128GB* | 20HRS** | Wi-Fi | GPS | |
| ROADsight 30 | 1080p | ≤32GB* | 6HRS** | Wi-Fi | ||
| ROADsight 20 | 1080p | ≤32GB* | 3HRS** |
- Full HD at 30 FPS.
** Max record time dependent on screen resolution, memory card size, and rear camera attachment.
POWER REQUIREMENTS

ATTENTION! Once there is no external power input, the battery cannot support recording for a long time, please make sure power supply is connected when recording.
Input voltage: 5V DC, 1.5A
Charging input voltage: 12-24V DC
Mini USB Connection for Power
OPERATING TEMPERATURES (all models)
Storage temperature: -20^ to 70^
Operating temperature: -10^ to 60^
PLEASE RECYCLE YOUR SPENT BATTERIES
Batteries should not be disposed of in unsorted municipal waste, but separately collected to facilitate the correct treatment and recycling of the substances they contain. The recycling of batteries ensures the recovery of these valuable materials and prevents any potentially harmful effects upon both the environment and human health.
OSRAM
ROADsight 30
Mobil verbundene Dashcam HD 1080p
Deutsch
WARNING
Parkmonitor: AUS / EIN