ST-80D - Welding machine Toolcraft - Free user manual and instructions
Find the device manual for free ST-80D Toolcraft in PDF.
Document temporarily unavailable
The manual is currently being transferred to our new server. It will be accessible again in a few hours. Thank you for your patience.
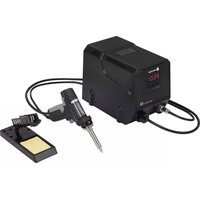
| Brand | Toolcraft |
| Model | ST-80D |
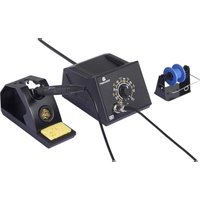
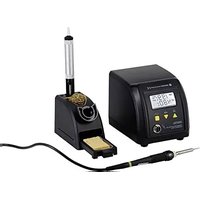
| Product type | Digital soldering station |
| Order number | 1561695 |
| Power supply | 230 V / AC, 50 Hz |
| Max. electrical power | 100 W |
| Soldering iron voltage | 24 V / AC |
| Soldering iron power | 80 W |
| Temperature range | 150 °C to 450 °C (adjustable) |
| Heating time (25 °C to 450 °C) | 80 s |
| Potential equalization / ESD connection | Connector diameter Ø 4 mm |
| Fuse type | 5 x 20 mm |
| Fuse value | 250 V, 630 mA, time-lag |
| Station weight | 2 030 g |
| Soldering iron cord length | approx. 100 cm |
| Station dimensions (L x H x D) | 178 x 99 x 122 mm |
| Iron holder dimensions (L x H x D) | 158 x 85 x 71 mm |
| Package contents | Station, soldering iron, holder, removable tip, wet sponge, dry sponge (brass wool), power cord, instruction manual |
| Main functions | Temperature control, 3 programmable PRESET buttons, temperature correction, calibration |
| Maintenance and cleaning | Clean with a dry, lint-free cloth; replace tip and sponge if necessary; no harsh chemicals |
| Fuse replacement | Yes, with a fuse of the same type and rating |
| Protection class | II |
| Intended use | Electronic soldering with lead, lead-free, or silver solder wire |
| Warranty | Warranty void if safety instructions are not followed |
Frequently Asked Questions - ST-80D Toolcraft
User questions about ST-80D Toolcraft
0 question about this device. Answer the ones you know or ask your own.
Ask a new question about this device
Download the instructions for your Welding machine in PDF format for free! Find your manual ST-80D - Toolcraft and take your electronic device back in hand. On this page are published all the documents necessary for the use of your device. ST-80D by Toolcraft.