
300 ICA6 - Home Theater System FOCAL - Free user manual and instructions
Find the device manual for free 300 ICA6 FOCAL in PDF.

| Product type | In-ceiling coaxial 2-way speaker |
| Brand | Focal |
| Model | 300 ICA6 |
| Category | Home theater system – In-wall/in-ceiling speaker |
| Drivers | 6.5" (16.5 cm) Flax mid/bass driver; 1" (25 mm) Al/Mg inverted dome tweeter |
| Sensitivity | 89.5 dB (2.83 V/1 m) |
| Frequency response | 65 Hz – 28 kHz (+/- 3 dB) |
| Low frequency cut-off | 45 Hz (-6 dB) |
| Nominal impedance | 8 Ohms |
| Minimum impedance | 4.8 Ohms |
| Recommended amplifier power | 25 – 130 W |
| Dimensions (diameter x depth) | 299 x 127 mm |
| Cut-out diameter | 264 mm |
| Mounting depth | 146 mm |
| Net weight (with grille) | 3 kg |
| Total weight in box | 5.3 kg |
| Box dimensions | 37.5 x 37.5 x 34 cm |
| Tweeter adjustment | 3-position HF switch: -3 dB, 0 dB, +3 dB |
| Tweeter orientation | Pivoting ±20° and rotating 360° |
| Filter type | Optimized Phase Crossover OPC® |
| Use in humid environments | Yes (bathroom, kitchen) |
| Mounting | Tool-free mounting frame, rotating fixing tabs |
| Grille | Magnetic, round and square included |
| Supplied accessories | Mounting frame, grilles, protective mask, cutting template, QuickStart guide |
| Maintenance | Dust with a dry or damp cloth; do not use solvents |
| Painting | Paintratable grille; protective mask provided for wall/ceiling painting |
Frequently Asked Questions - 300 ICA6 FOCAL
User questions about 300 ICA6 FOCAL
0 question about this device. Answer the ones you know or ask your own.
Ask a new question about this device
Download the instructions for your Home Theater System in PDF format for free! Find your manual 300 ICA6 - FOCAL and take your electronic device back in hand. On this page are published all the documents necessary for the use of your device. 300 ICA6 by FOCAL.
USER MANUAL 300 ICA6 FOCAL
natural_image
Technical diagram of a mechanical assembly with rotating components and directional arrows (no text or labels)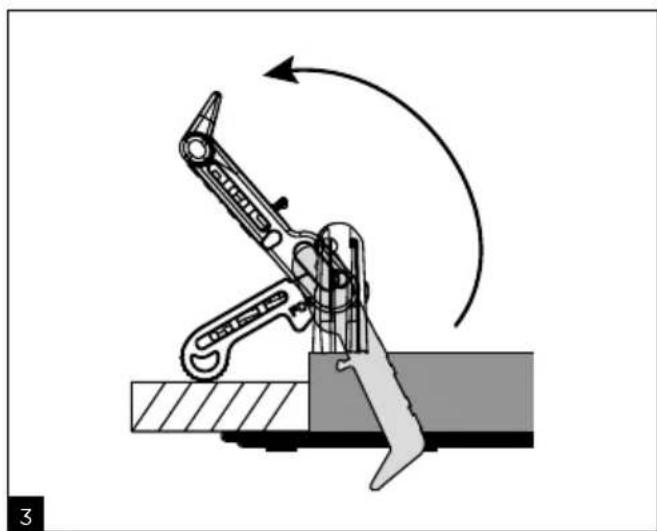
natural_image
Mechanical assembly diagram showing a lever mechanism with motion arrows (no text or symbols)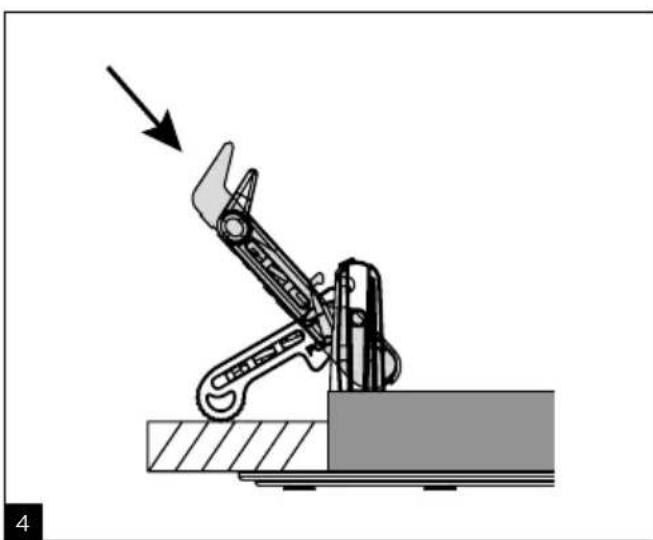
natural_image
Mechanical robotic arm performing a press or lifting operation, with an arrow indicating force direction (no text or symbols present)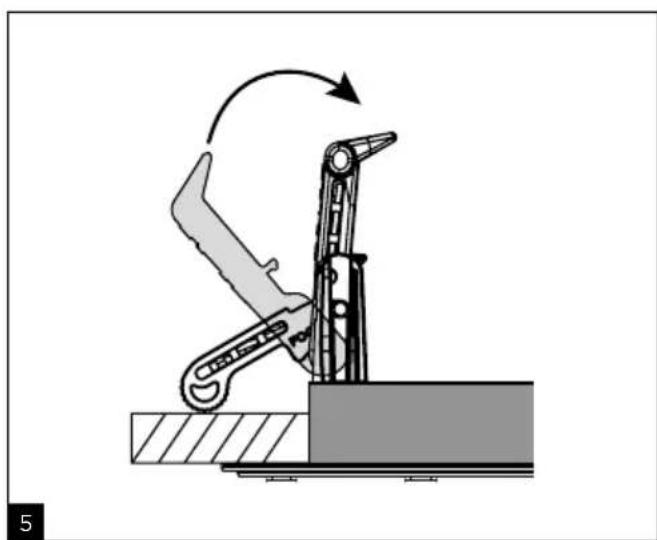
natural_image
Mechanical robotic arm diagram showing a lever mechanism with motion arrow (no text or symbols)300 SERIES
natural_image
Technical line drawing of a mechanical assembly with two circular components and internal components (no text or symbols)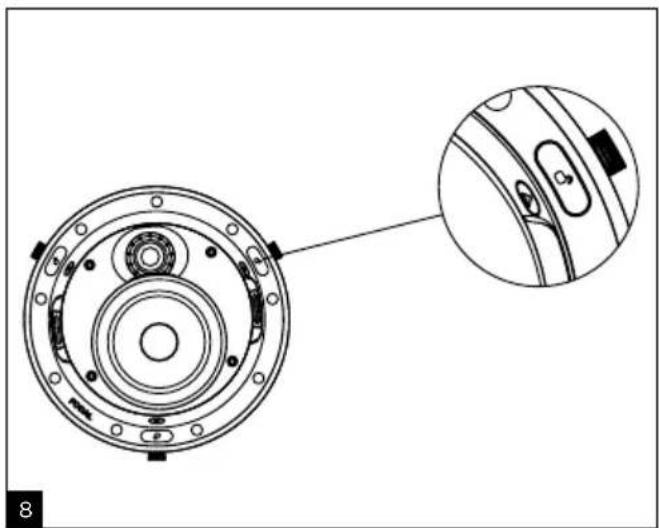
natural_image
Technical diagram of a mechanical component with concentric rings and mounting holes, showing a close-up detail (no text or symbols)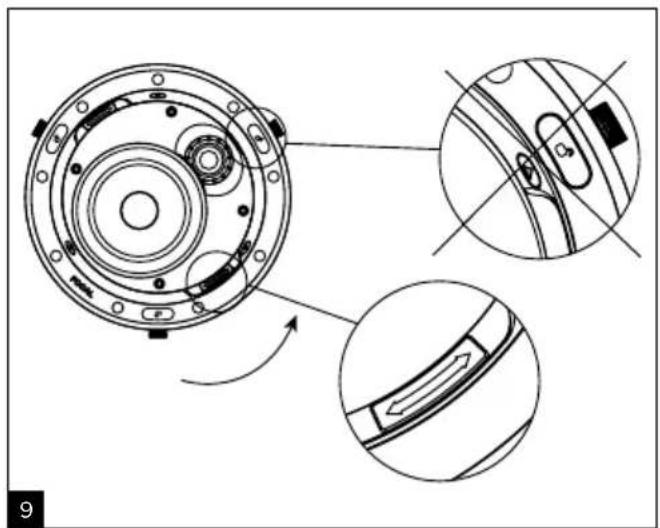
natural_image
Technical diagram of a mechanical component with three views: top view, side view, and close-up (no text or symbols)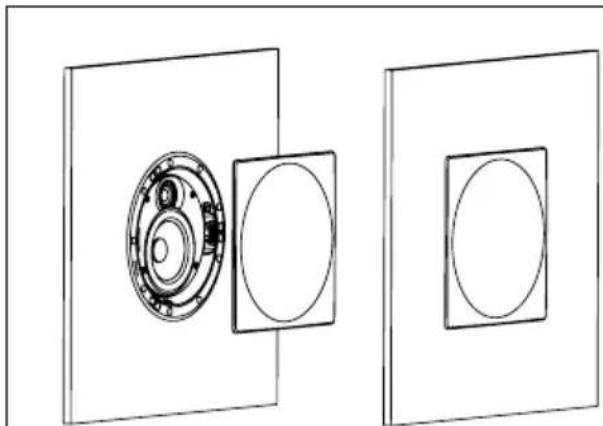
natural_image
Technical line drawing of a mechanical assembly with circular components and a bearing housing (no text or symbols)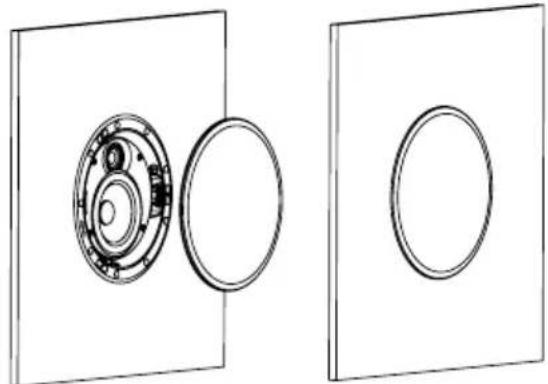
natural_image
Technical line drawing showing two views of a mechanical assembly with circular components and central fasteners (no text or symbols)300 SERIES
natural_image
Diagram showing three identical mechanical components with rotating parts, no text or symbols present300 SERIES

natural_image
Technical line drawing showing two views of a spray gun on a circular component, no text or symbols present300 ICW4 300 ICW6 300 ICW8 300 ICA6
natural_image
Technical line drawing of a mechanical component with concentric rings and mounting holes (no text or symbols)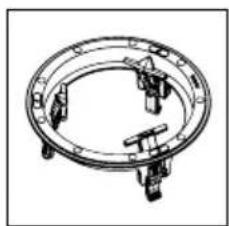
natural_image
Technical line drawing of a circular mechanical component with four protrusions (no text or symbols)
natural_image
Simple oval shape with no text or symbols
natural_image
Simple line drawing of a rectangular frame with an oval inside (no text or symbols)
natural_image
Technical drawing of a circular mechanical component with concentric rings and mounting holes (no text or symbols)
Please validate your Focal-JMIab warranty, it is now possible to register your product online: www.focal.com/warranty

Package contents
- 1 x loudspeaker from the 300 Series range
- 1 x mounting frame
- 1 x circular grille
- 1 x square grille
- 1 x protective screen to use when painting walls/ceilings
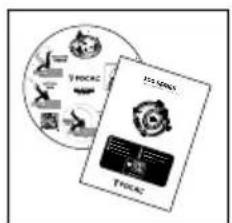
- 1 x QuickStart
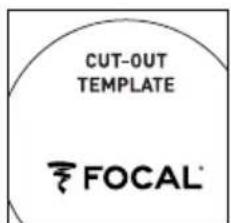
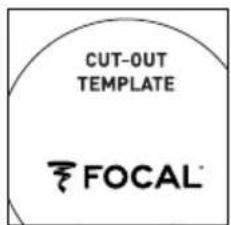
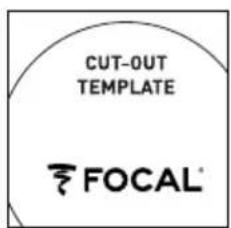
- 1 x cut-out template
natural_image
Technical line drawing of a mechanical component with concentric rings and mounting holes (no text or symbols)
natural_image
Technical line drawing of a circular mechanical component with mounting holes and internal brackets (no text or symbols)
natural_image
Simple oval shape with a thin inner ring, no text or symbols present.
natural_image
Simple line drawing of a rectangle with an oval inside, no text or symbols present.
natural_image
Technical drawing of a circular mechanical component with flanges and central bore (no text or symbols)
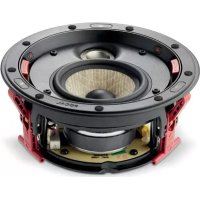
Aluminum/Magnesium alloy inverted dome TNV2 tweeter: the tweeter developed for these products uses Focal's exclusive inverted dome technology, allowing for optimal energy transfer and limited directivity. The dome's Aluminum/Magnesium alloy guarantees outstanding stiffness and damping to provide a soft and dynamic treble.
Flax speaker driver cones: all the speaker driver cones of the 300 Series range are made using Flax sandwich technology. Flax is an eco-textile with astounding structural properties: it is light, rigid and well damped for providing greater neutrality of the timbre and better definition.
Magnetically attached protective grille: easy to fit and improved integration.
OPC® (Optimum Phase Crossover): optimisation of the phase for a more accurate, a more stable and a more natural sound image.
Usable in humid environments: resistant to humidity, the loudspeakers can be installed in bathrooms, kitchens...
Optional mounting kit.
Breaking-in your loudspeakers
The speaker drivers used in the Integration 300 Series loudspeakers are complex mechanical assemblies which need a break-in period to operate at their best and to become acclimatised to the temperature and humidity of your environment. This break-in period varies depending on the conditions in question and may take several weeks. To reduce this time, we recommend operating your loudspeakers for about 20 consecutive hours. Once the loudspeakers' characteristics have totally stabilised you will be able to enjoy your Integration 300 Series loudspeakers' performance to the full.
Pre-installation wiring
You can only install your loudspeakers once you have wired them up. Make sure you leave enough room to allow you to wire up your loudspeakers with ease (approximately 20"/50cm). We recommend using a cable with a marker in order to ensure the polarities of the speaker drivers are respected (+/-). Choose good quality cables with a cross-section appropriate to their length: your retailer will be able to advise you.
Choosing an amplifier
It is not an excess of amplifier power that can damage your loudspeakers and drivers but a lack of power. Moreover, if the volume is turned too high, the amplifier saturates and generates parasite signals that may destroy the tweeter. The dynamic capacity and definition of Integration 300 Series loudspeakers are high enough to reveal the strengths and weaknesses of whatever amplifier is connected. Your retailer will be able to guide your choice to suit your tastes and budget.
Installation
Existing installation
- Before installing your loudspeakers, make sure that there is nothing obstructing the ceiling/wall, such as air vents, and make sure that no cables will interfere with the installation. Use the appropriate tools to help you determine the correct location.
- Make sure there is enough space to install your product in the ceiling/wall.
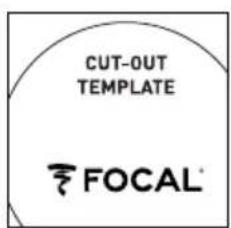
- Trace the supplied cut-out template on the ceiling/wall. Cut along the trace using an appropriate tool to make a circular hole in the ceiling/wall (fig. A).
New installation
- Use the specific optional mounting kit
- Wire the loudspeakers before carrying out the installation
Conditions of guarantee
All Focal loudspeakers are covered by guarantee drawn up by the official Focal distributor in your country.
Your distributor can provide all details concerning the conditions of guarantee. Guarantee cover extends at least to that granted by the legal guarantee in force in the country where the original purchase invoice was issued.

Mounting the loudspeaker
300 Series products include a mounting frame, a loudspeaker and both circular and square magnetic grilles. No tools are required to mount the loudspeakers of the 300 Series range.
- Pivot the mounting bracket until it clips onto the mounting frame so that the mounting frame can be pushed through the opening (fig. 1).
- With one hand, insert the mounting frame into the opening in the ceiling/wall, making sure it rests flush against the ceiling/wall (fig. 2).
- To fasten the mounting frame to the ceiling/wall, insert your other hand into the opening, and use two fingers to pivot the mounting bracket to the opposite side to its initial position (fig. 3)
-
Push the mounting bracket down until it reaches the stop (fig. 4).
-
Finally, release the mounting bracket making sure it is securely in place. Also make sure the mounting bracket isn't resting on the loudspeaker cable (fig. 5).
Note 1: repeat the operation for the other mounting brackets.
Note 2: to unlock the mounting bracket: use two fingers to pivot the mounting bracket towards the outside, pull upwards and release.
-
Connect the previously stripped loudspeaker wires to the spring loaded terminals on the loudspeaker. It is essential to connect the loudspeakers respecting the correct polarity: the cable connected to the "+" terminal on the amplifier must be connected to the red terminal on the loudspeaker. Likewise, the cable connected to the "-" terminal on the amplifier must be connected to the black terminal on the loudspeaker. Stereo image and bass perception would be seriously compromised if these conditions were not respected (fig. 6).
-
The loudspeakers are now ready to be assembled to the mounting frame. In order to do this, position the red arrows on the loudspeaker in line with the open padlocks on the mounting frame (fig. 8).
Note: if you plan to use your product as in-ceiling loudspeakers, the loudspeaker can be securely fastened to the ceiling using a safety sling (not supplied) which fastens to the hook on the rear of the product (fig. 6).
-
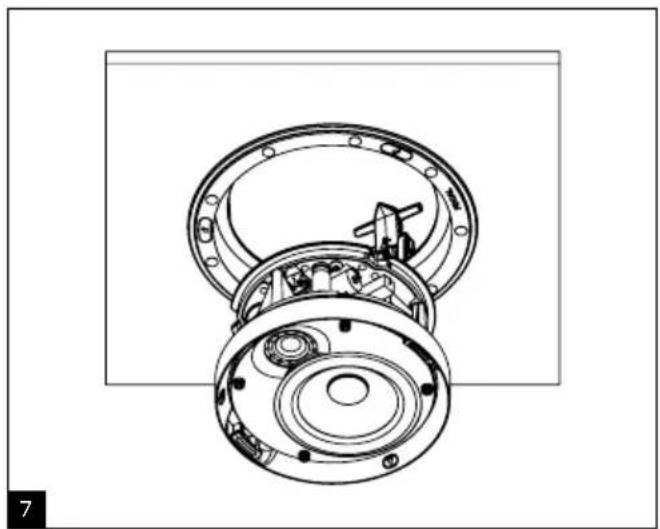
Insert the loudspeaker into the mounting frame (fig. 7) until the stop, then pivot the loudspeaker using the red handles so that the markers are positioned between two open padlocks (fig. 9).
-
The circular or square grilles can now be mounted to the loudspeaker. The grille is held to the mounting frame magnetically, all you need to do is simply line them up (fig. 10).
-
300 ICA6 loudspeakers have a red positioning arrow on their mounting frame. This arrow is used to point to the final listening position when installing the product (fig. 11).
Setting the tweeter (300 ICW6, 300 ICA6, 300 ICW8)
The tweeter can be set using the switch at the rear of the loudspeaker as shown in the diagram (fig. B).
Orienting the tweeter (300 ICW6, 300 ICA6, 300 ICW8)
The tweeter can be tilted +/- 20° and can be pivoted 360°: direct the tweeter towards the listening area for maximum precision of the treble and of the stereo image (fig. C).
In-wall position of the main loudspeakers.
Your Integration 300 Series loudspeakers have been designed to deliver the most faithful sound reproduction, whether they are used for stereo music or home cinema. Nonetheless, some simple rules should be followed to optimise their performance and to guarantee good tonal balance and a realistic sound image. The loudspeakers should be positioned symmetrically, facing the listening area, ideally forming an equilateral triangle with it.
However, it is possible to vary these distances to find an ideal compromise according to the particular disposition of the room (fig. D).
The loudspeakers should be positioned at the same height, in the same horizontal plane. Ideally, the tweeter should be positioned at the same height as the listener's ears when in the normal listening area (fig. E).
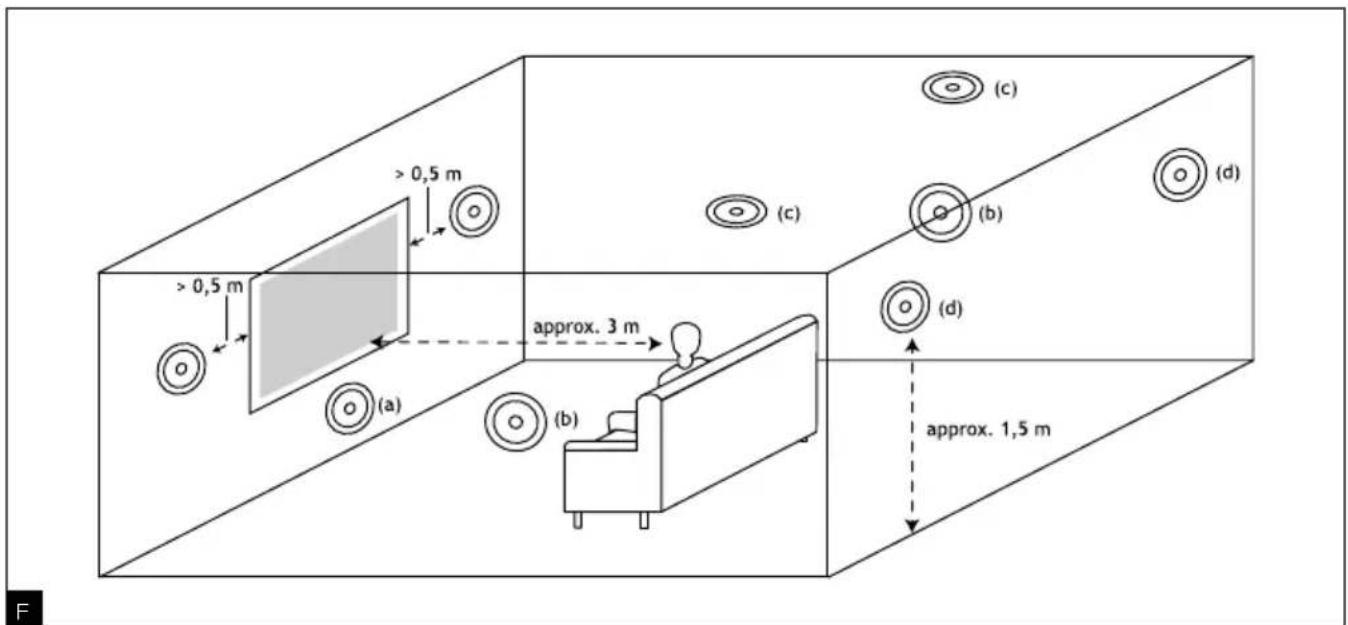
Position of surround and central loudspeakers
The sophistication of film soundtracks means that a very broad range of surround-sound effects can be achieved nowadays. The choice of positioning for surround-sound loudspeakers is crucial for achieving a realistic 3D sound-space. The aim is to apply some basic rules to achieve sounds that are sufficiently diffused and difficult to locate (fig. F).
The centre loudspeaker must be positioned near the screen for realistic reproduction of dialogue (fig. Fa). If you're using a micro-perforated projection screen (acoustically transparent), you can consider placing a centre loudspeaker behind it.
If you plan to use the products from the 300 Series range as in-wall loudspeakers, place the surround loudspeakers high enough up, above the listeners' ears. Do not place surround-sound loudspeakers too far behind the listening area, as this degrades sound perception. Aim for a placement along the side walls, on either side of the listening area or ever so slightly behind the listening area to achieve more enveloping sound effects (fig. Fb, Fd).
If you plan to use the products from the 300 Series range as in-ceiling loudspeakers, place them far enough apart on each side of the listening area, or ever so slightly behind the listening area (fig. Fc).
For 6.1 or 7.1 surround-sound systems, you can use a combination of loudspeakers from the 300 Series as both in-wall or in-ceiling loudspeakers.
Special precautions
The only maintenance required for the Integration 300 Series loudspeakers is dusting with a dry cloth. If the loudspeaker is dirty, we recommend simply cleaning it with a damp cloth.
Never use solvents, detergents, alcohol-based or corrosive products, scrapers or scourers to clean the loudspeaker surface. Keep the loudspeakers away from sources of heat.
Painting
If you wish to do so, you can paint the grilles of your products so they blend in with your interior. We recommend first removing the grille from the product and then painting it using a paint spraying device. You can use the same type of paint as the wall paint (fig. G).
If you want to paint the ceiling/wall without removing your 300 Series product, we have supplied a protective screen.
The screen fastens to the mounting frame magnetically (fig. G).
natural_image
Technical line drawing of a mechanical component with concentric rings and mounting holes (no text or symbols)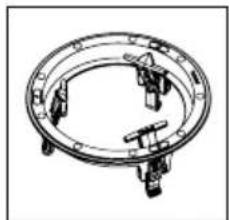
natural_image
Technical line drawing of a circular mechanical component with four protrusions (no text or symbols)
natural_image
Simple oval shape with no text or symbols
natural_image
Simple line drawing of a rectangular frame with an oval inside (no text or symbols)
natural_image
Technical drawing of a circular mechanical component with flanged ends and central bore (no text or symbols)
natural_image
Technical line drawing of a mechanical component with concentric rings and mounting holes (no text or symbols)
natural_image
Technical line drawing of a circular mechanical component with mounting holes and internal brackets (no text or symbols)
natural_image
Simple oval shape with concentric rings, no text or symbols present
natural_image
Simple line drawing of a rectangular frame enclosing an oval (no text or symbols)
natural_image
Technical drawing of a circular mechanical component with mounting holes and central bore (no text or symbols)

natural_image
Technical line drawing of a mechanical component with concentric rings and mounting holes (no text or symbols)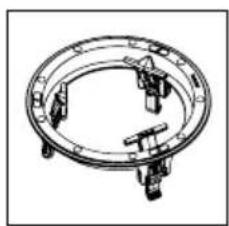
natural_image
Technical line drawing of a circular mechanical component with mounting holes and internal brackets (no text or symbols)
natural_image
Simple oval shape with concentric rings, no text or symbols present
natural_image
Simple line drawing of a rectangular frame enclosing an oval (no text or symbols)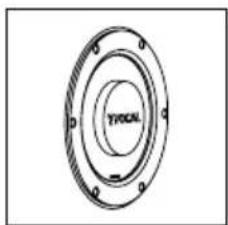
natural_image
Technical drawing of a circular mechanical component with flanges and central bore (no text or symbols)

natural_image
Technical line drawing of a mechanical component with concentric rings and mounting holes (no text or symbols)
natural_image
Technical line drawing of a circular mechanical component with four protruding pins (no text or symbols)
natural_image
Simple oval shape with no text or symbols inside, centered on a white background (no text or symbols)
natural_image
Simple line drawing of a square frame with an oval inside (no text or symbols)
natural_image
Technical drawing of a circular mechanical component with concentric rings and mounting holes (no text or symbols)


natural_image
Technical line drawing of a mechanical component with concentric rings and mounting holes (no text or symbols)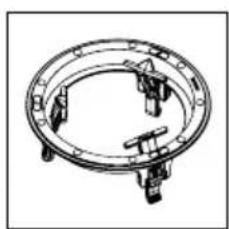
natural_image
Technical line drawing of a circular mechanical component with four protrusions (no text or symbols)
natural_image
Simple oval shape with no text, numbers, or symbols
natural_image
Simple line drawing of a square frame with an oval inside (no text or symbols)
natural_image
Technical drawing of a circular mechanical component with flanges and mounting holes (no text or symbols)

natural_image
Technical line drawing of a mechanical component with concentric rings and mounting holes (no text or symbols)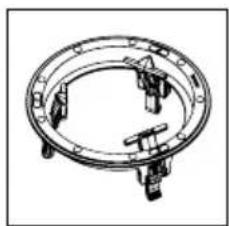
natural_image
Technical line drawing of a circular mechanical component with four protrusions (no text or symbols)
natural_image
Simple oval shape with concentric rings, no text or symbols present
natural_image
Simple line drawing of an oval enclosed in a square frame (no text or symbols)
natural_image
Technical drawing of a circular mechanical component with flanges and central bore (no text or symbols)

natural_image
Technical line drawing of a mechanical component with concentric rings and mounting holes (no text or symbols)
natural_image
Technical line drawing of a circular mechanical component with four protrusions (no text or symbols)
natural_image
Simple oval shape with no text or symbols
natural_image
Simple line drawing of a rectangular frame with an oval inside (no text or symbols)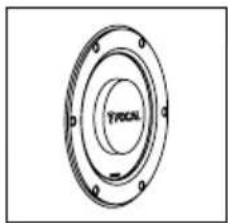
natural_image
Technical drawing of a circular mechanical component with mounting holes and concentric rings (no text or symbols)
natural_image
Technical line drawing of a mechanical component with concentric rings and mounting flanges (no text or symbols)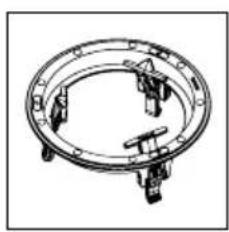
natural_image
Technical line drawing of a circular mechanical component with four protrusions (no text or symbols)
natural_image
Simple oval shape with no text or symbols
natural_image
Simple line drawing of a square with an oval inside, no text or symbols present.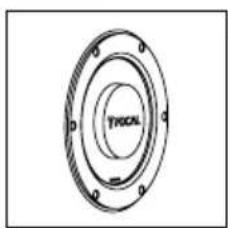
natural_image
Technical drawing of a mechanical flange with concentric rings and mounting holes (no text or symbols)

natural_image
Technical line drawing of a mechanical component with concentric rings and mounting holes (no text or symbols)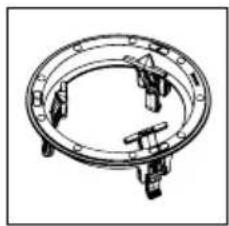
natural_image
Technical line drawing of a circular mechanical component with four mounting holes (no text or symbols)
natural_image
Simple oval shape with concentric rings, no text or symbols present
natural_image
Simple line drawing of a rectangular frame with an oval inside (no text or symbols)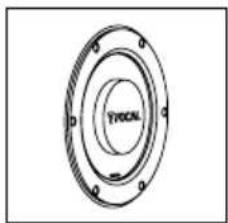
natural_image
Technical drawing of a circular mechanical component with mounting holes and central bore (no text or symbols)
natural_image
Technical line drawing of a mechanical component with concentric rings and mounting holes (no text or symbols)
natural_image
Technical line drawing of a circular mechanical component with four protrusions (no text or symbols)
natural_image
Simple oval shape with no text or symbols
natural_image
Simple line drawing of a rectangular frame enclosing an oval (no text or symbols)
natural_image
Technical drawing of a circular mechanical component with flanges and mounting holes (no text or symbols)

Correct elimination of this product.
This marking indicates that within the EU this product should not be disposed of with other household wastes. To prevent any risk to the environment or human health, please recycle them responsibly to encourage the reuse of material resources. To return your used device, please use the return and collection systems available, or contact the retailer where you purchased the product. They can recycle this product safely.
- SERIES
- Package contents
- Breaking-in your loudspeakers
- Pre-installation wiring
- Choosing an amplifier
- Installation
- Existing installation
- New installation
- Conditions of guarantee
- Mounting the loudspeaker
- Orienting the tweeter (300 ICW6, 300 ICA6, 300 ICW8)
- In-wall position of the main loudspeakers.
- Position of surround and central loudspeakers
- Special precautions
- Painting
- Correct elimination of this product.
Brand : FOCAL
Model : 300 ICA6
Category : Home Theater System