LSH880 - Welding machine Toolcraft - Free user manual and instructions
Find the device manual for free LSH880 Toolcraft in PDF.
Document temporarily unavailable
The manual is currently being transferred to our new server. It will be accessible again in a few hours. Thank you for your patience.
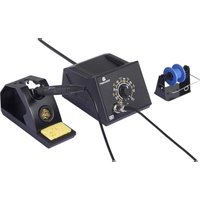
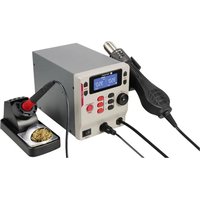
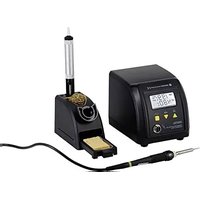
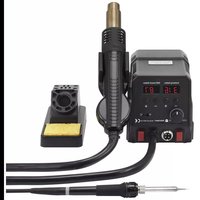
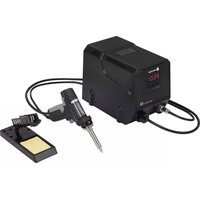
| Product type | Hot air station for SMD desoldering |
| Brand | Toolcraft |
| Model | LSH880 |
| Power supply | 230 V / AC 50 Hz |
| Maximum consumption | 800 W |
| Protection class | I (grounded) |
| Temperature range | +100 °C to +500 °C |
| Air flow | 30 – 120 L/min |
| Heat-up time | Approximately 35 seconds to reach 300 °C |
| Fuse | T5A, 250 V |
| Dimensions (with stand and gun) | 140 x 142 x 210 mm |
| Weight (with gun and nozzles) | 1.46 kg |
| Power cord length | 143 cm (excluding connector) |
| Gun cable length | 93 cm |
| Display | Large LCD screen with actual and set values |
| Main functions | Temperature and air flow adjustment, 3 shortcuts, timer shutdown, lock, calibration, access code, automatic standby mode |
| Included accessories | Hot air gun, stand, mounting plate, 4 nozzle tips, power cord, manual |
| Maintenance and cleaning | Clean with a dry, lint-free cloth; do not use harsh chemicals |
| Safety | Magnetic switch on stand, automatic shutdown in standby, overheating protection |
| Spare parts and repairability | User-replaceable fuse (T5A/250V); other repairs by authorized technician |
Frequently Asked Questions - LSH880 Toolcraft
User questions about LSH880 Toolcraft
0 question about this device. Answer the ones you know or ask your own.
Ask a new question about this device
Download the instructions for your Welding machine in PDF format for free! Find your manual LSH880 - Toolcraft and take your electronic device back in hand. On this page are published all the documents necessary for the use of your device. LSH880 by Toolcraft.