Powerline Vario X - Battery charger ANSMANN - Free user manual and instructions
Find the device manual for free Powerline Vario X ANSMANN in PDF.
| Product type | Battery charger |
| Brand | Ansmann |
| Model | Powerline Vario X |
| Compatible batteries | Li-Ion/Li-Po 3.6-3.7 V or 7.2-7.4 V; 2 NiMH AA or AAA rechargeable batteries (1.2 V each) |
| Input power supply | 5 V DC / 1 A (via micro-USB cable) |
| Charging current (Li-Ion/Li-Po 3.6-3.7 V) | 600 mA |
| Charging current (Li-Ion/Li-Po 7.2-7.4 V) | 500 mA |
| Charging current (NiMH AA/AAA) | 1000 mA (for 2.4 V) |
| Polarity detection | Automatic for Li-Ion/Li-Po packs |
| Protections | Short circuit, reverse polarity, defective battery detection, safety timer |
| Charging indication | 4-segment LCD screen (25% per segment) |
| Maintenance charge (NiMH) | Yes, after full charge |
| Adjustable contacts | Yes, to fit Li-Ion/Li-Po packs |
| Included accessories | Micro-USB charging cable, instruction manual |
| Maintenance and cleaning | Disconnect before cleaning; use a dry cloth to clean contacts |
| Safety | Do not open, do not expose to water, use only the provided adapter, keep out of reach of children |
| Warranty | 3 years |
Frequently Asked Questions - Powerline Vario X ANSMANN
User questions about Powerline Vario X ANSMANN
0 question about this device. Answer the ones you know or ask your own.
Ask a new question about this device
Download the instructions for your Battery charger in PDF format for free! Find your manual Powerline Vario X - ANSMANN and take your electronic device back in hand. On this page are published all the documents necessary for the use of your device. Powerline Vario X by ANSMANN.
USER MANUAL Powerline Vario X ANSMANN
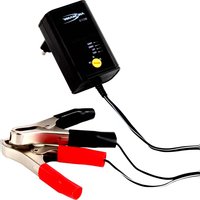
natural_image
Black electronic device labeled 'AN-NAW' with ports and a digital display, no readable text or symbols beyond branding
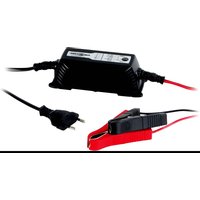
natural_image
Black electronic device labeled 'AN-MANN' with a digital display and cable, no visible text or symbols beyond the label.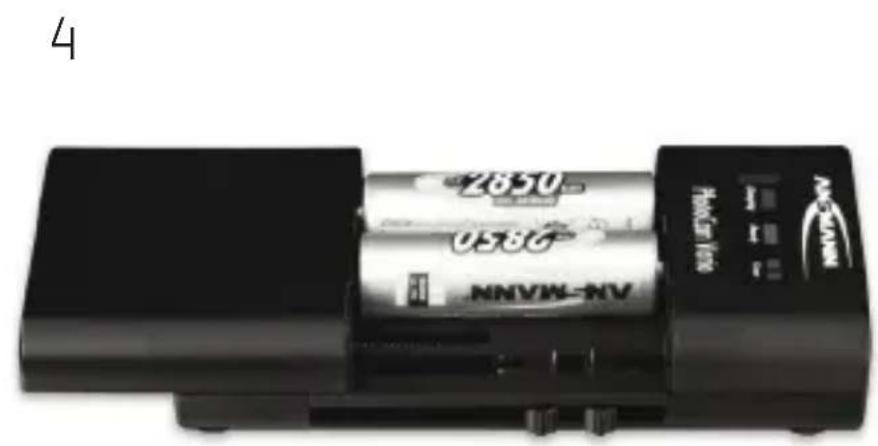
text_image
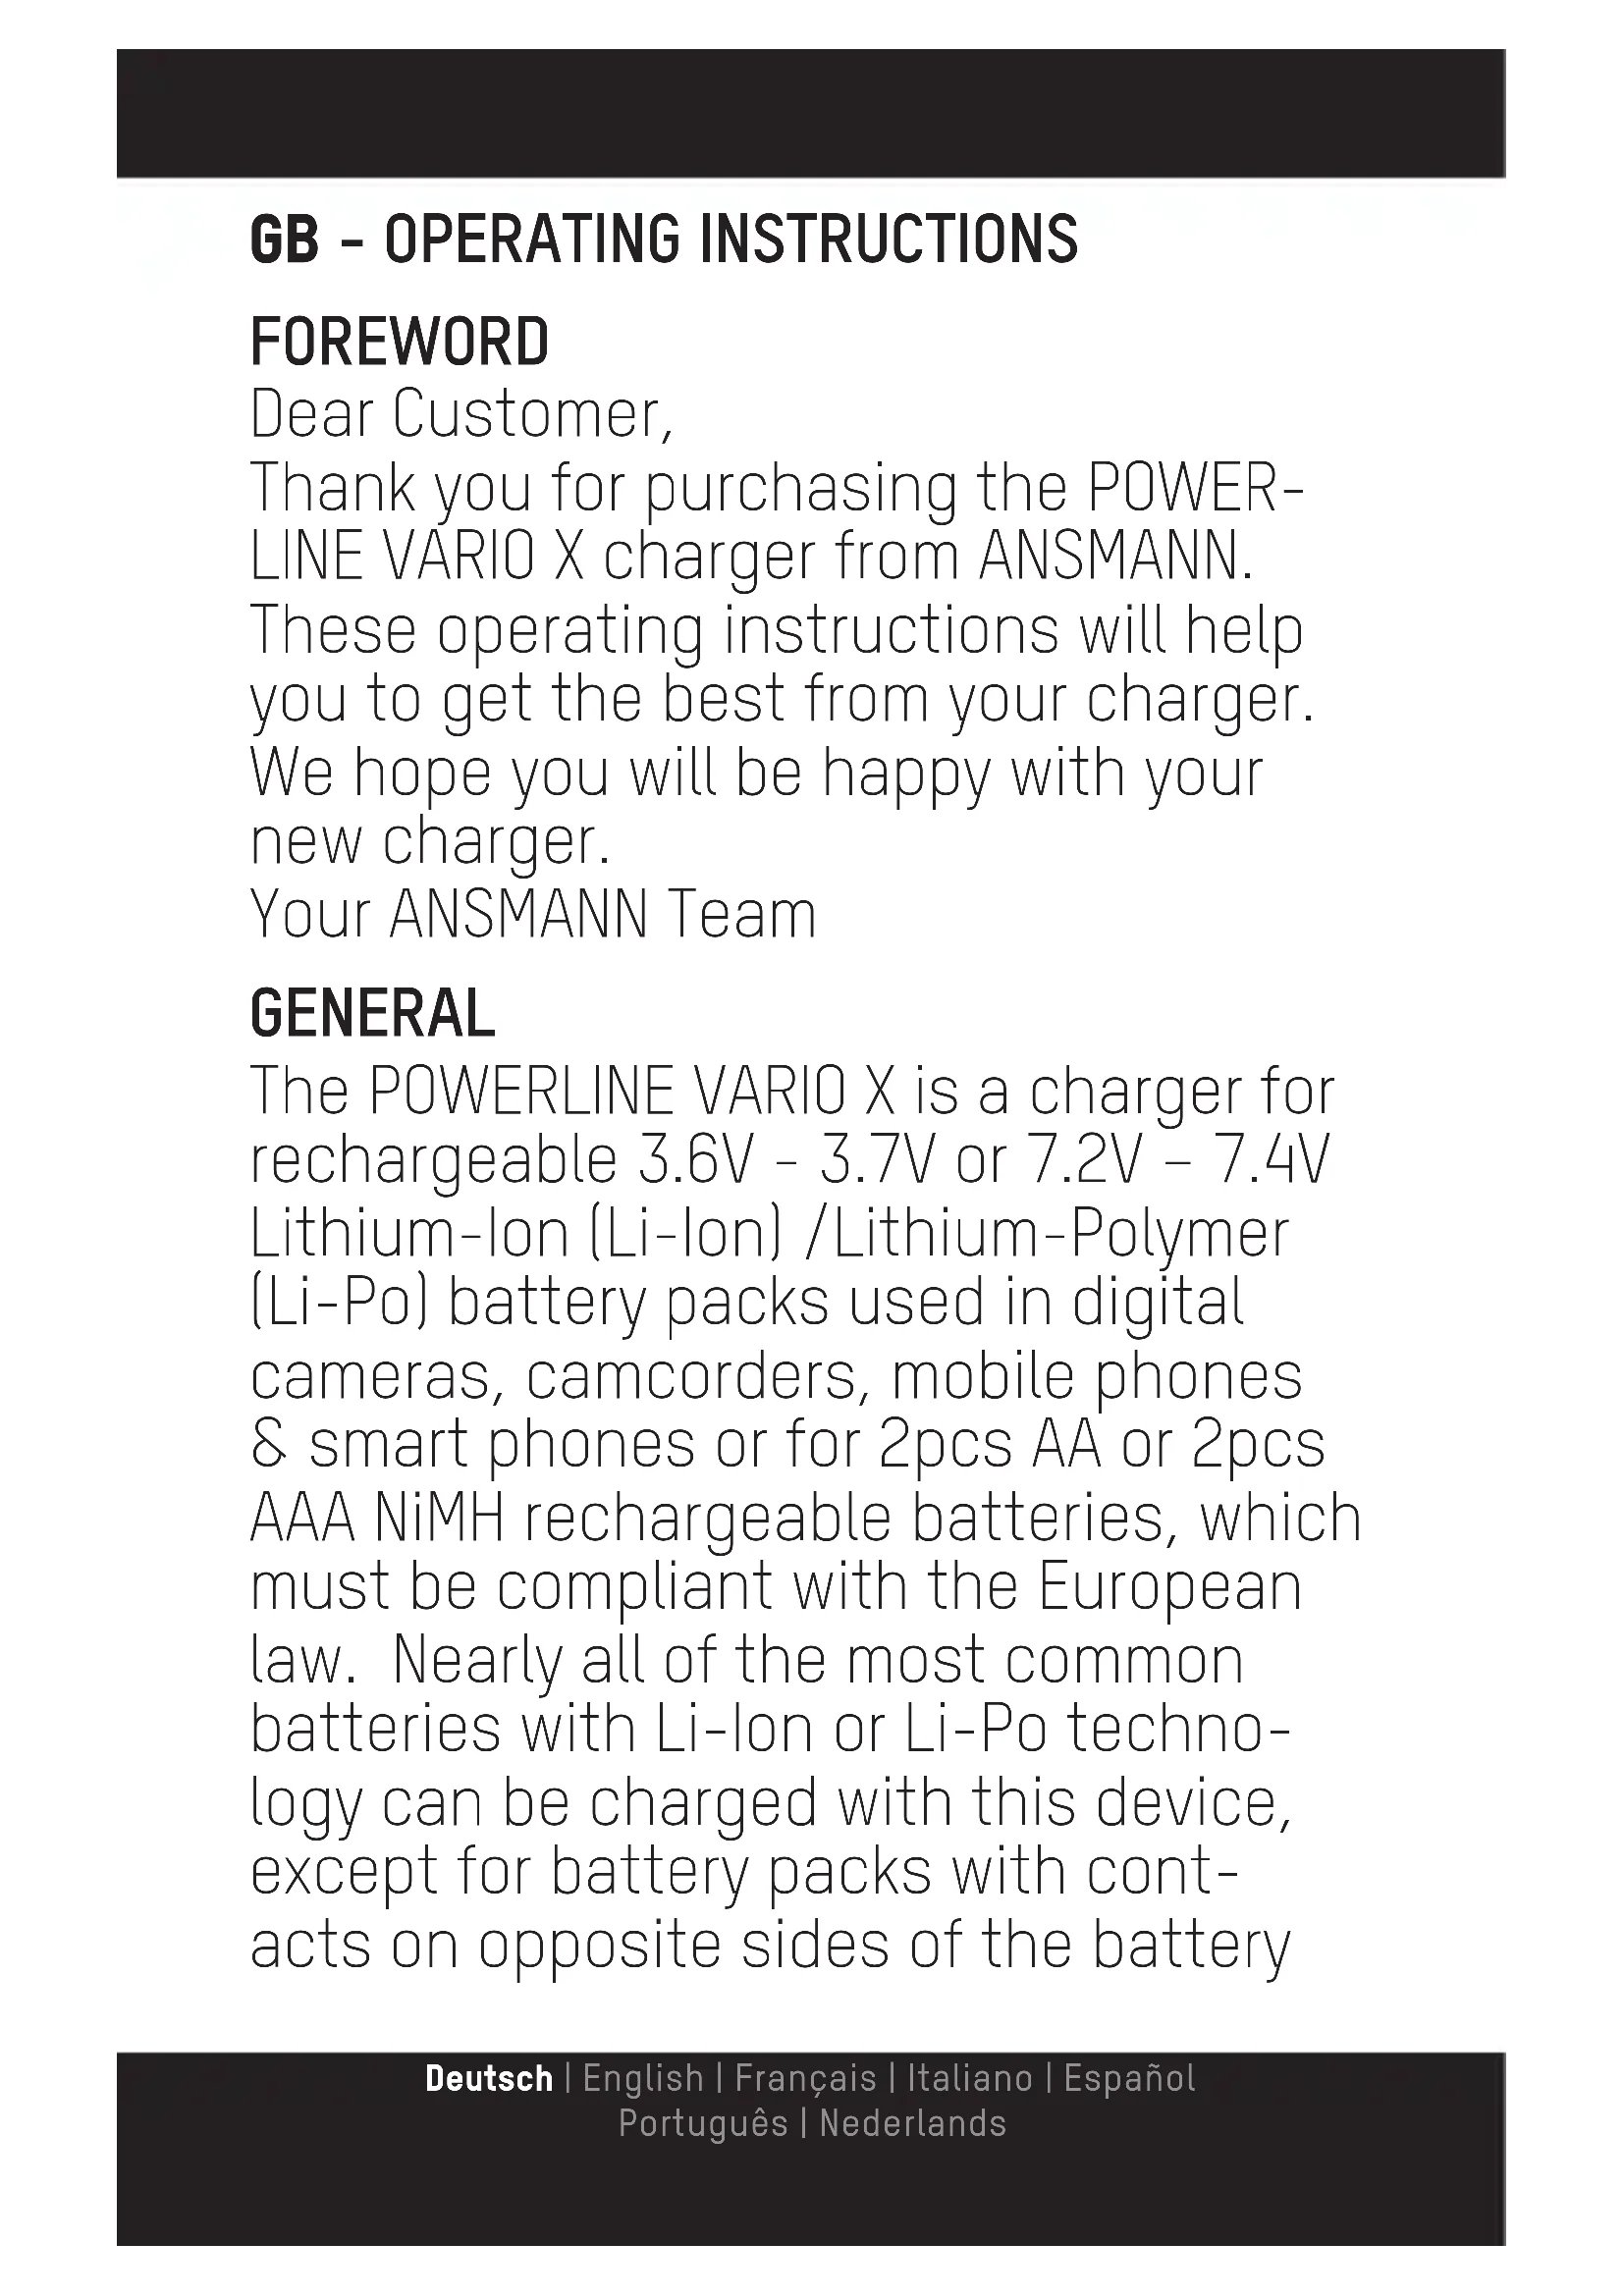
4 2650 053G NNVN-NV PAN-100 A B C D E F G H I J K L M N O P Q R S T U V W X Y Z A B C D E F G H I J K L M N O P Q R S T U V W X Y ZThank you for purchasing the POWER-LINE VARIO X charger from ANSMANN.
These operating instructions will help you to get the best from your charger.
We hope you will be happy with your new charger.
Your ANSMANN Team
GENERAL
The POWERLINE VARIO X is a charger for rechargeable 3.6V - 3.7V or 7.2V - 7.4V Lithium-Ion (Li-Ion) /Lithium-Polymer (Li-Po) battery packs used in digital cameras, camcorders, mobile phones & smart phones or for 2pcs AA or 2pcs AAA NiMH rechargeable batteries, which must be compliant with the European law. Nearly all of the most common batteries with Li-Ion or Li-Po technology can be charged with this device, except for battery packs with contacts on opposite sides of the battery
housing and battery packs where the contacts are deep inside the housing. A microprocessor automatically supervises the charging process. For an optimum performance we recommend the use of ANSMANN rechargeable batteries.
INCLUDED IN PACK
- Charger POWERLINE VARIO X
- USB charging cable with Micro USB plug
- Instruction manual
SAFETY INSTRUCTIONS
- Please read these operating instructions carefully before using the charger!
- Do not use the device if there are any signs of damage to the housing, plug or cable. If you do find any damage to the unit, please contact an authorized dealer!
- Use only rechargeable 3.6-3.7V or 7.2-7.4V Li-Ion/Li-Po battery packs or 2 x 1.2V AA or 2 x AAA NiMH batteries. Never insert non-rechargeable batteries (e.g. Alkaline or Lithium)!
- Never try to charge NiMH and Li-Ion/
Li-Po batteries at the same time!
- Make sure NiMH batteries are inserted in the correct polarity (+/-)! Please note that only high performance brand rechargeable batteries should be charged with this device! Low quality cells may leak and damage the charger and invalidate the warranty!
- The warranty does not cover damages resulting from the use of unsuitable batteries!
- Keep the charger in a dry place away from direct sunlight!
- In order to avoid the risk of fire and/or electric shock, the charger must be protected against high humidity and water!
■ Before cleaning the unit, disconnect it from the mains and only use a dry clean cloth! - Never attempt to open any part of the device!
- Keep out of children’s reach! Children should be supervised to ensure that they do not play with the charger or
accessories!
- The device is not to be used by children or people with reduced physical, sensory or mental capabilities. In addition, novice users who have not fully read these instructions should be supervised or given instructions before use!
- If the safety instructions are not followed, it may lead to damage to the unit or could cause injury to the user!
- Remove the device from the power source after charging.
- Only SELV power supplies may be used in conjunction with this charger.
- The cleaning / maintenance of the charger by children is not allowed.
FUNCTIONAL OVERVIEW
- Charger for 3.6V/3.7V or 7.2V/7.4V Li-Ion and Li-Po battery packs or 2x 1.2V AA or AAA NiMH batteries
- Adjustable charging contacts for contacting most Li-Ion/Li-Po battery packs
- Automatic voltage and polarity detec-
tion for Li-Ion/Li-Po battery packs
- Charging starts automatically when a battery is connected
- Microprocessor controlled charging
- Short circuit protection, wrong polarity protection, faulty cell detection, safety timer
■ Automatic battery full detection - Trickle charge function for NiMH batteries
- Indication of the charging status via LCD display
- Compact design
OPERATION
To operate the charger, connect the Micro USB connector of the charging cable to the charger and the USB connector to any USB power adapter with minimum 1A output current (e.g. your USB charger that you use for charging your smartphone).
CHARGING LI-ION/LI-PO BATTERY PACKS
- Pull back the sliding cover [1a] and fix the battery first provisionally with
some distance to the two contact pins [1b] of the charger, so that the battery contacts are visible [2].
-
Move the contact pins of the charger by using the lateral sliders [1c] to the position of the positive and negative battery contacts. If the contacts on the battery are not identified, please take the two outer contacts.
-
Fix the battery again, so that the battery contacts press to the contact pins of the charger [3]. You do not need to pay attention to the polarity. When the battery is properly connected to the charging contacts, the charger detects the polarity and voltage of the battery and starts charging automatically. The current charging status is indicated on the LCD display [1d].
-
After the battery is fully charged, remove it from the charger.
CHARGING 2 AA OR 2 AAA NIMH RECHARGEABLE BATTERIES
NOTE: To prevent an overload, charge only NiMH rechargeable batteries from the same manufacturer with the same nominal capacity and the same charge level! Pull back the sliding cover [1a] and insert 2 AA or 2 AAA NiMH batteries with correct polarity corresponding to the symbols in the charging slots [4]. The charging process starts automatically and the current charging status is indicated on the LCD display [1d]. It is normal that batteries may become warm during charging. Once the batteries are fully charged, the charger automatically switches to trickle charge. The trickle charge prevents self-discharge of the batteries when left in the charger.
LCD DISPLAY
The LCD display shows you the charging progress based on 4 bars in 25% steps. A flashing bar indicates charge. If, for example, the 25% bar is displayed perma-
nently while the 50% bar is flashing, it means that the battery is charged between 25% and 50% and charging is in process. When all 4 bars are displayed permanently, the battery is fully charged. When all 4 bars are flashing, a battery is faulty.
ENVIRONMENT
Do not dispose of the device in the normal household waste. Please return it to your dealer, nearest recycling centre or collection point. Please also recycle all packing materials.
CARE & MAINTENANCE
To make sure that the charger works properly, please keep the contacts free from dirt and dust. To clean the unit disconnect it from the mains and only use a dry cloth.
TECHNICAL DATA
- Output USB adapters / I
nput Charger: 5V DC / 1A - Charging current: 600mA for
3.6V/3.7V Li-Ion/Li-Po
batteries 500mA for
7.2V/7.4V Li-Ion/Li-Po batteries 1000mA for 2.4V (2 x AA/AAA) NiMH batteries
DISCLAIMER
Information in these operating instructions can be changed without prior notice. ANSMANN cannot accept liability for direct, indirect, accidental or other claims by not using this device as indicated by these operating instructions. Consequential losses are not accepted at any time.
WARRANTY NOTICE
We hereby offer a 3 year warranty on this charger. This does not apply to damages caused by: low quality batteries leaking inside the charger, non-compliance of the operating instruction or physical damage due to lack of care.
Technical details subject to change without prior notice. No liability accepted for typographical errors or omissions. 08/2018
FR - MODE D'EMPLOI
AVANT PROPOS
Cher client,
CARREGAR PILHAS RECARREGÁVEIS NIMH AA OU AAA
7.2V/7.4V Li-Ion/Li-Po batteries 1000mA for 2.4V (2 x AA/AAA) NiMH batteries
AVISO LEGAL
A informação deste manual poderá ser alterada sem aviso prévio. ANSMANN cannot accept liability for direct, indirect, accidental or other claims by not using this device as indicated by these operating instructions. Consequential losses are not accepted at any time.