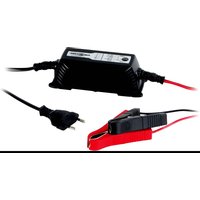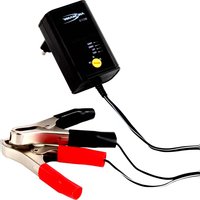
ALCS 2-12/0.4 - Battery charger ANSMANN - Free user manual and instructions
Find the device manual for free ALCS 2-12/0.4 ANSMANN in PDF.


User questions about ALCS 2-12/0.4 ANSMANN
0 question about this device. Answer the ones you know or ask your own.
Ask a new question about this device
Download the instructions for your Battery charger in PDF format for free! Find your manual ALCS 2-12/0.4 - ANSMANN and take your electronic device back in hand. On this page are published all the documents necessary for the use of your device. ALCS 2-12/0.4 by ANSMANN.
USER MANUAL ALCS 2-12/0.4 ANSMANN
text_image
UK Europe (2-pole)D
GB
CZ
DK
E
F
GR
H
I
NL
P
PL
RO
s
SK
SLO
UA
text_image
[Klick]SICHERHEITSHINWEISE
Keep your charger in a dry place (indoor use only). There must be adequate ventilation - a window partly open for example.
Do not use the device if there are signs of any damage to the housing, mains plug or cables. Please contact an authorized dealer!
The charger should not be covered during use.
Use the device only as intended (according to the charger specifications and instructions).
In order to avoid the risk of fire and / or electrical shock, the charger must be protected against high humidity and water.
Do not use this charger near flammable gases or liquids at any time. Never attempt to open the charger.
Never charge a frozen or damaged battery.
Improper use of the battery charger may result in danger to the user.
Keep away from children! Children should be supervised to ensure that they do not play with the charger.
If the safety instructions are not followed, this may cause damage to the device or serious injury to the user.
For non-maintenance free batteries, please check the acid level and top-up if necessary.
WARNING
Charging lead acid batteries can generate explosive gases. Please ensure sufficient ventilation and avoid fire or naked flames and smoking. Due to emerging explosive gases it is important to ensure that the battery terminals are connected or disconnected when the charger is disconnected from the mains to avoid sparks.
Battery acid is corrosive. If battery acid gets in your eyes or on your skin, wash immediately with plenty of water and seek urgent medical attention.
Make sure that the battery terminals are contacted with the correct polarity (red to the positive pole terminal, black to the
A Spark can arise if the charger is connected to the battery whilst connected to the mains. Please ensure it is disconnected from the mains before connecting or disconnecting the red and black charging leads to or from the battery.
OVERVIEW FUNCTIONS
Lead acid charger for 2V/6V/12V batteries.
Protection against short-circuit, wrong polarity and overcharge protection.
Charging with IU-curve
Suitable for float charging
Trickle charge with current adjustment
COMMISSIONING
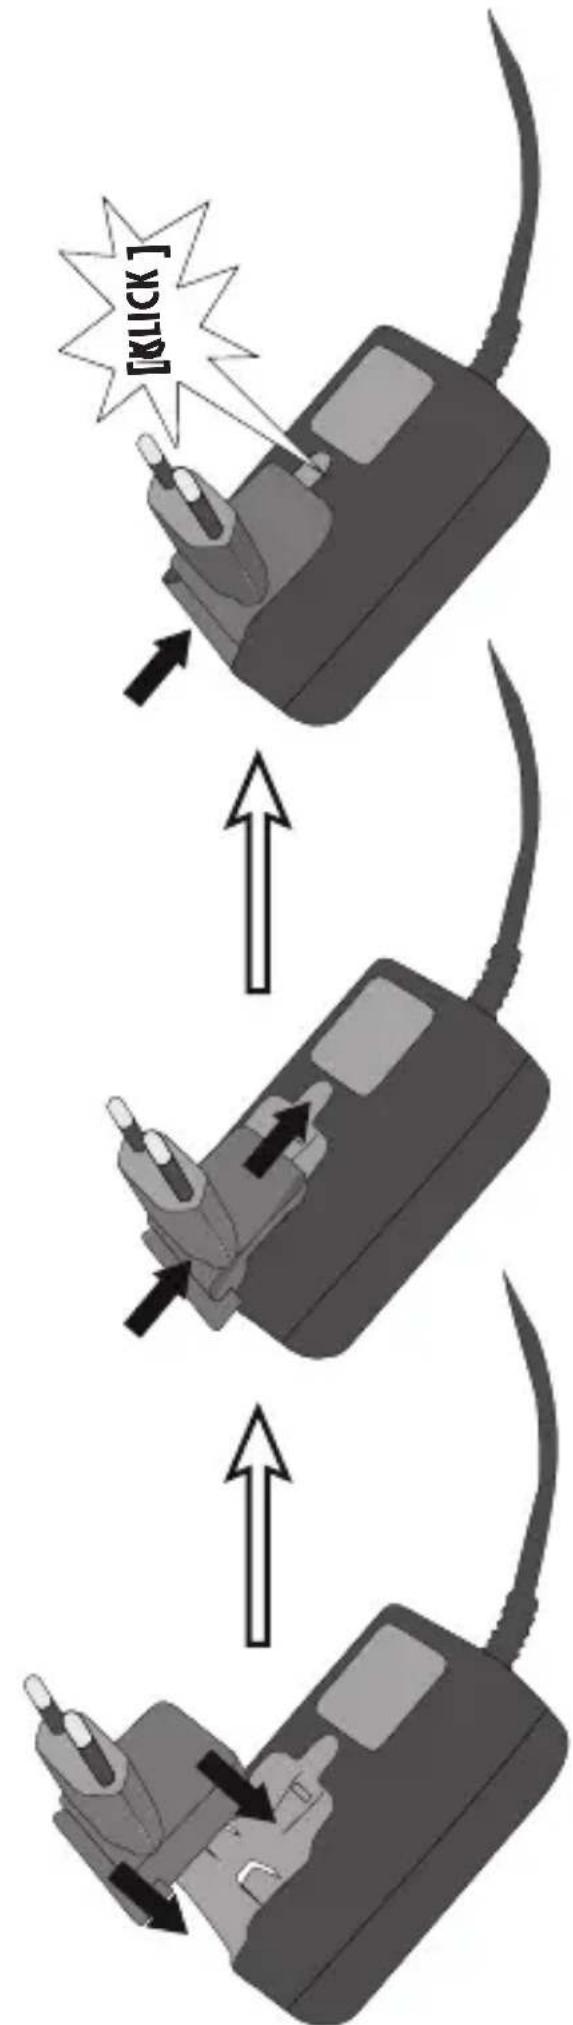
Insert the relevant mains input plug so that it connects to the two power contacts and push the plug until it clicks into place.
Ensure that you hear the input plug click into the charger to ensure the unit is safe to use.
To release the input plug, push the release button (with a pen for example) and move the plug backwards.
1. Adjust secondary voltage
Adjust the right voltage on the charger with the provided adjusting tool.
2. Connect charger to the battery with the correct polarity
First connect the charger to the battery to be charged. Connect the red pole terminal to the positive pole (+) of the battery, then the black pole terminal to the negative (-) pole of the battery. Make sure that the battery terminals are connected correctly. If the battery is installed in the vehicle and the battery terminals are not accessible, please consult the vehicle manual for advice.
If the clamps are accidentally attached to the poles the wrong way around, the "FAULT" LED lights red. Reconnect the terminals with the correct polarity immediately.
3. Connect the device to the mains supply
Insert the mains plug of the charger into the socket and switch on.
The „POWER“ LED will lights green.
4. Battery is charged
After connecting the mains cord and the battery terminal the "POWER" LED and the "CHARGE" LED will lights green.
5. Battery fully charged
Once the battery is fully charged the "CHARGE" LED goes out and the "FULL" LED will lights green. Unplug the mains cord and afterwards remove the battery terminals of the battery, first the black terminal (-) and then the red (+) terminal.
6. Trickle charge
Alternatively, the battery can be left connected for an extended period (e.g. for the winter). The charger detects any loss of capacity and recharges automatically.
SPECIFICATIONS
Input Voltage 100-240V AC / 50Hz - 60Hz
Protection class II
Protection IP20
Charge voltage 2V: 2,3V / 6V: 6,9V / 12V: 13,8V
Charging current 400mA
Battery capacity 1,2Ah - 40Ah
DISCLAIMERS
The information in this manual may be amended without notice. ANSMANN assumes no liability for any direct, indirect, incidental or consequential damages or any other damages caused by improper handling or disregard of the information contained in this manual.
WARRANTY INFORMATION
ANSMANN offers a 3 year warranty on this device. No guarantee will be given on damage to the charger due to non-compliance with these instructions.
Information subject to change without prior notice. ANSMANN assumes no liability for printing errors.
08/2013