
PCAKS 3102 - Vacuum Cleaner ProfiCare - Free user manual and instructions
Find the device manual for free PCAKS 3102 ProfiCare in PDF.
User questions about PCAKS 3102 ProfiCare
0 question about this device. Answer the ones you know or ask your own.
Ask a new question about this device
Download the instructions for your Vacuum Cleaner in PDF format for free! Find your manual PCAKS 3102 - ProfiCare and take your electronic device back in hand. On this page are published all the documents necessary for the use of your device. PCAKS 3102 by ProfiCare.
USER MANUAL PCAKS 3102 ProfiCare
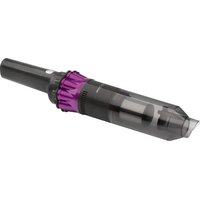
natural_image
Hand holding a black cylindrical device with a transparent handle, no visible text or symbolsnatural_image
Close-up of hands holding a black cylindrical device with a transparent casing (no visible text or symbols)Be sure to read the separately enclosed safety instructions first.
Instruction Manual
Thank you for choosing our product. We hope you will enjoy using the appliance.
Read the instruction manual and the separately enclosed safety instructions very carefully before using this appliance. Keep these documents, including the warranty certificate, receipt and, if possible, the box with the inner packaging in a safe place. If you pass the appliance on to a third party, always include all the relevant documents.
Symbols in this Instruction Manual
Important information for your safety is specially marked. It is essential to comply with these instructions in order to avoid accidents and prevent damage to the appliance:

WARNING:
This warns you of dangers to your health and indicates possible injury risks.

CAUTION:
This refers to possible hazards to the appliance or other objects.
Content
Overview of the Components ....3
Unpacking the Appliance 9
Overview of the Components/Scope of Delivery 9
Important Instructions for Using the Appliance and for Mounting the Wall Mount....9
Notes for Use 10
Attach the Charging Station to the Wall....10
Charging the Rechargeable Battery 10
Using the Appliance 10
Maintenance....10
Cleaning....11
Storage....11
Troubleshooting 12
Technical Data....12
Product Specifications in Accordance with Regulation (EU) 2019/1782 Power Supplies....12
Disposal....13
Unpacking the Appliance
- Remove the appliance from the package.
- Remove all packaging material such as films, filler, cable ties and cardboard.
-
Check the delivery contents for completeness.
-
Should the package contents be incomplete or damages be found, do not take the appliance into operation. Take it immediately back to the dealer.
-
Remove the transport lock from the on / off switch.
Overview of the Components / Scope of Delivery
1 dn / off switch with multifunction LED
2 Handle
3 PUSH button for unlocking the dust container
4 Dust container
5 Opener / locking of the flap
6 Opening flap
7 Connector for the accessories
8 Connection socket for the power supply unit
9 2-piece multifunction stand (wall mount / charging station and accessory holder)
10 HEPA filter with sealing ring
11 Coarse filter
12 Crevice nozzle, long
13 Crevice nozzle, medium length
14 Crevice nozzle, short
15 Brush attachment
Without Illustration
1 × Power supply unit
2×Plug
2×Screw
Important Instructions for Using the Appliance and for Mounting the Wall Mount

Read the instructions!

Only use with "SEU007A-140050" power supply unit! To charge the rechargeable batteries, use only the removable power supply that comes with this appliance.

CAUTION:
- Place the multifunction stand so that the appliance is not exposed to direct sunlight or other sources of heat.
- Do not charge the battery unattended.
- Always disconnect the mains plug from the socket after charging.
- Do not vacuum anything flammable or liquid!
- Never vacuum without a filter unit.

WARNING: When Mounting the Wall Mount
Make sure beforehand that there are no hidden cables in the wall that could damage you!
Notes for Use
- The appliance is very suitable for quickly vacuuming small amounts of dry dirt or dust.
- Dirty filters reduce the suction power of the hoover, so we recommend regular cleaning of the existing dirt filters.
- The appliance is operated via the charged battery. Charging is carried out via the power supply unit supplied, which is connected to the charging station. Direct mains operation with the power supply unit is not possible.
Nozzle Attachments
- The various nozzle attachments are easy to attach and detach.
- Attach the brush attachment to a crevice nozzle.
2-Piece Multifunction Stand
- If you want to set up the multifunction stand, connect the charging station and the accessory holder to each other at the plug connection.
- You can place the appliance and the accessories in it.
- If you connect the power supply unit to the connection socket, the multifunction stand also serves as a charging station.
- If you prefer to use the charging station as a wall mount, disconnect it from the accessory mount again.
Attach the Charging Station to the Wall
Mount the charging station near a power socket.
- Measure the distance between the two slotted holes of the mount and drill two holes in the wall at this distance.
- Insert the plugs into the wall.
- Turn the screws into the plugs with a screwdriver so that they protrude approx. 3 - 4 mm.
- Hang the wall mount on the screws.
Charging the Rechargeable Battery
- Switch off the appliance.
- Place the appliance in the charging station.
- Connect the power supply unit to the connection socket (8).
- Connect the power supply unit to an approved power outlet. Charge the appliance for 4.5 hours before using it for the first time.
- During the charging process, the LED on the switch flashes red.
-
When the battery is fully charged, the LED on the switch lights up blue continuously.
-
The LED goes out when you disconnect the mains plug from the socket or when you remove the appliance from the charging station.
-
It is normal for the appliance to heat up during charging.
-
Stop all further charging after 4.5 hours at the latest or when the LED lights up solid blue.

CAUTION:
Always disconnect the mains plug from the socket after charging.
Using the Appliance
On / off Switch with Multifunction LED
| 1 Switch | Function LED Meaning | ||
| Press 1× briefly | Switch on appliance | Lights green | Power level 1 |
| Press and hold longer | Lights blue | Power level 2 | |
| Press 1× briefly | Switch off appliance | Is off | |
The LED on the switch flashes for approx. 30 seconds during operation when the end of the rechargeable battery capacity is reached. The appliance then switches off. Recharge the rechargeable battery.
Operating
- Remove the appliance from the charging station.
- Attach a nozzle. You can also attach the brush attachment to one of the two crevice nozzles (12 / 13).
- Switch on the appliance with the switch.
- If you want to vacuum at the higher power level, keep the switch pressed for approx. 3 seconds during operation.
- Observe the MAX marking on the dust container. The maximum capacity is 100 ml.
End of Operation
- Switch off the appliance.
- Empty the dust container. Clean the filter unit after each use to restore the appliance to full performance the next time you use it.
- Then place the appliance in the charging station.
Maintenance
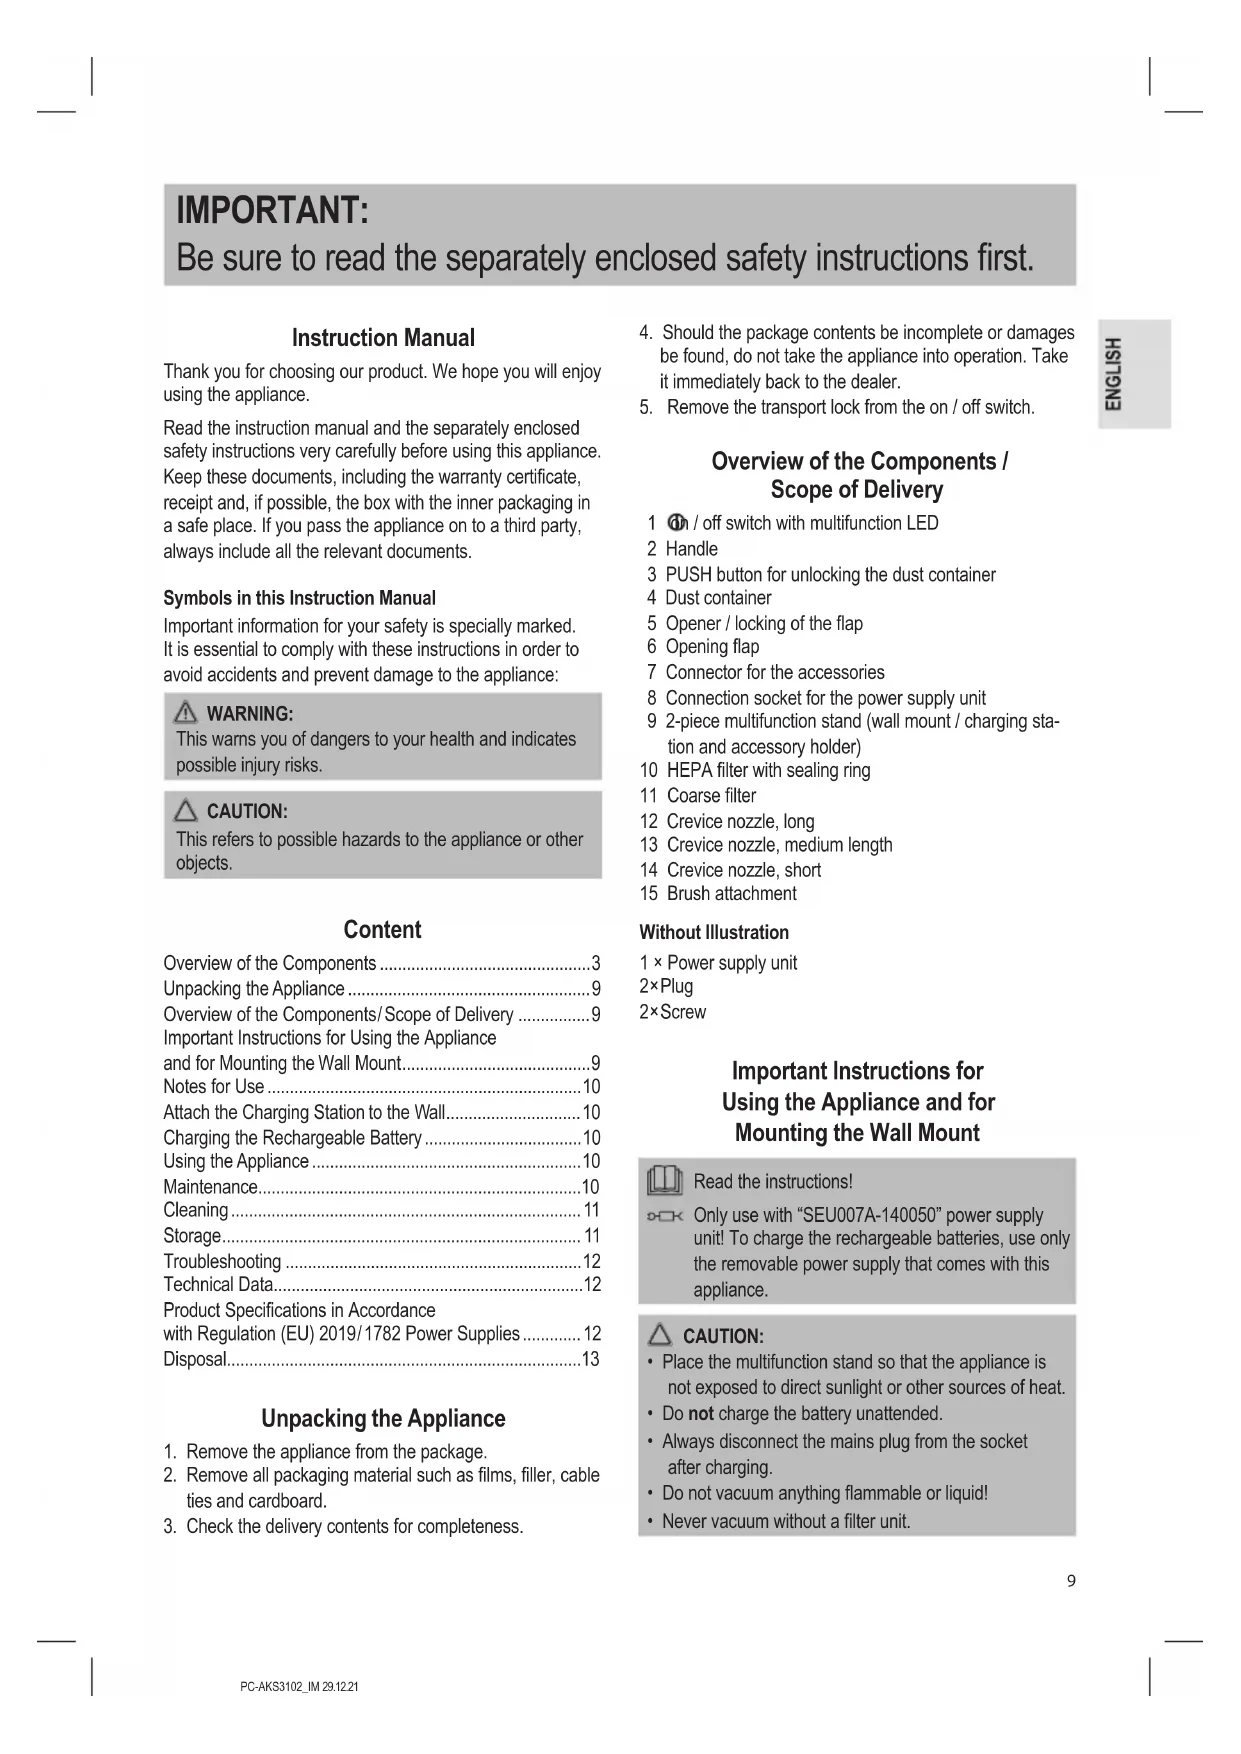
Emptying the Dust Container
- If necessary, detach the crevice nozzle from the appliance.
-
Hold the appliance with the opening flap over a dustbin.
-
Empty the contents of the dust container. To do this, press the locking (5) on the dust container to open the flap.
natural_image
Hand holding a black handheld device with a transparent handle, no visible text or symbols- Close the flap again. The locking mechanism on the dust container must engage.
The Filter System
The filter system is located in the dust container and consists of:
• HEPA filter with sealing ring
- Coarse filter
To clean the filter system, proceed as follows:
-
Empty the dust container as described before.
-
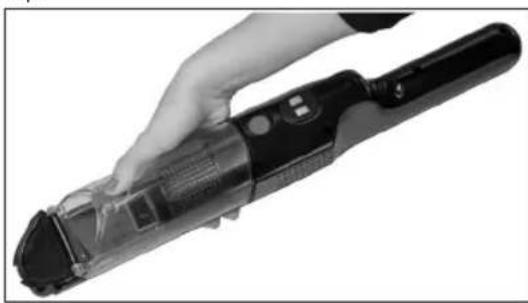
Dismantling the filter system
2.1 Grasp the appliance with one hand so that you can press the PUSH button with your thumb. With the other hand, pull the dust container upwards at the
same time. You can also place the appliance on a stable surface.
natural_image
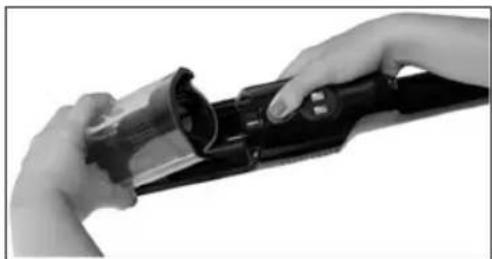
Close-up of hands holding a black cylindrical device with a metallic handle (no visible text or symbols)2.2 Remove the filter system. Pull the HEPA filter out of the coarse filter.
- Cleaning the Filters
3.1 Hold both filters over a dustbin can and tap out the dust. You may also brush out the HEPA filter. In case of heavy staining, clean the filters under running water.
3.2 Let the filters air-dry completely before refitting them!
3.3 Wipe the dust container with a damp cloth and then wipe it dry.
- Mounting the filter system
4.1 Put the HEPA filter back into the coarse filter. Press the HEPA filter with the sealing ring firmly into the coarse filter as far as it will go.
4.2 Place the filter system completely assembled into the dust container.
4.3 Reattach the dust container to the hand-held unit. First place the dust container with the catches in the recesses at the bottom of the housing. Press the dust container against the housing. It must audibly click into place.
Cleaning

WARNING:
Never immerse the motor housing in water for cleaning. It could cause an electric shock or fire.

CAUTION:
- Do not use a wire brush or other abrasive objects.
- Do not use sharp or abrasive cleaning agents.
-
The individual components are not suitable for cleaning in the dishwasher.
-
The housing of the appliance and the accessories can be wiped with a slightly damp cloth.
- You can wipe the power supply unit with a dry cloth.
Dust Container with Filter System
For cleaning these components, please refer to the chapter "Maintenance".
Storage
- Clean the appliance as described and allow it to dry completely.
• Always store the appliance out of the reach of children in a well-ventilated and dry place. - The storage temperature should be between 10 °C and 20 °C.
• We recommend storing the appliance in its original packaging if you do not intend to use it for a long period of time.
• Life of the rechargeable battery: Even when switched off, the rechargeable battery discharges continuously. If the appliance is out of use for a longer period of time,
charge the rechargeable battery at least once every 4 to 6 weeks.
Troubleshooting
| Problem Possible Cause Remedy | ||
| The appliance is without function. The rechargeable battery is empty. | Charge the rechargeable battery. | |
| Contact our service or your dealer. | ||
| During operation, the LED on the switch flashes for approx. 30 seconds. The appliance then switches off. | The rechargeable battery is empty. | Charge the rechargeable battery. |
| Weak suction power. The battery is almost empty. Charge the rechargeable battery. | ||
| The battery rechargeable does not hold a charge. | The rechargeable battery has reached the end of its life. | Contact our service or your dealer. |
Technical Data
Model: PC-AKS 3102
Net weight (Handheld unit,
charging station, power supply unit):......approx. 0.83 kg
Protection class (appliance):......III
Protection class (power supply unit):......II
Rechargeable Battery: 3×3.7V, 2000mAh Li-Ion
Operating time: 30 minutes maximum
Charging time:......approx. 4.5 hours
The right to make technical and design modifications in the course of continuous product development remains reserved.
This appliance has been tested according to all applicable, current CE directives and built according to the latest safety regulations.
Product Specifications in Accordance with Regulation (EU) 2019 / 1782 Power Supplies
| Information about the power supply used | Value Unit |
| Clatronic International GmbHCommercial register numberHRB 9158Industriering Ost 40,47906 KempenGermany |
| Information about the power supply used | Value Unit | |
| Model identifier | SEU007A-140050 | |
| Input voltage | 100–240 | V~ |
| Input alternating current frequency | 50–60 | Hz |
| Output voltage AC/DC | 14.0 | V DC |
| Output current | 0.5 | A |
| Output power | 7.0 | W |
| Average efficiency in operation | 79.9 | % |
| Low load efficiency (10%) | * | % |
| No-load power consumption | 0.06 | W |
* not applicable due to an output power of less than 10 W.
The relevant load conditions are as follows:
Percentage of nameplate output current
| Load condition 1 | 100% ± 2% |
| Load condition 2 | 75% ± 2% |
| Load condition 3 | 50% ± 2% |
| Load condition 4 | 25% ± 2% |
| Load condition 5 | 10% ± 1% |
| Load condition 6 | 0% (no-load condition) |
Disposal
Accumulator/Battery Disposal
The appliance contains a rechargeable battery. Used batteries / accumulators (rechargeable batteries) do not belong in household waste.
The rechargeable battery must be removed before the product is disposed of. Contact qualified personnel for this.
Information on where to dispose of batteries / accumulators can be obtained from your local authorities or the municipal administrations. Your dealer and contractual partner is also obliged to take back the batteries / accumulators free of charge.
Meaning of the "Dustbin" Symbol
Protect our environment: do not dispose of electrical equipment in the domestic waste.
Please return any electrical equipment that you will no longer use to the collection points provided for their disposal.
This helps avoid the potential effects of incorrect disposal on the environment and human health.
This will contribute to the recycling and other forms of re-utilisation of electrical and electronic equipment.
Information concerning where the equipment can be disposed of can be obtained from your local authority. Your dealer and contractual partner is also obliged to take back the old appliance free of charge.
BELANGRIJK:
Productspecificaties in overeenstemming
natural_image
Hand holding a black handheld device with a transparent casing (no visible text or symbols)natural_image
Close-up of hands holding a black cylindrical device with a transparent casing (no visible text or symbols)natural_image
Hand holding a black handheld device with a transparent handle, no visible text or symbolsnatural_image
Close-up of hands holding a black cylindrical device with a handle, no visible text or symbolsPoids net (unité portative,
natural_image
Hand holding a handheld electronic device with a black handle and control buttons (no visible text or symbols)natural_image
Close-up of hands holding a black cylindrical device with a small inset showing a square (no text or symbols visible)natural_image
Hand holding a black handheld device with visible internal components (no text or symbols)natural_image
Close-up of hands holding a black cylindrical device with a transparent lid (no visible text or symbols)natural_image
Hand holding a black electronic device with a transparent handle (no visible text or symbols)natural_image
Close-up of hands holding a black cylindrical device with a transparent lid (no visible text or symbols)CTC Clatronic Sp. z o.o
Ul. Brzeska 1
45-960 Opole
Usuwanie
natural_image
Hand holding a black handheld device with a transparent handle, no visible text or symbolsnatural_image
Close-up of hands holding a black cylindrical device with a metallic handle (no visible text or symbols)natural_image
Hand holding a black handheld device with a transparent handle and control buttons (no visible text or symbols)natural_image
Close-up of hands holding a black cylindrical device with a transparent casing (no visible text or symbols)natural_image
Close-up of hands holding a black cylindrical device with a handle, no visible text or symbolsnatural_image
Hand holding a black handheld device with a transparent handle, no visible text or symbols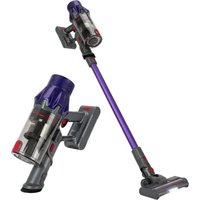
- Be sure to read the separately enclosed safety instructions first.
- Instruction Manual
- Symbols in this Instruction Manual
- WARNING:
- CAUTION:
- Content
- Unpacking the Appliance
- Overview of the Components / Scope of Delivery
- Without Illustration
- Important Instructions for Using the Appliance and for Mounting the Wall Mount
- WARNING: When Mounting the Wall Mount
- Notes for Use
- Nozzle Attachments
- 2-Piece Multifunction Stand
- Attach the Charging Station to the Wall
- Charging the Rechargeable Battery
- Using the Appliance
- Operating
- End of Operation
- Maintenance
- Emptying the Dust Container
- The Filter System
- Cleaning
- Dust Container with Filter System
- Storage
- Technical Data
- Disposal
- Accumulator/Battery Disposal
- Meaning of the "Dustbin" Symbol
- BELANGRIJK:
- Usuwanie
Brand : ProfiCare
Model : PCAKS 3102
Category : Vacuum Cleaner