
Chef Pro - Dog bark collar Ferplast - Free user manual and instructions
Find the device manual for free Chef Pro Ferplast in PDF.
| Product type | Automatic aquarium fish feeder |
| Brand | Ferplast |
| Model | Chef Pro |
| Power supply | 2 AA LR6 alkaline batteries 1.5V (not included, non-rechargeable) |
| Number of feedings per day | Up to 3 programmable |
| Hopper capacity | Not specified, suitable for flakes and small pellets |
| Approximate dimensions | 15 x 10 x 20 cm (estimate) |
| Approximate weight | 300 g (estimate) |
| Food type | Flakes or pellets (max. 1 mm particle size recommended) |
| Quantity adjustment | 4 removable covers (2 for pellets, 2 for flakes: 1/3 and 2/3) |
| Programming | Buttons P1, P2, P3 and +2h, with yellow and red indicator lights |
| Manual function | MANUAL button for immediate feeding |
| Low battery indicator | Red light flashing slowly (about 20 days of battery life) |
| Maintenance and cleaning | Removable hopper, clean with water without detergents |
| Safety | Do not immerse, respect battery polarity, do not use rechargeable batteries |
| Aquarium compatibility | Can be installed in Cayman and Star Ferplast ranges |
| Minimum wall distance | 2.5 cm for opening the front hatch |
| Spare parts | Available from Ferplast retailers |
| Warranty | Warranty against manufacturing defects, excluding wear and misuse |
| Children compatibility | Can be used by children over 8 years under supervision |
Frequently Asked Questions - Chef Pro Ferplast
User questions about Chef Pro Ferplast
0 question about this device. Answer the ones you know or ask your own.
Ask a new question about this device
Download the instructions for your Dog bark collar in PDF format for free! Find your manual Chef Pro - Ferplast and take your electronic device back in hand. On this page are published all the documents necessary for the use of your device. Chef Pro by Ferplast.
USER MANUAL Chef Pro Ferplast
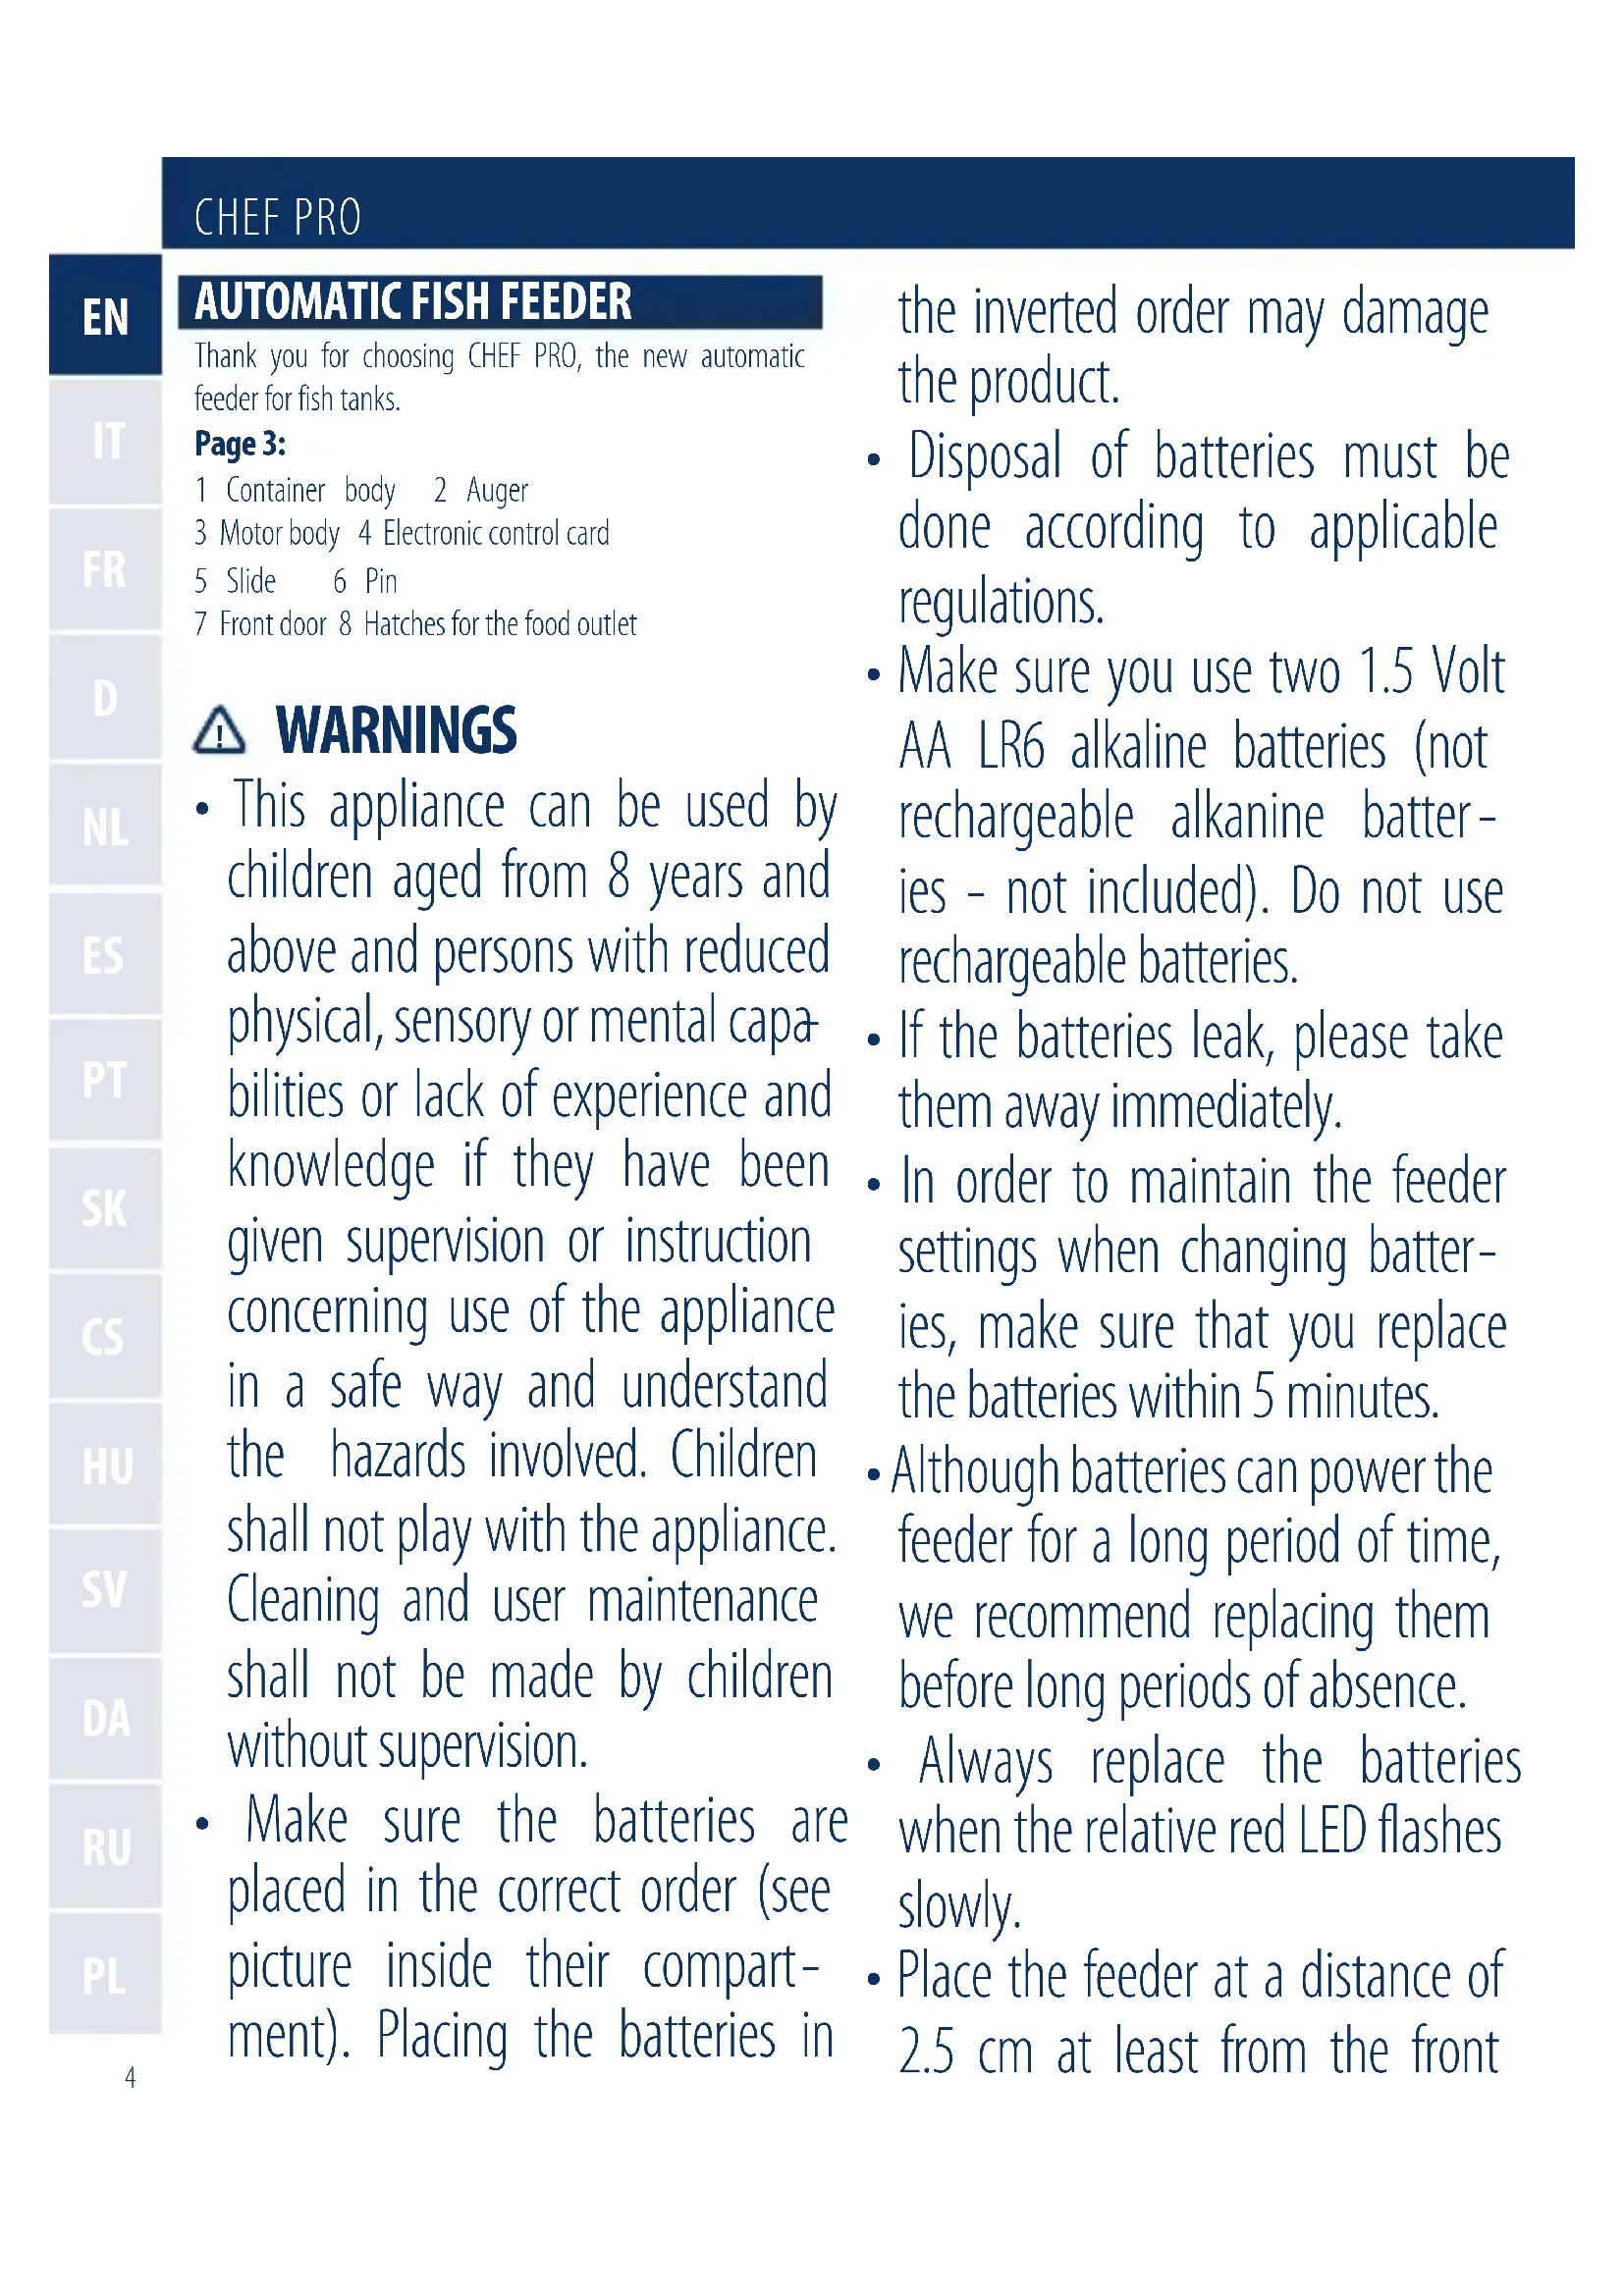
Thank you for choosing CHEF PRO, the new automatic feeder for fish tanks.
Page 3:
1 Container body 2 Auger
3 Motor body 4 Electronic control card
5 Slide 6 Pin
7 Front door 8 Hatches for the food outlet

WARNING
- This appliance can be used by children aged from 8 years and above and persons with reduced physical, sensory or mental capabilities or lack of experience and knowledge if they have been given supervision or instruction concerning use of the appliance in a safe way and understand the hazards involved. Children shall not play with the appliance. Cleaning and user maintenance shall not be made by children without supervision.
- Make sure the batteries are placed in the correct order (see picture inside their compartment). Placing the batteries in
the inverted order may damage the product.
- Disposal of batteries must be done according to applicable regulations.
- Make sure you use two 1.5 Volt AA LR6 alkaline batteries (not rechargeable alkanine batteries - not included). Do not use rechargeable batteries.
- If the batteries leak, please take them away immediately.
- In order to maintain the feeder settings when changing batteries, make sure that you replace the batteries within 5 minutes.
- Although batteries can power the feeder for a long period of time, we recommend replacing them before long periods of absence.
- Always replace the batteries when the relative red LED flashes slowly.
- Place the feeder at a distance of 2.5 cm at least from the front
panel (fig. A), in order to ensure a perfect opening of the front door.
- Do not place the feeder in areas subject to splashes of water or high levels of relative humidity.
- Do not pack too much food into the feeder (especially in the case of fine granular food).
- This feeder is not designed for underwater use.
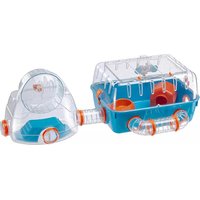
- The CHEF PRO feeder can be integrated into CAYMAN or STAR aquariums. (in the CAYMAN aquarium, once the feeder is in position, we recommend leaving the compartment door open for greater efficiency and better ventilation).
PROGRAMMING (FIG. B)
P1/P2/P3
Programming daily feeding sessions (up to 3 feeding sessions per day).
I.e.: it's 8 a.m. and you press the P1 button, the feeder will supply one food session daily at 8 a.m. The same with the P2 and P3 buttons. If both LEDs are on at the same time, the feeder has not yet been programmed.
+2h
Regulation of the period of time between the programming time and the time of the first, second or third feeding
session to be set:after pressing this button several times (on the basis of the desired interval), press P1, P2 or P3 within 3 seconds (the yellow LED will flash quickly during this period). Once programming has been completed, the yellow LED will flash for as many times as the +2h button was pressed, allowing you to ensure that you programmed it correctly.
I.e.: it's 8 a.m. and you want to set 2 daily feeding sessions, one at midday and one at 6 p.m.:
- press the +2h button twice;
- Press the P1 button within 3 seconds (the yellow LED will flash twice, indicating a 4 hour time interval from the current time);
- Press the +2h button 5 times;
- Press the P2 button within 3 seconds (the yellow LED will flash 5 times, indicating a 10 hour time interval from the current time).
P1 + P3
Putting the feeder in STAND-BY (the food will only be supplied by pressing the MANUAL button); to reactivate the previous programme, press these two buttons again at the same time. During the stand-by phase, the yellow LED will intermittently flash slowly. This function allows you to use the feeder as a normal dispenser as and when required; when you are going to be away, just press P1 and P3 to restore automatic operation.
MANUAL
Manual feeding, independent from programmed settings and stand-by.
P1 + P2
RESET of the current programmed settings.
BATTERY
When the red LED starts to intermittently flash slowly, the batteries are running low and are only guaranteed to last for another twenty days.
Warning! If the RED LED intermittently flashes quickly, the feeder is malfunctioning!
INSERTING THE FOOD
- Make sure that the feeder is in the rest position (food outlet hole closed by the relative hatch integrated in the
CHEF PRO
auger and by the front door);
- open the slide located in the upper part of the container, letting it run towards the outside (fig. C);
- fill the container with food (flakes or granules), trying not to pack in too much;
Warning! If you turn the auger with the slide open, the feeder will jam. Remove and replace the slide correctly, starting it up again.
REGULATING THE AMOUNT OF FOOD TO BE SUPPLIED
There are 4 different hatches that can be applied to the container outlet, on the basis of the type of food being used:
- 2 hatches suitable for granular food (fig. D) we suggest using granules not bigger than 1mm .
- 2 hatches to partially close the outlet hole (1/3 and 2/3). Particularly suitable for flaked food (fig. E).
After having chosen the hatch and loaded the food, we recommend testing it to make sure that it works properly (MANUAL button), allowing you to assess whether the selected quantity of food is correct (the amount of food that should be eaten by the fish in 3 minutes).
Warning! To ensure the right working of the product all the hatches must be correctly inserted in their compartment, till you hear a click.
MAINTENANCE:
CLEANING THE CONTAINER
In order to allow for thorough cleaning, the food container can be easily extracted from the motor body:
- take it to the cleaning area;
- press the two side buttons in correspondence to the control panel at the same time and slide out the whole container (fig. F);
- take off the front hatch of the container by pulling it up (fig. G);
- slide off the container cover by pressing the two side buttons;
- clean the container carefully (do not use detergents or chemical substances!);
- put the container back together, assembling it in the following order: container body > auger > container
cover > slide > front hatch, making sure that the auger is positioned enabling the closing of the container outlet hole;
- restore the entire container to the motor body.
BATTERY REPLACEMENT
We recommend always replacing the batteries:
- before a long period of absence;
- when the relative red LED intermittently flashes slowly;
- after the device has been out of use for a long period of time.
Replace the batteries as follows:
open the relative hatch (fig. H);
- remove the flat batteries and insert the new ones,
make sure that you respect the polarities (see the raised indications on the plastic);
close the hatch.
Warning! Failing to respect the polarity could definitively prejudice the working order of the electronic board!
SPARE PARTS AND ACCESSORIES
CHEF PRO feeder spare parts are available from the shop you purchased the product from. Numerous Ferplast accessories are also available. Our accessory range is constantly updated and caters for a wide range of fish tank requirements. Only use original Ferplast spare parts when replacing any components in order to ensure that your product maintains its working order and safety standards. The use of non-original spare parts renders the guarantee null and void.
GUARANTEE
This product, all its parts and accessories are covered by warranty within the limits provided for in this paragraph and the legal regulations currently in force. The guarantee only covers manufacturing defects and includes the repair or replacement of the product free of charge. The guarantee does not cover damage and/or defects caused by carelessness, wear, unsuitable usage not complying with the instructions and warnings in this manual, accidents, tampering, incorrect use, bad repair work or purchases not accompanied by a fiscal receipt.
IMPORTANT

Within the European Union, a crossed-out wheelie bin symbol on the product, documentation or packaging indicates that the product cannot be
disposed of in the regular household waste stream, in compliance with EU Directive 2012/19/EC and with current local regulations. The product must be disposed of at recycling centres or authorised waste disposal centres for electrical and electronic equipment, in accordance with current legislation in the country where the product is found. Incorrect disposal of this type of waste can have a negative impact on the environment and human health, caused by the potentially hazardous substances produce by electrical and electronic equipment. Correct disposal of these products will also contribute to the efficient use of natural resources. Further information is available from the product retailer, the competent local authorities and national manufacturer's organisations.
MANGIATOIA AUTOMATICA
DICIBOPER PESCI
RICAMBI ED ACCESSORI
RESERVDELAR OCH TILLBEHOR
I P E D U N P E X K D E H N A
JaHHoe yCTpoIcTBO MoKe IcNoIb30BaTbcra DeTbMn B Bo3pacte ot 8 let n cTapwe, a
CHEF PRO
Takke liucaMn COrpaHnueHHbIMN fni3nueckmN, CeHCOPhbIMN nIIN yMCTBeHHbIMN cNoC6HOCTaMn IIN OTCyTCTBnEM OYbTa N 3HaHNI pN yCIOBmN, YTO OHN HaxOJATcN IOI PPNCMTpOM IIN POnyUHNI INCTpyKcN N O 6e30NaChOMy NCIOJIb3OBaHNUO UCTPOJCTBa N IOnHMaOT CBraHHbIE C HIM ONaCHOtN. DeTN He DoJIxHbI INrpaTB C Prn6Opom. YnCTKa N DocTyNHoe POnb3OBaTeJIIO TexHnueckoe ObClyXnBaHne He DoJIxHo PpON3BOJNTbcr DaTbMn 6e3 PrncMOtPa B3Pocblix.
- y6eintecb, chTo 6aTaapeKn
yCTaHOBJIeHbI npaBnIbHo
(cm. pncyHOK BHyTpN OTceKa).
yCTaHOBka 6aTaapeE K bO6paTHOM
nopJKe MoJcET PpNBecT N K
PONOMKe I3dJIInJ.
-Утллзаця Испльь30ВаHHых 6batapeek Должна OCушесТВлЯТьСВ COOTBETCTВИ СдeйстByЮШМИ HOPMaMЛ.
He noDBeprAte np6op, oOboHNO aKKymyIaTOp, B03dEiCTBnIO BBICOKNX Tempepatyp.
- ydocToBepbTecb, yTO Bbl nCnoJIb3yTe DBe «nalbChNKOBbie» IeNoUHbIe 6aTapeN TInOpa3Mepa AA LR6 (He BXOJaT B KOMnJIeKtauu). He nCnoJIb3yIte IpeEzapJxKaembIe 6aTapeN (aKKyMylrTopbl).
- Ecni akKymyIaTOpbl «nOTeKIn», HeMeIeHNo ydaJInte IX.
-Утобы coхсань ВьбpaHHbIe napametpbI KOpMJIeHnI He I BvIHMaIte 6aTapei (HaPIMep, pri nx 3aMeHe) Ha cPok CBblse PAnu MNHyT.
Xotra 6atape npaccuHTaHbHa dIITeIbHbI cpoK pa6oTbI, neped IITeIbHbIX OTCyTCTBnem peKOMeHdyem 3aMeHnTb IX Ha HOBbie.
Bcerda 3aMeHjaTe 6aTapeu, KOrda NaunHaet MopraTb KpaChbI
CBeToIIOHbI INdIKaTOP.
- UctaHOBInTe aBtOMaTnueCKyUo KOpMuykU Ha paCCTOJHmN, no KpaIHei Mepe, 2,5 cm ot nepedHei NaHEn (pnc. A), dJa TOrO, YTO6bI rapaHTnpOBaTb CBO6oJHoe OTKpbIBaHne nepedHero JIOka.
He yctaHaBnBaIte KOpMuykU B MeCTaX, TDe BO3MOxHbI 6pa30BaHne 6pbI3r BOIbI N C BBICOKO OTHOCHTbHOB BlaJXHOCTbIO.
He nomeuzaIte B 6yHkep cIIuKOM MHOro KOpMa, ocObeHNO,B Clyuae,eCIN KOpM IMeET OueHb MeJKe rpaHylbl. - Θа abTomatnuecka KOpMyska He npedHa3HaueHa Дя ПОДВODHOrO ИСПОЛьЗВанЯ.
- ABTomatniecka koprmyshka CHEF PRO может 6bItb yctaHOBJIeHa в akBapnymbl CAYMAN пи STAR (ВakBapnyme CAYMAN, пол стого, КAK abTomatniecka koprmyshka
yCTaHOBJIeHa,MbI peKOMeHnyet
depkatab DBepu JIOKa
KpbIshKn OTKpbITOn dJa 6OJee
nHTeHCINBHOB BeHTnlaZm).
ПОГРAMMЮBAHAЕ (PMC. B)
P1/P2/P3
IporpaMMnpoBaHne yactOtbl exeJHeBHOro KopMneHnra (do 3 KopMneHn B deHb).
Ipnmep:ceuac8:00;BbI haxmaeTe KhoNky P1, ABToMaTuYeCKa KOpMUska 6yJeT BbIaBaTb NopCIO exKeHHeBHO B8:00. YTo6bl3anpoPpaMMnPoBaT bTO poe IN TpeTbe KopMJIeHne, COOTBeTCTBeHNO HaxMNTe KHOKn P2 IN P3.EcIn oBa cBeToOnoHbIX INDnKaTopa rOpy OndHOBpeMeHNo,BpeM eEhe He yCTaHOBJIeHo.
+2h
PerynilpoBaHne npomexkyTka BpeMeHm Mejdy UCTaHOBJIeHHbIM BpeMeHem I nepBbIM, BTOpbIM NTpeTbIM KOpMJIeHHEM OcyUeCTBJIeTcR C NOMOuIbIO 3ToN KHONK: NocJe HaxIMA Ha 3Tu KHONKY HECKoJIbKO pa3 (B 3aBnCIMOCtN OT Heo6xoJIMoro INHTepBaJa), HaxMITE KhoNk P1, P2 nn P3 B TeueHne 3 cekyHd (CBeToNDnHyn IHINKaTOP pni 3TOM NocToHHO BCnbIXNaET JeITbIM cBeTom). KaK ToIbKO nporpaM - MnpOBaHne 6yDet 3aKOHueHo, CBeToNDnHyn IHINKaTOP BCnbIXHET TAK MHOrO pa3, cKolbKO KhoNka +2 h 6blHa HxKaTa, yTO nO3BOJAEr Bam y6eDITbc8, yTO Bbl 3aNporpammmPOBaII aBTOMaTNUeCKyU KOpMyShKy npaBnIbHO.
Пример:Вы Вклioчи n aВТOMaTиecKyIO KOPMyuKу B8:00 n xOTnTe yCTaHOBnTbДBa eXeДнeBhblx KOpM - leHnB 12:00 n 18:00:
- HaxMMTe KhoNky +2 h DBaXDb;
- Haxmnte u ydepkmbaite KhoNky P1 B teueHne 3 ceKynd (XeIbI CBeToIONoHbI INDnKaTOp BCnbIX-Het DBaJdbI, Yka3bIBaB a BpeMeHHoINHTepBaI 4 qaca ot Tekyueero BpeMeH);
CHEF PRO
- HaxmTe KhoNky +2 h 5 pa3;
- HaxMMTe u ydepxuBaIte KhoNky P2 B teueHne 3 ceKyHd (xeJtbi CBeToNDnHyi NHdNkaTop BCnbIX-Het 5 pa3, yKa3bIba IHTepBaI BpeMeHi 10 yaCob OT TeKyuIero BpeMeHi).
P1 + P3
IpeboNT aBtOMaTnueckyU KOpMUsKy B cnaui pexim (STAND-BY) (nua 6bIeT nOdaBaTbcra B aKba -pym TOnbko npn HaxkatoN KhoNke MANUAL); UTo6bl BKIOuHTb IpeDbyuSyU npoRpaMMy, OndHOBpeMeHHo Haxmte Ha 3Tu KhoNkNe eue pa3. B cnaeM pexime CBEToNDnHbI INDnKaTOp nepNoDnueckN MeJleHHO BCnbIXnBAeT KeJIbIM UBeTom. 3Ta fynKzma No3BOJnEe Bam nCnoB30BaTb aBtOMaTnueckyU KOpMUsKy TOHa, KOnda 3TO notpe6yeTc; KOrda Bbl 6yJeTe B OTnyUKe.
- MANUAL (PYUHÖN PEXKIM)
PyuHoe KopMneHne, He3aBnCmO 0T 3anpOrpaMMNpoBaHHbIX npaMeTpOB u cnAeero peKIma.
P1 + P2
CBPOC (RESET) Bcex yctaHOBHeHHbIX nporpaMM.
BATTERY (BATAPER)
Korda KpaCHbIe CBeToIDNoHbIe INHdNKaTOpbl HaunHaOT MeDJIeHNBO BCNbIXINBaTb,3apRd 6aTapeHn3OK npabo Ta aBTOMaTInueckoKopMyuKN B03MOxHa B TeueHne eUe DBAuTaN dHei.
IpeynpexdneHne! Ecn KpaChbie CBeToIOHbIe HnDKaTOpbI BCbIXBaOT qAcTo, ABtOMaTnuecka KOpMyuKa 6ydt pa6oTaB He npabInbHo!
3ATPY3KA KOPMA
- Y6eIntecb, yTO aBTOMaTnuecka KOpMyuKa Haxo -ДNTcB B BbIKIQUeHHom COCTOAHN (OTBepCTne Bbl6poca KopMa 3aKpbITo OTKnIHOJ 3aCIOHKOJ, yCTaHOBJIeHHoH Ha KOpnyce UHeKa);
CdBnHbTe KpbIshky KopMOBOrO byhKepa, paCNoIoo-JxehHyo Ha erO BepXHei qactn u ydaJInte ee (pnc. C); - 3aŋoHnHTe 6yHkep KOpMOM (xIOnbI yIIN rpaHyIbI), CTapaaCb He nepenOJIHrTb 6yHkep;
IpeynpexdneHne! EcnBb nobephe Te uHeK npn
OTKpbIToi CdBnXHoi KpbIuKe 6yHKepa, UHeK 6yJeT 3a6IOKInPOBaH. ChIMTe u yCTaHOBtE CdBnXHyIO KpbIuKy 3aHOBO, BKNIOHTe aBTOMaTHueCKyIO KOpMyuKy eue pa3.
PERYUNPOBAHNEOBbEMA NOPNUKOPMA
EcTb YeTbIpe pa3nHbIe CbeMHbIe BCTaBKn, KOToPbIe yCTaHaBnBaHOTcHa BbIXOe n3 KOpMOBOrO 6yHKepa B 3aBNCIMoCTu OT npImHeReMOrO KopMa:
-ДBE CbeMHbIe BCTaBKn,ИСПОЛь3уЕмbie npn ckapM -лвани ГАнУПИРОВАHHO KOPMA.(pnc.D,Mbl peKOMeHnyeM ИСПОЛь30BaTb Гань pa3Мером He 6oJee 1 MM);
-ДBE CbeMHbIe BCTaBKn, YacTnUHO 3aKpbBaIOuIne BbIXoHoe OTBepCTne KOpMOBOro 6yHKepa Ha 1/3 n2/3;nxpeKoMeHnyeTc npImeHaTb dJa XIoNbe - BnDHorO KopMa (pnc.E).
Bb6paB CbemHyU BCTaBky u 3anolHnB KOpMOBoi 6yHkep KopMOM, peKomeHdyETcra npOBepuTb pa60Ty aBTOMaTnuecko KOpMyuKN (KHonka MANUAL), yTo6bl y6eINTbcra B npaBnIbHO Bb6paHHo nOpCmN KOpMa (KOpMdoJIKeH 6bITb CbeJeH pbl6kamn B TeueHne 3 MInyT).
IpeynpexkdeHne! TTo6bI rapaHTnpoBaTb npaBnblHyIO pa60Ty ABtOMaTnueckO KOpMUsKn, y6eNTecb,TO CbeMHbIE BCTaBKn 6bln npaBnblHo (do uJUka) BCTaBHeHb I HaNPaBnaIOuNe.
OBCJYKUBAHNE:
OuHCTKA KOPMOBOFO BYHKEPA
- TTo6bl NOpHocTbIO OuNCTNTb KOpMOBOI 6ByHKepe,ero MOnKHO JERKO OTCoEINHTb OT MOTOPHO 6NoKa aBTOMaTIueCKO KOpMUsKN:
- IpehehceTe aBTOMaTnueckyIO KOpMyuKy B MeCTO, Tne 6yIeT npOn3BODNTbC8 OUnCTka 6yHKepa;
- HaxMMTe DBe KHOPIK, HaxOJaIeNcEaNo 60KaM NaHe -JIn ynpabNeHn I BbITauNTe KopMOBoI 6yHKeP (pnc. F);
- NOTAHyB, CHIMITE OTKINHyU 3acNoHky (pnc. G);
- CHIMITE CДВИЖНУК КрБИШКУ KОРМОВOrO 6унКера, OДНоврЕмEHNO HЯЖАН ДВЕ 6OKOBье KHOПКИ;
TtataTeIbHo BbIMoIte KOpMOBoi 6yHKepe (He
NcnoJIb3yIte MOIOUne IINXIMNUeCKNe npenapaTbl!);
cobepnte KopMOB06yHkep B cIeDyUoUem IopRKe: KOpNyc KopMOBOrO 6yHKepa > uHEK > KpbuKa KopMOBOrO 6yHKepa > CdBnXHa R KpbuKa > OTKnIHa 3acNoHka; yBeiNTecb, qTO uHEK yCTaHOBJIen IIpaBnIbHo, 3aKpbIBaB BbIXoHoe OTBepCTne n3 KopMOBOrO 6yHKepa;
- Пиноедине Кормов byнкер К мотор氡у 6локу.
3AMEHA BATAPEI
Mby pekomehnyem BceEda 3aMeHb6aTapei:
-пегддптелньим OTCYTCTBnEМ;
KOrda CBeToIONoHbI INdNKaTOp KpaCHOrO cBeTa MeJIeHHO BCnblXnBaET;
- NOCE TOrO, KaK aBTOMaTnueCKa KOpMyuKa dNt -TeNbHoe Bpem He NcNoJIb30BaJalacb.
3aemeHnte 6atape ncldyuoum o6pa30m:
- OTKpoIeJIIOK 6aTapeHOrO OTcKa (pnc.H)
- ydaJInte pa3pJKeHHbIe 6aTapeu IN BCTaBbTe HOBbIe,
- npoBepbTe npaBnIbHocTb yCTaHOBKn 6aTapei (cM. 3HaUKN PONApHOCTN, BblaBJIeHHbIe Ha PnactMaCCOBOM Kopnyce);
- 3aKpOteJIIOKbaTapeHOroOTcKa.
IpeynpexdneHn! HnpabnBHO yctaHOBHeHbE 6atapen MOry T BBeCTn n3 CTPOAeKtpoHHyO CXEmy ynpabJeHra TaMepom ABTOMaTNUeCKo KOpMykN!
3ANACHbIE YACTN IN PUNHADJEXXHOCTN
3anachbIe qactn abTOMaTnuecko KOpMuykN CHEF PRO MoKHO npNo6peCTn B MaRa3nHe, B KOToPOM Bbl Kynni np6op. TaKx e B npOdaXe NMeIoTc MHOroUncJIeHHbIe npHaJdJIeXHocTn Ferplast. Ix accOPTmEHT NoCToAHNO 06HOBJIaETcN I npIMeha-ETcA dIpa3NIuHbIX Hxkd aKBapNymCTnKn. PpI 3aMeHe BblweDIIux n3 CTPOr DetalJe uCnoJIb3yI-Te TOnbKO opUNHaJIbHbIe 3anaChbIe qactn Ferplast, yTO6bl rapaHTnpOBaTb npaBnIbHyIO pa6Otu np6Opa n CoBIOJedHne Tpe6OBaHn TexHKn 6e3ONaCHoctn.
TAPAHTN
Ha 3TOT npodyk n BCE ero yactn n akceccyapbl pac -
IpoCTpaHReTc rapaHTnB IpeDeJax, npedyCMOTpeHHbIX HactoIzIM NyHKTom N DeiCTByIOZIMN IpaBOBbIMn HopMaMn. IpaHTn paCnpocTpaHReTc TOLbKO Ha npON3BOdCTBeHHbI 6paK n IpeDNoJaRaETnx 6ecnlaTHbI peMOHT nII 3aMeHy. IpaHTn He pacnpocTpaHReTc Ha NOLOMK INI IOBpeKdEHNBA13BaHHbIe XaJIaTHOCTbU, NcNOlb30BaHNEm, He npedycMOtpeHHbIM INHCTpyKzIyAMN, IN3IOXKeHHbIMNB daHHOM pyKOBoDCTBe, HeCuaCTHbIMN CnyaAMN, IN3MeHeHMAm, HePpABINbHbIM NcNOlb3OBaHNEm, HeppABINbHbIM pEMoHTOM IN Pn OTCyTCTBNI KBN-tAHznn. IpaHTn He pacnpocTpaHReTc Ha ry6Kn, yNlOTHTeJIbHbI 6Iok N fInlbTPaUHOHHbIe BeueCTBa.
BAXHO!

B npedex Ebponeckoro Co03a Hanuhe nepeepkhytoro Mycophoro KOHTeHepa Ha Konecax Ha npodykun, DOKyMeHaTauu nn
Ha ynaKOBKe, yka3bIBaET Ha 3aIpET yTuIN3aUIM BblweyKa3aHHOrO BMeCTe CO CMeUaHHbIMN 6bITOBbIMN OTXODAMN, B COOTBeTCTBnC DInpeKTbBOE EC (2012/19/EC) u DeiCTByUoJero HauHOJIbHO rAkoHOJaTeNbCTBa. IpoDyKUnr DOJxH aTuIN3uPObaTbcBcB C6OpHbIX NyHKtAX DInΦepeHcIpOBaHHbIX OTXoIOB INB aBTOpIN3OBaHHbIX MeCTAX CKlaIuPObaHnR IN YTuIN3aUIM OTXoIOB 3JeKTPnueCKoro IN ΕJeKTPoHNO-RO o6OpYIOBaHnR, B COOTBeTCTBnC DeiCTByUOUM 3aKOHOJaTeNbCTBOM CtpaHbI HaxOJdEHnR IpoDyKUnn. HenpaBnIbHoe O6paUeHne C OTXoIAm NODo6HO TnPa MoKet Bbl3BaTb HerATNBHO BIIraHne Ha OKpyXaIOU cyPeDy n 3IDOpOBbe CEIOBeka n3-3a NotehzuaJIbHO ONaChbIX MaTePnaIIOB, BblpaBaTbIBaeMbIX ΕJeKTPnueCKmM IN ΕJeKTPoHHbIM O6OpyIOBaHnEm. Kpome TOrO, npabINbHaa YTuIN3aUrN PoIO6HbIX MaTePnaIIOB CNOCob7ByET ΕΦeKTHBOMy NCIOJIb3BaHNIO PnpOINbIX pecypcoB. DoONIHNTbHyIO NHΦopMaunIO MOxHO NOLyUHTb y NOCTaBIuNkA pOdoKUnN, B MeCTbIX KOMnTeHTbIX OPraHOB IN HAUIO-HaJIbHbIX OPraHIN3aUnx IpnON3BOIDnteN.
CHEF PRO
AUTOMATYCZY KARMNIK DLA RYB

- Page 3:
- WARNING
- PROGRAMMING (FIG. B)
- P1/P2/P3
- +2h
- P1 + P3
- MANUAL
- P1 + P2
- BATTERY
- INSERTING THE FOOD
- CHEF PRO
- REGULATING THE AMOUNT OF FOOD TO BE SUPPLIED
- MAINTENANCE:
- CLEANING THE CONTAINER
- BATTERY REPLACEMENT
- SPARE PARTS AND ACCESSORIES
- GUARANTEE
- IMPORTANT
- MANGIATOIA AUTOMATICA
- DICIBOPER PESCI
- RICAMBI ED ACCESSORI
- RESERVDELAR OCH TILLBEHOR
- I P E D U N P E X K D E H N A
- ПОГРAMMЮBAHAЕ (PMC. B)
- - MANUAL (PYUHÖN PEXKIM)
- BATTERY (BATAPER)
- 3ATPY3KA KOPMA
- PERYUNPOBAHNEOBbEMA NOPNUKOPMA
- OBCJYKUBAHNE:
- OuHCTKA KOPMOBOFO BYHKEPA
- 3AMEHA BATAPEI
- 3ANACHbIE YACTN IN PUNHADJEXXHOCTN
- TAPAHTN
- BAXHO!
- AUTOMATYCZY KARMNIK DLA RYB
Brand : Ferplast
Model : Chef Pro
Category : Dog bark collar