Quick Mix HM313E10 - Food Processor MOULINEX - Free user manual and instructions
Find the device manual for free Quick Mix HM313E10 MOULINEX in PDF.
| Product type | Electric hand or stand mixer (depending on model) |
| Brand | Moulinex |
| Model | Quick Mix HM313E10 |
| Number of speeds | 5 speeds + Turbo button |
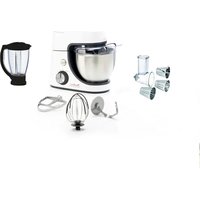
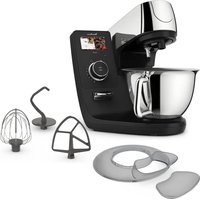
| Included accessories | 2 multi-wire whisks, 2 dough hooks for heavy doughs, bowl (depending on model), stand (depending on model) |
| Maximum capacity (whisks) | 4 egg whites |
| Maximum capacity (dough hooks) | 0.5 kg flour + 300 ml water |
| Max continuous operating time | 4 minutes |
| Rest time before reuse | 20 minutes |
| Recommended use (whisks) | Sauces, meringue, creams, mayonnaise, light batters |
| Recommended use (dough hooks) | Heavy doughs (bread, pizza, shortcrust, meat doughs) |
| Accessory material | Stainless steel or plastic (depending on model) |
| Cleaning accessories | Dishwasher safe or wash with soapy water |
| Cleaning the motor unit | Damp cloth only, do not immerse |
| Safety | Do not use metallic or abrasive objects; do not exceed 4 min of continuous use |
| Turbo function | Yes, for a boost (max 30 s for heavy doughs) |
| Whisk/dough hook foolproofing | Yes, the left whisk (G) fits into the larger hole |
| Ejection system | Eject button (A1) to release accessories |
| Stand use | With locking/unlocking button for arm (J) and mixer (K) (depending on model) |
Frequently Asked Questions - Quick Mix HM313E10 MOULINEX
User questions about Quick Mix HM313E10 MOULINEX
0 question about this device. Answer the ones you know or ask your own.
Ask a new question about this device
Download the instructions for your Food Processor in PDF format for free! Find your manual Quick Mix HM313E10 - MOULINEX and take your electronic device back in hand. On this page are published all the documents necessary for the use of your device. Quick Mix HM313E10 by MOULINEX.
USER MANUAL Quick Mix HM313E10 MOULINEX
N.B.: A booklet containing safety guidelines is provided with this appliance. Before using your appliance for the first time, please read the booklet carefully and keep it in a safe place.
Description
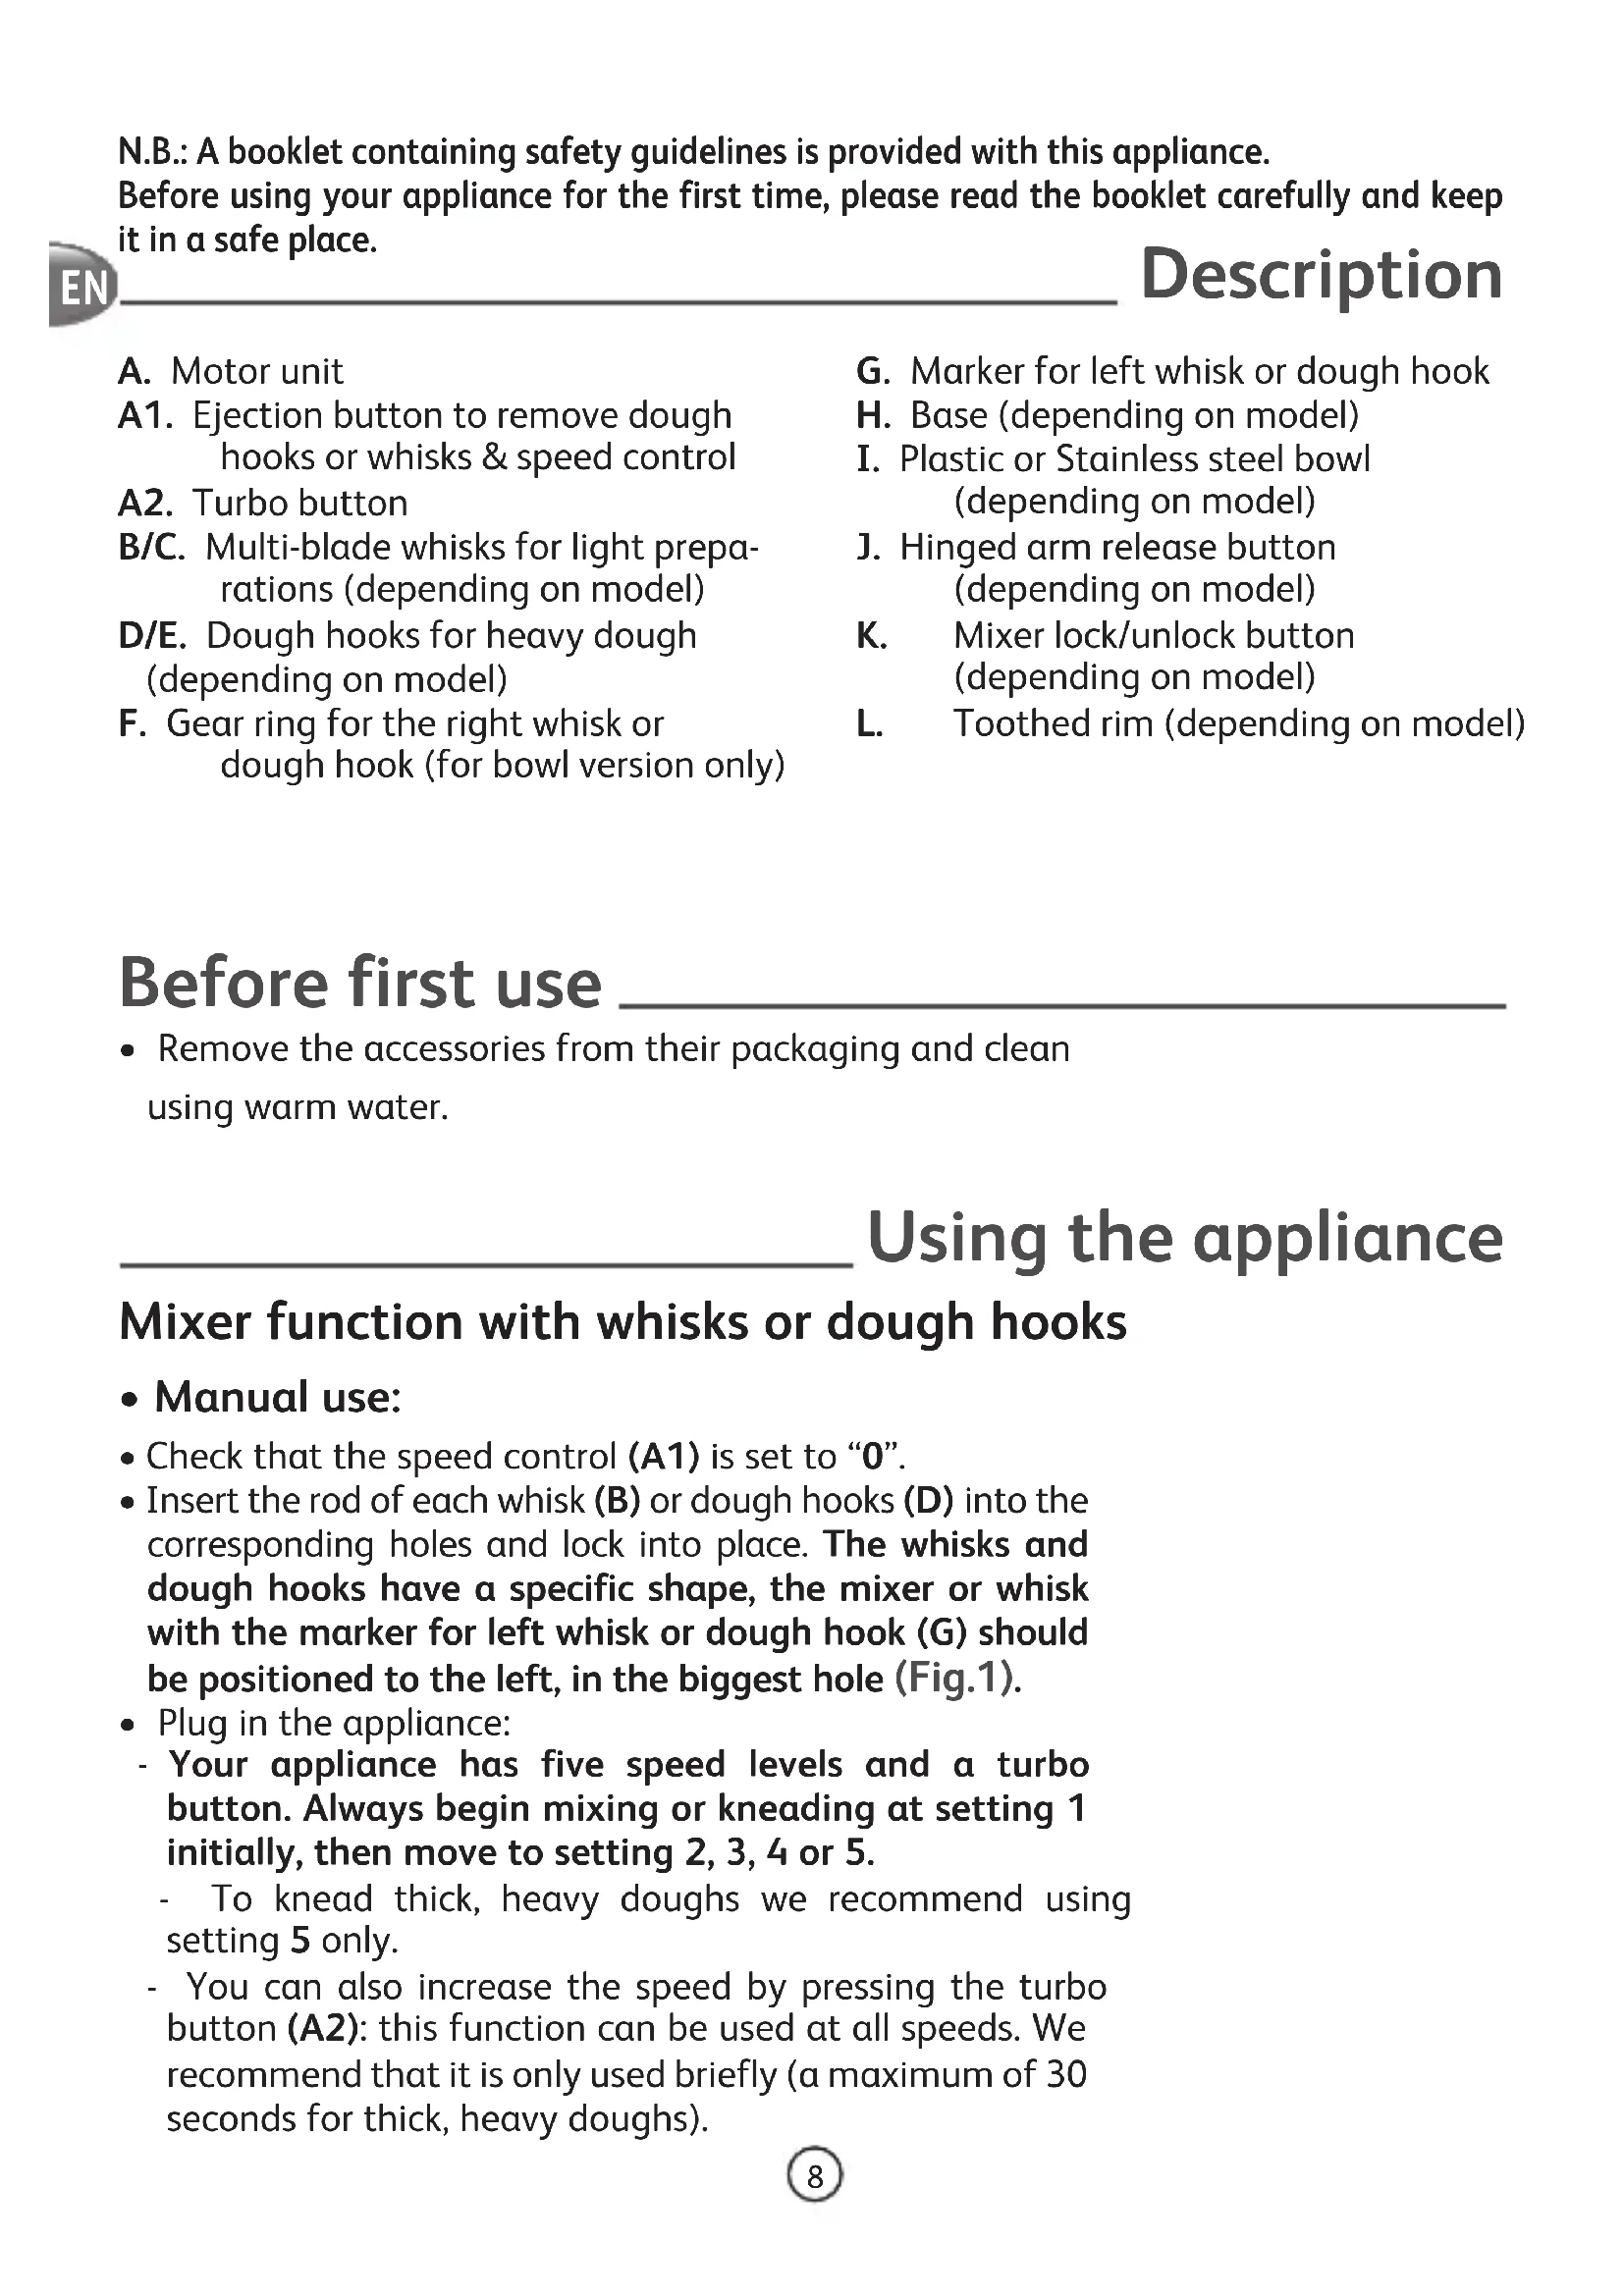
A. Motor unit
A1. Ejection button to remove dough hooks or whisks & speed control
A2. Turbo button
B/C. Multi-blade whisks for light preparations (depending on model)
D/E. Dough hooks for heavy dough (depending on model)
F. Gear ring for the right whisk or dough hook (for bowl version only)
G. Marker for left whisk or dough hook
H. Base (depending on model)
I. Plastic or Stainless steel bowl (depending on model)
J. Hinged arm release button (depending on model)
K. Mixer lock/unlock button (depending on model)
L. Toothed rim (depending on model)
Before first use
- Remove the accessories from their packaging and clean using warm water.
Using the appliance
Mixer function with whisks or dough hooks
- Manual use:
- Check that the speed control (A1) is set to "0".
- Insert the rod of each whisk (B) or dough hooks (D) into the corresponding holes and lock into place. The whisks and dough hooks have a specific shape, the mixer or whisk with the marker for left whisk or dough hook (G) should be positioned to the left, in the biggest hole (Fig.1).
-
Plug in the appliance:
-
Your appliance has five speed levels and a turbo button. Always begin mixing or kneading at setting 1 initially, then move to setting 2, 3, 4 or 5.
-
To knead thick, heavy doughs we recommend using setting 5 only.
- You can also increase the speed by pressing the turbo button (A2): this function can be used at all speeds. We recommend that it is only used briefly (a maximum of 30 seconds for thick, heavy doughs).
After finishing, set the speed control (A1) to "0".
Unplug the appliance.
- Then press the ejection button (A1) to remove the whisks or mixers.
- To avoid overheating of the motor unit (A), do not use the unit for more than 4 minutes.
- Rest 20 minutes before next operation.
- Always leave the appliance to cool down to room temperature before next usage, otherwise, it may overload and cause damage to the appliance.
Using with the base (H): (According to model)
- Check that the speed control (A1) is set to "0".
- Insert the rod of each whisk (C) or dough hook (E) into the corresponding holes and lock into place. The whisks and dough hooks have a specific shape, the mixer or whisk with the marker for left whisk or dough hook (G) should be positioned to the left, in the biggest hole (Fig.1).
- Place the base (H) on a flat, stable, heat and water resistant work surface away from water splashes and sources of heat.
- To raise the arm, unlock by pressing on the button (J) (Fig.3).
-
Position the bowl (I) (Fig.3).
-
Press on button (J) to unlock the arm and lower it (Fig.4).
-
Place the motor unit (A), fitted with whisks (C) or dough hooks (E), on the hinged arm until you hear it click into place (Fig.5).
-
Plug in the appliance:
-
Your appliance has five speed levels and a turbo button. Always begin mixing or kneading at setting 1 initially, then move to setting 2, 3, 4 or 5.
- To knead thick consistent doughs we recommend using setting 5 only.
- You can also increase the speed by pressing the turbo button (A2): this function can be used at all speeds. We recommend that it is only used briefly (a maximum of 30 seconds for thick, heavy doughs).
After finishing, set the speed control (A1) to "0".
- Unplug the appliance and press the unlock button (J) to raise the hinged arm. Then press the mixer unlock button (K) to remove the mixer from its stand.
- Then press the ejection button (A1) to remove the whisks (C) or dough hooks (E).

Note:
INSERT THE MIXER BY POSITIONING THE WHISKS OR DOUGH HOOKS IN THE NOTCHES (Fig.5)
Quantities and preparation times

Whisks for: sauces, beaten egg whites, creams, mayonnaise, sponge mixtures and light batters (e.g. pancake batters).
Dough hooks for: all types of heavy dough such as bread dough, pizza dough, shortcrust pastry and thick preparations containing minced meat.
| Accessories Maxi | num quantity Maximum | time Speed | |
| Multi-blade whisks (B or C) Whipped egg whites | 4 egg whites 4 min | 5 | |
| Dough hooks for heavy dough (D or E) White Bread | 0.5 kg flour, 300 ml water, 8 g dry yeast | 4 min 5 |
Cleaning
- Make sure that the appliance is unplugged.
- Clean the whisks (B/C), dough hooks (D/E) immediately after use to avoid remains of mixtures with egg or oil sticking or drying on them.
- You can clean the accessories under the tap with a sponge and washing up liquid. Hooks, whisks and bowl can put into the dishwasher.
- Only clean the appliance body using a damped cloth.
- Never wash the motor unit and base in the dishwasher.
- Do not use scourers or objects containing metal parts.
- Never immerse the motor unit in water. Wipe with a dry cloth.
-Ci3,cohblmeH kaTap,《Turbo》6aTbIPmacbIH (A2) 6acy apKbIbI
KbIJaAMDbIKTbI apTTbIpa aJacbl3; OcbI cyHKun6apblk 6ec XblJaAMdbIKTa da JyMbIC icTeiDi. CoHbIme6ipre, 6ipak, ocbl yHKnraHbI y3aKa YaKbIT 6oBbI KOJaHyfKeHec 6epMeM3 (TbIFbl3 KaMbIP ywiH ocbl cyHKunHbI 30 MmHyTTah apTbIK KOJaHyf 6oJMaNbI).
Kymblc icteydi aarktafahnaH KeiH XbIJaMdbIKTbI aybICTbIPbIN-KOCKbltbl (A1) 0» TaH6acbiHa opHaTbIHb3.
KypaIbI 3neKTpMeH KopeKTeHipy XeNiciHeh AxbIpaTbIHbI3.
OcbiHaH KeiH any 6aTbIPMacbiH (A1) 6acbHbI3 XHe 6yIfaybiITapdbi Hemece iImeKTeepdi aIbIHbI3.
Ko3faNTkbIbIbIH (A) Kbl3bIN KeTyIH 60JNbIpMay yuH 6nOKTbI 4 MInHyTTaH aca naJaHaHaHaHbI3.
Keleci epekeT aIdbiHda 20 MInyT 6oBly Kytih3.
- Keneci naДанану aIbIHda KypblfblHbI āpkaHaH caIkbHdayra KaIbIPbIHbI3, eITnecE, oI KbI3bIN KeTyi XeHe KypblfblHbI 3aKbIMdaybl MymkH.
- Yükekte (H) naianda hy: (yjrire 6aiahblctbl)
KbIJaMDbIKTbI ayblCTbIPbIN-KOCKblWTbIH (A1) «0» TaH6acbHda eKeHdiirHe Ke3 JeTKi3iHi3.
- Θp 6yIraIbIbIH (C) Hemece nIerIaTIn (E) e3eIH caikec TecikTepre kipri3in, opHbIHda KylbIITaHbI3. 6yIraIbIaTpDbIH xHe nIerIaTepdIN 6enrini 6ip niwiHi 6ap, coN XaK MapkePi (G) 6ap MmKcepDi Hemece 6yIraIbIbI coN XaKTA, eH YIKeH TecikTe opHaJAcTbIpy Kepek (1 cyp.).
YiKeKti (H) yCTeJIin XyMbIC 6eTIHe opHaTbIHbI3:
- BaTbIpMaHbI (J) 6acbIHbI3, aybICTbIpaTbIH 6iNikTi 6yFaTTaH UbIFapbIHbI3 XaHe OHbI KeTepiH3 (3 cyp.).
- ToctaraHdbI (I) opHaTbIHbI3 (3 cyp.).
- BaTbIPMaHbI (J) 6acbHb3, aybICTbIpaTbIH 6iNikTi 6yFaTTah WbIFapbHbI3 XaHE OHbI e3 opHbHa caJIbIHbI3 (4 cyp.).
- ByIaybIHTap (C) Hemece nIerIiTep (C) opHaTbIINFaH Ko3FaNTKbIIS 6IorBIn (A) WapHnpiik KPOHSTeHRe OPhbHa «WbIPT» eTin TYCKeHiH ecTireHwe KObIHbI3 (5 cyp.).
KypanDbI 3neKtpMeH KopeKeTHiPy XeJIcIHe KocBtHbI3: -
C3diH MUKcepiH3diH XblIaMdbIKTapbIHcAHbl - 5, coHdaH-aK, «Turbo» 6aTbIPMacbIMeH Xa6DbIKTaJFaH. ApanaactbipyHHeMece Hney1 TAnbAcBHaH 6actan, COcbH 5 TaHbAcBHa DeHH aybICTbpyfA 60nAdbl.
-
KaTbI nIeHRe HxHe TbIFbI3 KaMbIpDbI apaIacTbIpy yuH IN Tek 5 TaH6acbI 6ap XblIaMdbIKTa fHa XyMbIC icTeyre KeHec bepinei.
-
Ci3, cohbimeh kaTap, «Turbo» 6aTbipmacbH (A2) 6acy apkblbl XbldAmdbIKtbl apTTbipa anacbl3; Ocbl cyHKun8 6apIbIK 6ec XbldAmdbIKta da xymbcic icTei. CohImeH 6ipre, 6ipak, ocbl cyHKUHbI y3ak yaKbIT 6oBbl KOlaHyf aKeHeC 6epMeMl3 (TbIFbl3 KAmblp yuHOCbl cyHKUHbI 30 MInHyTTaH apTbIK KOJaHyfa 6oMaJbI).
Ha3ap aydapbIHbI3:
3JEKTPKETERIH
OPHATU
BAPbICbIHDA
6YJFAYbIUtAP
HEMECE IJIIMEKTEP
OuBIKTAPDA
OPHAJIACAdbl (5
cyp.)
MNKcep,
KyMbic icteydi aKaTafAHHa KeiH XbIJaMdbIKTbI aybICTbIPbIN-KOCKblWTbl (A1) «0» TaHbAcblHa opHaTbIHb3.
KypaIbI 3neKtpMeH KopeKTeHipy XeJicHe H axbIpaTbIHbI 3 XaHE aybICTbIpaTBiH 6bnIKTi KTepy ywiH 6yFaTTah 7bIFapy 6aTbIPMacBH 6acBtB13. CocBn 3neKtpKeTeKti (K) 6yFaTTay 6aTbIPMacBH 6acBtB13 XaHE OHbl KPOHHTeHHEN aNbIHbI3.
CodaH Kein 6yIaybIHTapDbI (C) Hemece nneriHTepDi (E) any ywiH sbIfapy TymMeWirH (A1) 6acblb3.
Ohimdeepin molwepi xhe daibHday yaKbITbl
Kencityre apHaIraH KEN KaJaKTbI canTamaJap Ty3DbIKTapDbI, KeNCiITIReH KymbIpTKa akybi3dapbIH, kinereinepdi, MaioHe3di JxHe KaMbip TypiHderi XapbIK nactacBn daBbHday ywiH KOndaHbIaNabi. KaMbipdbI apanactbipyfa apHaIraH canTamaJap aybip nactaHbI, MbicAlbI, HAhFa apHaIraH KaMbipDbI, NiucFa apHaIraH KaMbipDbI, YrInreH KaMbipDbI xHe KypambIHda TapTBlnFaH eti bap WJaMaDapDbI daBbHday ysiH KOndaHbIaNabi
| Керек-жарakтapЕн кени мелегшерЕн узak дайындануауытыЖылдамдik | |
| Кени жузддыrayыштap(B hemece C) Кенишитинген жумьртka akтары | 4 жуmbіртka afbl 4 мин. 5 |
| АуBER ркambьрва apналган ильіштетeP (D hemece E) Бенитөрі бirdөрт | 0,5 кг ун, 300 мл су, 8 г Кургak aшыткы 4 мин. 5 |
KyTim

KypaIbIH 3JIeKTPMeH KopeKeTHiPy XeIiHeH axbIpaTbIJFaHbHa Ke3 XeTI3IH3.
KmbipKa Hemee MaB 6ap KocnapanbIH KaIbIKTapbl Xabicbn Hemece Keyin KaImaybl ywiH 6yflayblTapbl (B/C), nJIerIHTepdi (D/E) NaJdaanhydAn KeiH bipDeH ta3aHaB13.
KocankbI KypaIapdbI WymeK actbHda ry6kamEn XHe Xyy cybIKtbIFbIMeH Ta3ana anacbi. InreKepti, 6ynfaybiTapdbI XHe TabakTbI bIDc Xyy MaunHaCbHa canyfa 60nabI.
KypbInfBIOKPnycblIeKdbIMkbINy6peKeNHa3aJNaHbI3.
Ko3raTTkbIbIbIN XeHe Heri3IH bIDbc Xyy MaHnHaBHa eWkaaH XymaHbI3.
KbipfbIHTapdbI Hemece MeTann 6eNikTeepi KaMTnTBH 3aTTapdbI naIdaIah6aHbI3.
Ko3raNTkbIb6norbIH cyf aewkaaah 6atbipMaHbI3. Kypfak wybepeKeH cyptiHi3.
j 1
.
Jglllglaljzjjzjjzjjzjjzjj:
.4ogj61 4ooU 1e sfo
$$ \therefore J a z $$
bbsj1 bsj:abso
aJg aBw
a
(5
.(3J) (J) jI J 12
$$ - (3 \sqrt {5}) $$
aIgaiia aaoa wgjll aa F
(bdd)glglggl)
JgJoo Joooo
JU 1111111111111111
cuiib Jlaoiwl
a 1
gJ1 Joo
b(A2)aJySoojj
J (D) jgll 1g (B) aee J5
g j b1 o1s i . d 0o g o j k s l t l 1 1 1 1 1 1 1 1 1 1 1 1 1 1 1
000000000000000000000000000000000000000000000000000
(1
$$ \therefore \frac {3}{5} L _ {2} $$
$$ - d c b $$
.
$$ \begin{array}{l} - b \dot {a} \ \stackrel {\Delta} {a} \stackrel {\Delta} {1} \stackrel {\Delta} {s} \stackrel {\Delta} {s} -: (A 2) s \ \end{array} $$
JiLlsswly baiLiSg. aiee ggea oJia Joo
(30) jgo

.0s ola 30 15
.
bglz jy dss. gds ydl sbg ydo 1 (J) j5 jy d5 g b 1 r csw Jt
J5 Jg j 1j S bgllo (K)
. SGH 4 (E) S (C) jzss J (A1) jdu dss
Sd
j 1
.
JglllglaljzjjzjjzjjzjjzjjzjjzjjzjjzjjzjjzjjzjjzjjzjjzjjzjjzjjzjjzjjzjjzjjzjjzjjzjjzjjzjjzjjzjjzjjzjjzjjzjjzjjzjjzjjzjjzjjzjjzjjzjjzjjzjjzjjzjjzjjzjjzjjzjjzjjzjjzJJ
.4ogj261 4a0uU 5c goo
| مینه نهان مینه په نهان | |||
| 5 | 4 | 4 | (C B) 00 j 00 |
| 5 | 4 | 300.18 m 0.5 m 0.18 m S 8 | E D) S S |
FA
LJSSOoI J (D/E) 8B(B/C)
1j 1 j j j j j j j j j j j j j j j j j j j j j j j j j j j j j j j j j j j j j j j j j j j j
S AOB = S AOC + S_ OBC
j
.0000000000000000000000000000000000000000
S OBC = S COD + S BOC
.
.
S = S ACD + S CDE
S ACD = S COD + S_ CDA
.
日 日 日 日 日 日 日 日 日 日 日 日 日 日 日 日 日 (A1)(Eject)
1.
4jl bJl (A) jggo oKooo Jj 1
.1iSj 0slaai d
.
y
.0g 0kws 4 b y g w1 dclg g w p5 jj jw cww jSoo
(1) (H) 4yL
.
Joo 00 g 00 d00 4000 (E) 5000 (C) 00
jLj jn jn jn bgln. nJn JkJn Jn Jn
00000000000000000000000000000000000000000000000000
(1
.
| x,y| = 1;|z| = 2
(3 y) 1j j0sJ (J) 4Sd dssds
J 1
.(3)
laJrJ 4yga) dss Jdss G. (J) aS drjLjS jIjIa
(5) (A)
(5g) 1000
_1 ≤ _2 1, _1 < _0
FA
4j j 1. dssg g s y g
- i.s5 e9-1 c0 20 no no 5 1 20 5 bglfo j 0 c0
.0g w 4w g3 a c r w j1 olaew b
J:duu dJ (A2) gurj 45d Jr Jc r w dglg -
Lgic 1000000000000000000000000000000000000000000
15 15 15 15
.155 155
.1s sssg jgl gaoaaggl aai l uuiSjdrj5 j
.
j00000000000000000000000000000000000000000000000000000000000
Oo
J 1 J
G
A
()4
H
L 405d A1
(jdu )dul
I
cJjSg jao
(joo bpr) yj j0s 0j40
J
gss A2
(jdu b) j5 bgljswjdsjL40S
K
(1u b) Sw slgo s rddjoo C/B
()
L