WS 8019 - Clock TECHNOLINE - Free user manual and instructions
Find the device manual for free WS 8019 TECHNOLINE in PDF.
| Product type | Radio-controlled clock with LCD display |
| Brand | TECHNOLINE |
| Model | WS 8019 |
| Power supply | 4 AA batteries (not included) |
| Time reception | DCF signal (radio-controlled) |
| Display | Time, date, day of week, indoor temperature |
| Time format | 12h/24h |
| Time zone | Adjustable from -9 to +9 |
| Temperature unit | Celsius or Fahrenheit |
| Night light | Integrated, with programming and brightness adjustment |
| Operating temperature | 0 °C to +45 °C |
| Thermal resolution | 0.1 °C |
| Display languages for days | English, Spanish, Italian, French, German |
| Use | Indoor (wall or table clock) |
| Care and cleaning | Soft dry cloth, do not immerse |
| Safety | Do not open the casing, avoid shocks and moisture |
| Spare parts and repairability | No spare parts available, device not user-repairable |
| General information | Compliant with EU directives 2014/53/EU and ROHS 2011/65/EC |
Frequently Asked Questions - WS 8019 TECHNOLINE
User questions about WS 8019 TECHNOLINE
0 question about this device. Answer the ones you know or ask your own.
Ask a new question about this device
Download the instructions for your Clock in PDF format for free! Find your manual WS 8019 - TECHNOLINE and take your electronic device back in hand. On this page are published all the documents necessary for the use of your device. WS 8019 by TECHNOLINE.
USER MANUAL WS 8019 TECHNOLINE
A3: PM Symbol A4: Nachricht "ON" Symbol
WS8019 - INSTRUCTION MANUAL
Wall clock with radio-controlled time and temperature
OVERVIEW
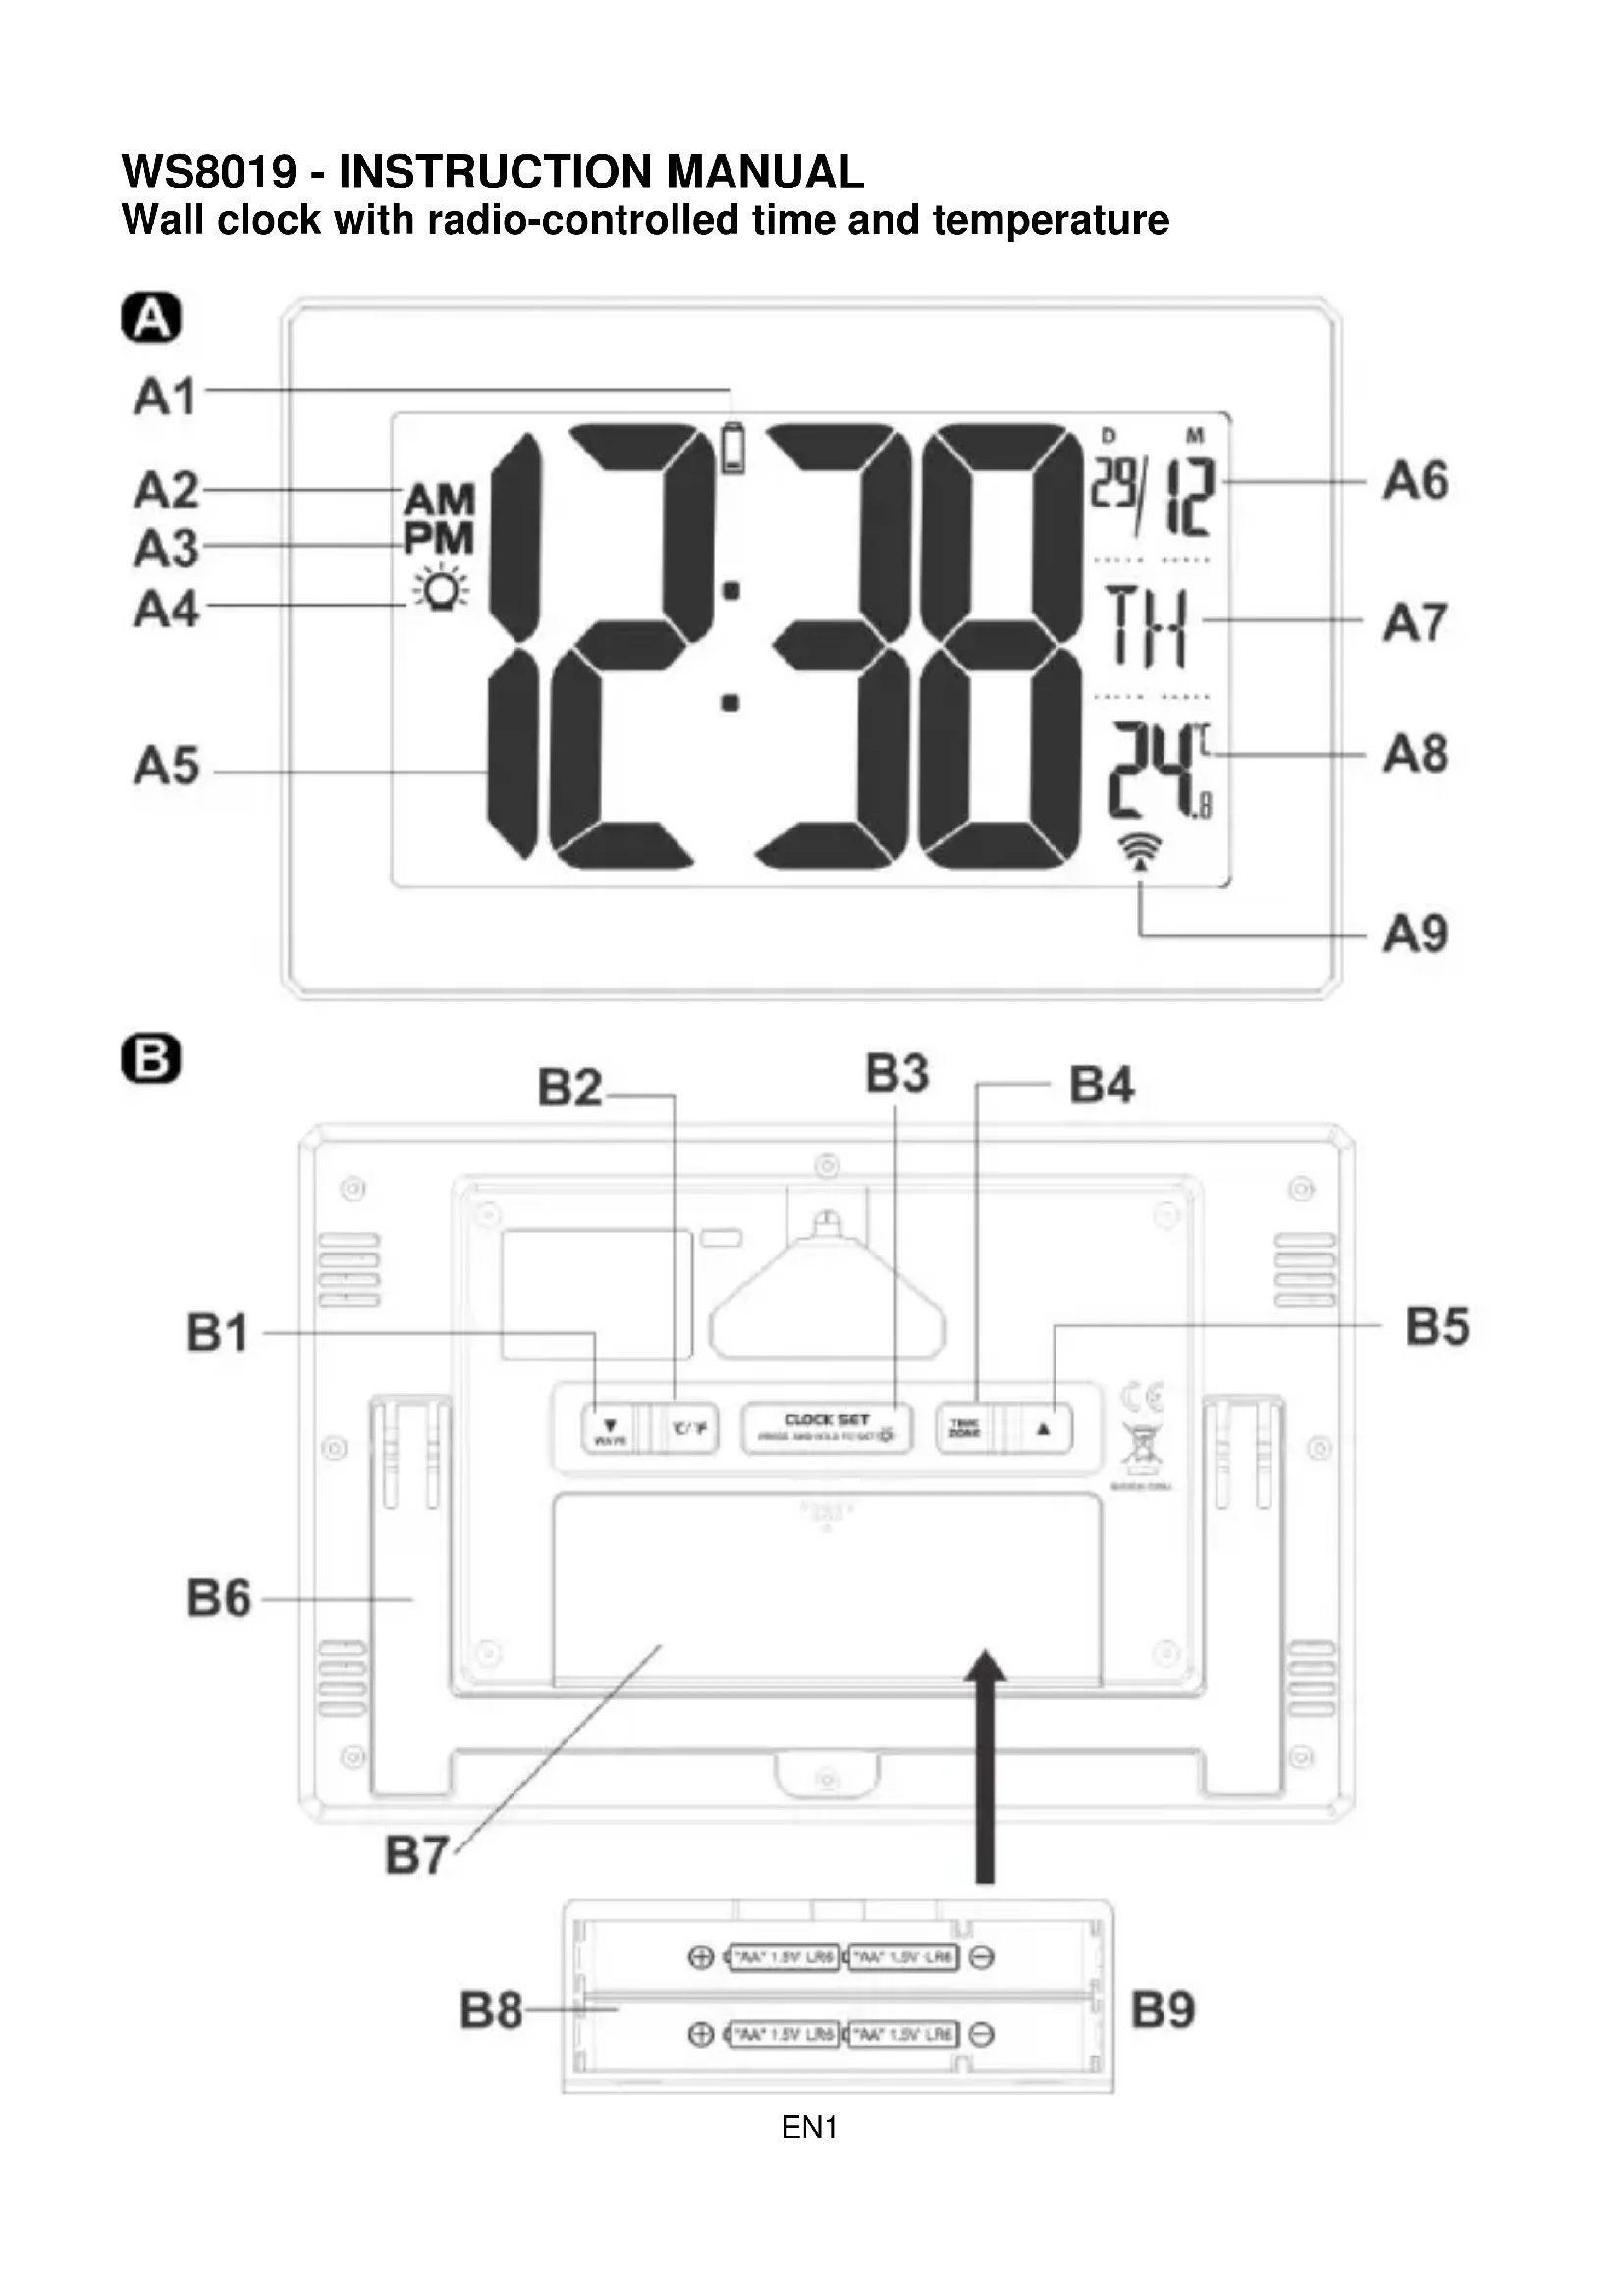
A-Front view
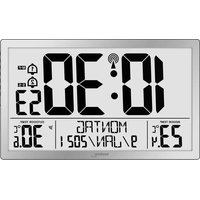
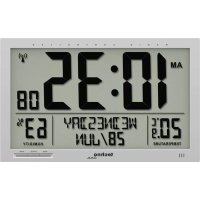
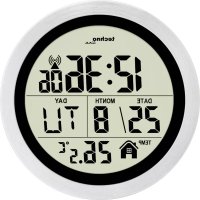
A1: Low battery indicator A2: AM icon
A3:PMicon A4:NIGHT-LIGHTONicon
A5: Time A6: Month / Date
A7: Weekday A8: Temperature
A9: RCC icon
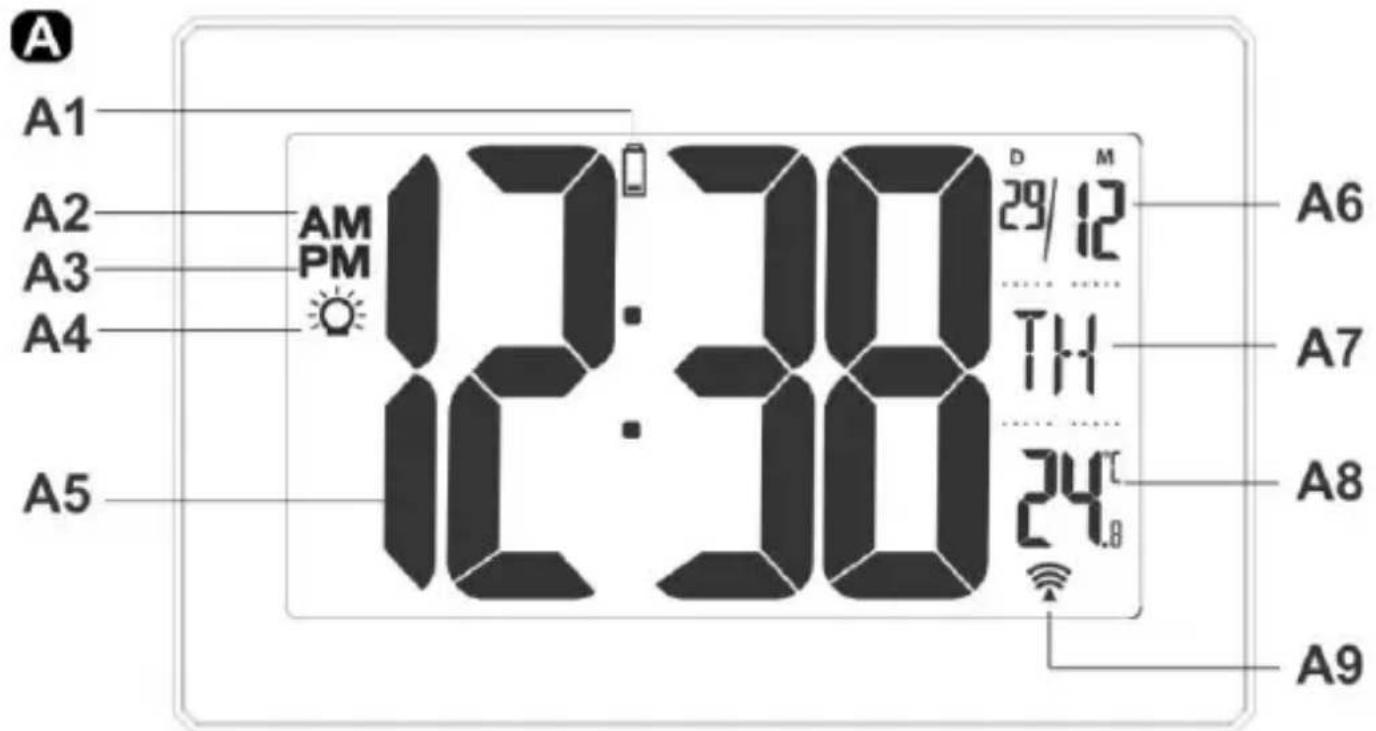
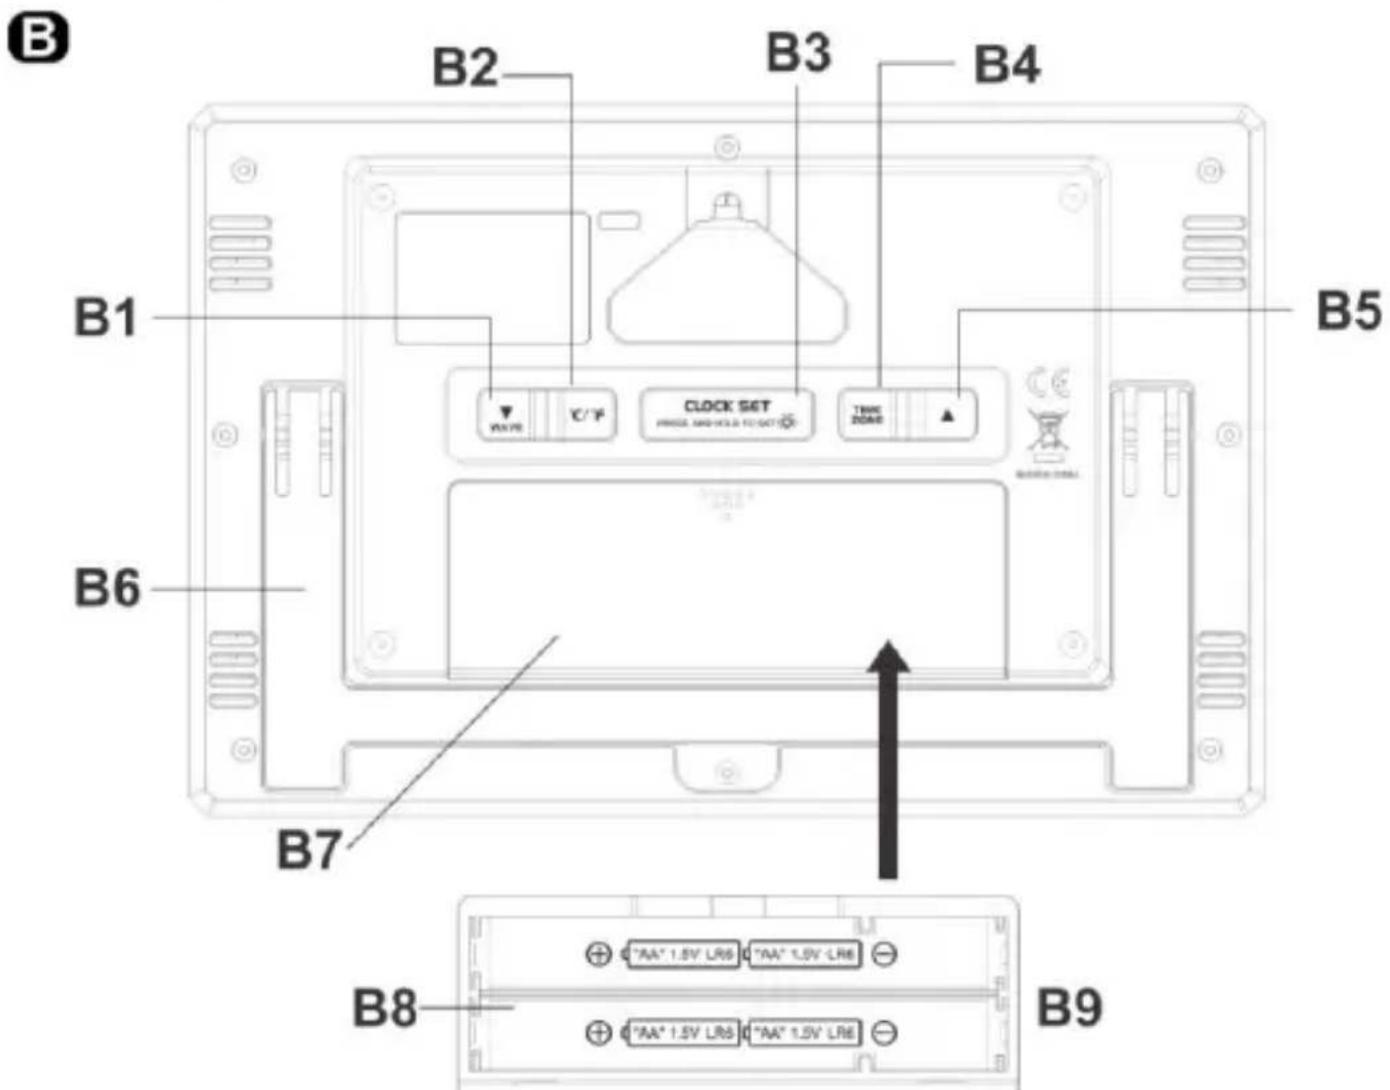
B-Back view
B1:DOWN/WAVE button B2:°C/°F button
B3:LED LIGHT ON-OFF/CLOCK SET button
B5: UP button
B7: Battery compartment door
B9: Insert 4 × AA batteries (not included)
B4:TIME ZONE button
B6: Holder
B8: Battery compartment
Please read this instruction manual before using to enjoy the best product experience.
BATTERY INSTALLATION
- Remove the protective film at the front of the clock.
- Place your clock face down on a flat and soft surface.
- Slide and remove the battery cover at the back of your unit.
Insert 4 x new AA batteries into the battery compartment by observing the correct "+" and - polarity. - Slide and replace the battery cover.
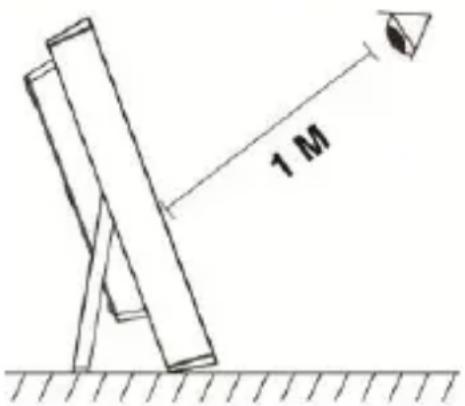
VIEWING ANGLE OF THE LCD
This clock is designed primarily as a wall clock so the LCD is optimized at eye level or lower viewing angle. If you use it on the table top, the LCD is good for upper viewing by keeping around 1-meter distance or more.
ENVIRONMENTAL RECEPTION EFFECTS
The clock obtains the accurate time with wireless technology. Same as all wireless devices, the reception is maybe affected by the following circumstances:
- long transmitting distance
- nearby mountains and valleys
- near freeway, railway, airports, high voltage cable etc.
near construction site
among tall buildings - inside concrete buildings
near electrical appliances (computers, TV's, etc) and metallic structures - inside moving vehicles
Place the clock at a location with optimal signal, i.e. close to a window and away from metal surfaces or electrical appliances.
DCF SIGNAL RECEPTION AND SIGNAL INDICATOR
After your clock is powered up, it starts to receive DCF signal. The icon flashes.
Receiving DCF signal (icon flashing)
Successful Reception (icon becomes static)
Failed Reception (icon disappear)
AUTOMATIC RECEPTION AND MANUAL RECEPTION
Your clock starts automatic reception everyday at 1:00, 2:00, and 3:00. If it fails to receive the DCF time signal at 3:00, it will start reception at 4:00. If it fails again, it will start reception at 5:00. If it fails again, it will start automatic reception at 1:00 again in the next day.
MANUAL RECEPTION: Press and hold / W A V E , your clock will start manual reception. Press and
hold WAVE again to stop DCF reception.
During RCC reception, all buttons do not function and it does not take temperature measurement.
TO DISABLE/RESUME DCF RECEPTION
Press and hold and / W A V E at the same time for 2 seconds, icon light and display "OFF", your clock will disable automatic radio controlled reception function.
At this moment, user can press and hold WAVE to implement manual reception.
To resume automatic radio controlled function, press and hold and / WAVE at the same time
for 2 seconds, icon light and display "ON", and will start DCF reception immediately.
TO SET TIME ZONE
At normal mode, press the TIME ZONE button and "00" is flashing. Press or button to select 1 to 9 time zone or -1 to -9 time zone. For example, select 00 for Germany or -01 for the UK.
Press the TIME ZONE button to save setting and re and return to normal mode.
TO SET TIME, 12/24HR, CALENDAR
- At normal mode, simply press SET, hour digit flash, press or to set hours. Press and hold or to accelerate setting at fast speed.
- Press SET again, the minute digits flash, press or to set minutes. Press and or to accelerate setting at fast speed.
- Press SET again, the display shows "24Hr" flash, press or to select 12Hr 24Hr. In 12Hr mode, AM will appear on the display to indicate morning time. PM will appear on the display to indicate afternoon time.
- Press SET again, year "2018" flash, press or to set year.
- Press SET again, month digit "1" flash, press or to set month.
- Press SET again, date digit "1" flash, press or to set date.
- Press SET again, "D"/"M" flash, press or to select M/D or D/M indication.
- Press SET again, Day digit flash, press ▲ or ▼ to select English (default)/ Spanish / Italian / French / German language.
- Press SET once again to return to normal mode or it will return to normal mode in around 10 seconds if no further press of any other buttons.
At normal mode, press and hold SET, light and "OFF" flash, press or to select "ON" or "OFF"
- Press SET again, "0:00" flash, press or to set nightlight start time.
- Press SET again, "6 Hr" flash, press ▲ or ▼ to select 1 Hr to 10 Hr nightlight duration time.
- Press SET again, "HI" flash, press or to select "HI" or "LO" nightlight brightness.
- Press SET once again to return to normal mode or it will return to normal mode in around 10 seconds if no further press of any other buttons.
TO SET CELSIUS OR FAHRENHEIT
At normal mode, press ^ / ^ once to toggle Celsius or Fahrenheit display.
LOW BATTERY INDICATOR
The low battery indicator will appear between the digits when the batteries are low. Replace new battery with your clock. Alkaline batteries are recommended.
TROUBLESHOOTING
If your clock displays irrelevant time or does not function properly, which maybe caused by electrostatic discharge or other interference, slide open the battery cover, take out the batteries and reinstall them by observing the correct + / - polarity. Your unit will be reset to default settings and you need to set it again.
Hereby, Technotrade declares that this product WS 8019 is in compliance with the essential requirements and other relevant provisions of Directive 2014/53/EU and ROHS 2011/65/EC. The original EU declaration of conformity may be found at: www.technoline.de/doc/4029665080192
SPECIFICATIONS
Operation Temperature: 0^ to +45^
Temperature Range - Indoor 0^ to +50^ (display shows HH.H / LL.L if out of this range)
Temperature Resolution 0.1°C
Precautions
- This main unit is intended to be used only indoors.
- Do not subject the unit to excessive force or shock.
- Do not expose the unit to extreme temperatures, direct sunlight, dust or humidity.
- Do not immerse in water.
- Avoid contact with any corrosive materials.
- Do not dispose this unit in a fire as it may explode.
- Do not open the inner back case or tamper with any components of this unit.
Batteries safety warnings
- Install batteries correctly by matching the polarities (+/-) .
- Always replace a complete set of batteries.
- Never mix used and new batteries.
- Remove exhausted batteries immediately.
- Remove batteries when not in use.
- Do not recharge and do not dispose of batteries in fire as the batteries may explode.
- Ensure batteries are stored away from metal objects as contact may cause a short circuit.
- Avoid exposing batteries to extreme temperature or humidity or direct sunlight.
- Keep all batteries out of reach from children. They are a choking hazard.
Use the product only for its intended purpose!
Consideration of duty according to the battery law

Old batteries do not belong to domestic waste because they could cause damages of health and environment. You can return used batteries free of charge to your dealer and collection points. As end-user you are committed by law to bring back needed batteries to distributors and other collecting points.
Consideration of duty according to the law of electrical devices
This symbol means that you must dispose of electrical devices separated from the General household waste when it reaches the end of its useful life. Take your unit to your local waste collection point or recycling centre. This applies to all countries of the European Union, and to other European countries with a separate waste collection system.
WS8019 - GUIDE D'UTILISATION
A3: Icono PM
A5: Hora
A7: Día laborable
A9: Icono RCC
A2: Icono de AM
A4: Icono de LUZ NOCTURNA CONECTADA
A6: Mes/Fecha
A8: Temperatura
B - Vista posterior
CONFIGURAR LA LUX NOCTURNA
WEERGAVEHOEK VAN DE LCD
B6: Custodia
B8: Vano battery