IAN 332804 - Outdoor blind FLORABEST - Free user manual and instructions
Find the device manual for free IAN 332804 FLORABEST in PDF.
User questions about IAN 332804 FLORABEST
0 question about this device. Answer the ones you know or ask your own.
Ask a new question about this device
Download the instructions for your Outdoor blind in PDF format for free! Find your manual IAN 332804 - FLORABEST and take your electronic device back in hand. On this page are published all the documents necessary for the use of your device. IAN 332804 by FLORABEST.
USER MANUAL IAN 332804 FLORABEST
DOPPEL-SEITENMARKISE/DOUBLE SIDE AWNING /DOUBLE STORE LATERAL
DE AT CH
Assembly, operating and safety instructions
NL BE
DUBBELEZIJMARKIEZEN
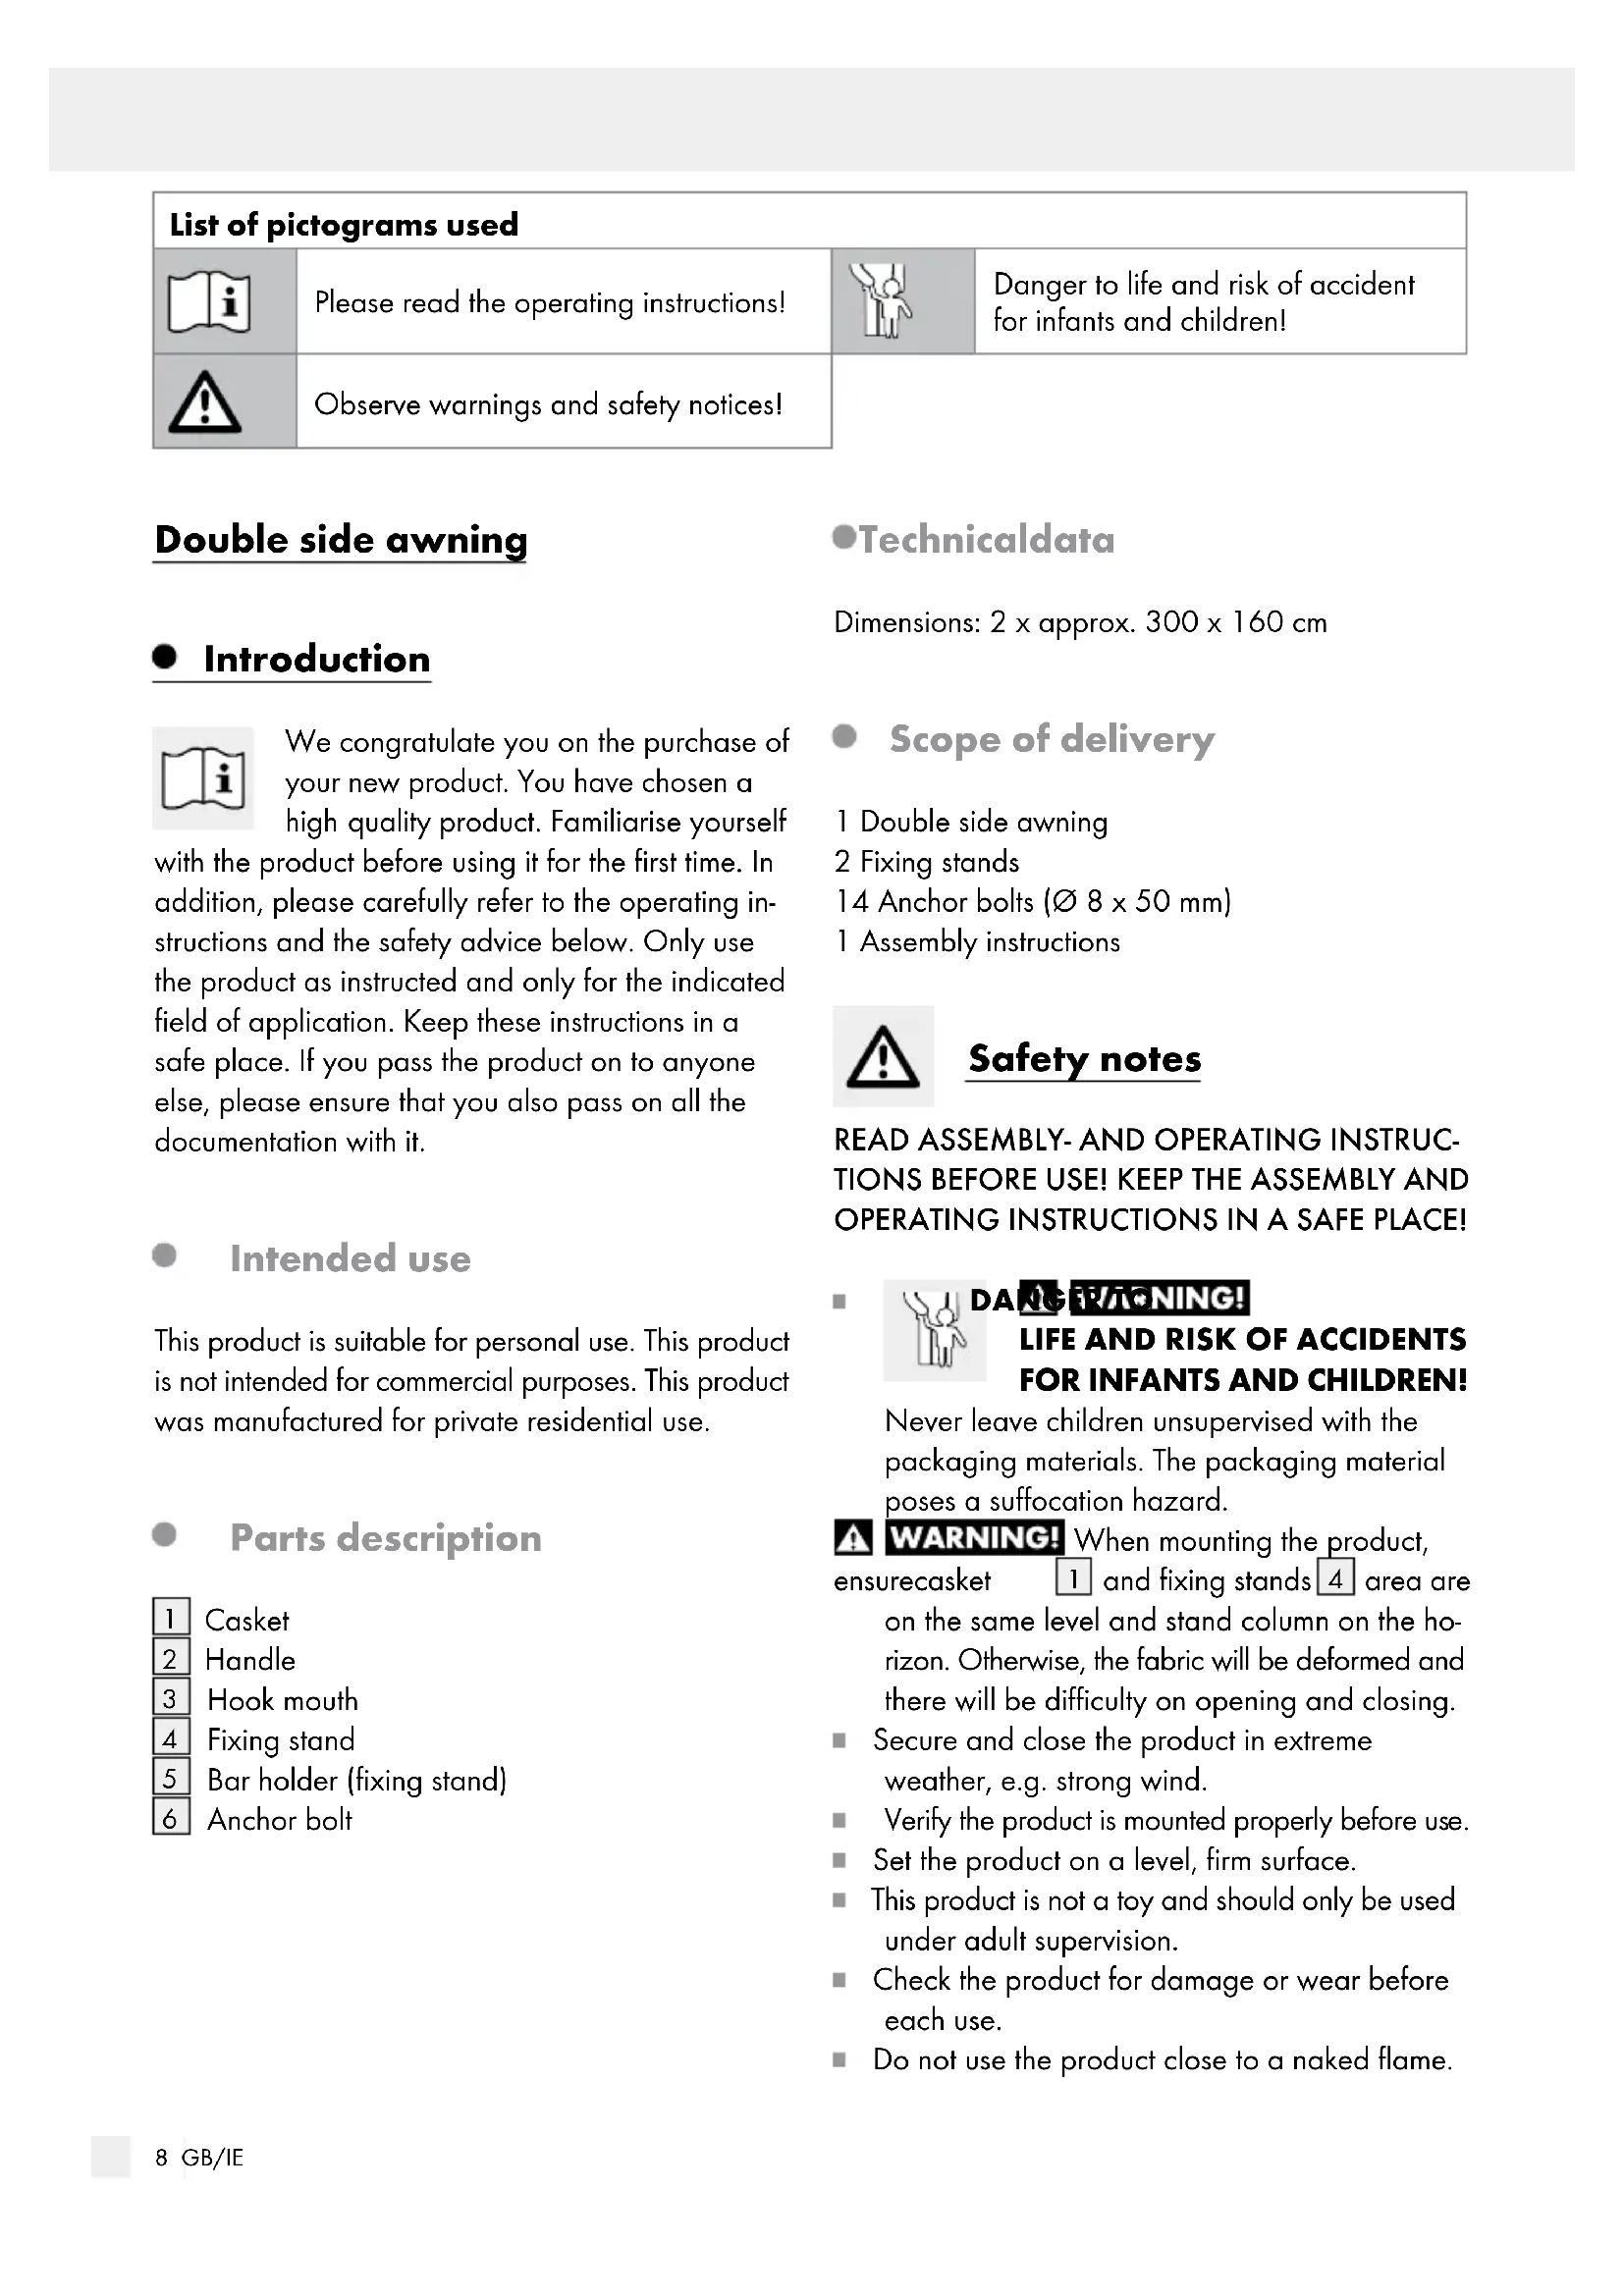
List of pictograms used

Please read the operating instructions!

Danger to life and risk of accident for infants and children!

Observe warnings and safety notices!
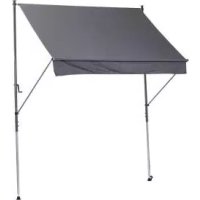
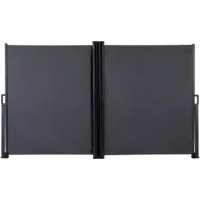
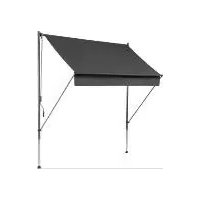
Double side awning

Introduction

We congratulate you on the purchase of your new product. You have chosen a high quality product. Familiarise yourself
with the product before using it for the first time. In addition, please carefully refer to the operating instructions and the safety advice below. Only use the product as instructed and only for the indicated field of application. Keep these instructions in a safe place. If you pass the product on to anyone else, please ensure that you also pass on all the documentation with it.

Intended use
This product is suitable for personal use. This product is not intended for commercial purposes. This product was manufactured for private residential use.

Parts description
Casket
Handle
Hook mouth
Fixing stand
Bar holder (fixing stand)
Anchor bolt
-Technicaldata
Dimensions: 2 × approx. 300 × 160 cm

Scope of delivery
1 Double side awning
2 Fixing stands
14 Anchor bolts ( 8× 50mm)
1 Assembly instructions

Safety notes
READ ASSEMBLY- AND OPERATING INSTRUCTIONS BEFORE USE! KEEP THE ASSEMBLY AND OPERATING INSTRUCTIONS IN A SAFE PLACE!


DAAC 7ANING!
LIFE AND RISK OF ACCIDENTS FOR INFANTS AND CHILDREN!
Never leave children unsupervised with the packaging materials. The packaging material poses a suffocation hazard.

WARNING! When mounting the product,
ensurecasket 1 and fixing stands area are on the same level and stand column on the horizon. Otherwise, the fabric will be deformed and there will be difficulty on opening and closing.
Secure and close the product in extreme weather, e.g. strong wind.
Verify the product is mounted properly before use.
Set the product on a level, firm surface.
This product is not a toy and should only be used under adult supervision.
Check the product for damage or wear before each use.
Do not use the product close to a naked flame.
We recommend that two persons assemble the product together in order to avoid injuries or damage to people or the product.
- Do not release handle 2 after removing from stand 4, until it is fixed in the casket 1.
Releasinghandle 2 without attention may result in damage and / or injury.
The operation in frosty conditions may damage the product.
There is no maintenance required by the user.
Wind resistance class 1 = wind beaufort scale 4 = 20 - 27km / h (small branches start to move, loose paper is lifted)
Assembly instructions
- First locate a suitable installation position on the ground and mark six hole positions of the casket [1] (see fig. A).
Drill 5-centimeter-deep holes in the marked places with a broach which has a diameter of 8 millimeters (see fig. B).
Important: Make sure before locating anchor bolts are suitable for surface type. If not suitable, consult your local hardware or DIY store.
Fix the product on the ground with the anchor bolts 6 by hammering them into the pre-drilled holes with a hammer (see fig. C). Tighten the anchor bolts 6 with a wrench.
Locate the fixing stand 4 position ensuring casket 1 and stand 4 are at same level and aligned. Fixing stand 4 can be mounted at max. 300~cm from casket 4 (see fig. D). Mark the fixing stand holes and drill 5-centimeter-deep holes in the marked places with a broach which has a diameter of 8 millimeters (see fig. E). Fix the stand 4 with the anchor bolts 6 by hammering them into the pre-drilled holes with a hammer (see fig. F). Tighten the anchor bolts 6 with a wrench.
- Opening awning (see fig. G)
Hold the handle 2 and walk to the fixing stand 4.
Insert the hook on the top of stand 4 into the hook mouth 3 (under the handle 2).
Insert the front bar into the bar holder 5 (bottom of stand).
Closingawning
Hold the handle 2 and pull back a little bit (There is a groove to lock the handle 2 and fixing stand 4, so it is hard to pull up directly.) and lift up.
Grasp the handle 2 and walk to the casket 1. Move the handle 2 slowly and horizontally. The fabric will draw back itself into the casket 1.
- Cleaning and care
- Allow all parts to dry thoroughly before you pack the product up again. This will prevent the formation of moulds, odours and discolouration.
Clean this product with a slightly dampened, lint-free cloth.
Store the product in a sheltered room. Or always store the dry and clean product at room temperature.
Disposal
The packaging is made entirely of recyclable materials, which you may dispose of at local recycling facilities.
Contact your local refuse disposal authority for more details of how to dispose of your worn-out product.
Warranty
The product has been manufactured to strict quality guidelines and meticulously examined before delivery. In the event of product defects you have legal rights against the retailer of this product. Your legal rights are not limited in any way by our warranty detailed below.
The warranty for this product is 3 years from the date of purchase. Should this product show any fault in materials or manufacture within 3 years from the date of purchase, we will repair or replace it - at our choice - free of charge to you.
The warranty period begins on the date of purchase. Please keep the original sales receipt in a safe location. This document is required as your proof of purchase. This warranty becomes void if the product has been damaged, or used or maintained improperly.
The warranty applies to defects in material or manufacture. This warranty does not cover product parts subject to normal wear, thus possibly considered consumables (e.g. batteries) or for damage to fragile parts, e.g. switches, rechargeable batteries or glass parts.
Warranty claim procedure
To ensure quick processing of your case, please observe the following instructions:
Please have the till receipt and the item number (e.g. IAN 123456_7890) available as proof of purchase.
You will find the item number on the type plate, an engraving on the front page of the instructions (bottom left), or as a sticker on the rear or bottom of the appliance.
If functional or other defects occur, please contact the service department listed either by telephone or by e-mail.
You can return a defective product to us free of charge to the service address that will be provided to you. Ensure that you enclose the proof of purchase (till receipt) and information about what the defect is and when it occurred.
Service
GB Service Great Britain
Tel.: 0800 404 7657
E-Mail: owim@lidl.co.uk
IE Service Ireland
Tel.: 1890 930 034
(0,08 EUR / Min., (peak))
(0,06 EUR / Min., (off peak))
E-Mail: owim@lidl.ie
OHROZENI ZIVOTA A URAZUMALYCH I VETSICH DETI! Ne-