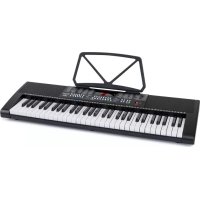
Etude 300 - MIDI Keyboard Schubert - Free user manual and instructions
Find the device manual for free Etude 300 Schubert in PDF.
User questions about Etude 300 Schubert
0 question about this device. Answer the ones you know or ask your own.
Ask a new question about this device
Download the instructions for your MIDI Keyboard in PDF format for free! Find your manual Etude 300 - Schubert and take your electronic device back in hand. On this page are published all the documents necessary for the use of your device. Etude 300 by Schubert.
USER MANUAL Etude 300 Schubert
natural_image
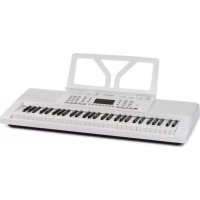
Front view of a black electronic keyboard with piano keys and control knobs (no visible text or symbols)Voice, Rhythm, Chord Clear 3 10 Percussion Panel
Display 4 11 Beat, Teaching, Demo
REC, Prog, Play 5 12 Auto Chord
Drums, Sustain, Vibrato, Split 6 13 Lautsprecher
Nummerntasten
Anschlüsse
text_image
HEADPHONES MIC DC 9V - - + ③ ② ①text_image
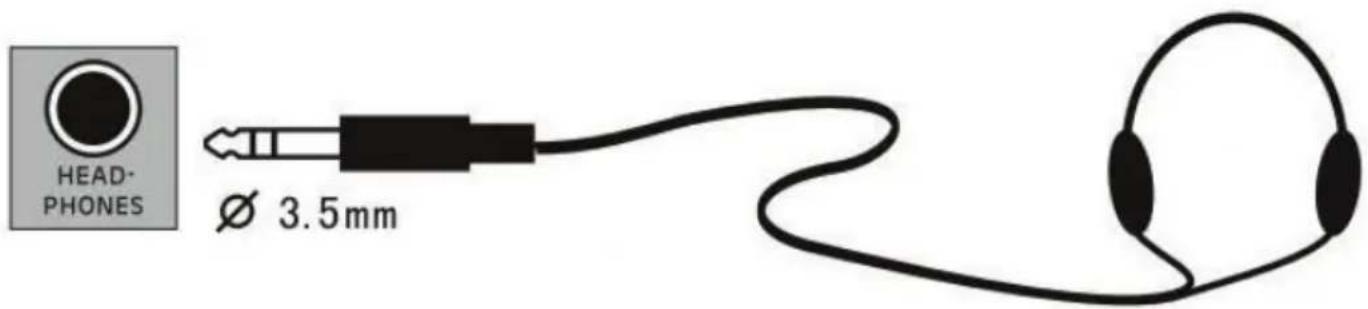
HEAD- PHONES Ø 3.5mmnatural_image
Symbol of a trash bin crossed with a diagonal line, no text or numbers presentBerlin Brands Group UK Ltd
PO Box 1145
Oxford, OX1 9UW
United Kingdom
Member of Berlin Brands Group
Handwerkerstr. 11
15366 Dahlwitz-Hoppegarten
Deutschland
Congratulations on purchasing this product. Please read and follow these instructions, in order to avoid damaging the item. We do not cover any damages that may arise from improper use of the item or the disregard of the safety instructions.
Important Safety Advice
- Read all instructions before using.
- To protect against a fire, electric shock or personal injury, do not immerse cord, electric plugs or device in water or other liquids.
- Do not expose the appliance to extreme temperatures. The appliance shall be used in moderate climates.
- The use of attachments that are not recommended by the appliance manufacturer may result in fire, electric shock or personal injury.
- Do not open the unit by removing any cover parts. Do not attempt to repair the unit. Any repairs or servicing should be done by qualified personell only.
- Only qualified persons may perform technical work on the product. The product may not be opened or changed. The components cannot be serviced by the user. The manufacturer is not responsible for any radio or TV interference caused by unauthorized modifications.
- The appliance is not a toy. Do not let children play with it. Never let children insert foreign objects into the appliance.
- Never clean the surface of the device with solvents, paint thinners, cleansers or other chemical products. Instead, use a soft, dry cloth or soft brush.
- Save these instructions.
Small objects
Keep small objects (i.e. screws, mounting material, memory cards etc.) and packaging out of the range of children. Do not let Children play with foil. Choking hazard!
Transporting the device
Please keep the original packaging. To gain sufficient protection of the device while shipment or transportation, make sure to put it back in its original packaging.
Cleaning the surface
Do not use any volatile liquids, detergents or the like. Use a clean dry cloth.
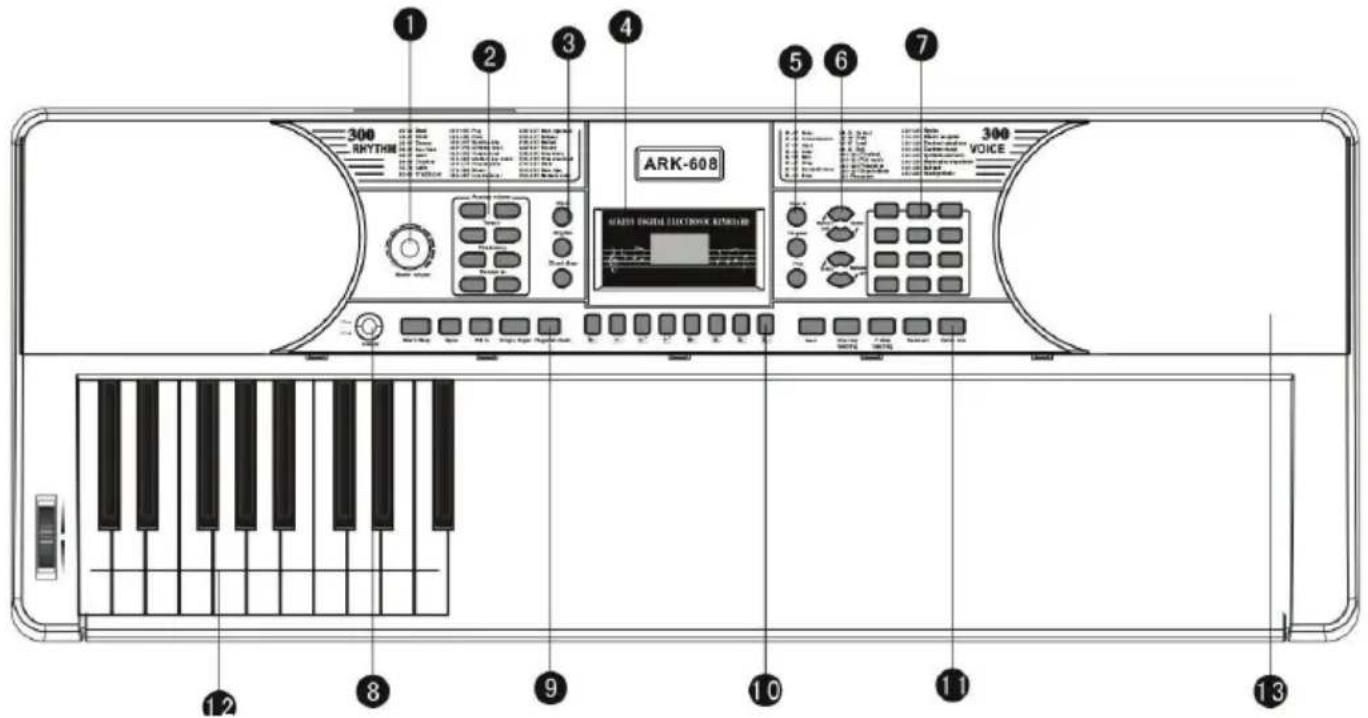
Overview
text_image
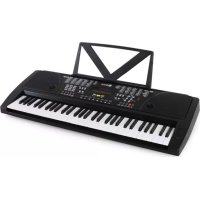
300 RHYTHIN ARK-608 300 VOICE MARTO DIGITAL ELECTRONIC REMOTLER 12 8 9 10 11 13Volume 1 8 Power on/off
Accomp. Volume, Tempo, Fine Tune, Transpose
2 | 9 | Start/stop, Sync, Fill, Single/Fingered
Voice, Rhythm, Chord Clear 3 10 Percussion panel
Display 4 11 Beat, Teaching, Demo
REC, Prog, Play 5 12 Auto Chord
Drums, Sustain, Vibrato, Split 6 13 Speakers
Num pad
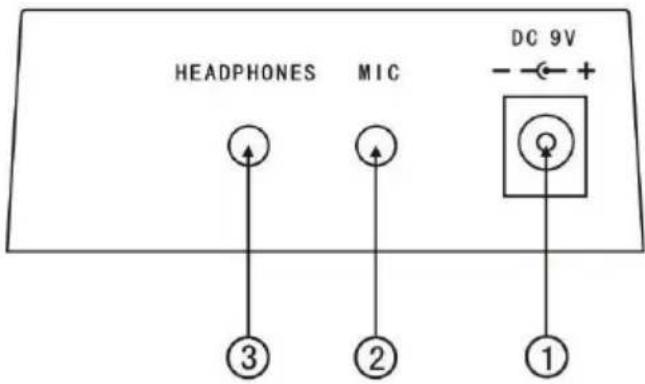
Connections

text_image
HEADPHONES MIC DC 9V ③ ② ①1 DC 9V IN
2 MIC IN (∅6,3mm)
3 HEADPHONES IN (∅6,3mm)
Connect the mains cable to a regular household mains socket and connect with the corresponding input
Caution: Disconnect from the mains socket when the device is not in use for a longer time in order to avoid
the cable being an obstacle for others and to make sure the electric components can not be harmed by thunderstorms etc.
Caution: Mains current must be AC 220V ±10%. Do not pull the mains plug while the piano is powered on.
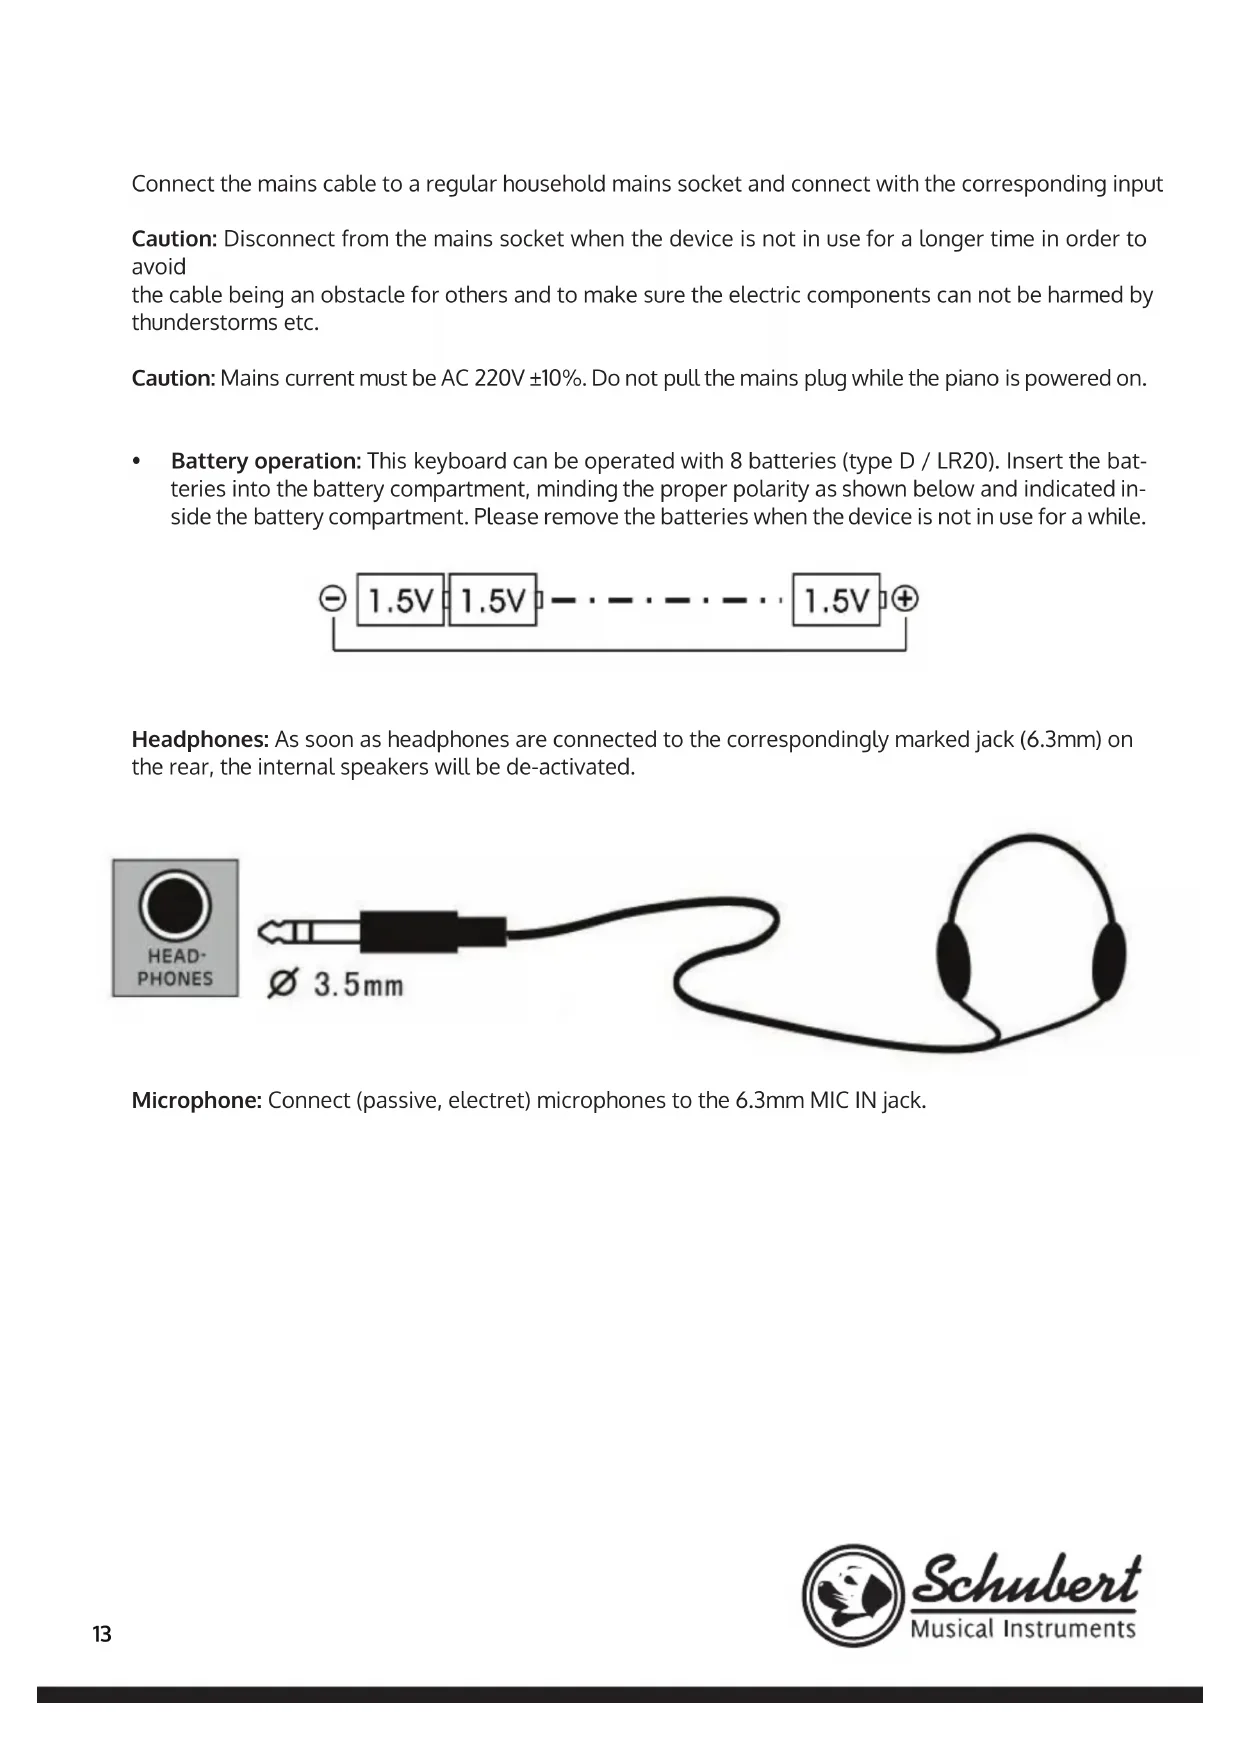
- Battery operation: This keyboard can be operated with 8 batteries (type D / LR20). Insert the batteries into the battery compartment, minding the proper polarity as shown below and indicated inside the battery compartment. Please remove the batteries when the device is not in use for a while.

text_image
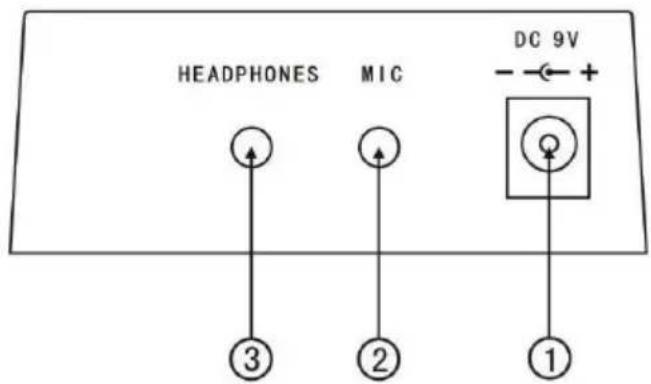
1.5V 1.5V -······ 1.5V ⊕Headphones: As soon as headphones are connected to the correspondingly marked jack (6.3mm) on the rear, the internal speakers will be de-activated.
text_image
HEAD- PHONES Ø 3.5mmMicrophone: Connect (passive, electret) microphones to the 6.3mm MIC IN jack.
Operation
Basics
Power on/off: Press "POWER" to switch the device on or off.
Adjusting the volume: Turn the VOLUME wheel.
Sounds: Press VOICE to activate the sound selection. Use +/- or the num pad to select the desired voice. For example, press 5 first, and then 9, to select voice #59.
Effects and Settings
Keyboard teilen: Press SPLIT to split the keyboard on the 24th key.
Keyboard Drum: From any voice, switch to drum sounds directly with KEYBOARD DRUM. Press again to switch back.
Sustain/Vibrato: Activate/deactivate SUSTAIN or VIBRATO with the correspondingly marked buttons.
Transpose: The default tuning is 0. Use the TRANSPOSE +/- buttons to transpose the whole keyboard in steps of one semi-tone, so you can play to songs recorded in other keys without having to transpose the song.
Tempo, Transponieren, Feinstimmen: Use the +/- buttons in the TEMPO/TRANSPOSE/FINE TUNING, section to adjust the beat, transposition (in half step notes) and the fine tuning.
Beat: Press BEAT several times for the signatures 1/4, 2/4, 3/4 or 4/4th beats.
Percussion Panel: For simple drum samples, use the 8 percussion panel buttons:
Wood Block Hand Clap H

Hat (open)
Hi Hat (closed)
Snare
Bongo
Bass Drum (soft)
Bass Drum
Pitch Bend: Use the pitch bend wheel left of the keyboard to bend the played note up or down.
Styles & Rhythms
Start/Stop: Press „START/STOP“ to start or stop the selected rhythm pattern (use num pad 0-299).
Synchronize: Press "SYNC" to activate the sync'ed accompaniment. Press one of the 19 bass keys to start a sync'ed pattern style.
Drum fi lls: Press "FILL-IN" for a drum intermezzo in the selected and active style.
Accomp. Vol: Use the "ACCOMPANIMENT +/-" buttons to adjust.
Accompaniment
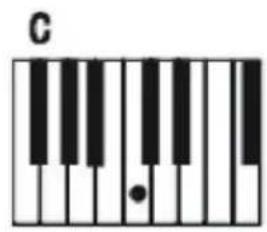
Single:Press"SINGLEFINGER".toenterthefunctionofsingleautochord.Nowinthechordarea(keys1-19)keys apply different fi ngerings to hear diff erent chord accompaniments. Press Start/Stop to exit this function.
text_image
C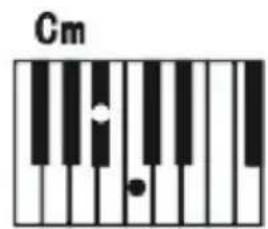
text_image
Cm
text_image
C7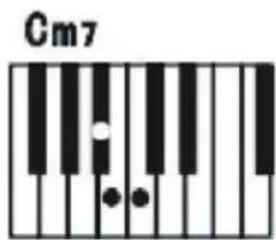
text_image
Cm7Fingered: After the style function is started, press "FINGERED" to enter the function of finger auto bass chord. Now in the chord area (keys 1-19) keys apply different fingerings to hear different chord accompaniments. Press Start/Stop to exit this function.
Chord Close: Press "CHORD CLOSE" to exit the auto accomp functions without stopping the playing accompaniment.
Recording
Press RECORDING to start the recording mode. To actually start recording, play any note. The recording automatically stops when the available memory is full. Previously made recordings will be overwritten.
Press PLAY to playback your recording.
Learning Functions
Press DEMO ONE or DEMO ALL to playback one selected, or all available demo songs.
Press ONE KEY TEACHING or FOLLOW TEACHING for the internal piano learning programs. Use the num pad to select the desired song, then play along (ONE KEY TEACHING) respectively follow the displayed notes (FOLLOW).
Hints on Disposal
natural_image
Symbol of a trash bin crossed out by a diagonal line, no text or numbers presentIf there is a legal regulation for the disposal of electrical and electronic devices in your country, this symbol on the product or on the packaging indicates that this product must not be disposed of with household waste. Instead, it must be taken to a collection point for the recycling of electrical and electronic equipment. By disposing of it in accordance with the rules, you are protecting the environment and the health of your fellow human beings from negative consequences. For information about the recycling and disposal of this product, please contact your local authority or your household waste disposal service.
This product contains batteries. If there is a legal regulation for the disposal of batteries in your country, the batteries must not be disposed of with household waste. Find out about local regulations for disposing of batteries. By disposing of them in accordance with the rules, you are protecting the environment and the health of your fellow human beings from negative consequences.
Manufacturer & Importer (UK)
Manufacturer:
Chal-Tec GmbH, Wallstrasse 16, 10179 Berlin, Germany.
Importer for Great Britain:
Berlin Brands Group UK Ltd
PO Box 1145
Oxford, OX1 9UW
United Kingdom
Cher client,
Volume 18 Alimentation on/off
Volume de l'accompagnement, Tempo, Fine Tune, Transpose
29 Start/stop, Sync, Fill, Single/Fingered
Voice, Rhythm, Chord Clear
10 Ensemble de Percussions
Écran
Drums, Sustain, Vibrato, Split
13 Haut-parleur
Touches numériques
•
Connectivité
text_image
HEADPHONES MIC DC 9V - - + + ③ ② ①text_image
HEAD- PHONES Ø 3.5mmnatural_image
Symbol of a trash bin crossed with a diagonal line, no text or numbers presentBerlin Brands Group UK Ltd
PO Box 1145
Oxford, OX1 9UW
United Kingdom