IAN 101253 - Lighting Livarno Lux - Free user manual and instructions
Find the device manual for free IAN 101253 Livarno Lux in PDF.
Download the instructions for your Lighting in PDF format for free! Find your manual IAN 101253 - Livarno Lux and take your electronic device back in hand. On this page are published all the documents necessary for the use of your device. IAN 101253 by Livarno Lux.
USER MANUAL IAN 101253 Livarno Lux
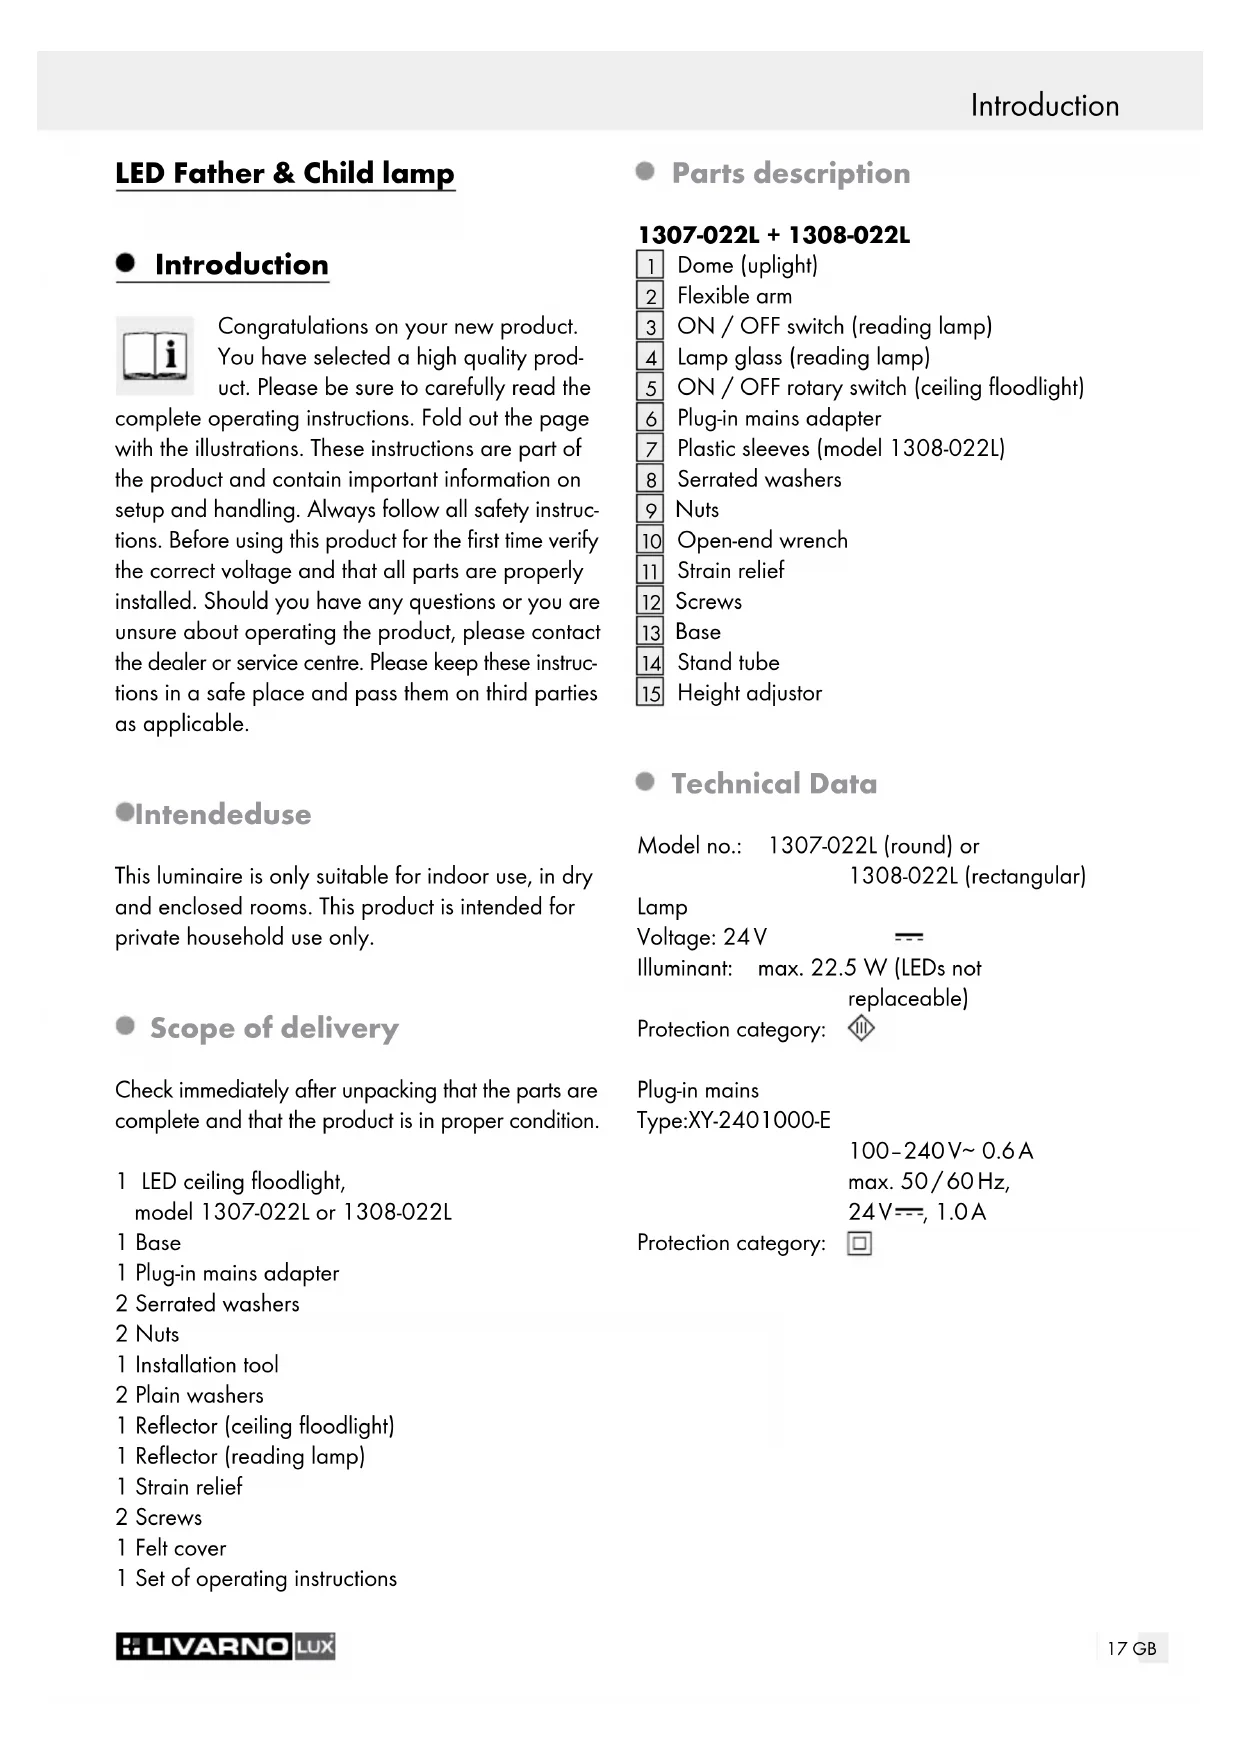
ON / OFF switch (reading lamp)
Lamp glass (reading lamp)
Plastic sleeves (model 1308-022L)
Height adjustor Technical Data Model no.: 1307-022L (round) or 1308-022L (rectangular) Lamp Voltage: 24 V Illuminant: max. 22.5 W (LEDs not replaceable) Protection category: Plug-in mains Type: XY-2401000-E 100–240 V∼ 0.6 A max. 50 / 60 Hz, 24 V , 1.0 A Protection category:18 GB Safety advice Safety advice Damage due to failure to comply with these operat- ing instructions will invalidate the guarantee! We assume no liability for consequential damage! We assume no liability for material damage or personal injury due to improper handling or failure to comply with the safety instructions! Avoid the risk of fatal injury from electric shock Check the light for damage every time before you use it. Never use the light if it shows any signs of damage. CAUTION! A damaged light means danger of death from electric shock! In the event of damage, repairs or other problems with the light please contact the service centre or a qualified electri- cian. For the prevention of hazards, a damaged flexible lead of this lamp may only be exchanged by the manufacturer, his service representative or by an equally qualified specialist! Ensure before use that the available mains voltage is the same as the voltage required for operating the lamp (100–240 V∼). Ensure that the light does not come into contact with water or other liquids under any circum- stances. This lamp is only suitable for use in living areas (not damp rooms) and may only be used in ac- cordance with its design. This lamp may only be used with the plug-in adapter included in the delivery. Never open any of the components of the elec- trical equipment or insert any objects into the same components. This will pose a risk of fatal injury from electric shock. Prevent fire and injury hazards CAUTION! RISK OF INJURY! Check every illuminant for damage immediately upon un- packing. Do not install the light if the illuminants are defective. In this case contact the service centre for a replacement. CAUTION! DANGER OF BURN INJURIES! Ensure that the light has been switched off and has cooled before touching it, to avoid burn in- juries. Lamps develop intense heat in the area of the lamp head. Do not allow any objects to cover the light. Excessive heat can result in a fire. Never leave the light operating unattended. Do not leave the light or packaging material ly- ing unattended. Plastic film or bags, plastic parts etc. can turn into dangerous toys for children. The type of LED illuminant included is not suitable for dimmer or electronic switches. This product does not contain any parts that can be serviced by the user. The LED illuminant cannot be exchanged. Safe working Install the light so that it is protected from mois- ture and dirt. Carefully prepare the installation and allow suf- ficient time. Organise all parts and any necessary additional tools or materials before starting so they are easy to reach. Always be attentive when working! Always pay attention to what you are doing and act with common sense. Never install the light if you are having difficulty concentrating or do not feel well. Start-up / Maintenance and Cleaning / Disposal19 GB Safety advice Start-up / Maintenance and Cleaning / Disposal Start-up Mounting the light Attach the plastic sleeves
onto the stand tubes
(model 1308-022L). Insert the tubes of the floor lamp
into the pre-mounted holes in the base
Place the serrated lock washers
at the underside of the base
clockwise onto the tubes
to secure the floor lamp to the base
Ensure the cables are inside the designated opening in the base
and cannot be crushed. Secure the input lead using the strain relief
Tighten the strain relief
Apply the felt cover to the bottom of the base
Place the uplight dome
onto the tube. Connect the input lead from the base
to the wall power supply
Plug the mains plug into a socket that has been professionally installed. Your light is now ready for operation. Switching the lamp on / off Switch the uplight on or off by turning the ON/OFF rotary switch
to switch the reading lamp on and off. Dimming the ceiling floodlight Dim the light of the ceiling floodlight by turning the ON / OFF rotary switch
to the right / left. Note: The light is always set at the lowest dimming level when it is switched on. Adjusting the lamp (see fig. B) Loosen the height adjustment screw
and set the required height for the ceiling floodlight. Note: You can adjust the height of the ceiling floodlight between 1.10 m and 1.80 m. Re-tighten the height adjustment screw
order to fix the ceiling floodlight at the required height. Bend the flexible arm
of the reading lamp in the required direction. Do not rotate the flexible arm
of the reading lamp completely. Otherwise the mains cable inside the lamp could be damaged. The up-light is hinged and pivoted. Tilt the up-light to the desired angle. Maintenance and Cleaning DANGER OF ELECTRIC SHOCK! First remove the mains plug from the socket. CAUTION! DANGER OF BURN INJURIES! Allow the lamp to cool down completely. DANGER OF ELECTRIC SHOCK! For elec- trical safety, never clean the light with water or other fluids, or immerse it in water. Do not use solvents, benzene or similar sub- stances. They could damage the light. Only use a dry, lint-free cloth for cleaning. Disposal The package and packaging materials consist entirely of environmentally friendly materials. They can be disposed of at your local recycling facility. The symbol of the wheelie bin with the line through it means that, in the Euro- pean Union, the product has to be disposed of in a separate refuse collection. This ap- plies to the product and to all components bearing this symbol. Do not dispose of products bearing this symbol in your normal household waste, but instead they must be taken for recycling to a20 GB Disposal / Guarantee and Service collection site for electrical and electronic appli- ances. Recycling helps to reduce the consumption of raw materials and protects the environment. Guarantee and Service Warranty Declaration This product has a 3 year guarantee from the date of purchase extended only to the original buyer, not transferable. Please keep your receipt as proof of purchase. The warranty only applies to material or manufacturing defects. It does not cover wear items or damage caused by improper use. Any modifications will void the guarantee. This warranty does not limit your legal rights. Please phone the service centre for guarantee claims. This is the only way to return your product free of charge. Service address Briloner Leuchten GmbH Im Kissen 2, 59929 Brilon, Germany Phone.: +49 2961 / 9712-0 Fax: +49 2961 / 9712-199 E-mail: Info@briloner.de IAN 101253 For all inquiries about your product, please have your receipt and the article number (e.g. IAN 12345) ready as your proof of purchase. Declaration of conformity This product fulfils the requirements of the applicable European and national directives (Electromagnetic Compatibility 2004/108/EC, Low Voltage Directive 2006/95/EC, Ecodesign Directive 2009/125/ EC, RoHS Directive 2011/65/EU). Conformity has been demonstrated. The relevant declarations and documents are held by the manufacturer. Manufacturer Briloner Leuchten GmbH Im Kissen 2 59929 Brilon GermanyIAN 101253 Briloner Leuchten GmbH Im Kissen 2 D-59929 Brilon