HILJA - Fireplace Sonnenkönig - Free user manual and instructions
Find the device manual for free HILJA Sonnenkönig in PDF.
| Product type | Electric fireplace |
| Brand | Sonnenkönig |
| Model | HILJA |
| Heating power | 1000 W / 2000 W (2 levels) |
| Voltage / Frequency | 220-240 V ~ 50 Hz |
| Thermostat | Yes, adjustable from 15°C to 30°C |
| Dimensions (L x H x D) | 55.4 x 43.3 x 22.8 cm |
| Weight | 7 kg |
| Body material | Metal and glass |
| Heating element | Stainless steel |
| Installation type | Wall-mounted or floor-standing (with feet provided) |
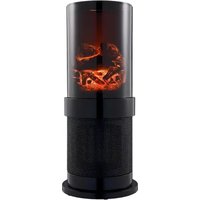
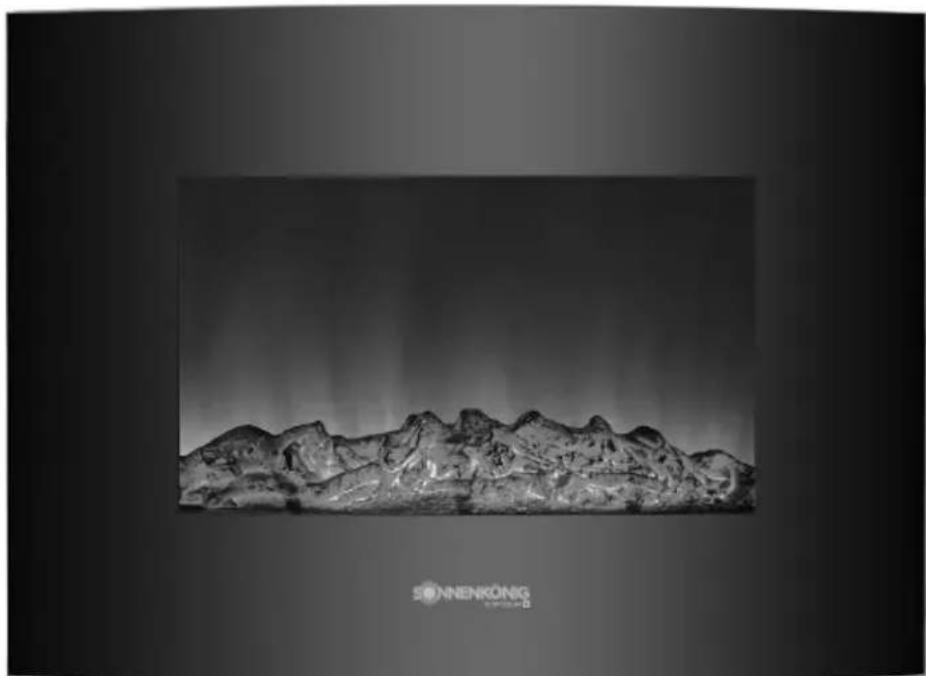
| Flame effect | Yes, with 5 brightness levels |
| Remote control | Yes, with CR2025 battery included |
| Timer | Yes, adjustable by hour and minute |
| Open window detection | Yes, automatic shutdown if temperature drops by 5-10°C |
| Overheat protection | Yes, automatic shutdown |
| Power supply | Cable with plug (220-240 V) |
| Warranty | 24 months from date of purchase |
| Maintenance | Clean with a damp cloth; vacuum for dust |
Frequently Asked Questions - HILJA Sonnenkönig
User questions about HILJA Sonnenkönig
0 question about this device. Answer the ones you know or ask your own.
Ask a new question about this device
Download the instructions for your Fireplace in PDF format for free! Find your manual HILJA - Sonnenkönig and take your electronic device back in hand. On this page are published all the documents necessary for the use of your device. HILJA by Sonnenkönig.
USER MANUAL HILJA Sonnenkönig
Sonnenkönig of Switzerland
Olensbachstrasse 9-15
CH-9631 Ulisbach
Tel.Int. +41 58 611 60 00
Tel.Nat.0848870850
Sonnenkönig of Switzerland
Sonnenkönig of Switzerland
Olensbachstrasse 9-15
CH-9631 Ulisbach
Tel.Int. +41 58 611 60 00
Tel.Nat.0848870850
Sonnenkönig of Switzerland
Modifications techniques
Sonnenkönig of Switzerland
Olensbachstrasse 9-15
CH-9631 Ulisbach
Tel.Int. +41 58 611 60 00
Tel.Nat.0848870850
Sonnenkönig of Switzerland
Sonnenkönig of Switzerland
Olensbachstrasse 9-15
CH-9631 Ulisbach
Tel.Int. +41 58 611 60 00
Tel.Nat.0848870850
Sonnenkönig of Switzerland
Please read and understand these instructions completely before attempting to assemble, operate or install the product.
This manual contains important information about the installation, operation and maintenance of this fire effect. General safety information is presented on these first pages and is also found throughout this manual. Retain this manual for future reference and to educate new users of this product. This manual should be read in conjunction with the labeling on the product. Safety precautions are essential when dealing with mechanical or propane powered equipment. These precautions are required when using, storing and maintaining this item. Using this equipment with due respect and caution will reduce the possibility of personal injury or property damage.
Inspect the unit for damage after removing the packaging. If damage is suspected, do not operate the device and contact a specialist. The recyclable packaging material must not be kept or disposed of in a way that is accessible to small children, but must be disposed of properly.
This device may only be used for the purpose for which it was expressly designed. Any other use is to be considered improper and consequently dangerous. The supplier is not liable for any personal injury and/or damage to property resulting from improper or incorrect use.
Repairs to electrical equipment may only be carried out by qualified personnel. Improperly performed repairs and modifications to the equipment may result in dangerous consequences for the user, whereupon warranty claims will be rejected.
The following basic precautions should always be followed when handling electrical equipment:
- To avoid overheating, do not cover the heater.
- Do not touch the device with wet hands or feet.
- Do not expose the device to the weather conditions.
- Unplug the unit when it is no longer needed.
- Do not pull on the power cord or the device to unplug it.
- Do not use the device in the immediate vicinity of water sources or swimming pools.
- Do not use accessories or devices that are not approved by the manufacturer.
- Do not insert any objects inside the device.
- Do not cover the device with objects.
The device must not be used under the following conditions:
- In rooms with explosive atmospheres.
- In rooms with aggressive atmospheres.
- In rooms with high solvent concentrations.
- In rooms with an extremely high dust load.
- In case of questionable conditions of use, it is recommended to contact the technical department of Sonnenkönig or a specialized dealer.
- The use of an electric heater under inadmissible conditions will void the warranty claims!
-
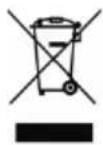
Do not dispose of electrical equipment as unsorted waste, but use separate collection facilities. Contact the local municipality for information on collection systems. When electrical equipment is disposed of in landfills, hazardous substances can enter the groundwater and thus the food chain. Protect your health and well-being.
-
The unit must be placed with a distance of at least 100cm from all walls.
- To avoid a possible fire, DO NOT block the air inlets and outlets in any way. DO NOT use on soft surfaces, such as a bed, where openings may be blocked.
- DO NOT dispose of electrical equipment as unsorted waste; use separate collection facilities. Contact the local municipality for information on collection systems. When electrical equipment is disposed of in landfills, hazardous materials can enter groundwater and enter the food chain. Protect your health and well-being.
Children must be supervised so they do not play with the equipment. - Do not insert foreign objects into a vent or outlet, as this could cause an electric shock or fire, or damage the heater.
- When the heater is used for the first time, there may be a slight emission of smoke. This is quite normal and will pass after a short time. The heater is made of stainless steel and has been coated with protective oil during manufacture. The smoke is caused by the residual oil when it is heated.
It is supplied complete with cable and plug. - The device should not be placed lower than the socket.
- To avoid danger, a damaged connection cable may only be replaced by the manufacturer, its customer service or a person qualified to do so.
- Do not use this heater if the unit has been dropped.
- Do not use if there are visible signs of damage to the heater.
- Use this heater on a horizontal and stable surface or mount it on the wall if necessary.
- WARNING: Do not use this heater in small rooms if they are occupied by persons who cannot leave the room alone, unless this is constantly monitored. WARNING: To reduce the risk of fire, keep textiles, curtains or other combustible materials on material at least 1m away from the heater. The heater must not be located in front of an electrical outlet.
- This product has an overheat protection feature that turns off the heater. In case of overheating, turn off the heater, unplug the power cord from the wall outlet and allow it to cool for 45 minutes. After that, the heater can be turned on again. Before use, carefully make sure that the cause of overheating was not curtains, clothing, furniture, etc. covering the heater's vents.
- Avoid using an extension cord, as the extension cord may overheat and pose a fire hazard. However, if you must use an extension cord, the cable cross-section must be 1.5 ~mm^2 .
03 - TECHNICAL DETAILS
| Heating power 1000 / 2000 W | |
| Voltage / Frequency 220–240 Volt / 50 Hz | |
| Thermostat Yes | |
| Dimensions 55.4 x 43.3 x 22.8 cm | |
| Weight 7 kg |
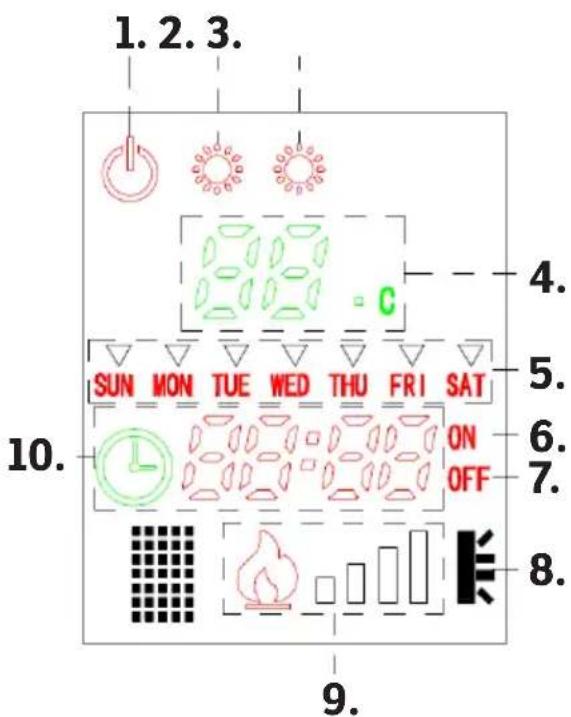
- ON/OFF
- Heating level 1
- Heating level 2
- Temperature display
- Day display
- Timer ON
- Timer OFF
- Window open" icon
- Brightness of the fire effect
- Time display
WARNING: The device switches off automatically if the temperature suddenly drops by 5 - 10^, the corresponding indicator light lights up. (When the window is open)
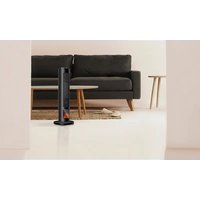
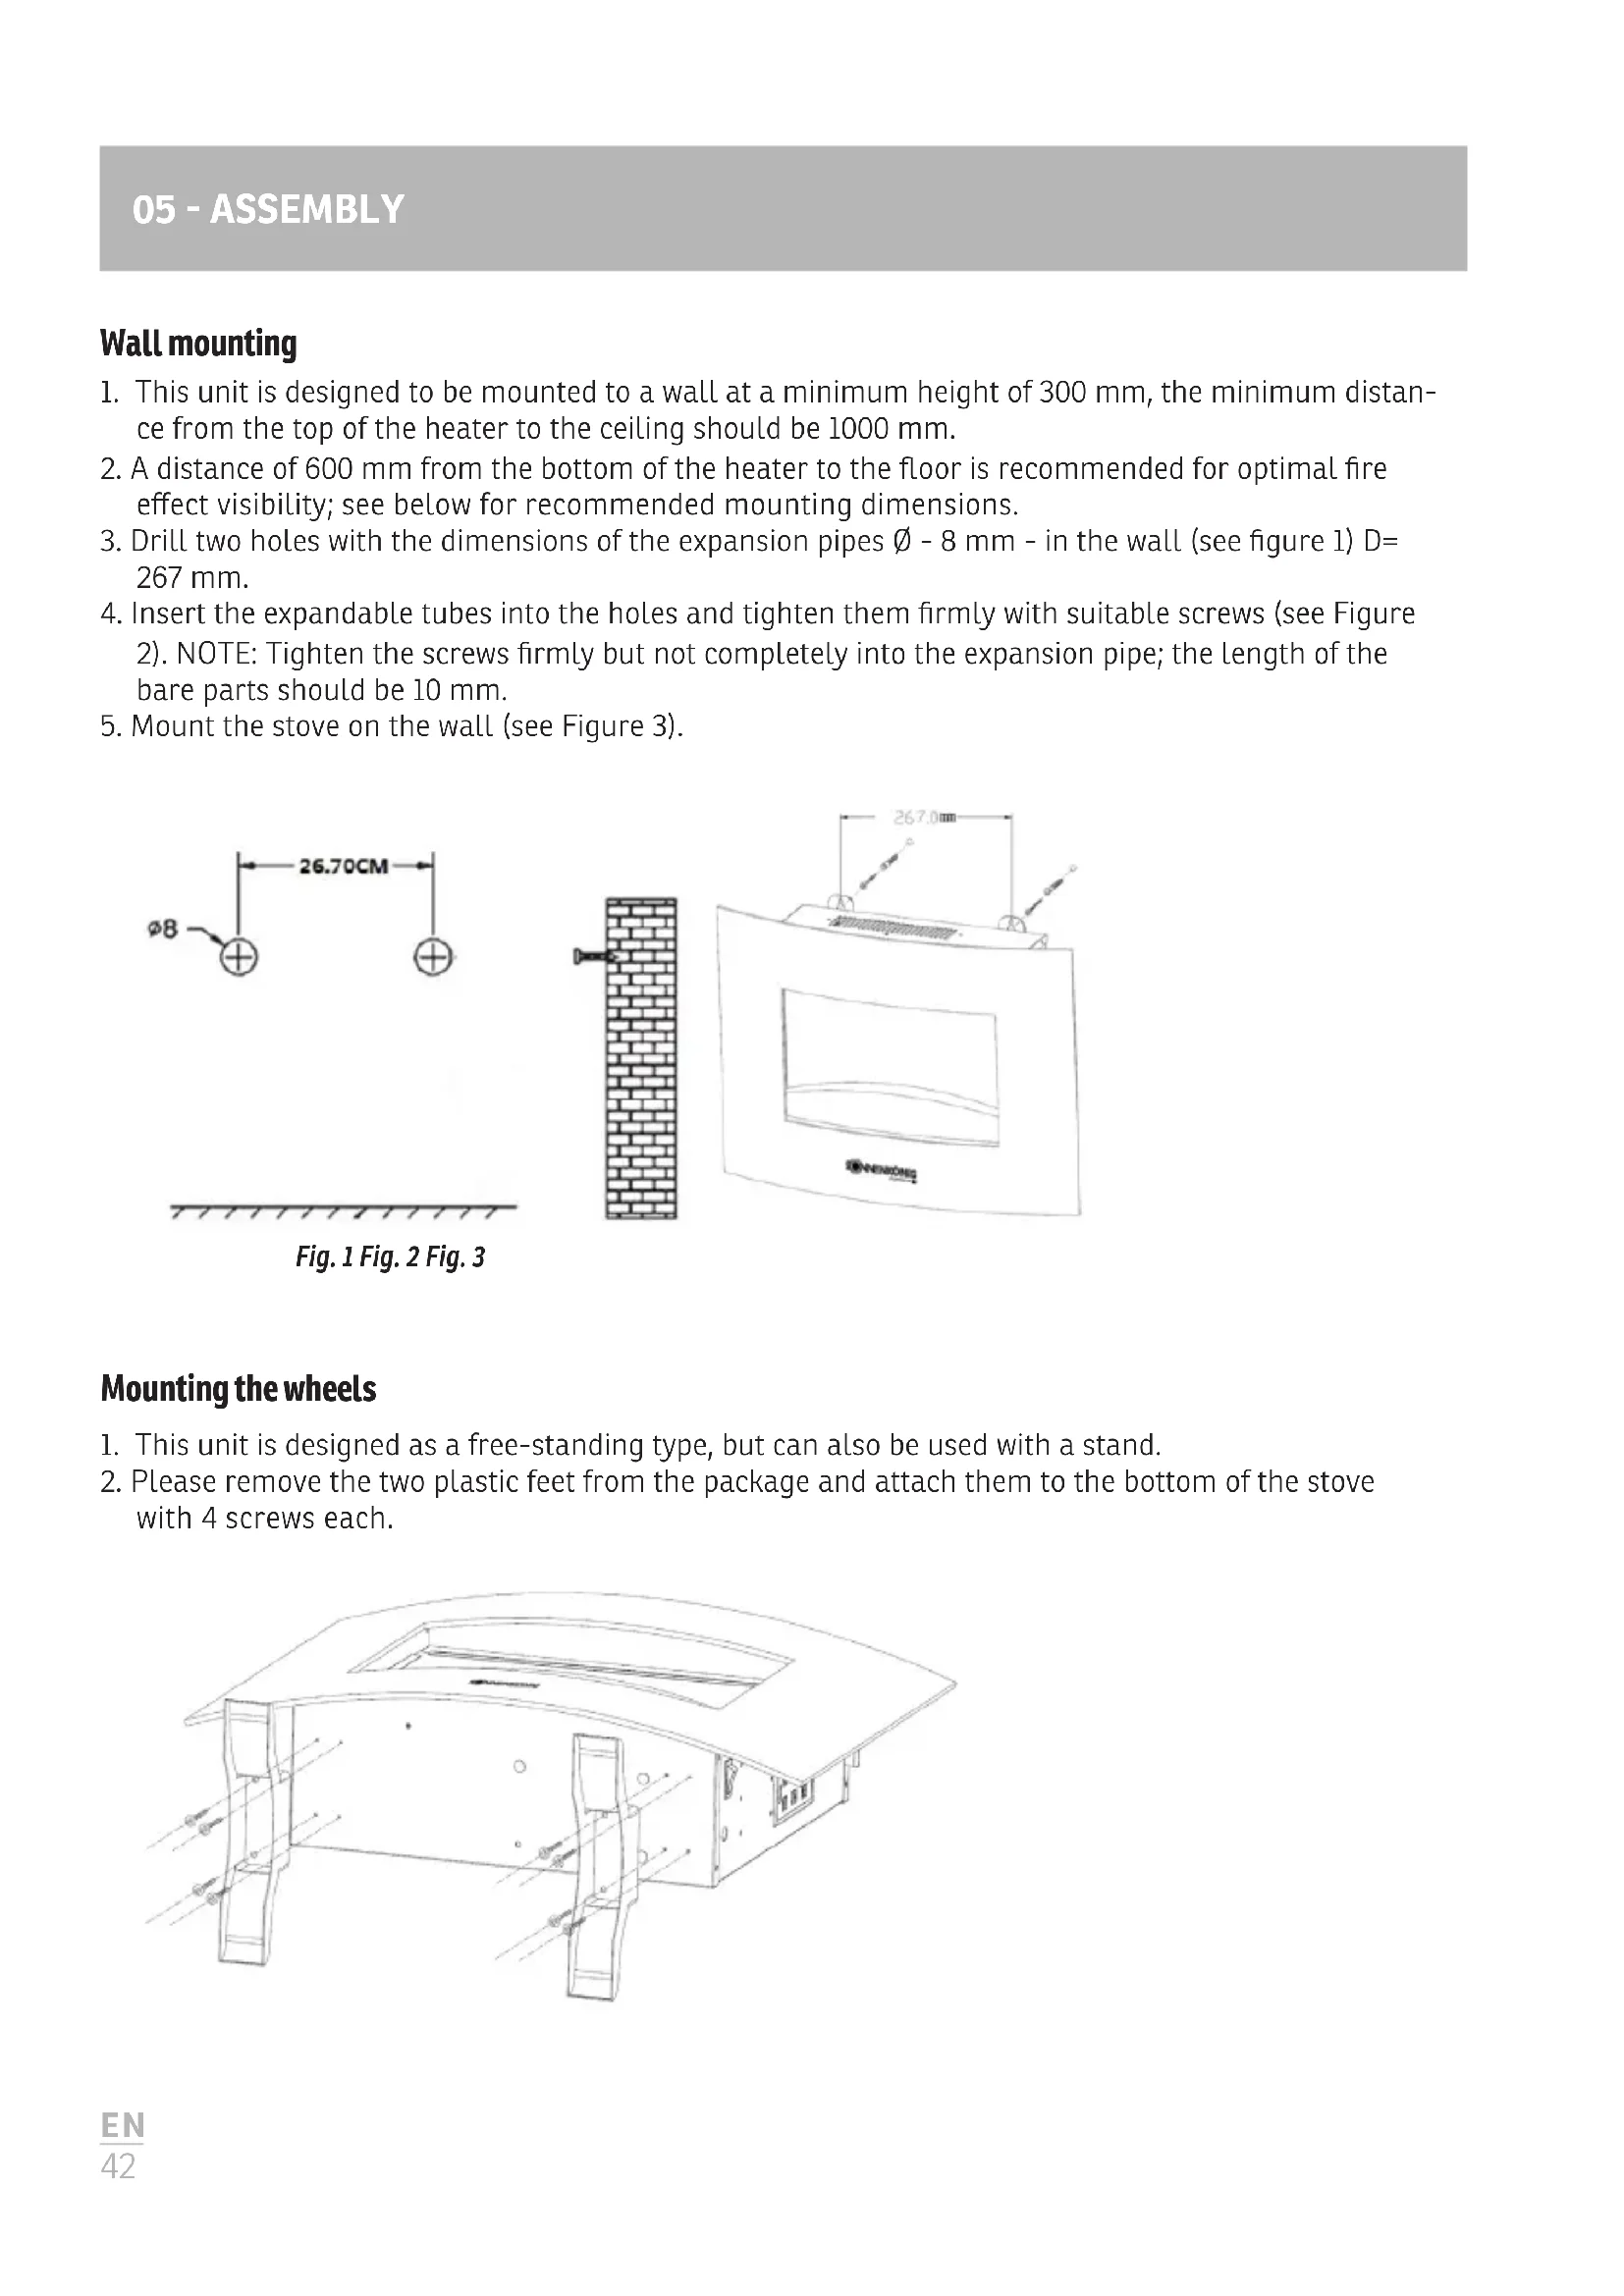
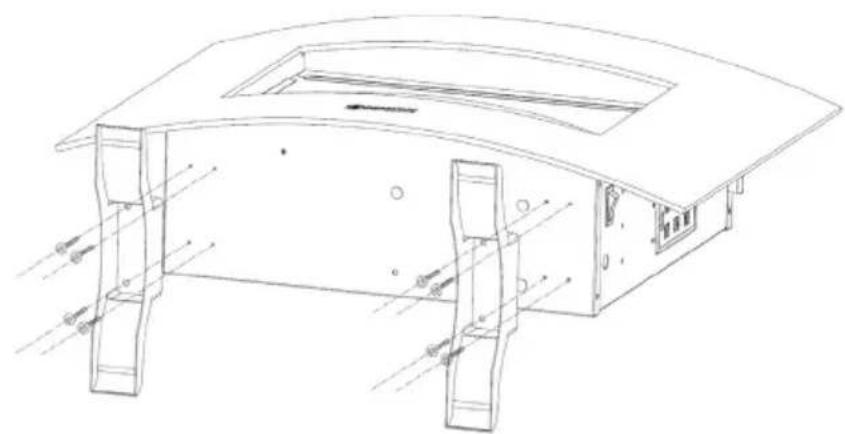
Wall mounting
- This unit is designed to be mounted to a wall at a minimum height of 300mm , the minimum distance from the top of the heater to the ceiling should be 1000mm .
- A distance of 600mm from the bottom of the heater to the floor is recommended for optimal fire effect visibility; see below for recommended mounting dimensions.
- Drill two holes with the dimensions of the expansion pipes - 8mm in the wall (see figure 1) D = 267 mm.
- Insert the expandable tubes into the holes and tighten them firmly with suitable screws (see Figure 2). NOTE: Tighten the screws firmly but not completely into the expansion pipe; the length of the bare parts should be 10mm
- Mount the stove on the wall (see Figure 3).
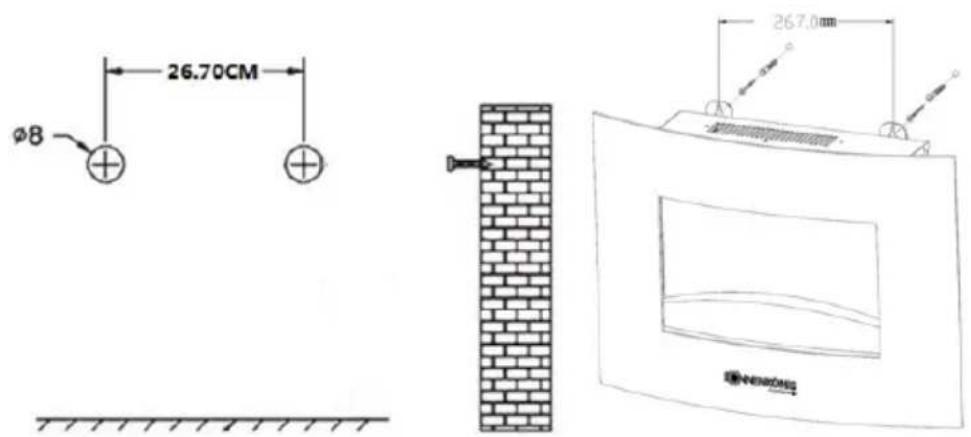
Fig.1 Fig.2 Fig.3
Mounting the wheels
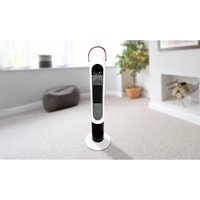
- This unit is designed as a free-standing type, but can also be used with a stand.
- Please remove the two plastic feet from the package and attach them to the bottom of the stove with 4 screws each.
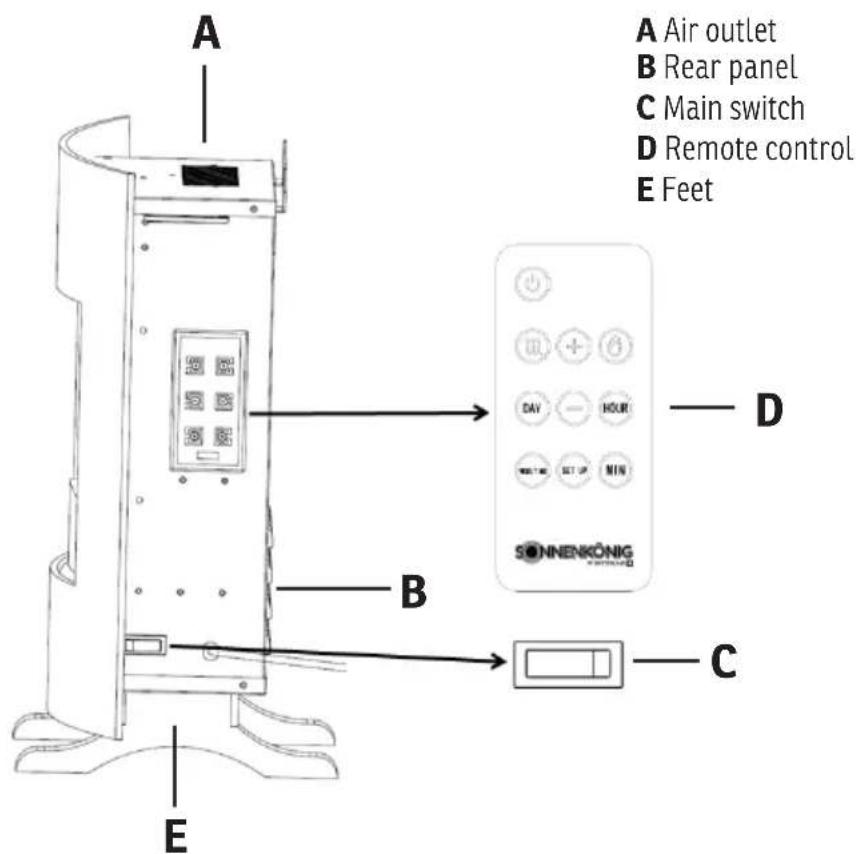
Controls on the device
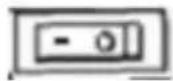
Main switch
ON(I). Switch on all functions
OFF(O).Turns off all functions on the control panel and remote control.
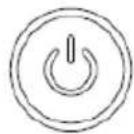
STANDBY
Press this button once, the flame will be turned on. The unit will turn on and you can select the following functions as desired. Press this key again, the unit will be turned off.
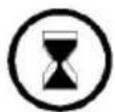
TIMER
Press this button and ^ + ^ or ^ - ^ to set the time of day,day (Monday-Tuesday-Wednesday- Thursday-Friday-Saturday-Sunday),hour and minute.
Dimmer (-)
The settings are 1-2-3-5, setting 5 is the brightest level.

Dimmer (+)
The settings are 1-2-3-5. The setting 1 is the smallest Level.
HEAT LEVEL
Two settings. Press once for first heat level, press twice for second heat level. Press again, the heater will turn off and the fan will continue to fan for 10 more seconds.
Controls via remote control
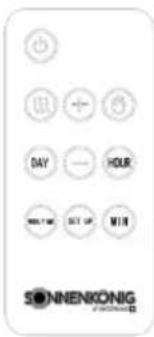
The remote control requires a 3V CR2025 lithium cell battery (included). Remove the protective film between the battery and the contacts to operate it (see Figure 4 and Figure 5).
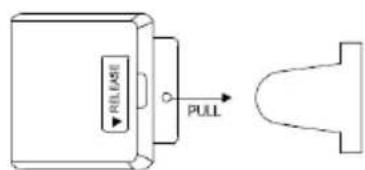
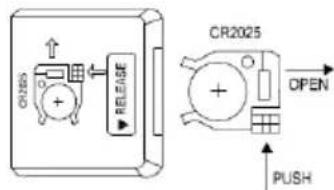
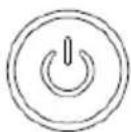
Fig. 4 Fig. 5
STANDBY
Press this button once, the flame will be turned on. The unit will turn on and you can select the following functions as desired. Press this button again, the device will be turned off.
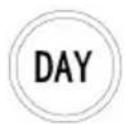
DAY: Set the days (Monday, Tuesday, Wednesday, Thursday, Friday, Saturday, Sunday).
Press the DAY key to set the day before starting the WEEK TIME setting. First, press DAY button, then press "+" or "-" button to change from Monday to Sunday; second, press HOUR button, then press "+" or "-" button to set time by hour; third, press MIN button,
then press ^ + ^ or ^ - ^ button to set time by minute.

HOUR
Timer setting by hours
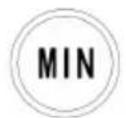
MIN
Timer setting by minutes

WEEK/TIME: Press this button to start week time setting, then press SET UP button to select ON/FF mode, then press "+" or "-" button to set time from Monday to Sunday; press HOUR button and "+" or "-" button to set time by hour; press MIN button and "+" or "-" button to set time by minute.
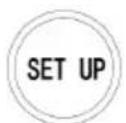
SET UP: This button is used to set the week time: ON/OFF. After pressing WEEK/TIME button first, you need to press SET UP button to select ON or OFF mode.
FLAME
Press this button to adjust the brightness.

HEAT LEVEL
Two settings. Press once for first heat level, press twice for second heat level. Press again, the heater will turn off and the fan will continue to fan for 10 more seconds. (Temperature setting): first press the heating button in heating mode, then press the
" +" button to increase the temperature, and press the " - " button to decrease the temperature in the range of 15-30 degrees Celsius.
07 - CLEANING, CARE AND MAINTENANCE
Attention! The general safety conditions must be observed during maintenance and care. To ensure trouble-free operation of the heater, the unit should be cleaned regularly. The following procedure is recommended for this:
- Switch off the heater.
- Then unplug the power cord from the power outlet.
- Allow the device to cool down before cleaning.
- Remove the accumulated dust using a cloth or vacuum cleaner.
- Wipe the housing with a damp cloth. Never use gasoline, solvents or abrasive agents to clean the plastic parts, as these can damage the plastic surface. Plug the power cord into the power outlet.
- Plug in the cable.
- Switch on the device.
- To avoid danger, a damaged connection cable may only be replaced by the manufacturer, its customer service or a person qualified to do so.
Warranty
All products are checked from our company before the delivery. In case that there is a lack on your product, please contact the vendor. Please bring your proof of purchase for guarantees. Please save the packaging materials of the unit.
Disposal
Please remove the heater properly. You can bring the product to any specialist dealer for he removal.
Technical changes
Technical changes in technique and design are possible.
CE declaration of Conformity
This device complies with the following standards
EMC EN 55014-1:2017/A11:2020
EN 55014-2:2015
ENIEC61000-3-2:2019
EN 61000-3-3:2013 + A1:2019
LVD EN 60335-1:2012 + AC:2014 + A11:2014 + A13:2017 + A1:2019 + A2:2019 + A14:2019
EN 60335-2-30:2009 + Cor.:2010 + A11:2012 + A1:2020
EN 62233:2008
LVD 2014/35/EU
EMC 2014/30/EU
RoHS 2015/863/EU
ErP 2009/125/EU (2015/1188)
Any modifications or repairs to the device must be carried out by a qualified person.
Since the development of the produced devices is constantly progressing, your product may differ minimally from the one described.
DISPOSAL INSTRUCTIONS FOR THE ELECTRICAL PART OF THE PRODUCT
In accordance with Article 26 of the Decree-Law of 14 March 2014 implementing Directive 2012/19/EC, and the Law of 31 March 2015 implementing Directive 2015/863/EU on the reduction of the use of hazardous substances in electrical and electronic equipment and on waste management.
The crossed-out dustbin symbol on the machine or packaging indicates that the waste generated at the end of its useful life must be collected separately from other waste. The user must therefore take the device to the appropriate collection points at the end of its service life. Sort electronic and electrical waste or send back to the retailer when purchasing new, equivalent devices in a one-to-one process. Appropriate separate collection for subsequent commissioning of the equipment to be recycled, treatment and environmentally sound disposal helps to avoid possible adverse effects on the environment and health, and promote the reuse and/or recycling of the materials to which they belong. Misuse of this product by the user will result in the application of the administrative penalties provided for in the applicable legislation. Batteries contained in the device must be disposed of separately in the appropriate containers for the collection of used batteries.
DISPOSAL OF BATTERIES AND ACCUMULATORS
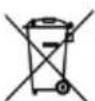
In accordance with Legislative Decree 188 of 20 November 2008 implementing Directive 2006/66/EC on batteries, accumulators and related waste, the symbol of the crossed-out waste bin on the battery indicates that the disposal of used batteries is prohibited in household waste.
Single-use and rechargeable batteries contain substances that are highly polluting for the environment. The user is obliged to dispose of used batteries at collection points in the municipality or in appropriate containers. This service is free. In this way, legal requirements are adhered to and the environment protected. The symbols identifying hazardous materials that may be present in single-use and rechargeable batteries are as follows: Hg = Mercury , Cd = Cadmium , Pb = Lead .
NL
NEDERLANDS
HILJA
VUUR EFFECT
BEDRIJF
Sonnenkönig of Switzerland
Olensbachstrasse 9-15
CH-9631 Ulisbach
Tel.Int. +41 58 611 60 00
Tel.Nat.0848870850
Sonnenkönig of Switzerland
- In ruimten met explosieve atmosferen.
- In ruimten met een agressieve atmosefer.
- In ruimten met hoge concentraties oplosmiddelen.
- In ruimten met een extreem hoge stofbelasting.
- Bij twijfelachtige gebruiksomstandigheden is het raadzaam contact op te nemen met de technische afdeling van Sonnenkönig of een gespecialiseerde dealer.
-
Bij gebruik van een elektrische verwarmer onder ontoelaatbare omstandigheden vervalt de aansprak op garantie!
-
The unit must be placed with a distance of at least 100cm from all walls.
- To avoid a possible fire, DO NOT block the air inlets and outlets in any way. DO NOT use on soft surfaces, such as a bed, where openings may be blocked.
- DO NOT dispose of electrical equipment as unsorted waste; use separate collection facilities. Contact the local municipality for information on collection systems. When electrical equipment is disposed of in landfills, hazardous materials can enter groundwater and enter the food chain. Protect your health and well-being.
Children must be supervised so they do not play with the equipment. - Do not insert foreign objects into a vent or outlet, as this could cause an electric shock or fire, or damage the heater.
- When the heater is used for the first time, there may be a slight emission of smoke. This is quite normal and will pass after a short time. The heater is made of stainless steel and has been coated with protective oil during manufacture. The smoke is caused by the residual oil when it is heated.
- It is supplied complete with cable and plug.
The device should not be placed lower than the socket. - To avoid danger, a damaged connection cable may only be replaced by the manufacturer, its customer service or a person qualified to do so.
- Do not use this heater if the unit has been dropped.
- Do not use if there are visible signs of damage to the heater.
- Use this heater on a horizontal and stable surface or mount it on the wall if necessary.
- WAARSCHUWING: Do not use this heater in small rooms if they are occupied by persons who cannot leave the room alone, unless this is constantly monitored. WAARSCHUWING: To reduce the risk of fire, keep textiles, curtains or other combustible materials on material at least 1m away from the heater. The heater must not be located in front of an electrical outlet.
- This product has an overheat protection feature that turns off the heater. In case of overheating, turn off the heater, unplug the power cord from the wall outlet and allow it to cool for 45 minutes. After that, the heater can be turned on again. Before use, carefully make sure that the cause of overheating was not curtains, clothing, furniture, etc. covering the heater's vents.
- Avoid using an extension cord, as the extension cord may overheat and pose a fire hazard. However, if you must use an extension cord, the cable cross-section must be 1.5 ~mm^2 .
| Table for information requirements for HILJA | |||||
| Item | Symbol | Value | Unit | Item | P |
| Heat output Type of heat input, for electric storage local space heaters only (select one) | |||||
| Nominal heat output Prom 1.8 kW | Manual heat charge control with integrated thermostat N/A | ||||
| Minimum heat output (indicative) | Pmin 0.9 kW | Manual heat charge control with room and/or outdoor temperature feedback | N/A | ||
| Maximum continuous heat output | Pmax | 1.8 kW | Electronic heat charge control with room and/or outdoor temperature feedback | N/A | |
| Auxiliary electricity consumption | Fan assisted heat output | N/A | |||
| At nominal heat output | eLmax | 1.836 | KW | Type of heat output/room temperature control (select one) | |
| At minimum heat output | eLmin 0.9 | 16 kW | Single stage heat output and no room temperature control | [no] | |
| In standby mode | eLsb | 0.340 | W | Two or more manual stages, no room temperature control | [no] |
| With mechanic thermostat room temperature control | [no] | ||||
| With electronic room temperature control | [no] | ||||
| Electronic room temperature control plus day timer | [no] | ||||
| Electronic room temperature control plus week timer | [yes] | ||||
| Other control options (multiple selections possible) | |||||
| Room temperature control, with presence detection | [no] | ||||
| Room temperature control, with open window detection | [yes] | ||||
| With distance control option | [no] | ||||
| With adaptive start control | [no] | ||||
| With working time limitation | [no] | ||||
| With black bulb sensor | [no] | ||||