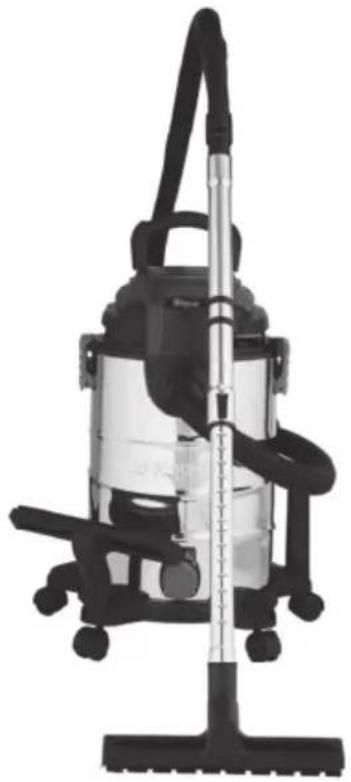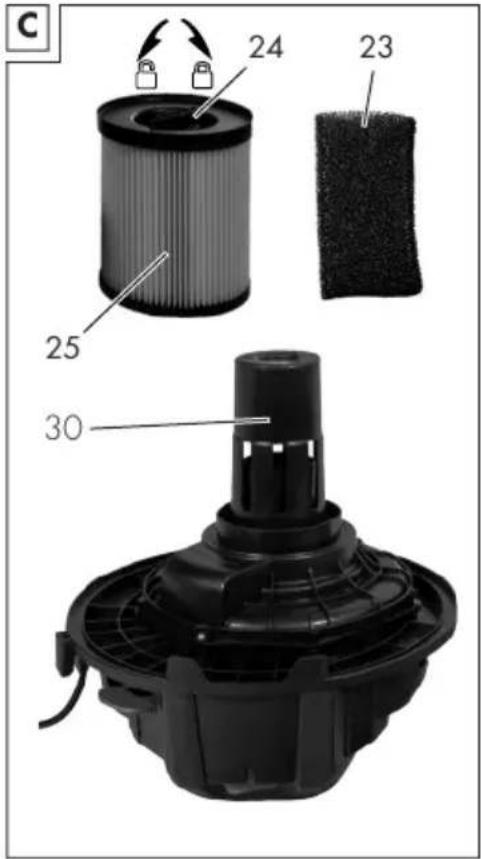
The PARKSIDE PWD 25 C4 vacuum cleaner is equipped with a pre-mounted pleated filter which is the main washable filter. This filter is suitable for dry vacuuming of dust and dirt from the home, garage, and workshop. For liquid suction, you must replace the pleated filter with a foam filter.
Here are the filters available as spare parts:
- Foam filter - Reference 91106134 (pack of 3) - To be used exclusively for liquid suction
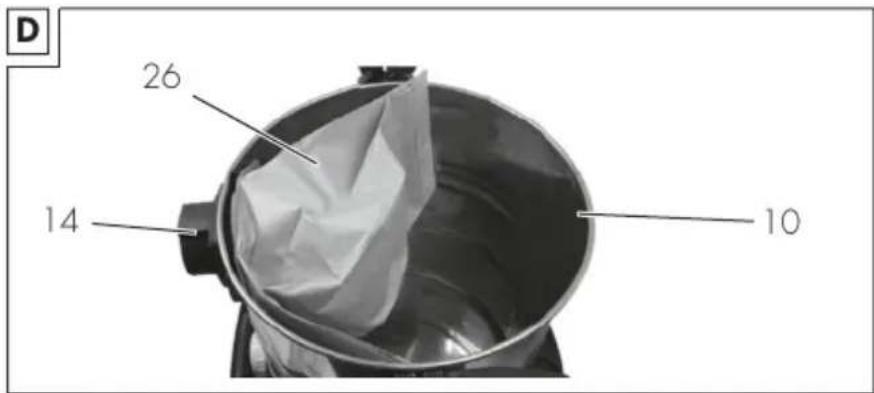
- Paper filter bag - Reference 30250133 (pack of 5) - For general dry suction as a replacement for the pleated filter
- Microfiber filter bag for fine powders - Reference 30250112 (pack of 5) - For vacuuming fine dust such as sawdust or stone dust (2-layer white microfiber filter)
The pre-mounted pleated filter is a permanent and washable component that can be cleaned regularly. Before using a paper or foam filter, always remove the pleated filter from its housing and replace it with the filter suitable for your use (foam for liquids, paper or microfiber for dry).
To order spare parts, visit www.grizzlytools.shop using the indicated order references, or contact the PARKSIDE Service Center. Always use original spare parts to maintain the performance and safety of your device.