
3005 - Bread maker Cloer - Free user manual and instructions
Find the device manual for free 3005 Cloer in PDF.
| Brand | Cloer |
| Model | 3005 |
| Product type | Roll oven |
| Power supply | 220-240 V, 50/60 Hz |
| Power | Approx. 600-800 W (estimated) |
| Cooking temperature | 250-270 °C |
| Timer | Mechanical adjustment up to 5 positions (approx. 15-20 min) |
| Capacity | Up to 6 rolls (estimated) |
| Dimensions (W x D x H) | Approx. 30 x 25 x 20 cm (estimated) |
| Weight | Approx. 2.5 kg (estimated) |
| Housing material | Plastic and metal |
| Included accessories | Baking rack, crumb tray |
| Main functions | Baking pre-baked rolls, reheating, gratinating |
| Cleaning | Removable crumb tray dishwasher safe; exterior cleaned with a damp cloth |
| Safety | Automatic shut-off at timer end, hot surfaces indicated |
| Warranty | Manufacturer's warranty upon registration (see terms on cloer.eu) |
| Spare parts and repairability | Repairs exclusively by Cloer after-sales service |
| General information | Indoor use only, do not immerse, do not use with external timer |
Frequently Asked Questions - 3005 Cloer
User questions about 3005 Cloer
0 question about this device. Answer the ones you know or ask your own.
Ask a new question about this device
Download the instructions for your Bread maker in PDF format for free! Find your manual 3005 - Cloer and take your electronic device back in hand. On this page are published all the documents necessary for the use of your device. 3005 by Cloer.
USER MANUAL 3005 Cloer
natural_image
Exterior view of a modern clover toaster with open lid and side blades (no text or symbols visible)natural_image
Black-and-white circular photo of a bowl filled with steamed buns (no text or symbols visible)SPRACHEN - LANGUAGES
DE Bedienungsanleitung ....S. 4
EN Instruction Manual....S.7
NL Gebruiksaanwijzing....S. 10
FR Notice d'utilisation.... S. 13
IT Istruzioni sull'uso.... S. 16
ES Instrucciones de uso S. 19
PT Instruções de operação S. 22
DK Brugsanvisning S. 25
NO Bruksanvisning S. 28
SE Bruksanvisning S. 31
FI Käyttöohjeet S. 34
RU Руководство по эксплуатации ..... S. 37
text_image
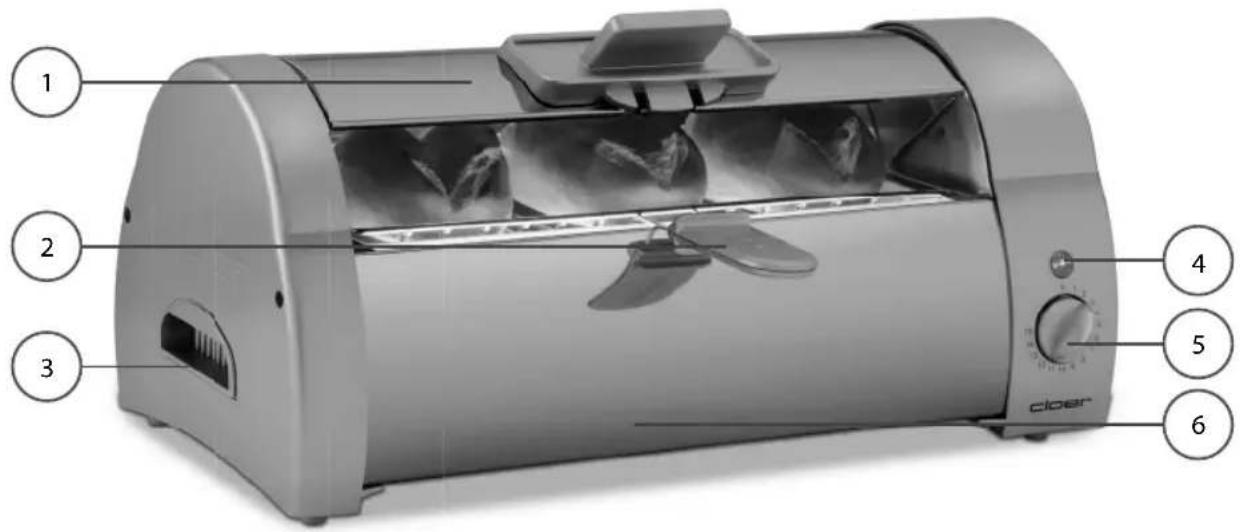
1 2 3 4 5 6 Ciper| DE1 Kippdeckel2 Herausnehmbarer Backrost3 Krümelschublade4 Ein/Aus-Kontrollampe5 Zeitschaltuhr mit Alarmglocke6 Kabelaufwicklung(an der Gehäuseunterseite) | EN1 Tilting lid2 Removable baking grill3 Crumb tray4 On/Off control lamp5 Timer with alarm bell6 Cord wrap(on bottom of housing) |
| NL1 Schuifdeksel2 Uitneembaar bakrooster3 Kruimellade4 Aan/Uit-Kontrolelampje5 Alarmklokje6 Kabelhuis(aan de onderzijde v/h apparaat) | FR1 Couvercle basculant2 Grille de cuisson amovible3 Tiroir à miettes4 Témoin marche - arrêt5 Minuterie avec alarme sonore6 Enroulement du cordon(en dessous de l'appareil) |
| IT1 Coperchio inclinabile2 Griglia estraibile3 Cassetto raccogli-briciole4 Luce di controllo5 Timer con allarme6 Avvolgicavo(sul fondo della custodia) | ES1 Tapadera deslizante2 Rejilla extraible3 Bandeja para las migas4 Lampara de encendido/ apagado5 Temporizador con alarma de campana6 Enrollamiento del cable(debajo del cuerpo del producto) |
| PT1 Tampa de inclinação2 Grelha removível3 Gaveta para migalhas4 Lâmpada de controle On/Off5 Temporizador com campainha de alarme6 Enrolamento do cabo(na parte inferior do aparelho) | DK1 Vippelåg2 Udtagelig bagerist3 Tænd og sluk-ur med alarmklokke4 Tænd/Sluk-kontrollampe5 Krummeskuff e6 Kabeloprul(på husets underside) |
| NO1 Vippedeksel2 Uttakbar bakerist3 Tidsbryter med alarmklokke4 Av/på-kontrollampe5 Smuleskuff6 Kabelopprulling(på apparatets underside) | SE1 Tipplock2 Urtagbara bakgaller3 Tidur med ringklocka4 Kontrollampa TILL / FRÅN5 Smulfack6 Kabelvinda(på höljets undersida) |
| FI1 Kallistuva kansi2 Irrotettava paistoritilä3 Ajastin ja hälytyskello4 Merkkivalo5 Murualusta6 Johdinkela(laitteen alla) | RU1 Откидная крышка2 Вынимаемая подовая решетка3 Таймер с сигналом4 Контрольная лампочка включено /выключено5 Выдвижной ящикек для крошек6 Намотка кабеля(на нижней части корпуса) |
natural_image
Exterior view of a modern office building (no signage)Basic Safety Instructions
- The appliance is intended to be used in household only and similar environments like:
— staff kitchen areas in shops, offices and other working environments,
– in farm houses,
– von Kunden in Hotels, Motels und anderen Wohneinrichtungen oder
– on bed and breakfast type of environments.
- Repairs of Cloer electronic appliances should be carried out only by the Cloer customer service. Improper repairs can involve substantial dangers for the user. Moreover, it will void your warranty claims.
- Operate the appliance only with household-usual power sockets. Check if the mains voltage stated on the type plate is the same that your power supply network.
- The device must be connected to a power outlet with protective ground.
- If the supply cord is damaged, it must be replaced by Cloer in order to avoid any hazards.
- Pull power plug of the power socket
– in case of a defect,
- if the appliance is not used for a longer time,
– before any cleaning.
- Only pull out at the plug, never at the feed cable.
- Do not stretch the feed cable over sharp edges and do not tighten it too tight, do not use the feed cable for carrying and protect it from heat (hotplate, for example).
- This appliance can be used by children aged from 8 years and above and people with reduced physical, sensory or mental capabilities or lack of experience and knowledge if they have been given supervision or instruction concerning the use of the appliance in a safe way and understand the hazards involved.
- Cleaning and user maintenance shall not be made by children unless they are older than 8 and supervised.
- Keep the appliance and its cord out of reach of children less than 8 years old to avoid they play with it.
- Do not use the appliance outdoors.
- Protect your appliance from humidity (splash water/ rain).
- This appliance is not designed to be used with an external timer or separate remote-control system.
- Let the appliance cool off before cleaning or stowing away. More information about cleaning on the following pages.
- Do not immerse the appliance in water.
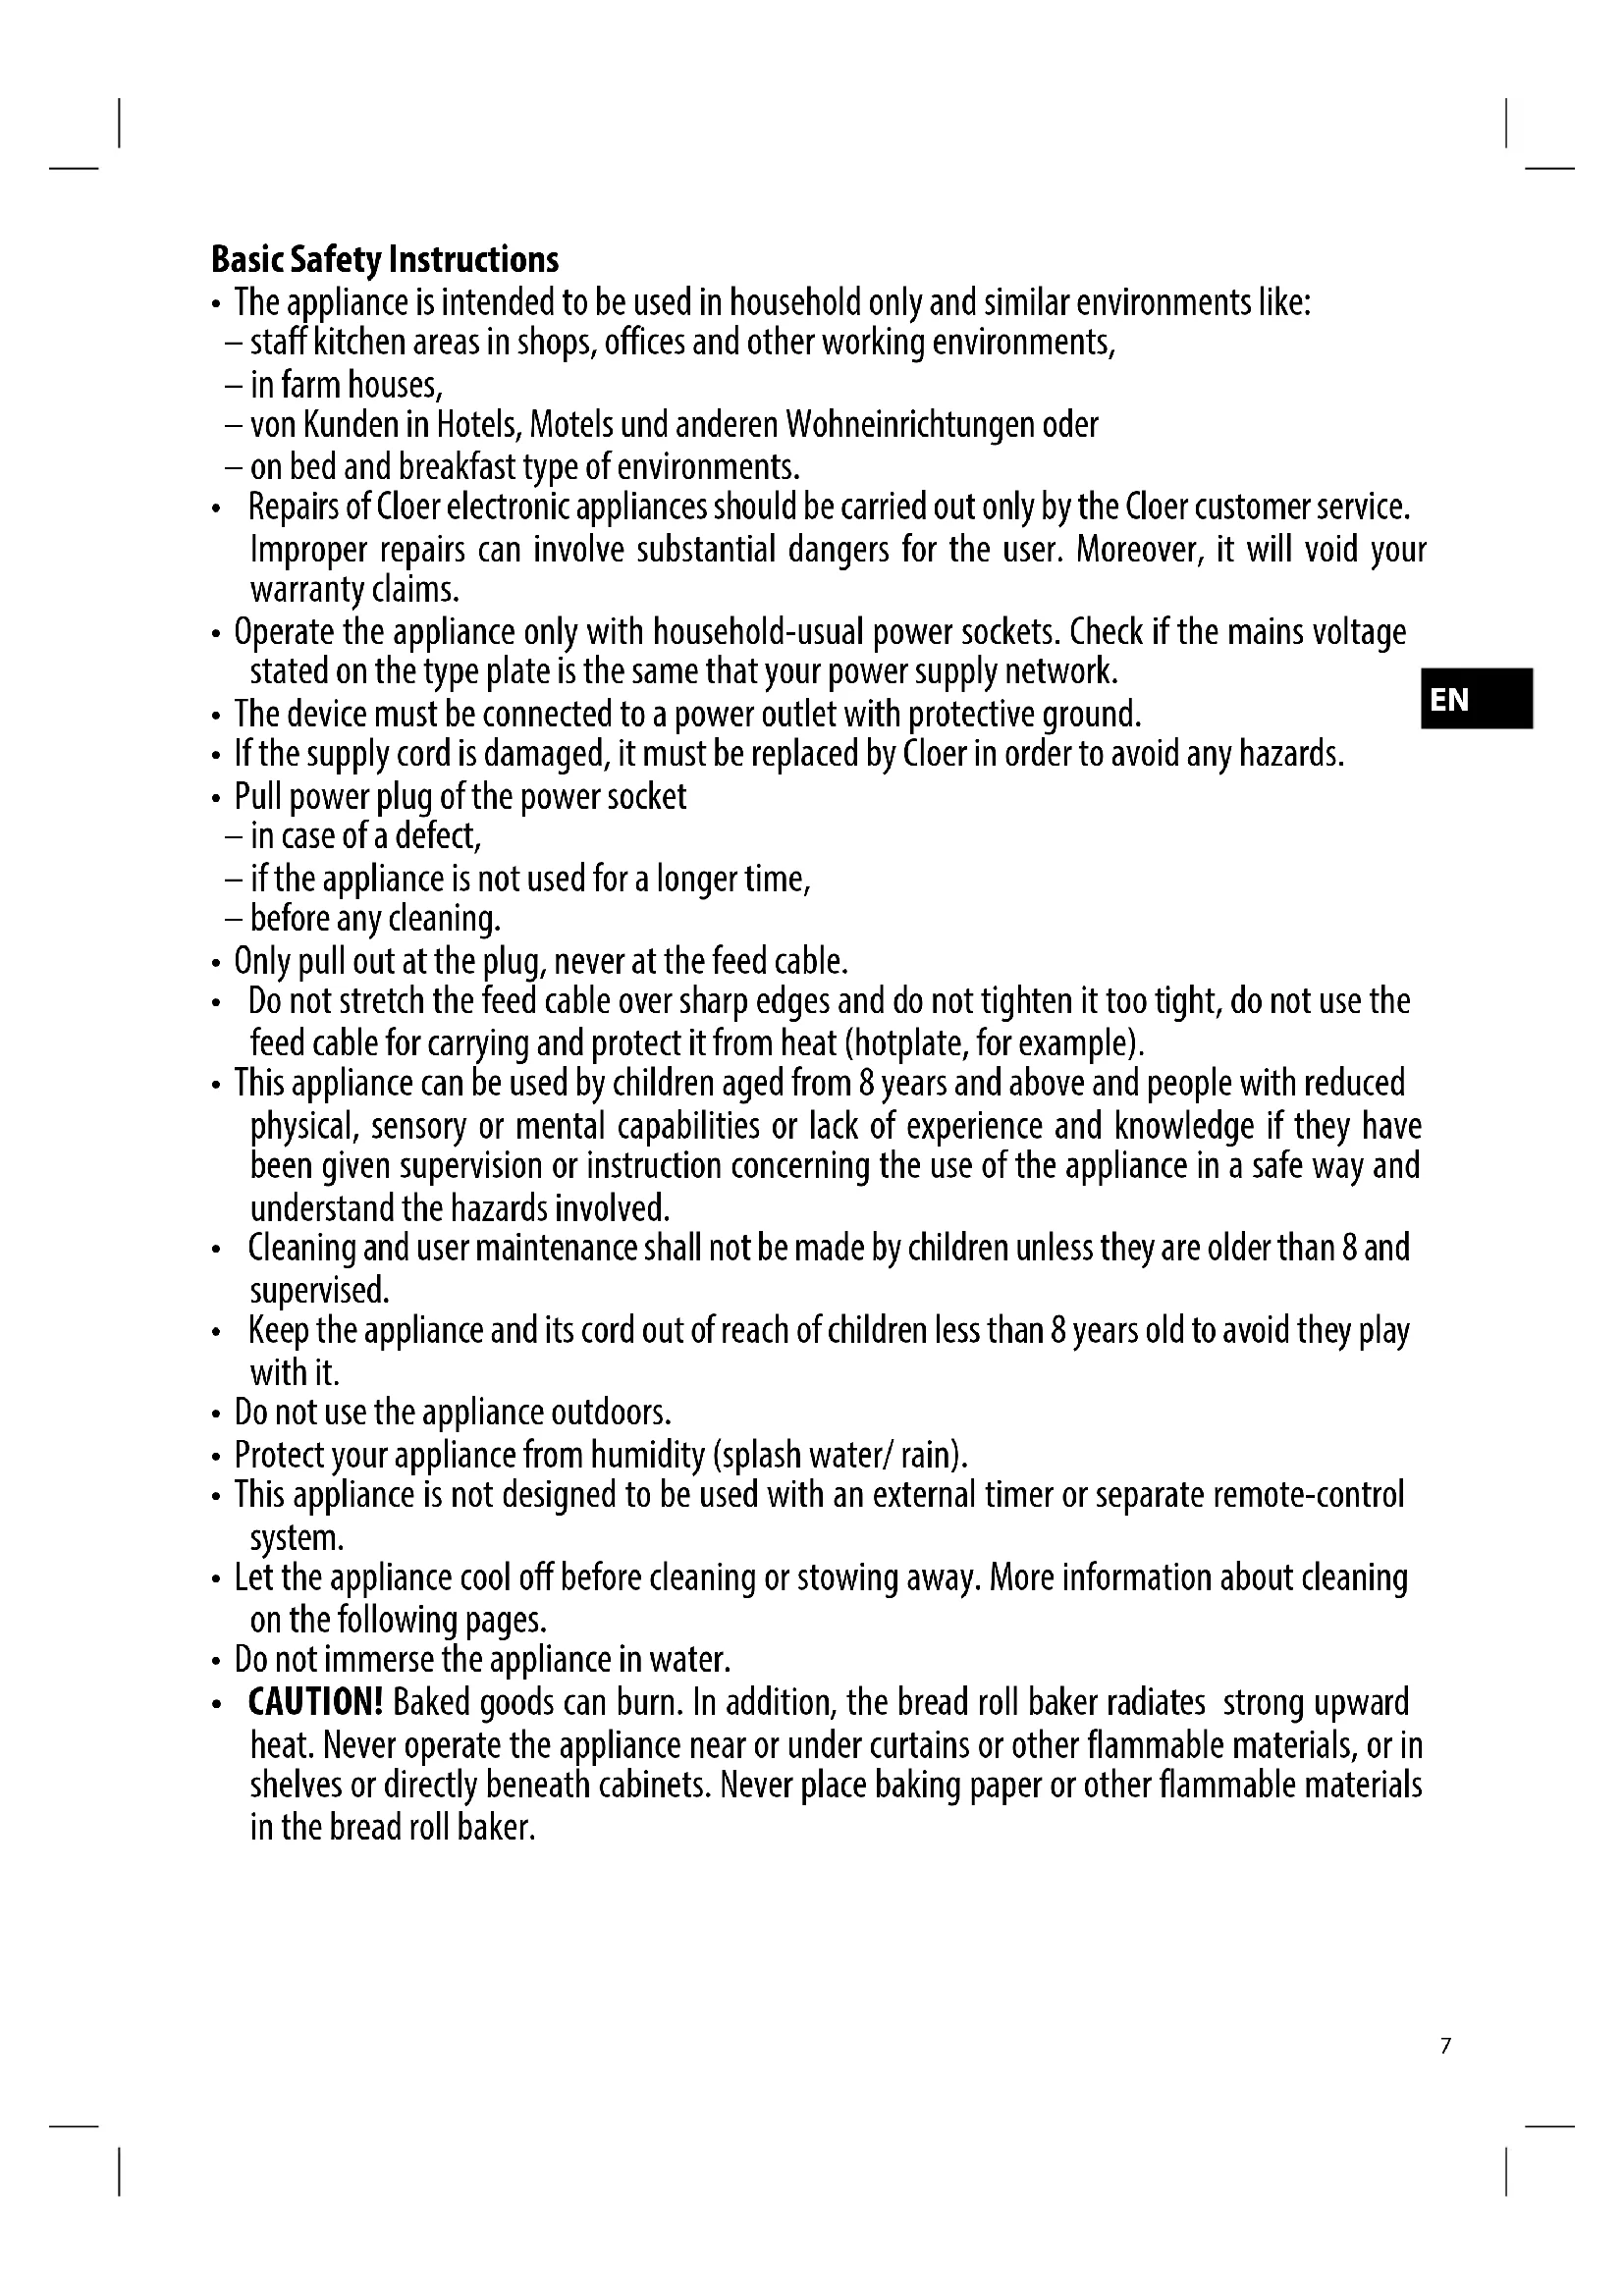
- CAUTION! Baked goods can burn. In addition, the bread roll baker radiates strong upward heat. Never operate the appliance near or under curtains or other flammable materials, or in shelves or directly beneath cabinets. Never place baking paper or other flammable materials in the bread roll baker.
Technical Data
Type Volt Hz Watt
| 300 220 | 240 50 570 |
Before the first use

Read these operating instructions carefully before using the appliance for the first time
- Remove all packaging elements and labels, but not the rating plate.
- Place the bread roll baker on a dry, even, non-slip surface.
- Plug the appliance into the wall socket.
EC Label / Safety information

The appliance meets the requirements of the applicable EC directives.
The appliance is designed for indoor domestic use only.
CAUTION! Hot surfaces. Danger of being burned!
- Please read these operating instructions carefully before using the appliance for the first time.
- Operate the appliance without baked goods the first time.
- Set the timer to 5 minutes.
- The first few times the appliance is operated, there will be a slight odor for technical reasons. This is completely normal, however, and will not affect the operation of the appliance or the baking results.
- Do not place dishes in the roll toaster.
- The baking grill also becomes very hot. Do not place it on sensitive surfaces after baking.
- Place the baking grill on a wooden board e.g.
- Distribute the baked goods evenly on the baking grill. Please make sure that the baked goods do not touch the metal parts on the inside of the appliance. Allow the appliance to cool before transporting or cleaning.
ATTENTION! Always unplug the appliance when not in use and before cleaning.
Starting up
- Open the tilting lid of the bread roll baker.
- Place the baked goods on the baking grill.
- Close the lid and set the timer to the desired setting.
ATTENTION! Appliance becomes hot. Do not touch any part of the appliance except the handles or the operating elements.
-
As soon as you set the timer, the control lamp lights up. The timer makes an audible ticking sound.
• After the selected time has elapsed -
the alarm bell rings.
– the appliance automatically switches off. -
the control lamp goes out.
-
Open the tilting lid (with heat-insulated handle).
- Remove the baking grill with the baked goods.
- Now you can use the bread roll baker again. Simply repeat the individual steps described in this section.

CAUTION! Never reach with your bare hands into the appliance. Danger of being burned! Hold the baking grill only by the handle!
INFO
By using this appliance, you are helping to protect the environment, as the roll baker is a real energy saver. The cooking chamber of the roll baker is many times smaller than the cooking chamber of an oven. As a result, the roll baker requires significantly less heating power to reach operating temperature and the rolls are baked more quickly. Less power and a shorter baking time result in significantly lower energy consumption.
Notes on saving energy
By using this appliance you are helping to protect the environment. Because the bread roll baker is a real energy saver. An electric oven has an output of approximately 2,500 watts during normal operation and 5,000 watts with the grill setting. For comparable baking results (e.g. thawing and baking a frozen roll), an electric oven would need about 25 minutes including pre-heating. The power consumption would be about 800 watts. The bread roll baker achieves the same results in less than half the time, using only about 50 watts - which is 16 times less energy. Therefore, you can save up to 90% or more!
Useful tips for the Cloer bread roll baker
General
The Cloer bread roll baker is suitable for warming up rolls and for the final baking of half-baked goods, as well as for melting toppings. Even deep-frozen baked goods become crispy fresh within a few minutes. The baking time determines the degree of browning. At the beginning, you should select a somewhat lower baking time. If necessary, you can then increase the baking time, beginning with setting 1 or 2.
If the top of the baked goods is not browned enough, you should turn them from time to time.
INFO
Experience with the preparation, baking or baking in electric ovens can not necessarily apply to the bread baker. This also applies to the baking and warm-up times applied to the food packaging films.
Warming
The moisture content is crucial for warming up baked goods successfully. Therefore, you should store them in an airtight plastic bag (or other airtight container). This maintains the moisture in the baked goods. If you warm up rolls stored in this way, they will taste like they are fresh from the bakery. Place day-old baked goods, such as rolls, croissants bagels or baguettes, in your roll toaster. Depending on the darkness desired, set the timer to 3 or 4 minutes. Moistening the baked goods slightly with a damp paper towel may produce better results. Please remove the baked goods as soon as the appliance switches off, since otherwise they can dry out from the heat.
Melting cheese
You can use your bread roll baker to melt cheese on sandwiches, rolls or baguettes. Place the bread on the baking grill and set the timer. Make sure that the toppings do not drip onto the interior of the roll toaster. The temperature inside the appliance reaches approx 250 to 270°C. Therefore, you must make sure that juicy toppings or cheese do not drip onto the protective covers of the heating elements. In such cases, you can use aluminum foil between the baking rack and the food. However, the aluminum foil should be kept as small as possible so that the heat can spread evenly throughout the cooking space.
Cleaning and care
• Always unplug the appliance before cleaning!
• Always allow the appliance to cool off first.
- Clean the appliance with a damp cloth, but never under flowing water.
- Do not use caustic cleaning or scouring agents.
- The movable parts (and only these parts!) are dish - washer-safe.
- Crumbs are collected in the crumb tray. The handle is located in the left side of the housing.
- Pull out the crumb tray carefully in order to clean it. Afterwards, reinsert it fully into the housing.
- Tip: To make cleaning up easier, you can place aluminum foil under the goods to be baked on the baking grill.
Environmentally friendly disposal
We use environmentally friendly packaging for the transport of our appliances. Please recycle cardboard/paper and plastic packaging appropriately.
ATTENTION!
Electrical appliances should not be disposed of with the household trash.
Electrical appliances contain valuable raw materials. When an appliance is worn-out, please take it to a recognised recycling facility. Consult the local authorities for information on recycling appliances.
Warranty
Cloer electrical appliances are in conformity with the currently required EC-guidelines and safety regulations. If your Cloer electrical appliance has a defect or it does not work properly, contact your specialist dealer. Registered clients have at their disposal our technical customer service.
Manufacturer warranty
Please register your appliances in the period of 6 months since the purchase in order to benefit from our manufacturer warranty. The published conditions of warranty in the moment of the registration are valid. You will find conditions of warranty and product registration here:

Manufacturer warranty
https://cloer.eu/guarantee
Type voltage hz watt
| 300 220 | 240 50 570 |
OBS! Varm overflate. Fare for forbrenning!
© 2024 by Cloer Germany GmbH&CoKG
We reserve the right to make technical changes, we are not liable for any errors or printing errors.