AE 6491 NRC - Radio ALBRECHT - Free user manual and instructions
Find the device manual for free AE 6491 NRC ALBRECHT in PDF.
User questions about AE 6491 NRC ALBRECHT
0 question about this device. Answer the ones you know or ask your own.
Ask a new question about this device
Download the instructions for your Radio in PDF format for free! Find your manual AE 6491 NRC - ALBRECHT and take your electronic device back in hand. On this page are published all the documents necessary for the use of your device. AE 6491 NRC by ALBRECHT.
USER MANUAL AE 6491 NRC ALBRECHT
7. Operation for secondary functions / Function Selector (FC) .................40
7.1.9. NRC noise reduction function (while receiving) .......................44
Please read before operating your AE 6491 ANC Radio. This High Tech CB radio combines the latest circuit design with microprocessor control system. Very easily and advanced user features make it the premier radio for your mobile communications. Please only use the original microphone on the CB radio, otherwise the proper functioning of the VOX hands-free function could not be guaranteed. The following standard features are included.
- Fully synthesized system with microprocessor
- Large & wide angle readout for multi-function display (STN technology)
- VOX function for free hands communication
- NRC noise reduction function in RX
- Two color choices by green and red color
- Full channels or memory channel scanning
- Instant access to channel 9 or 19
- Single rotary knobs for channel, volume and squelch
- External speaker connector (3.5 mm mono) and coaxial antenna socket (SO-239)
- All metal cabinet and ideal size for easy installation in dash mount.
- Supports all European CB-radio standards.
- AE 6491 ANC supports 12 V and 24 V car power supply without switching30 English
2. Controls and Connectors
No. Description 1 Power ON/OFF Switch & volume control 2 LCD Display 3 Squelch control 4 Function selector by short press 5 Microphone connector 6 AM/FM (Menu button) 7 SCAN, MSCAN (Memory Scan) 8 VOX on/off, EMG (Emergency channel 9/19), SHIFT 9 MEM (Memory recall), MSAVE (Memory save) 10 ASQ (Automatic Squelch), CTCSS 11 Rotary channel control 12 Antenna Connection with PL 259 coaxial Connector 13 12/24V DC power input 14 External Speaker Socket (for 3.5 mm mono plug) Microphone No. Description 15 Push-to-talk Switch (PTT) 16 DOWN key 17 ASQ on/off 18 UP key31 English32 English
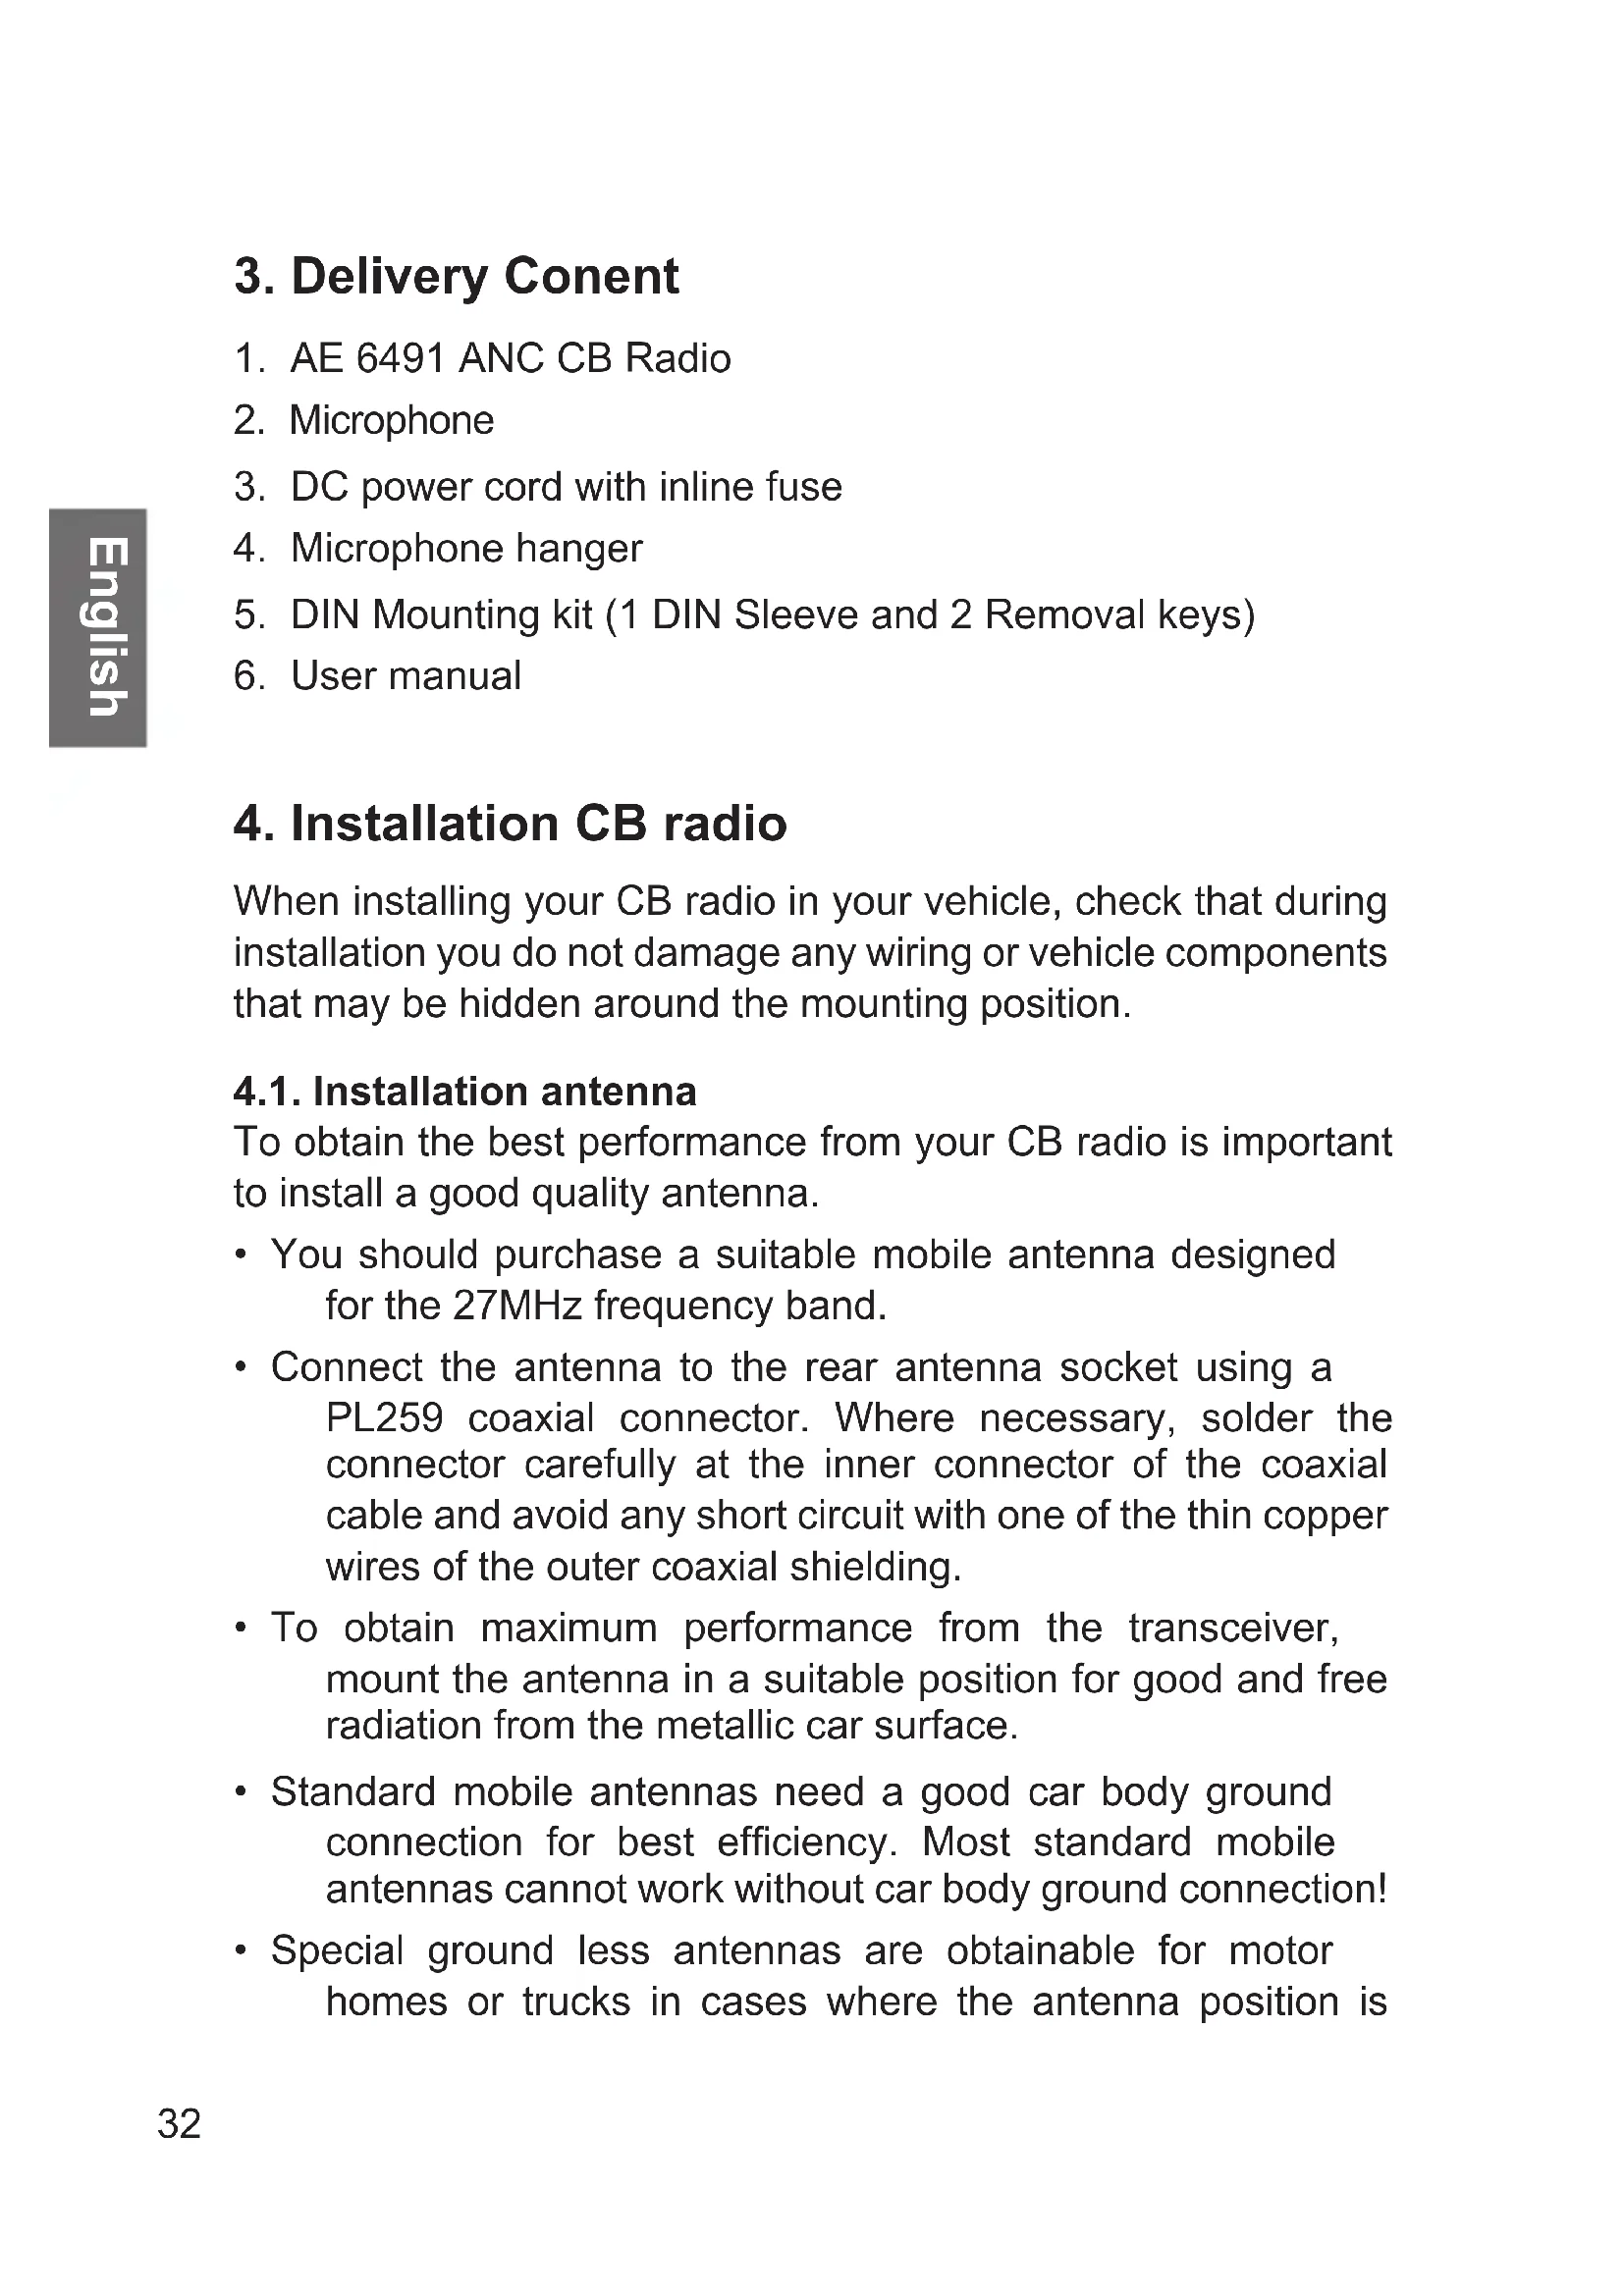
3. DC power cord with inline fuse
4. Microphone hanger
5. DIN Mounting kit (1 DIN Sleeve and 2 Removal keys)
When installing your CB radio in your vehicle, check that during installation you do not damage any wiring or vehicle components that may be hidden around the mounting position. 4.1. Installation antenna To obtain the best performance from your CB radio is important to install a good quality antenna.
- You should purchase a suitable mobile antenna designed for the 27MHz frequency band.
- Connect the antenna to the rear antenna socket using a PL259 coaxial connector. Where necessary, solder the connector carefully at the inner connector of the coaxial cable and avoid any short circuit with one of the thin copper wires of the outer coaxial shielding.
- To obtain maximum performance from the transceiver, mount the antenna in a suitable position for good and free radiation from the metallic car surface.
- Standard mobile antennas need a good car body ground connection for best efciency. Most standard mobile antennas cannot work without car body ground connection!
- Special ground less antennas are obtainable for motor homes or trucks in cases where the antenna position is33 English made from plastic or berglass or where a grounding is not possible. Such antennas do only work on berglass or plastic car body structures and do not work immediately on metallic structures.
- Do not use any transmit function (e.g. PTT) before installing the antenna 4.2. DC power connection 12 V / 24 V The AE 6491 ANC version can operate at both 12 or 24 V voltage systems. A switching is not necessary. 4.3. Mounting using DIN Sleeve Before installing, conrm that this radio ts in the desired mounting area and you have all the necessary kits to complete the installation
- Remove the bracket if previously installed.
- Install DIN Sleeve into the opening in your dashboard, lip facing out.
- Push out the top and bottom tabs to hold the sleeve rmly in place.
- Before inserting this radio in the sleeve, wire the cable from the previously mounted antenna
- Connect the DC power leads. The RED wire goes to a positive( + ) connection on your fuse block, while BLACK34 English connects to the car body ground ( - ).
- Make sure all the connections are routed away from any potentially pinching or slicing other metallic parts.
- Slowly slide the radio into the sleeve until it locks in place.
- The rubber ring will act as a seal against DIN Sleeve. At the left and right sides of the ring a slot space will be provided by pulling slowly the left and right side of the ring. 4.4. Removing the radio from DIN Sleeve If you plan to remove the radio from DIN Sleeve, you should do it using the provided two removal keys as explained below:
- Fully insert both removal keys straight into the slot spaces provided by rubber ring on the left and the right edges of the radio front panel.
- You cannot remove the radio if only one key is used.
- Press in fully and the radio will unlock from the sleeve making withdrawal from the sleeve possible.
- Store the keys in a safe place for future use.35 English
Turn the rotary volume switch clockwise to power on and adjust the sound level for comfortable reception. 5.1. Country switching The AE 6491 ANC supports all current european CB radio standards.
- Switch the Power on, while keeping the required button (see below table) pressed for each country setting
- Then release button(s) again The factory default setting is „EU“. This last key combination is used to perform a Factory Reset (to default settings). This may be a useful action in cases where the radio may perhaps react abnormal.36 English
6. Operation / Buttons
6.1. AM/FM switch You can select AM or FM modulation by pressing the AM/FM button. Please note that in the German 80 CH system it is possible (and allowed) to listen in AM on all 80 channels, but transmission is only possible on CH 1-40 in AM. During receive mode, the bar graph shows the strengths of the received signal, during transmission, it shows the relative output power. In dE and EU settings, the AM power depends on the jumper setting on the lower printed circuits board side (see country switching). 6.2. SCAN Your AE 6491 ANC incorporates a scanning feature. The radio will scan through all channels and will stop at BUSY channels. It will stay on that channel further seven seconds after conversation has stopped and then it will resume scanning.
- To start scanning, turn on the power rst and adjust the volume and squelch.
- Press the SCAN button to start scanning. The word SC will appear in the LCD display and the unit will start scanning.
- If you want to stop scanning you can push the scan button again or press the push to talk switch.37 English 6.3. VOX function / EMG Channel selection Short press VOX/EMG button to activate or deactivate the VOX function. The VOX function allows to communicate hands free. When the VOX function is activated, the radio recognizes speech and automatically starts transmitting. Long press VOX/EMG (Emergency) button for instant access to the international Calling & Emergency channel 9, which is monitored by all truckers and many CB users and in some regions even by road safety organizations. If you need any help or assistance, it is a good idea to call on this channel 9. Truckers can be reached in most cases in AM mode. The emergency channel is also used on the German highways as warning system in case of accidents, road maintenance or serious trafc jams with collision danger. If you pass a special beacon on your lane and a dangerous situation may be in front of you, you will be warned by alarm tones and voice announcement. With the VOX/EMG key you can toggle between CH 9 and your previously used channel. The other, often used calling channel is Channel 19. If you want to use CH 19, please use FC and the second function button SHIFT.38 English 6.4. Memory channels (MEM) To access memorized channels simply press the „MEM“ button and choose the desired memory channel from M1 to M5 by pressing one of the buttons AM/FM to ASQ. 6.5. Squelch control (SQ) The AE 6491 ANC features 3 different squelch systems:
- Tone squelch (CTCSS) All of them are masking the noise of the channel by muting the speaker. Only when certain criterias are met, the squelch is opening the speaker so the received signal can be heard.
6.5.1. Automatic Squelch (ASQ)
The ASQ is constantly checking the noise level on the channel. Once a signal is received, the noise level reduces and the ASQ opens. Pressing the ASQ button activates or deactivates the ASQ function. The current status is indicated by the ASQ symbol in the display. The ASQ can be adjusted in 3 levels, level 1 has the highest sensitivity.39 English Advantage: highest sensitivity and thus highest communiction range Disadvantage: due to interferences e.g. sunspot activity, electronic devices, etc., it may open without actually receiving any signal. In this case either the manual or tone squelch will work better.
6.5.2. Manual squelch
By turning the manual squelch clockwise it eliminates the background noise. The further the squelch is turned, the stronger the receiving signal has to be to open the squelch. The normal setting is usually the point at which the squelch barely mutes the speaker. Advantage: when set to a high level it can be used to only hear near stations and block all stations further away. Disadvantage: needs to be set manually. When accidentally set too high, it results in a loss of sensitivity and thus range40 English
6.5.3. Tone Squelch (CTCSS)
Besides of the RF-level controlled Squelch and the ASQ, the radio is also equipped with CTCSS. CTCSS adds an unhearable tone to the transmission. If enabled, the squelch of a receiving radio only opens, when it receives a transmission from a radio with the same CTCSS setting. There are 38 different tones available. The CTCSS can be set separately for each channel and is only available in FM.
- Select the desired channel with Rotary knob or UP/DOWN
- Press FC + CTCSS / ASQ
- With the Rotary knob or UP/DOWN key select the CTCSS tone from 1 to 38 or “of” to disable CTCSS
- Shortly press the PTT key Advantage: allows selective reception of certain stations. Disadvantage: all communication partners need radios with CTCSS. Lower sensitivity and thus lower range compared to ASQ
7. Operation for secondary functions / Function
Selector (FC) The FC button also has a second function: If you short press the FC button, you activate the second function of each button, which is written above the keys.41 English 7.1. MENU This MENU button can control eight SUB MENU functions in sequence. To start the MENU, please consider that it is a secondary function like all others, which will be described in this chapter.
- Now press the MENU (AM/FM) button You can set the following:
7.1.3. VOX delay gain
7.1.7. LCD backlighting (dimmed and bright).
Press MENU one or several times for xing your selection and going to the next step.42 English
7.1.1. Microphone Gain
Set the level of the microphone gain in VOX mode. The bigger the distance between the speaker and the microphone, the higher the value must be selected. With an higher value, noises such as e.g. wind and engine noise will be transmitted. You can set the delay time in 9 levels. The default setting is level 6.
7.1.2. VOX Sensitivity Level
The VOX level sets the noise level at which the automatic VOX transmission is activated. 1 = low sensitivity, VOX only reacts to very loud noise 9 = high sensitivity, VOX already reacts to very low noise The default setting is level 6.
7.1.3. VOX Delay Time
The VOX delay time determines the time after which the automatic VOX transmission turns off without any sound being detected:43 English Level 1 2 3 4 5 6 7 8 9 Time (Sec) 0,5 1,0 1,5 2,0 2,5 3,0 3,5 4,0 4,5 You can set the delay time in 9 levels. The default setting is level 4.
Activate/deactivate the keytones (Beep on/off).
The Roger Beep function signals the receiver that the other end has ended the radio message.
7.1.7. LCD backlighting brightness control
Select an ASQ sensitivity level: 1 to 3.
7.1.9. NRC noise reduction function (while receiving)
The NRC noise lter can be set in 5 levels (1 = weakest lter / 5 = strongest lter). NR is shown in the display. NRC suppresses interference noise during reception.
7.1.10. ANC noise lter (during transmission)
The ANC noise lter can be set in 5 levels (1 = weak lter / 5 = strongest lter). ANC suppresses noise during transmission. Attention: If the reception is weak and the lter level is set high, there might be losses in the audio quality.45 English 7.2. MSCAN The Memory channel Scan feature allows the radio to automatically scan through your 5 favorite channels.
- To access, press FC and MSCAN
- M-SC will appear in the LCD. Now the radio scans automatically only the favorite channels and stops where radio trafc is detected. Note: To program channels of your choice see the chapter under MSAVE on the next page 7.3. SHIFT The SHIFT function button for instant access to the alternative Trucker Emergency or calling channel 19. With FC + SHIFT you can toggle between CH 19 and the previously used normal operating channel.46 English 7.4. MSAVE This MSAVE button is used to store any channel in the each memory buttons at M1 to M5. To store channels:
- Select the desired channel with Rotary knob or UP/DOWN
- Press FC + MSAVE / MEM
- You can choose any memory channel number with a button from MENU (M1) to CTCSS (M5)
Check at rst the power supply and the fuse. A problem may be caused through power supply, when no light or display appears after switching on. If the unit works in a strange way, disconnect the power supply cable (or take out the fuse from the holder), while the radio remains switched on, wait some time (minimum 10 seconds), and then reconnect power cord again. Another method is to make a “Factory Default“-reset. This reset may also reset the country switching and the last channel used- the radio just starts again like a brand new radio which had not yet been connected.
- Switch the radio off
- Press AM/FM and MEM button and keep them pressed during switching the radio on
- The display shows rS and after a short time the radio starts again. In most cases the functions of the radio will be restored now.
- Check the microphone and antenna connector If the reset procedure does not help, please contact our service hotline.50 English
Vehicles with air bags:
- Do not place your radio in the area over an air bag or in the air bag deployment area.
- Air bags inate with great force.
- If a radio is placed in the air bag deployment area and the air bag inates, the radio may be propelled with great force and can cause serious injury to the occupants of the vehicle. Potentially Explosive Atmospheres
- Turn you radio off when in any area with a potentially explosive atmosphere, unless it is a type especially qualied for such use (for example, by intrinsic safe approvals)
- Sparks in such areas could cause an explosion or re resulting in injury or even death. Blasting caps areas
- To avoid possible interference with blasting operations turn your radio OFF near electrical blasting caps or in a „blasting area“ or in areas posted: „Turn off any two way radio.“ Obey all signs and instructions.
- Check the laws regarding the use of radios while driving and always obey them.
- • In some European countries it is forbidden for the driver to keep any microphone in hands or to operate a radio during driving.
- • Some countries (like Germany) make a difference between mobile phones and 2 way radios. Mobile phones51 English are only allowed to be operated in handsfree mode, while CB & commercial two way radios are still allowed even with hand microphone
11. Warranty and information on recycling
We are legally obligated to enclose for each device information on disposal and warranty, as well as an EU declaration of conformity with the instructions for use in different countries. You will nd this information on the following pages. 2-year warranty from the date of purchase The manufacturer/dealer provides a two-year warranty from the date of purchase for this product. This warranty covers all failures due to defective components or faulty functions within the warranty period, except for wear and tear such as empty batteries, scratches on the display, defective housing, defective antenna and defects due to external inuences such as corrosion, overvoltage due to improper external power supply or the use of unsuitable accessories. Defects caused by improper use are also excluded from the warranty. In the event of a warranty claim, please contact your dealer. The dealer will repair or replace the device or pass it on to an authorised service centre.52 English
12. CE declaration of conformity
Standards and directives Alan Electronics GmbH hereby declares that the radio device model AE 6491 ANC is in accordance with Regulation 2014/53/EU. The full text of the EU declaration of conformity can be found at the following Internet address: http://service.alan-electronics.de/CE-Papiere/ 12.1. EEAG and Recycling European laws prohibit the disposal of old or defective electrical or electronic equipment via household waste. To dispose of the device, return it to a collection point in your municipality for recycling. This system is nanced by the industry and ensures environmentally friendly disposal and recycling of valuable raw materials.