
DCS2330L - Surveillance Camera D-LINK - Free user manual and instructions
Find the device manual for free DCS2330L D-LINK in PDF.
| Product Type | Wireless IP surveillance camera |
| Brand | D-Link |
| Model | DCS-2330L |
| Resolution | 640 x 480 pixels (VGA) |
| Night vision | Yes, up to 5 meters |
| Viewing angle | 73° |
| Connectivity | Ethernet 10/100, Wi-Fi 802.11ac/n/g/b |
| Power supply | Power adapter 5V DC, 1A |
| Power consumption | 5 W max |
| Dimensions (L x W x H) | 7.2 x 7.2 x 12.5 cm |
| Weight | 150 g (without cables) |
| Sensor | 1/4-inch CMOS |
| Key features | Remote monitoring via mydlink, motion detection, email notification, WPS, live view |
| Storage | Recording on mydlink cloud server (subscription required) or via third-party software |
| Operating temperature | 0°C to 40°C |
| Humidity | 20% to 80% non-condensing |
| Certifications | CE, FCC |
| Compatibility | Windows 8/7/Vista/XP, Mac OS X 10.6+, IE7+, Firefox 12+, Safari 4+, Chrome 20+ |
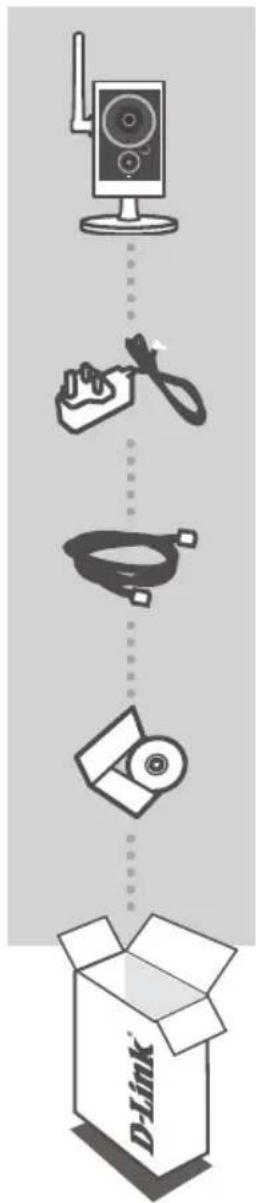
| Box contents | DCS-2330L camera, Ethernet cable, power adapter, installation CD, quick start guide, rubber seal |
| Warranty | 2 years |
| Maintenance | Clean with a soft, dry cloth. Avoid solvents. Do not disassemble. |
| Security | Use a strong password for mydlink account. Keep firmware up to date. |
| Spare parts and repairability | Contact D-Link customer service. No spare parts available for self-service. |
Frequently Asked Questions - DCS2330L D-LINK
User questions about DCS2330L D-LINK
0 question about this device. Answer the ones you know or ask your own.
Ask a new question about this device
Download the instructions for your Surveillance Camera in PDF format for free! Find your manual DCS2330L - D-LINK and take your electronic device back in hand. On this page are published all the documents necessary for the use of your device. DCS2330L by D-LINK.
USER MANUAL DCS2330L D-LINK
If any of these items are missing from your packaging, contact your reseller.
SYSTEM REQUIREMENTS
- Computer with Microsoft Windows ^® 8/7/Vista/XP, or Mac with OS X 10.6 or higher
• PC with 1.3GHz or above and at least 128MB RAM - Internet Explorer 7, Firefox 12, Safari 4, or Chrome 20 or higher version with Java installed and enabled
- Existing 10/100 Ethernet-based network or 802.11g/n wireless network
PRODUCT SETUP
WINDOWS USER
Step 1:
Carefully remove the rubber seal on the back of the DCS-2330L, and use the included Ethernet cable to connect the DCS-2330L to your network.
Step 2:
Connect the external power supply to a power outlet. Wait until the power LED turns green.
Step 3:
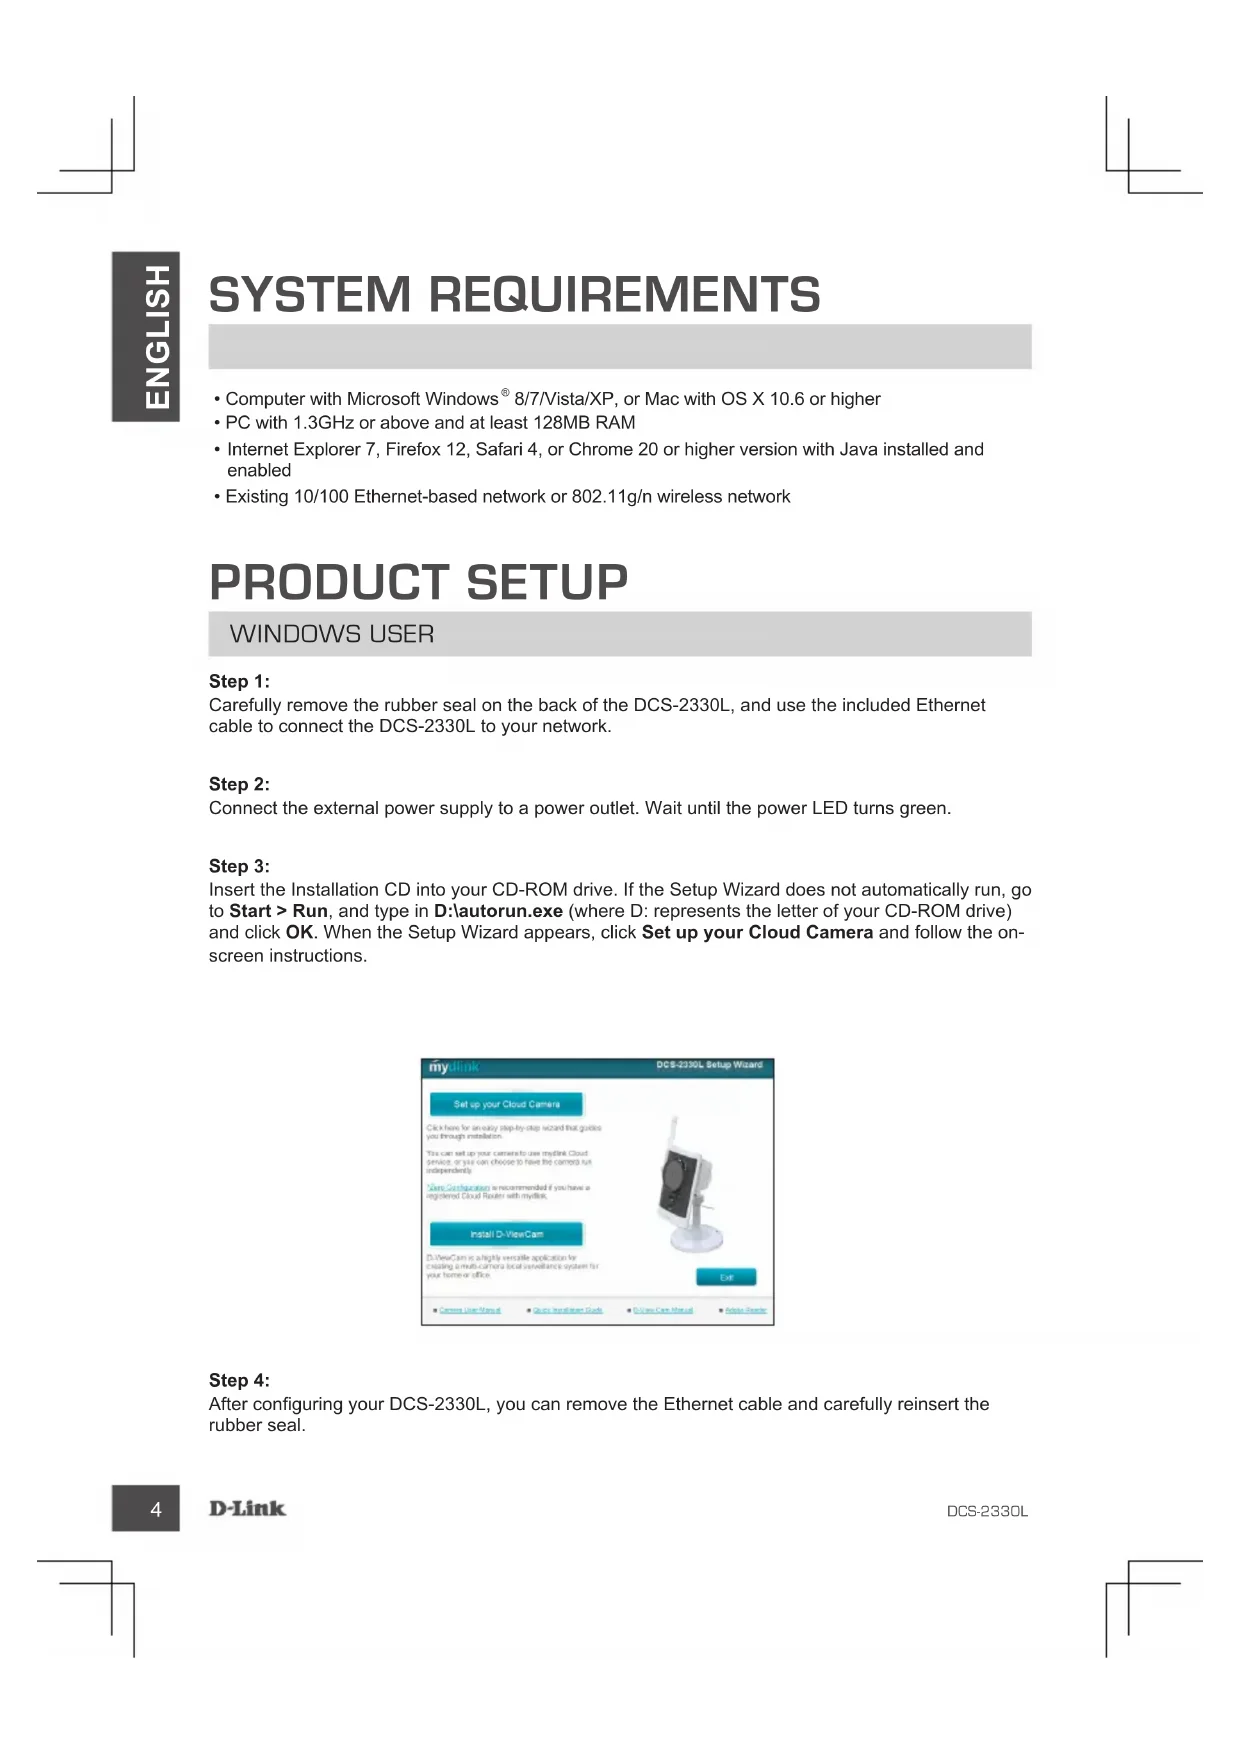
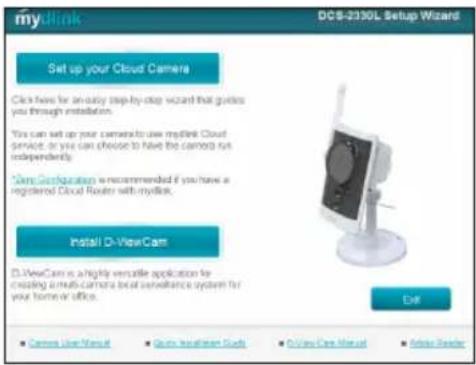
Insert the Installation CD into your CD-ROM drive. If the Setup Wizard does not automatically run, go to Start > Run, and type in D:\autorun.exe (where D: represents the letter of your CD-ROM drive) and click OK. When the Setup Wizard appears, click Set up your Cloud Camera and follow the on-screen instructions.
Step 4:
After configuring your DCS-2330L, you can remove the Ethernet cable and carefully reinsert the rubber seal.
PRODUCT SETUP
MAC USER
Insert the Installation CD-ROM into your computer's CD drive. On the desktop, open your CD drive and double-click on the SetupWizard file.

SetupWizard
Within 20-30 seconds, the Setup Wizard will open, which will guide you step-by-step through the installation process from connecting your hardware to configuring your camera and registering it with your mydlink account.
Note: mydlink portal requires Java ^™ to function correctly.
For more guidelines, please refer to mydlink FAQ pages at https://eu.mydlink.com/faq/mydlink
WPS SETUP
Alternatively, you may create a WPS connection if your router or access point supports WPS. To create a WPS connection:
Step 1:
Press and hold the WPS button on the side of the camera for three seconds. The blue WPS status LED above the button will blink.
Step 2:
Press the WPS button on your wireless router or access point within 60 seconds. On some routers, you may need to log into the web interface and then click an onscreen button to activate the WPS feature. If you are not sure where the WPS button is on your router or access point, please refer to your router's user manual.
The DCS-2330L will automatically create a wireless connection to your router. While connecting, the green LED will flash and your camera will reboot.
mydlink PORTAL
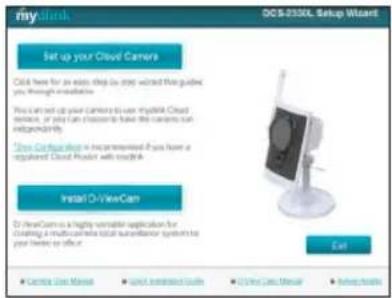
After registering your DCS-2330L camera with a mydlink account in the Camera Installation Wizard, you will be able to remotely access your camera from the www.mydlink.com website. After signing in to your mydlink account, you will see a screen similar to the following:
Step 1:
Open Internet Explorer and go to http://www.mydlink.com, then sign into mydlink.
Step 2:
Select your camera from the device list, and your camera's Live View will appear.
TECHNICAL SUPPORT
United Kingdom (Mon-Fri), Website: http://www.dlink.com
Home Wireless/Broadband 0871 873 3000 (9.00am-06.00pm, Sat 10.00am-02.00pm)
Managed, Smart, & Wireless Switches, or Firewalls 0871 873 0909 (09.00am- 05.30pm)
(BT 10ppm, other carriers may vary.)
Ireland (Mon-Fri), Website: http://www.dlink.com
All Products 1890 886 899 (09.00am-06.00pm, Sat 10.00am-02.00pm)
Phone rates: €0.05ppm peak, €0.045ppm off peak times
PACKUNGS- INHALT
HD WIRELESS N OUTDOOR CLOUD CAMERA DCS-2330L
STROMADAPTER/STECKERNETZTEIL ADAPTER
ETHERNET-KABEL (CAT5 UTP) SCHLIESSEN SIE DIE KAMERA AN IHREN ROUTER WÄHREND DES SETUP-VORGANGS AN
INSTALLATIONS-CD ENTHÄLT SETUP-ASSISTENTEN UND TECHNISCHE HANDBÜCHER
Schritt 4:
CONFIGURATION DU PRODUIT
UTILISATEURS WINDOWS
Étape 1 :
Étape 4 :
CONFIGURATION DU PRODUIT
UTILISATEURS MAC
Paso 4:
Passo 4:
Stap 4:
Etap 4:
Krok 4:
4. lépés:
Trinn 4:
Note: mydlink-portalen krever Java™ for å fungere riktig. For flere retningslinjer kan du se mydlink FAQ-sidene på https://eu.mydlink.com/faq/mydlink
WPS-OPPSETT
INDSTILLING AF PRODUKTET
WINDOWS-BRUGER
Trin 1:
Trin 4:
INDSTILLING AF PRODUKTET
MAC-BRUGERE
Vaihe 4:
Steg 4:
Passo 4:
Βήμα4:
D-Link Hellas Support Center
http://dlink.com
Četvrti korak:
Nakon konfiguriranja uređaja DCS-2330L možete ukloniti Ethernet kabel i pažljivo ponovno umetnuti gumenu brtvu.
POSTAVLJANJE PROIZVODA
KORISNICI MAC RAČUNALA
Napomena: za uporabu portala mydlink Java™ mora funkcionirati pravilno. Više informacija potražite na mydlink stranicama s čestim pitanjima na https://eu.mydlink.com/faq/mydlink
POSTAVLJANJE WPS-A
4. korak:
Opomba: za portal mydlink mora Java™ delovati pravilno. Več informacij poiščite na straneh s pogostimi vprašanji na https://eu.mydlink.com/faq/mydlink
WPS NAMESTITEV
Pasul 4:
CONFIGURAREA CONEXIUNII WPS
Wireless Network Name (SSID)
Wireless Network Password
TECHNICAL SUPPORT
UK www.dlink.com
IRELAND www.dlink.com
GERMANY www.dlink.com
FRANCE www.dlink.com
SPAIN www.dlink.com
ITALY www.dlink.com
NETHERLANDS www.dlink.com
BELGIUM www.dlink.com
LUXEMBURG www.dlink.com
POLAND www.dlink.com
CZECH www.dlink.com
HUNGARY www.dlink.com
NORWAY www.dlink.com
DENMARK www.dlink.com
FINLAND www.dlink.com
SWEDEN www.dlink.com
GREECE www.dlink.com
PORTUGAL www.dlink.com