
TVVR33025T - Digital Video Recorder ABUS - Free user manual and instructions
Find the device manual for free TVVR33025T ABUS in PDF.
| Product type | 4-channel analog HD digital video recorder |
| Brand | ABUS |
| Model | TVVR33025T |
| Hard drive capacity | 1 TB (pre-installed) |
| Number of channels | 4 channels |
| Type of included cameras | 2 mini outdoor analog HD 1080p cameras |
| Video connectivity | Coaxial cable (2×30 m provided) |
| Network connectivity | Ethernet (1 m cable provided) |
| Power supply | Universal power supply |
| Included accessories | USB mouse, mounting hardware, quick start guide, CD |
| Manual languages | FR, DA, DE, EN, IT, NL, PL and more |
| Security | Administrator password, reset via GUID file or ABUS support |
| Ventilation | Ensure sufficient ventilation |
| Maintenance | Avoid liquids, magnetic fields, do not obstruct ventilation |
| Repairability | Replaceable hard drive (screws provided), technical support for password reset |
Frequently Asked Questions - TVVR33025T ABUS
User questions about TVVR33025T ABUS
0 question about this device. Answer the ones you know or ask your own.
Ask a new question about this device
Download the instructions for your Digital Video Recorder in PDF format for free! Find your manual TVVR33025T - ABUS and take your electronic device back in hand. On this page are published all the documents necessary for the use of your device. TVVR33025T by ABUS.
USER MANUAL TVVR33025T ABUS
Scope of delivery 24
Warnings 25
Connections 26
Hardware Installation 27
Tips for camera installation 29
System activation 31
Resetting the password 32
Software Set-up 33
Français
Security Tech Germany
Hardwareinstallation
Security Tech Germany
Systemaktivierung
1

Security Tech Germany
13

14

15


Quick guide for Video Recorder I Monitoring Set: TVVR33005 | TVVR33025T
This quick start guide describes the initial installation steps for your network camera.
In-depth information can be found in the user guide, which can be downloaded via the IP Installer or from the abus.com homepage.

Dear customers,
Thank you for purchasing this product. This product complies with current domestic and European regulations.
Conformity has been proven and all related certifications are available from the manufacturer on request (ABUS Security-Center GmbH & Co. KG, Linker Kreuthweg 5, 86444 Affing).
To maintain this status and to guarantee safe operation, it is your obligation to observe these operating instructions! Read the entire operating manual carefully before putting the product into operation. Pay attention to all operating and safety information! All company names and product descriptions are trademarks of the corresponding owner. All rights reserved.
If you have any questions, please contact your specialist dealer.


Scope of delivery
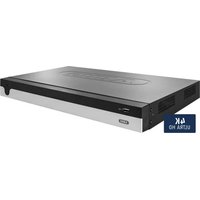
TWR33025T
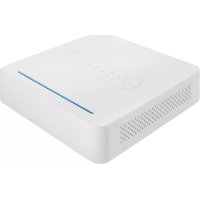
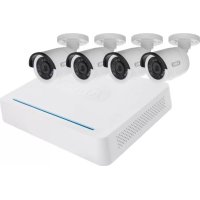
- 4-Channel Analogue HD Video Recorder incl. 1 TB HDD
- 2 x Analogue HD 1080p Mini Outdoor Camera
Universal power supply unit - 2 x 30 m coaxial cable
- 1x1m network cable
- Installation material
- USB mouse
Quick guide
CD
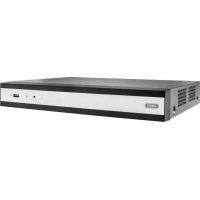
TVR33005
- 4-Channel Analogue HD Video Recorder
- 1x1m network cable
- 2 x hard drive cable
- 4 x screws for hard drive
- Power supply unit
- USB mouse
Quick guide
CD


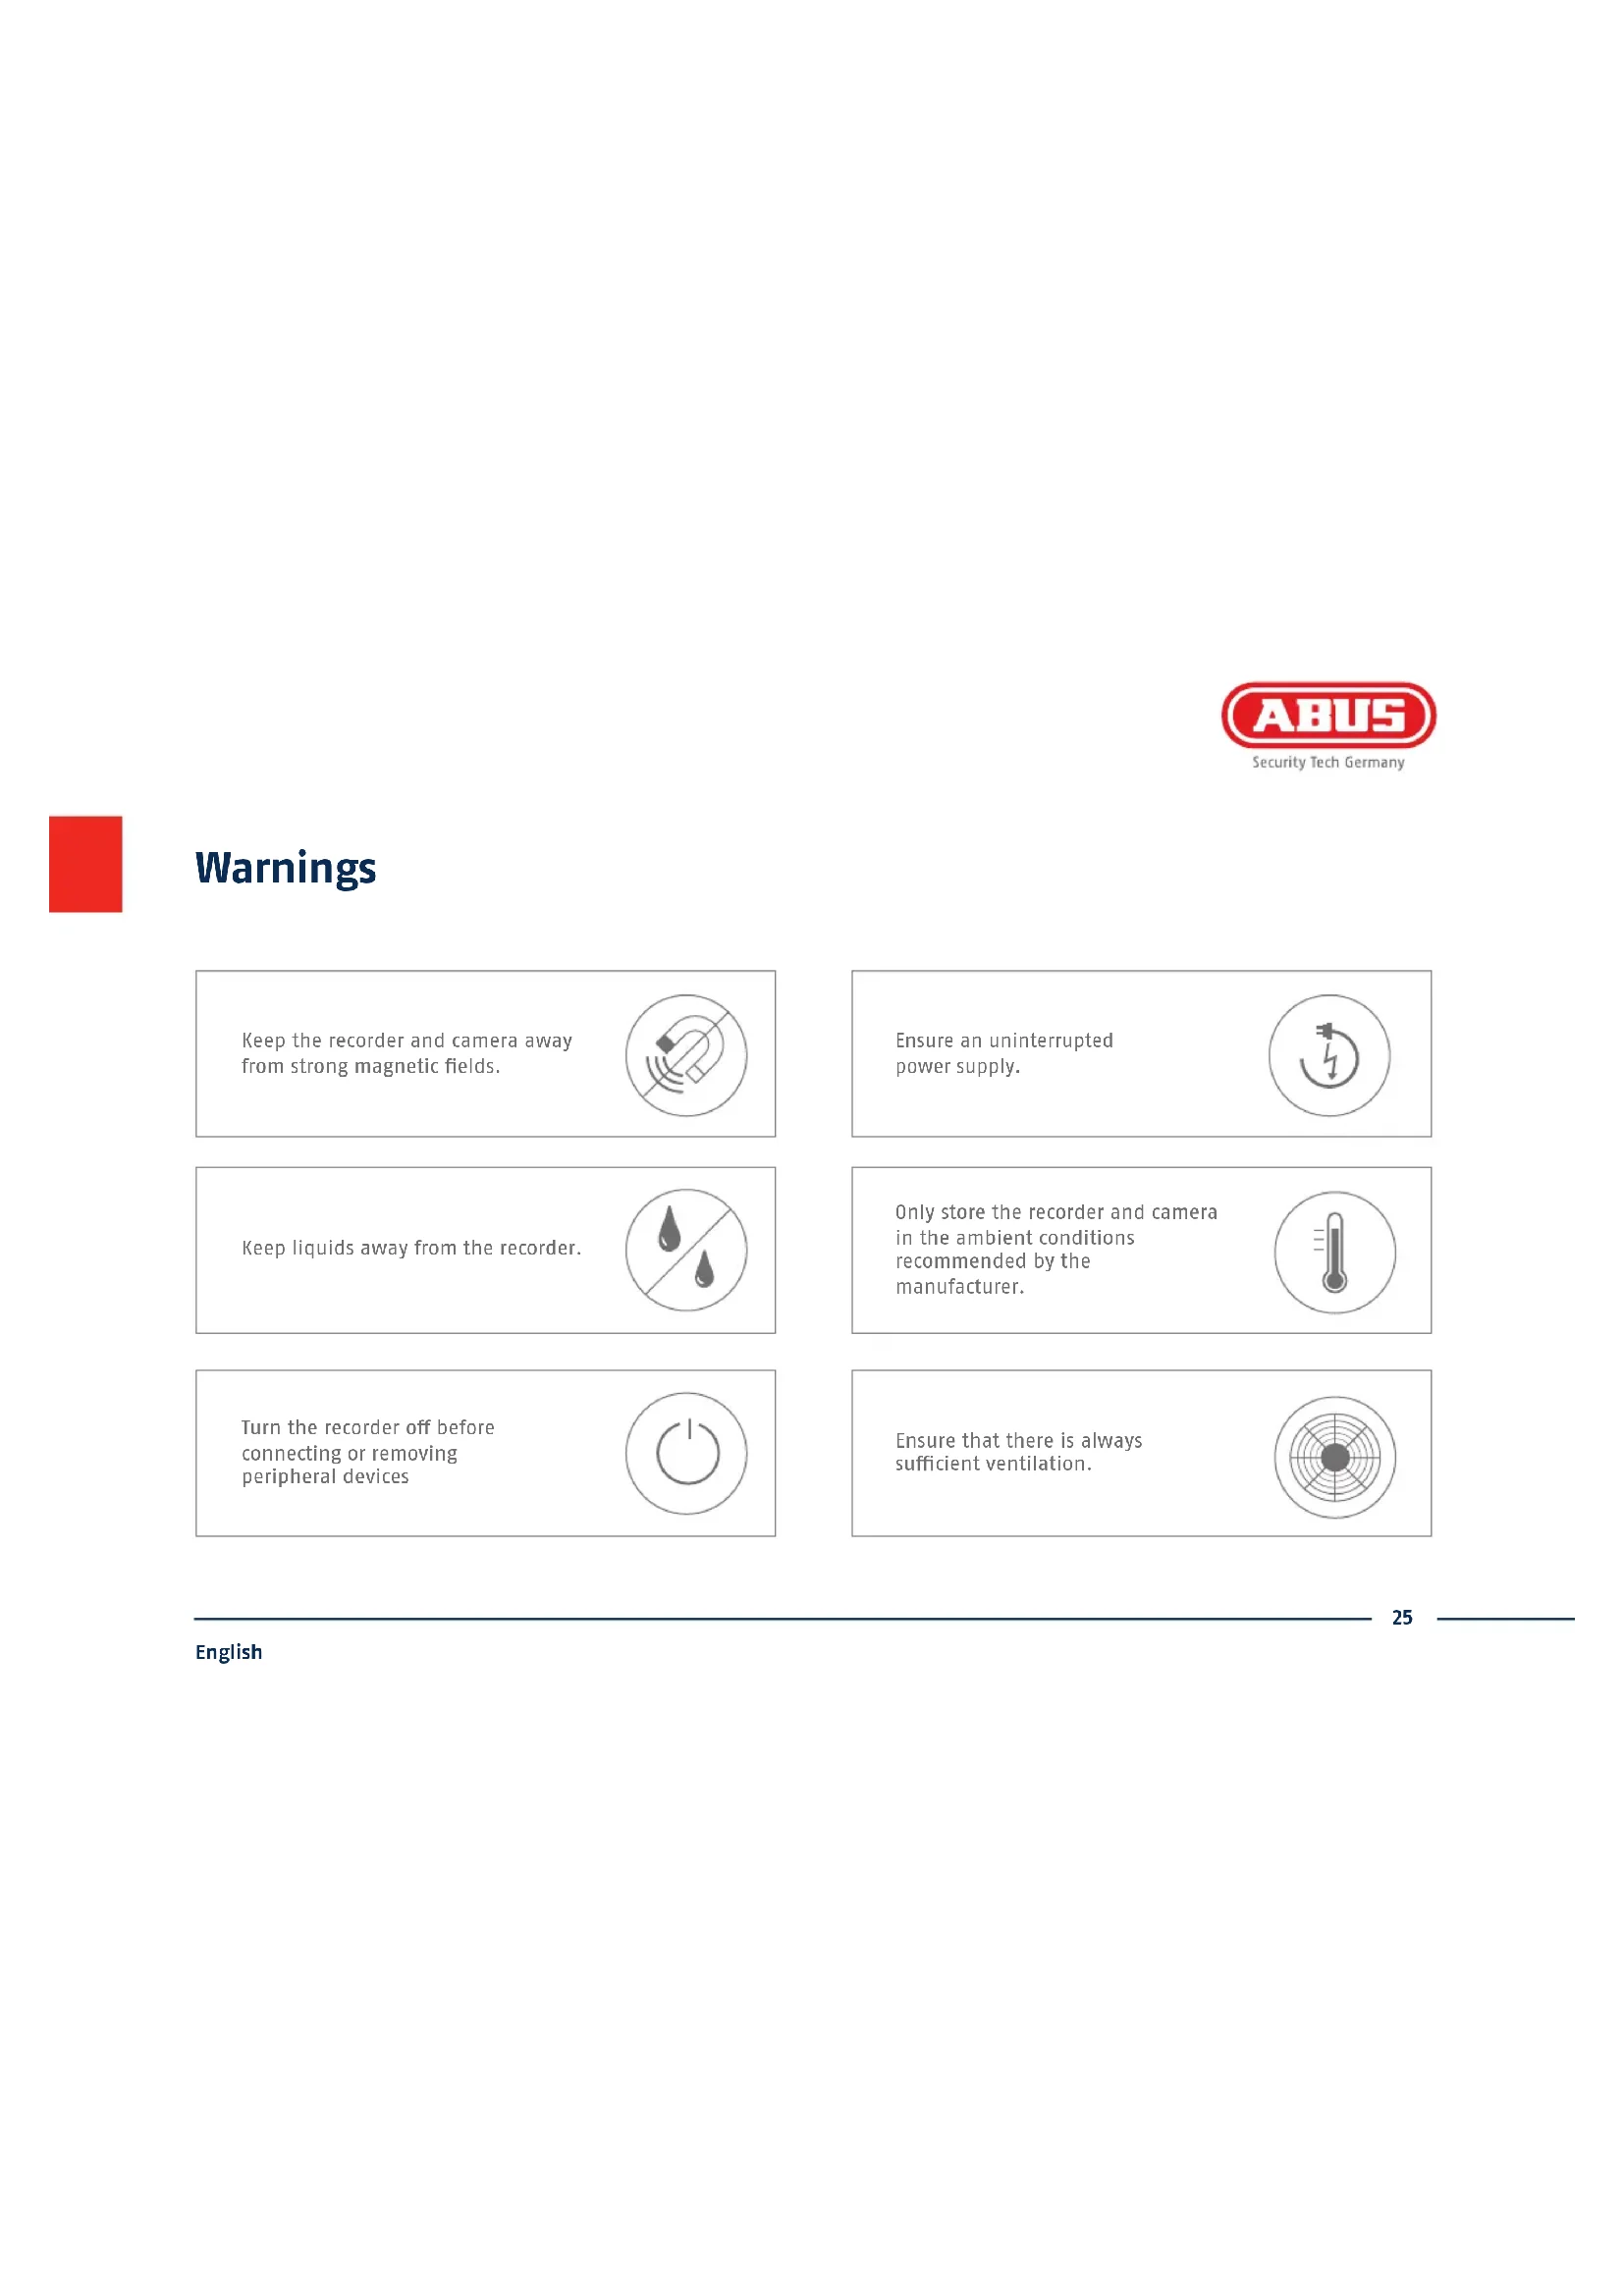
Warnings
Keep the recorder and camera away from strong magnetic fields.

Ensure an uninterrupted power supply.
Keep liquids away from the recorder.

Only store the recorder and camera in the ambient conditions recommended by the manufacturer.

Turn the recorder off before connecting or removing peripheral devices

Ensure that there is always sufficient ventilation.

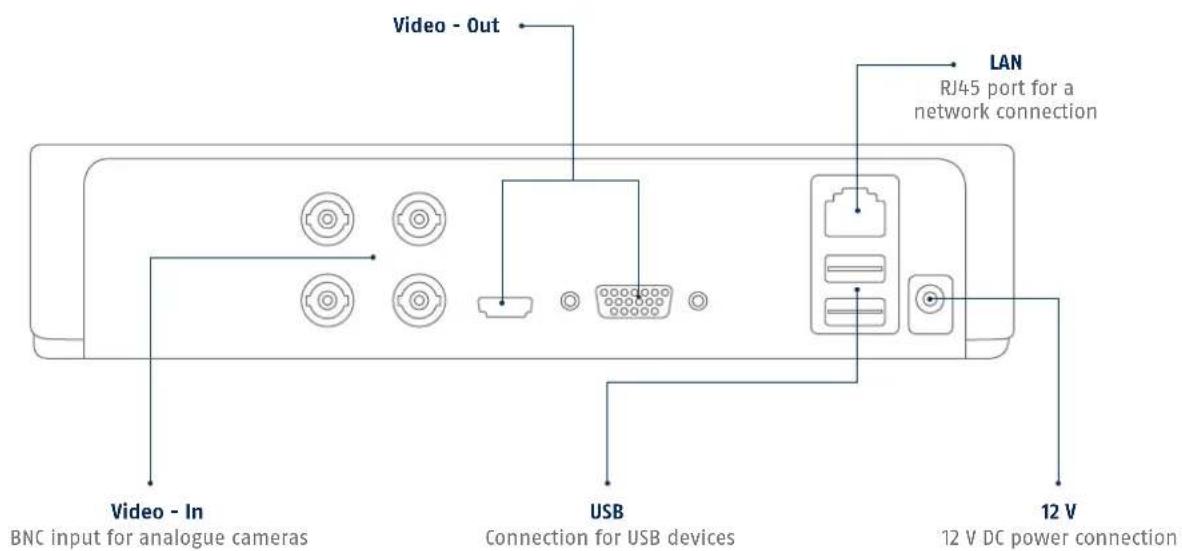
Connections

Hardware Installation

1342
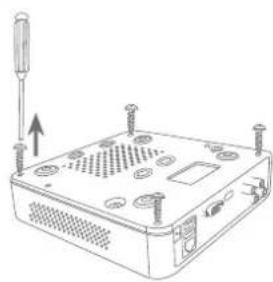
Remove the 4 screws on the underside of the recorder.

Open the box carefully. Align

the hard disk drive with the base plate of the recorder.

Secure the hard disk drive onto the underside of the recorder with the accompanying screws.
Please ensure that you begin with step ① for the hardware installation of TWR33004. The hardware installation for the video surveillance kits TWR33204 starts at step ⑧, as the hard disk drive is pre-installed for these models.


Tips for camera installation

Plug the recorder into the power supply. The blue LED bar on top of the recorder indicates that the device is on. You can choose to turn off the light on the LED bar via the menu.


System activation
1
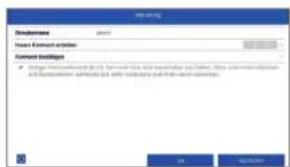
In the fi eld 'New password' enter a password for the admin user. The password must meet the specified minimum requirements. Recommendation: Use a password that is as complex as possible and is classified as 'strong'.
2

Re-enter the password to confirm it. Make a note of the password in the quick start guide as well and keep it in a safe place. The admin password can only be reset by ABUS technical support.
3

The device is activated and all of its functions can now be used.
You will require the GUI di le in order to reset the password yourself. Export the fi le on to a USB stick and store it securely.
Note: Due to the pre-set default language, the arming process is always in German. Language independently, you can activate the recorder with the ABUS IP-Installer via the network.
Admin password:
Resetting the password
1
You can only reset the admin password yourself using the GUI file.
Please be aware that this file becomes invalid if the password is subsequently changed or the GUI file has already been used. In both cases, a new file will need to be created manually.
2
GUID import, local interface:
Click on the 'Forgotten password' button in the local login dialog. Insert a USB data carrier containing the secure GUI file and select this file. Click on the 'Import' button to reset the password.
3
GUID import, web interface:
Open your recorder's web interface and click on the 'Forgotten password' button. Insert a USB data carrier containing the secure GUI file and select this file. Click on the 'Import' button to reset the password.
Note: Resetting the admin password is a critical and complex process. Please ensure that you have access to this data in the event of an emergency by storing the password securely (leave a note in these instructions or keep the GUI file on an external data carrier). Therefore, please plan for this eventuality at initial start-up and specify where and how this data will be stored and who will have access to it.
Important: If the password needs to be reset, and the password has not been noted down and the GUI file cannot be accessed (or is no longer valid), you will need to contact Technical Support at the ABUS Security-Center. To reset the password with the help of ABUS, you must have a PC on the premises with a network connection to the recorder, and there must be internet access in order to receive the data that will be provided to you by technical support. If these requirements are not met, it will not be possible to reset the password on the recorder.

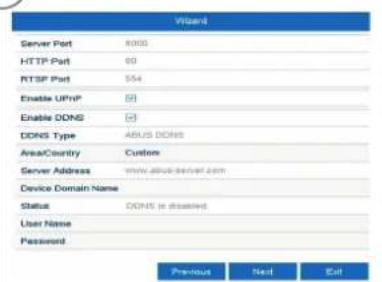
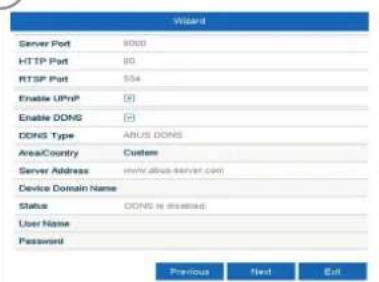
Soft ware Set-up


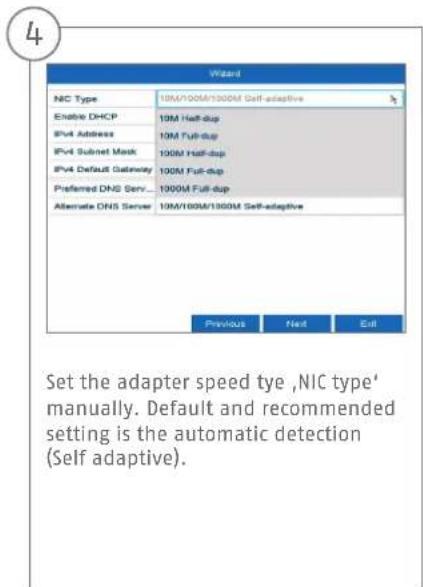


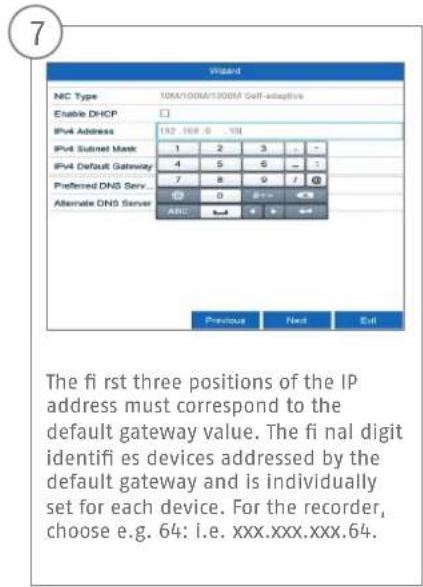

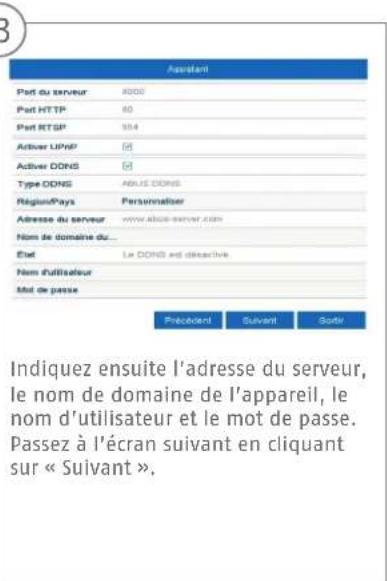
10

The DNS server "translates" an internet address into an IP address. Enter the value of the default gateway under "Preferred DNS server".
11

12


Chere cliente, cher client,
Security Tech Germany
Security Tech Germany
13
14

15


Security Tech Germany
Hardwareinstallation
1342
Lsn de 4 skruer pa undersiden af optageren.
Security Tech Germany
13

Security Tech Germany
13
Security Tech Germany


Security Tech Germany
13
Security Tech Germany

Security Tech Germany
abus.com

Brand : ABUS
Model : TVVR33025T
Category : Digital Video Recorder