TVAC71000 - Surveillance Camera ABUS - Free user manual and instructions
Find the device manual for free TVAC71000 ABUS in PDF.
| Features | Details |
|---|---|
| Product type | Surveillance camera |
| Video resolution | 1080p Full HD |
| Viewing angle | 90 degrees |
| Night vision | Yes, up to 10 meters |
| Connectivity | Wi-Fi, Ethernet |
| Storage | MicroSD card (not included) |
| Mobile app | Compatible with iOS and Android |
| Installation | Wall mounting, indoor/outdoor installation |
| Power supply | Power adapter included |
| Maintenance | Regular lens cleaning, firmware updates |
| Security | Data encryption, secure access via app |
| Warranty | 2 years |
| Included accessories | Mounting screws, user guide |
Frequently Asked Questions - TVAC71000 ABUS
User questions about TVAC71000 ABUS
0 question about this device. Answer the ones you know or ask your own.
Ask a new question about this device
Download the instructions for your Surveillance Camera in PDF format for free! Find your manual TVAC71000 - ABUS and take your electronic device back in hand. On this page are published all the documents necessary for the use of your device. TVAC71000 by ABUS.
USER MANUAL TVAC71000 ABUS
text_image
ABUS Security Tech GermanyTVAC71000, TVAC71010, TVAC71020, TVAC71030, TVAC71040 TVAC71050, TVAC71060 TVAC71100, TVAC71110
D Bedienungsanleitung
GB User manual
F Manuel utilisateur
NL Gebruikershandleiding
DK Brugerhåndbog
PL Instrukcja obsługi
RU Инструкция по эксплуатации
natural_image
3D rendering of a black rectangular device with three circular components on its side, no visible text or symbols.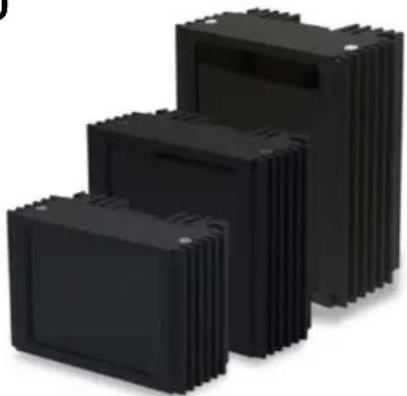
natural_image
Three black plastic heat exchangers arranged in a staircase pattern (no text or symbols visible)D
These user manual contains important information for installation and operation. This should be also noted when this product is passed on to a third party. Therefore look after these operating instructions for future reference!
A list of contents with the corresponding page number can be found in the index on page 21.
F
text_image
ABUS Security Tech GermanyTVAC71000, TVAC71010, TVAC71020, TVAC71030, TVAC71040 TVAC71050, TVAC71060 TVAC71100, TVAC71110
natural_image
3D rendering of a black rectangular device with three circular domes on its side, no visible text or symbols
natural_image
Three black plastic heat exchangers arranged in a staircase pattern (no text or symbols visible)Version 10/2013
CE
Deutsch
Einführung
natural_image
Illustration of stacked books with a curved line extending from one book (no text or symbols)Deutsch
Security Tech Germany
TVAC71000, TVAC71010, TVAC71020, TVAC71030, TVAC71040 TVAC71050, TVAC71060 TVAC71100, TVAC71110
GB
natural_image
3D rendering of a black rectangular device with three spherical components on its side (no text or symbols visible)User guide
natural_image
Three black plastic storage units with heat sinks, arranged in a staircase pattern (no text or symbols visible)Version 10/2013
CE
English
Introduction
Dear Customer,
Thank you for purchasing this product.
This device complies with the requirements of the applicable EU directives. The declaration of conformity can be ordered from:
To maintain this condition and to ensure risk-free operation, you as the user must observe these operation instructions!
Before initial start-up, read through the complete operating instructions observing operating and safety instructions.
All company and product names mentioned in this document are registered trademarks. All rights reserved.
If you have any questions, please contact your installer or your local dealer!

Disclaimer
This user manual was prepared with greatest care. If you should notice omissions or inaccuracies, please inform us about these on the back of this manual given address.
The ABUS Security-Center GmbH assumes no liability for technical and typographical faults and reserves the right to make at any time modifications to the product or user manual without a previous announcement.
The company is not liable or responsible for direct and indirect subsequent damages which are caused in connection with the equipment, the performance and the use of this product. No guarantee for the content of this document is taken.
English
Icon explanation
 | A flash in the triangle is used if there is danger for the health, e.g. by an electric shock. |
 | An exclamation mark in the triangle points to an important note in this user manual which must be minded. |
 | This symbol can be found when you are to be given tips and information on operation. |
Important safety advice
 | The warranty will expire for damage due to non-compliance with these operating instructions. ABUS will not be liable for any consequential loss! |
 | ABUS will not accept liability for damage to property or personal injury caused by incorrect handling or non-compliance with the safety-instructions.In such cases the warranty will expire. |
The following safety information and hazard notes are not only intended to protect your health, but also to protect the device from damage. Please read the following points carefully:
- There are no components inside the product that require servicing. Dismantling the product invalidates the CE certification and the guarantee / warranty.
- The product may be damaged if it is dropped, even from a low height.
Avoid the following adverse conditions during operation:
• Extreme heat or cold
- Direct sunlight
- Dust or flammable gases, vapours, or solvents
- Strong vibrations
• Strong magnetic fields (e.g. next to machines or loudspeakers)
English
General safety information:
- Never look directly into the infrared illuminator from a short distance (1 m). Do not use optical devices such as a magnifying glass to look directly at the illuminator.
- Do not leave packaging material lying around. Plastic bags, sheeting, polystyrene packaging, etc., can pose a danger to children if played with.
- Do not insert any objects into the device through the openings.
- Only use replacement devices and accessories that are approved by the manufacturer. Do not connect any non-compatible products.
- Please pay attention to the safety information and user guides for the other connected devices.
• Check the device for damage before commissioning. Do not put the device into operation if you detect any damage. - Adhere to the operating voltage limits specified in the technical data. Higher voltages could destroy the device and pose a health risk (electric shock).
Safety information
- Power supply: 12 - 24 VAC / VDC
Only operate this device on a power source which supplies the power specified on the type plate. If you are unsure which voltage is supplied at the installation location, contact your power supply company. Disconnect the device from the power supply before carrying out maintenance or installation work.
- Overloading
Avoid overloading electrical sockets, extension cables, and adapters, as this can result in fires or electric shocks.
- Cleaning
Only use a damp cloth to clean the device. Do not use corrosive cleaning materials.
Disconnect the device from the power supply while doing so.
English
Warnings
Observe all safety and operating instructions before putting the device into operation for the first time.
-
Observe the following information to avoid damage to the power cable and plug:
-
Do not modify or manipulate the power cable or plug.
- Do not bend or twist the power cable.
- Do not pull the cable when disconnecting the device from the power – always take hold of the plug.
-
Ensure that the power cable is positioned as far away as possible from any heating equipment, as this could otherwise melt the plastic coating.
-
Follow these instructions. Non-compliance with these instructions could lead to an electric shock.
-
Never open the housing or power supply unit.
-
Do not insert any metallic or flammable objects into the device.
• Use overvoltage protection to prevent damage caused by overvoltage (e.g. electrical storms). -
Disconnect defective devices from the power immediately and contact your specialist dealer.
 | During the installation into an existing video surveillance system make sure that all devices are disconnected from the low and supply voltage circuit. |
 | If in doubt allow a professional electrician to mount, install and wire-up your device. Improper electrical connection to the mains does not only represent at threat to you but also to other persons.Wire-up the entire system making sure that the mains and low voltage circuit remain separated and cannot come into contact with each other in normal use or due to any malfunctioning. |
Unpacking
While you are unpacking the device please handle it with utmost care.
| If you notice any damage of the original packaging, please check at first the device.If the device shows damages, please contact your local dealer. |
English
Table of contents
- Intended use....22
- Scope of delivery 22
- Features and Functions ......22
- Description of the illuminators....22
- Mounting / installation....23
- Notes on using infrared illuminators....24
- Maintenance and cleaning 24
7.1 Maintenance....24
7.2 Cleaning 25
- Disposal 25
- Technical data 26
English
1. Intended use
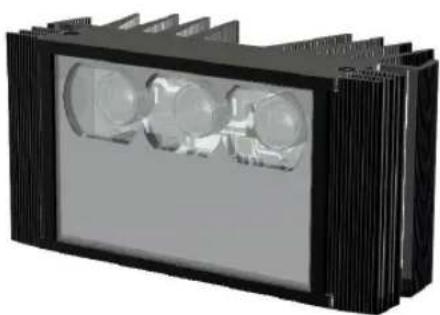
The infrared/white light illuminators are suitable for setting up video surveillance equipment. Thanks to their IP66 protection class, they can be used both inside and outside. The variable 12–24 VAC / VDC voltage input ensures a comprehensive power supply. The photo sensor ensures that the illuminator switches on and switches off automatically. The illuminator can be used with a camera for video surveillance.
For a detailed description of functions, refer to Section 3, "Features and functions".
2. Scope of delivery
- Illuminator
- User guide
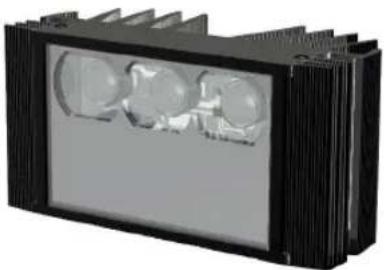
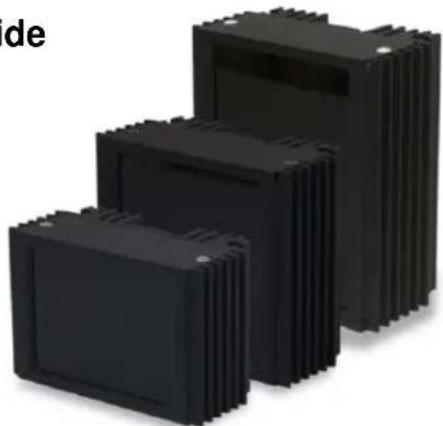
3. Features and Functions
- Aluminium housing
- 1/4 "thread
• Variable voltage input
• Protection class IP 66
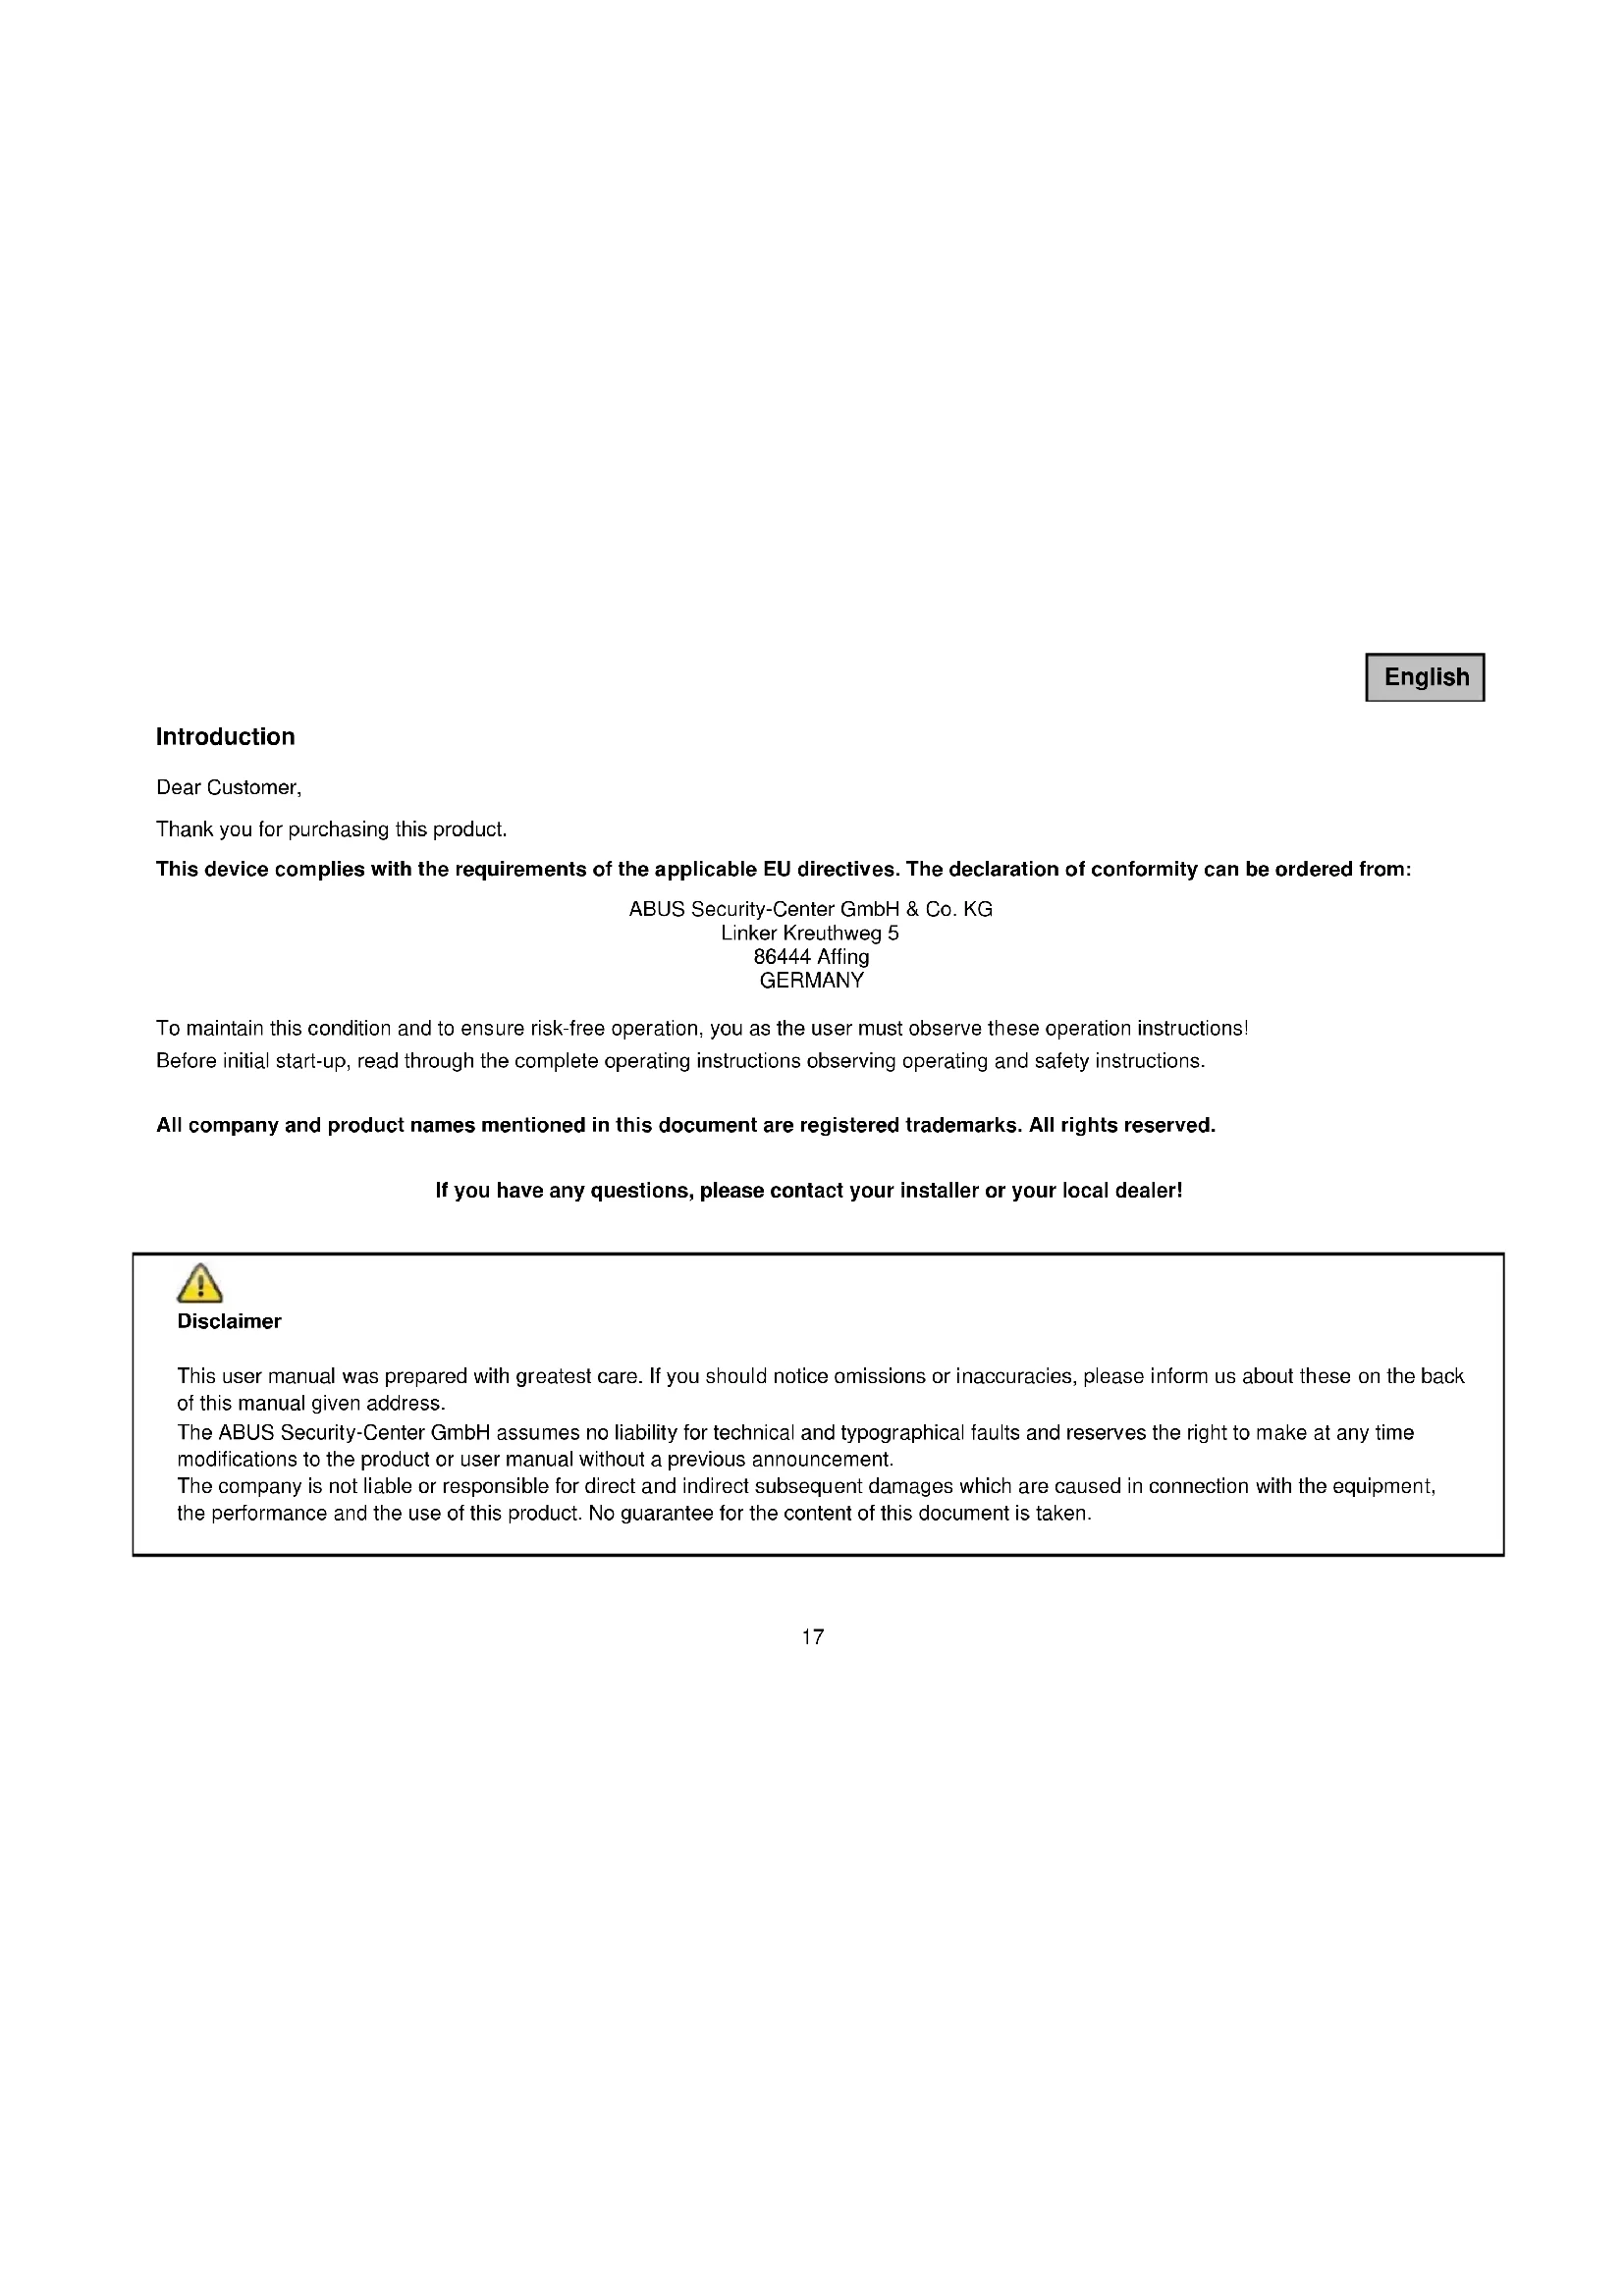
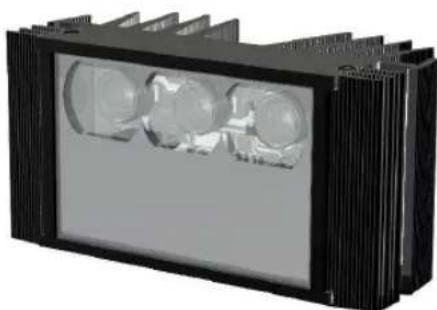
4. Description of the illuminators
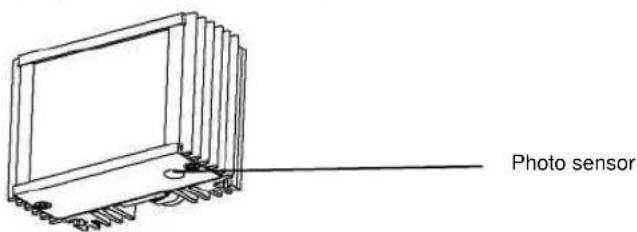
text_image
Photo sensorEnglish
There is a photo sensor on the underside of the illuminator that switches the illuminator on and off.
When light intensity falls below 3 lux, the illuminator turns on automatically.
On the back of the illuminator, there is a 1/4" thread for installing the illuminator with a mount.
5. Mounting / installation

IMPORTANT!
The illuminator must be disconnected from the mains power during installation.
The polarity is unimportant.
For ceiling or wall installation, use the ceiling/wall bracket supplied as an optional accessory. Proceed as follows:
-
First fix the wall/ceiling bracket in the position required using the screws supplied.
-
Connect the illuminator to a stabilised 12–24 VDC/VAC power source with sufficient power (up to 12 Watt, depending on the model).
-
Mount the infrared/white light illuminator on the wall/ceiling bracket.
-
Adjust the direction of the illuminator and fix the position.

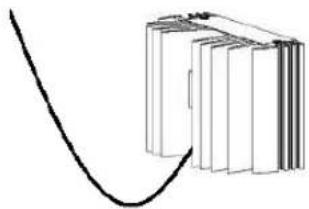
Please note:
Ensure that the cable remains taut during installation.
Installation example for installing the cable
natural_image
Illustration of a stack of books with a curved line extending from one book (no text or symbols)English
6. Notes on using infrared illuminators
• Infrared illuminators as a lighting source can only be used together with infrared B/W or day/night cameras.
- When IR illuminators are used, there may be a camera focus shift. This can be avoided by the use of IR-corrected lenses.
- The range of infrared illuminators depends on the IR sensitivity of the camera model used. The specified ranges of the illuminators are based on a camera light sensitivity of 0.1 lux.
- Objects can appear unusual in IR light. For example, a green field appears dark in daylight (normal light). In infrared light, however, green light appears almost white.
- As for all illumination sources, the infrared illuminators should be installed as near as possible to the area to be monitored. Make sure that the light direction is adapted to the camera direction and does not dazzle the camera.
- Clean the infrared illuminator regularly (at least every three months) since the light strength is reduced by dirt and the lamp cannot cool so effectively. Do not use any abrasive substances or alcohol for cleaning.
7. Maintenance and cleaning
7.1 Maintenance
Regularly check the product's physical state, e.g. check for damage of the housing.
If you suspect that safe operation cannot be guaranteed anymore, disconnect the product and ensure that it cannot be used by mistake.
You can assume that safe operation is not possible anymore when
• the device shows visible damage,
- the device does not function anymore

Please note:
The product is absolutely maintenance-free for you. There are no components on the inside of the product to be checked or services by you, never open it.
English
7.2 Cleaning
Wipe the product with a clean, dry cloth. If the device is very dirty, you can moisten the cloth with lukewarm water.

Ensure that no liquids can get into the device.
Do not use any chemical cleaners, since they could damage the housing surface or the screen (discolorations).
8. Disposal
Important: The EU Directive 2002/96/EC regulates the proper return, treatment and recycling of used electronic devices. This symbol means that in the interest of environmental protection the device must be disposed of separately from household or industrial waste at the end of its service life in accordance with applicable local legal guidelines. Disposing of used devices can be done at official recycling centres in your country. Obey local regulations when disposing of material. Further details on returns (also for non-European countries) can be obtained at your local authority. Separate collection and recycling saves natural resources and ensures that all the provisions for protecting health and environment are observed when recycling the product.
English
9. Technical data
| Model | TVAC71000 | TVAC71010 | TVAC71020 | TVAC71030 | TVAC71040 |
| IP protection class | IP 66 | IP 66 | IP 66 | IP 66 | IP 66 |
| Dimensions | 85 x 55 x 49 | 85 x 55 x 49 | 85 x 55 x 49 | 85 x 55 x 49 | 134 x 67 x 64 |
| Weight | 0.35 kg | 0.35 kg | 0.35 kg | 0.35 kg | 0.6 kg |
| IR wavelength/Colour temperature | 850 nm | 850 nm | 940 nm | 940 nm | 6300 K |
| Voltage | 12–24 VDC/VAC | 12–24 VDC/VAC | 12–24 VDC/VAC | 12–24 VDC/VAC | 12–24 VDC/VAC |
| Current | 0.5 A max. | 0.5 A max | 0.5 A max | 0.5 A max | 1 A max. |
| Operating temperature | -30 ... +40 °C | -30 ... +40 °C | -30 ... +40 °C | -30 ... +40 °C | -30 ... +40 °C |
| Range at 0.1 Lux | 10 m | 20 m | 5 m | 10 m | 18 m |
| Angle of view | 60° | 30° | 60° | 20° | 60/40 |
| IR activation | < 3 lux | < 3 lux | < 3 lux | < 3 lux | < 3 lux |
| Housing material | Aluminium | Aluminium | Aluminium | Aluminium | Aluminium |
English
| Model | TVAC71050 | TVAC71060 | TVAC71100 | TVAC71110 |
| IP protection class | IP 66 | IP 66 | IP 66 | IP 66 |
| Dimensions | 85 x 70 x 69 | 85 x 70 x 69 | 85 x 89 x 69 | 85 x 89 x 69 |
| Weight | 0.45 kg | 0.45 kg | 0.60 kg | 0.60 kg |
| IR wavelength | 850 nm | 850 nm | 850 nm | 850 nm |
| Voltage | 12–24 VDC/VAC | 12–24 VDC/VAC | 12–24 VDC/VAC | 12–24 VDC/VAC |
| Current | 0.85 A max. | 0.85 A max. | 0.85 A max. | 0.85 A max. |
| Operating temperature | -30 ... +40 °C | -30 ... +40 °C | -30 ... +40 °C | -30 ... +40 °C |
| Range at 0.1 Lux | 12 m | 30 m | 15 m | 35 m |
| Angle of view | 60° | 30° | 60° | 30° |
| IR activation | < 3 lux | < 3 lux | < 3 lux | < 3 lux |
| Housing material | Aluminium | Aluminium | Aluminium | Aluminium |

Security Tech Germany
TVAC71000, TVAC71010, TVAC71020, TVAC71030, TVAC71040 TVAC71050, TVAC71060 TVAC71100, TVAC71110
natural_image
3D rendering of a black rectangular device with three spherical domes on its side, no visible text or symbols.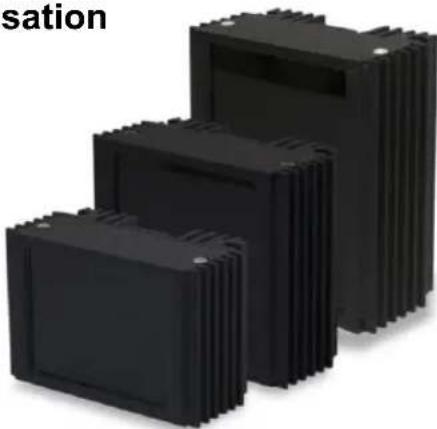
natural_image
Three black plastic electronic modules arranged in a staircase pattern (no text or symbols visible)Version 10/2013
CE
Français
Introduction
Chère cliente, cher client,
the performance and the use of this product. No guarantee for the content of this document is taken.
Français
natural_image
Illustration of stacked books with a curved line indicating a trend or relationship (no text or symbols present)Français
Security Tech Germany
TVAC71000, TVAC71010, TVAC71020, TVAC71030, TVAC71040 TVAC71050, TVAC71060 TVAC71100, TVAC71110
natural_image
3D rendering of a black rectangular device with three spherical components, no visible text or symbols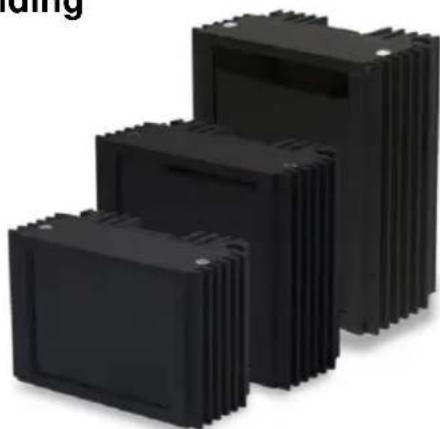
natural_image
Stacked black plastic electronic components with no visible text or symbolsCE
Versie 10/2013
Nederlands
Inleiding
Geachte klant,
natural_image
Illustration of stacked books with a curved line extending from one book (no text or symbols)Nederlands
Security Tech Germany
TVAC71000, TVAC71010, TVAC71020, TVAC71030, TVAC71040 TVAC71050, TVAC71060 TVAC71100, TVAC71110
DK
Brugerhåndbog
natural_image
3D rendering of a black rectangular device with three spherical components, no visible text or symbols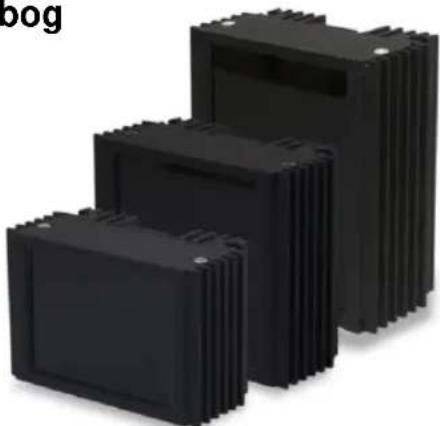
natural_image
Three black plastic storage units with ribbed heat sinks, arranged in ascending order (no text or symbols visible)Version 10/2013
CE
Dansk
Indføring
Kære kunde,
natural_image
Illustration of stacked books with a curved line indicating a trend or relationship (no text or symbols present)Dansk
Important: The EU Directive 2002/96/EC regulates the proper return, treatment and recycling of used electronic devices. This symbol means that in the interest of environmental protection the device must be disposed of separately from household or industrial waste at the end of its service life in accordance with applicable local legal guidelines. Disposing of used devices can be done at official recycling centers in your country. Obey local regulations when disposing of material. Further details on returns (also for non-European countries) can be obtained at your local authority. Separate collection and recycling saves natural resources and ensures that all the provisions for protecting health and environment are observed when recycling the product.
Dansk
9. Teknisk data
| Model | TVAC71000 | TVAC71010 | TVAC71020 | TVAC71030 | TVAC71040 |
| IP-kapslingsklasse | IP 66 | IP 66 | IP 66 | IP 66 | IP 66 |
| Mål | 85 x 55 x 49 | 85 x 55 x 49 | 85 x 55 x 49 | 85 x 55 x 49 | 134 x 67 x 64 |
| Vægt | 0,35 kg | 0,35 kg | 0,35 kg | 0,35 kg | 0,6 kg |
| IR-bølgelængde/farvetemperatur | 850 nm | 850 nm | 940 nm | 940 nm | 6300 K |
| Spænding | 12 – 24 VDC/VAC | 12 – 24 VDC/VAC | 12 – 24 VDC/VAC | 12 – 24 VDC/VAC | 12 – 24 VDC/VAC |
| Strømstyrke | 0,5 A maks. | 0,5 A maks. | 0,5 A maks. | 0,5 A maks. | 1 A maks. |
| Drifts-temperatur | -30 ... +40 °C | -30 ... +40 °C | -30 ... +40 °C | -30 ... +40 °C | -30 ... +40 °C |
| Rækkevidde ved 0,1 lux | 10 m | 20 m | 5 m | 10 m | 18 m |
| Synsvinkel | 60° | 30° | 60° | 20° | 60/40 |
| IR-aktivering | < 3 lux | < 3 lux | < 3 lux | < 3 lux | < 3 lux |
| Husmateriale | Aluminium | Aluminium | Aluminium | Aluminium | Aluminium |
Dansk
| Model | TVAC71050 | TVAC71060 | TVAC71100 | TVAC71110 |
| IP-kapslingsklasse | IP 66 | IP 66 | IP 66 | IP 66 |
| Mål | 85 x 70 x 69 | 85 x 70 x 69 | 85 x 89 x 69 | 85 x 89 x 69 |
| Vægt | 0,45 kg | 0,45 kg | 0,60 kg | 0,60 kg |
| IR-bølgelængde | 850 nm | 850 nm | 850 nm | 850 nm |
| Spænding | 12 – 24 VDC/VAC | 12 – 24 VDC/VAC | 12 – 24 VDC/VAC | 12 – 24 VDC/VAC |
| Strømstyrke | 0,85 A maks. | 0,85 A maks. | 0,85 A maks. | 0,85 A maks. |
| Drifts-temperatur | -30 ... +40 °C | -30 ... +40 °C | -30 ... +40 °C | -30 ... +40 °C |
| Rækkevidde ved 0,1 lux | 12 m | 30 m | 15 m | 35 m |
| Synsvinkel | 60° | 30° | 60° | 30° |
| IR-aktivering | < 3 lux | < 3 lux | < 3 lux | < 3 lux |
| Husmateriale | Aluminium | Aluminium | Aluminium | Aluminium |

Security Tech Germany
TVAC71000, TVAC71010, TVAC71020, TVAC71030, TVAC71040 TVAC71050, TVAC71060 TVAC71100, TVAC71110
natural_image
3D rendering of a black rectangular device with three circular components on its side, no visible text or symbols.
natural_image
Three black plastic heat exchangers arranged in a staircase pattern (no text or symbols visible)Wersja 10/2013
CE
Polski
Wprowadzenie
Szanowna Klientko, Szanowny Kliencie,
natural_image
Simple line drawing of stacked books with a curved arrow indicating text or connection (no text or symbols)Polski
Security Tech Germany
TVAC71000, TVAC71010, TVAC71020, TVAC71030, TVAC71040 TVAC71050, TVAC71060 TVAC71100, TVAC71110

natural_image
3D rendering of a black rectangular device with three spherical components on its side (no text or symbols visible)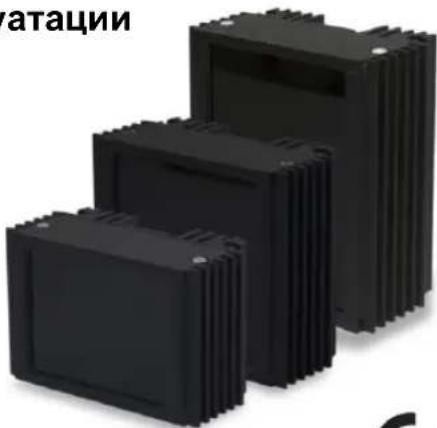
natural_image
Three black plastic heat exchangers arranged in a staircase pattern (no text or symbols visible)Версия 10/2013
CE
Русский
Введение
Уважаемые клиенты!
natural_image
Illustration of stacked books with a curved line indicating a trend or relationship (no text or symbols present)Русский
These operating instructions are published by ABUS Security-Center GmbH & Co.KG, Linker Kreuthweg 5, 86444 Affing, Germany. No reproduction (including translation) is permitted in whole or part e.g. photocopy, microfilming or storage in electronic data processing equipment, without the express written consent of the publisher.
The operating instructions reflect the current technical specifications at the time of print.
We reserve the right to change the technical or physical specifications.