
CRM1049 - Compressor Ferm - Free user manual and instructions
Find the device manual for free CRM1049 Ferm in PDF.
| Product type | Portable air compressor |
| Brand | Ferm |
| Model | CRM1049 |
| Supply voltage | 230 V~ |
| Frequency | 50 Hz |
| Motor power | 1100 W |
| Operating mode | S3 15% - 10 min (intermittent) |
| No-load speed | 3550 min⁻¹ |
| Protection class | IP20 |
| Air flow | 180 l/min |
| Max outlet pressure | 8,0 bar |
| Weight | 6,4 kg |
| Sound power level | 97 dB(A) |
| Intended use | Blowing, inflating (tires, balls, mattresses) |
| Delivery contents | Compressor, hose, gun with pressure gauge, nozzles, adapters (valve, universal, ball) |
| Safety | Automatic restart after power failure, thermal protection, mandatory grounding |
| Maintenance and cleaning | Clean with a damp cloth; do not use solvents |
| Spare parts and repairability | Parts available through authorized after-sales service |
Frequently Asked Questions - CRM1049 Ferm
User questions about CRM1049 Ferm
0 question about this device. Answer the ones you know or ask your own.
Ask a new question about this device
Download the instructions for your Compressor in PDF format for free! Find your manual CRM1049 - Ferm and take your electronic device back in hand. On this page are published all the documents necessary for the use of your device. CRM1049 by Ferm.
USER MANUAL CRM1049 Ferm
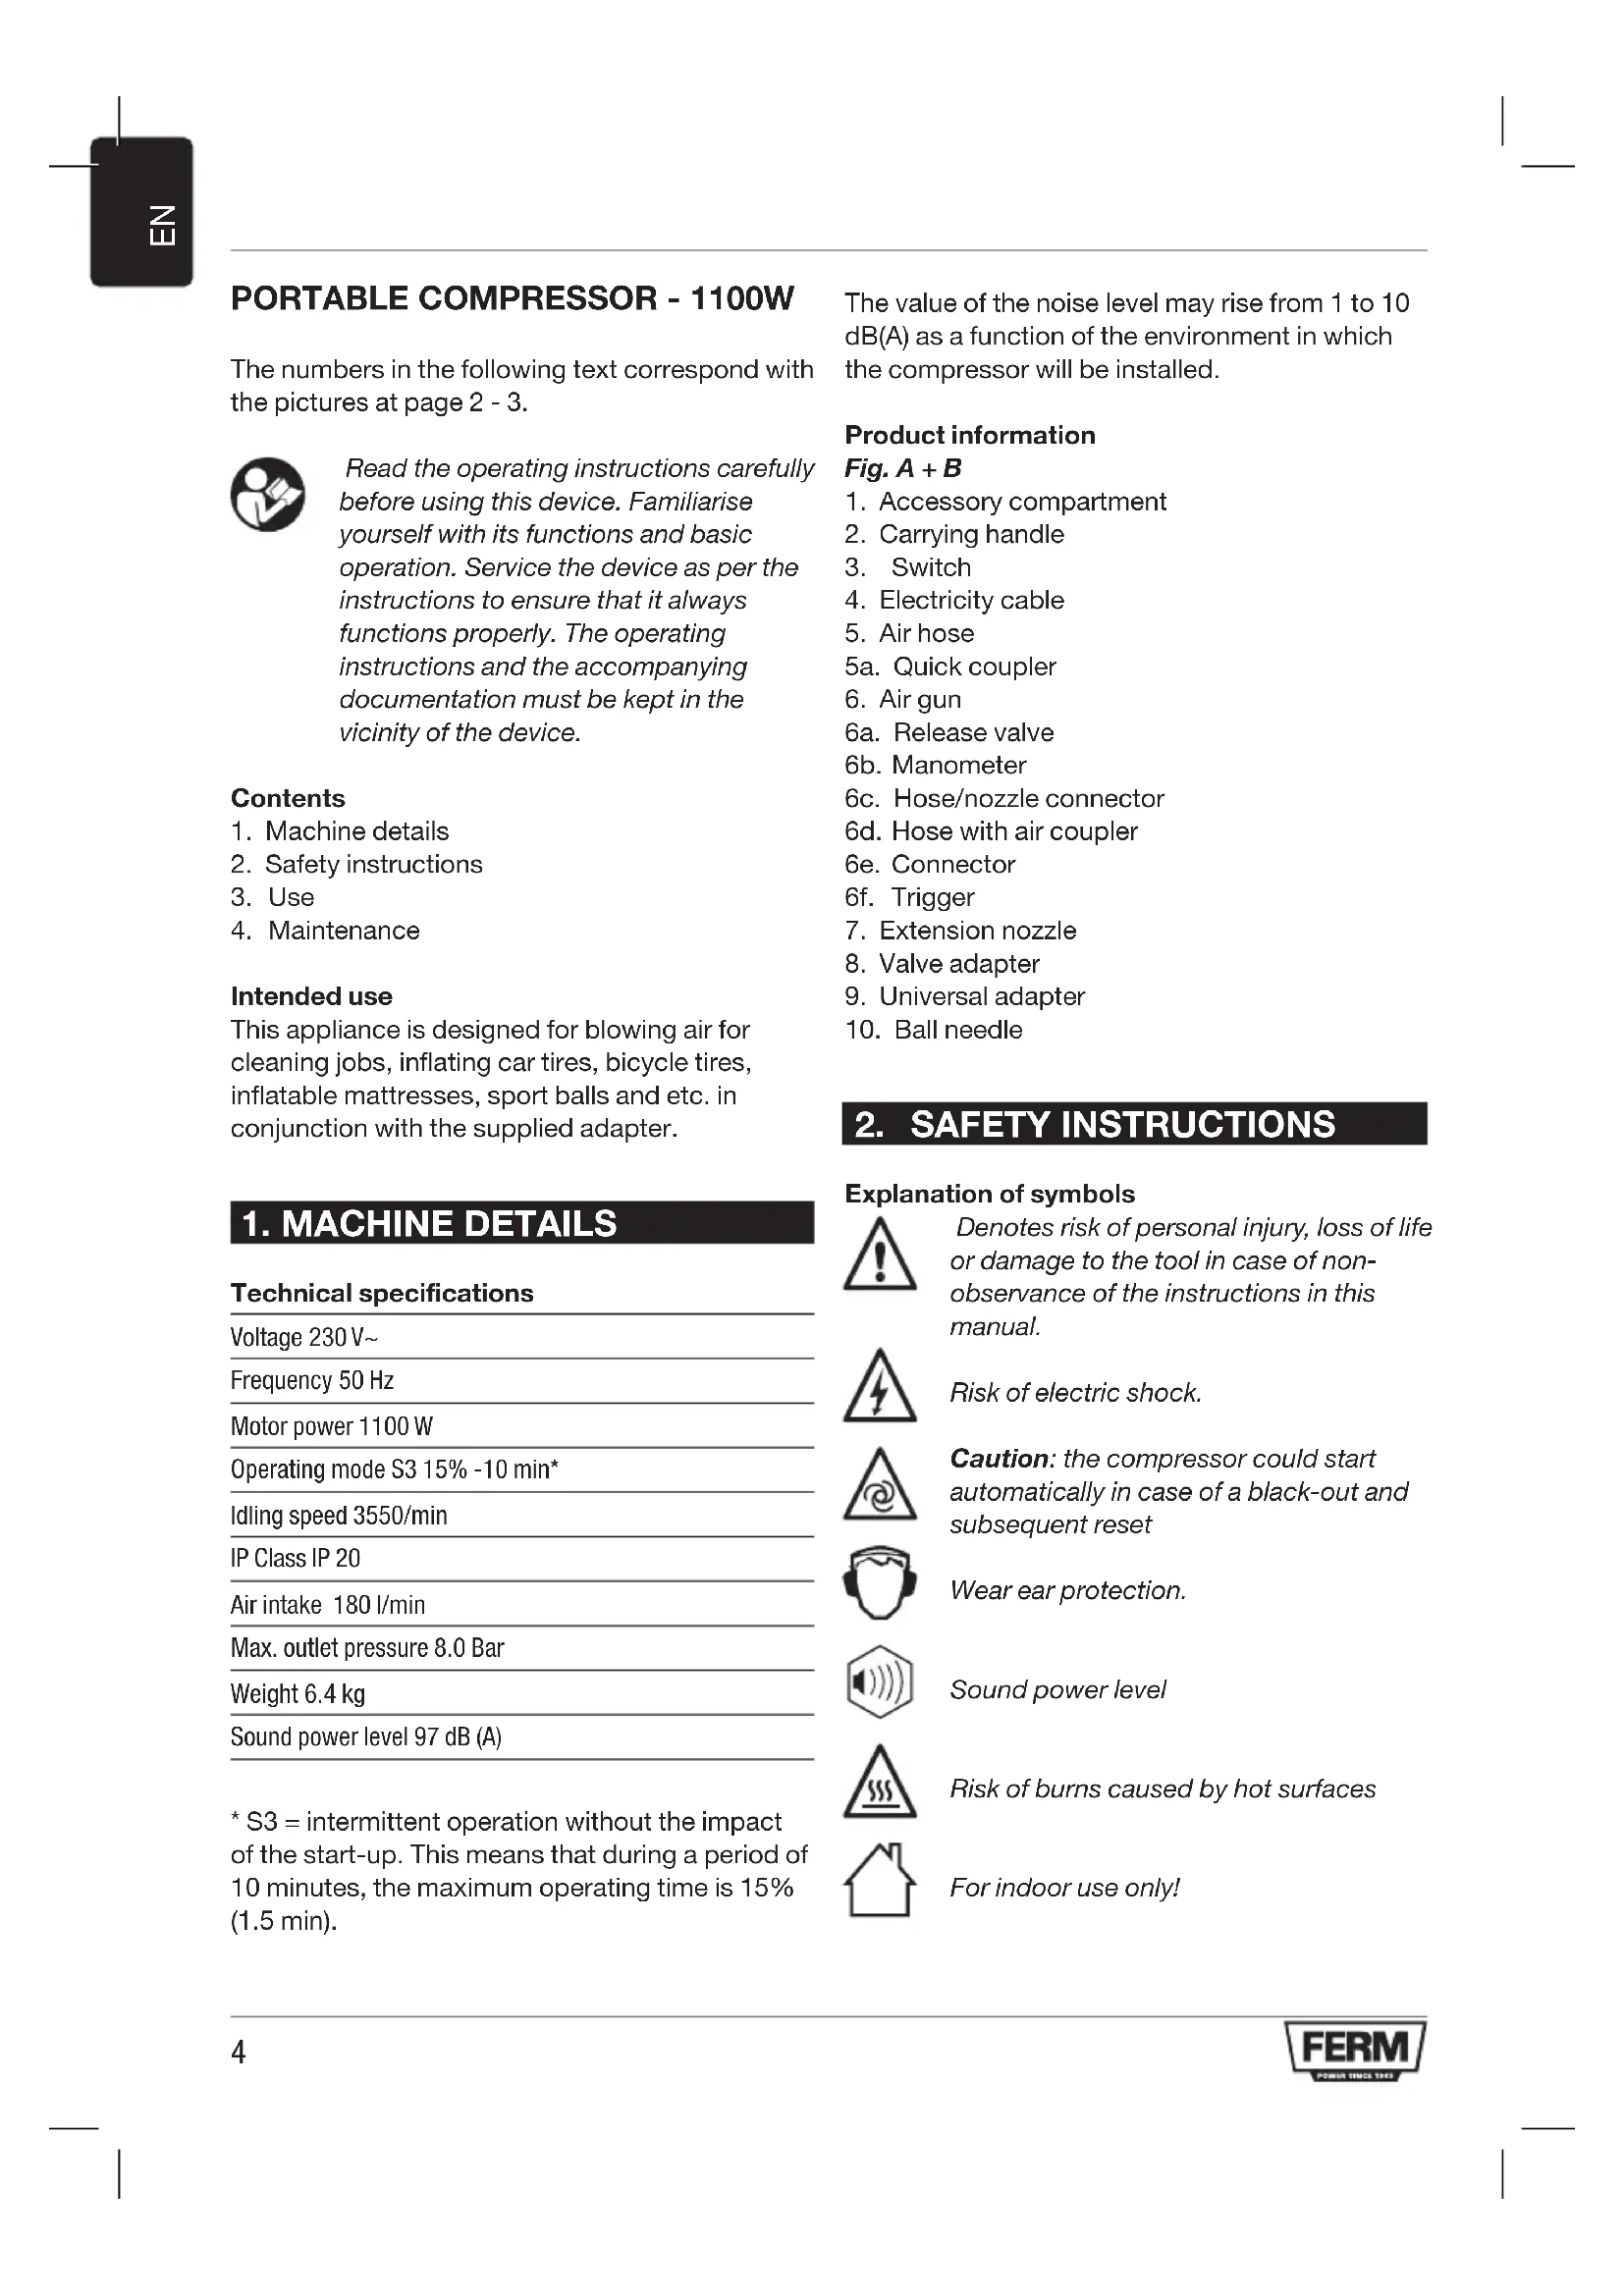
The numbers in the following text correspond with the pictures at page 2 - 3.

Read the operating instructions carefully before using this device. Familiarise yourself with its functions and basic operation. Service the device as per the instructions to ensure that it always functions properly. The operating instructions and the accompanying documentation must be kept in the vicinity of the device.
Contents
- Machine details
- Safety instructions
- Use
- Maintenance
Intended use
This appliance is designed for blowing air for cleaning jobs, inflating car tires, bicycle tires, inflatable mattresses, sport balls and etc. in conjunction with the supplied adapter.
1. MACHINE DETAILS
Technical specifications
Voltage 230 V~
Frequency 50 Hz
Motor power 1100 W
Operating mode S3 15% -10 min*
Idling speed 3550/min
IP Class IP 20
Air intake 180 l/min
Max. outlet pressure 8.0 Bar
Weight 6.4 kg
Sound power level 97 dB (A)
- S3 = intermittent operation without the impact of the start-up. This means that during a period of 10 minutes, the maximum operating time is 15% (1.5 min).
The value of the noise level may rise from 1 to 10 dB(A) as a function of the environment in which the compressor will be installed.
Product information
Fig. A + B
- Accessory compartment
- Carrying handle
- Switch
- Electricity cable
- Air hose
5a. Quick coupler - Air gun
6a. Release valve
6b. Manometer
6c. Hose/nozzle connector
6d. Hose with air coupler
6e. Connector
6f. Trigger - Extension nozzle
- Valve adapter
- Universal adapter
- Ball needle
2. SAFETY INSTRUCTIONS
Explanation of symbols

Denotes risk of personal injury, loss of life or damage to the tool in case of non-observation of the instructions in this manual.

Risk of electric shock.

Caution: the compressor could start automatically in case of a black-out and subsequent reset

Wear ear protection.

Sound power level

Risk of burns caused by hot surfaces

For indoor use only!
Special safety instructions
- Warning! The compressor may only be used in suitable rooms (with good ventilation and an ambient temperature from 0^ to +40^ ).
- Do not perform any actions on the compressor without first having taken the plug out of the plug socket.
- Do not aim water jets or jets of flammable liquids at the compressor.
- Do not place flammable objects near the compressor.
- Switch the switch (3) to the "0" position (OFF) during dwell time.
- Never aim the air jet at persons or animals.
N.B.: some parts of the compressor such as the head and the feed-through pipes may reach high temperatures. Do not touch these parts to avoid burns. - Transport the compressor by lifting it or by using the special grips or handles.
Children and animals should be kept far away from the area of operation of the machine. - If you use the compressor to spray paint:
a) Do not work in enclosed spaces or near naked flames.
b) Make sure that the environment in which you will be working has dedicated ventilation.
c) Protect your nose and mouth with a dedicated mask.
- Do not use the compressor when the electrical cable or the plug is damaged, and instruct an authorised Support Service to replace them with an original part.
- When the compressor is placed on a surface higher than the floor, it should be secured to prevent it from falling down during operation.
- Do not put objects or your hands in the protective covers to avoid physical damage and damage to the compressor.
- Do not use the compressor as a blunt instrument against persons, objects or animals in order to prevent serious damage.
- If the compressor is no longer in use, always take the plug out of the plug socket.
Always make sure that compressed-air hoses are used for compressed air and which are characterised by a maximum pressure adjusted to that of the compressor. Do not try to repair the hose if it is damaged.
Safety instructions for working with compressed air guns
- The compressor and hoses can get very hot during operation. Touching them can cause burns.
- The gases or vapours sucked in by the compressor intake must be kept free of admixtures that could lead to fires or explosions inside the compressor.
- When removing the hose coupling, always hold the hose coupling firmly to avoid injury caused by the hose flying off.
- When working with the blow-out gun, wear goggles. Foreign bodies and blown out particles can easily cause injuries.
- Do not direct the blow-out gun at people or use it to clean clothing you are wearing.
Electrical safety
Earthing regulations
This compressor has to be earthed while in use in order to protect the operator against electrical shocks. The compressor is provided with a two-core cable plus an earth. The electrical connection has to be made by a qualified technician. We recommend never disassembling the compressor and neither making any other connections into the pressure regulator. Repairs should be carried out by authorised Support Services or by other qualified centres.

Never forget that the earthing core is the green or the yellow/green wire. Never connect this green wire to a terminal under load.
Before replacing the plug of the feed, make sure that the earth cable is connected. If in doubt, please call in a qualified electrician and have the earthing checked.
Power supply
- The compressor is equipped with a mains cable with shock-proof plug. This can be connected to any 230V 50Hz shock proof socket which is protected by a 16A fuse.
- Long supply cables, extensions, cable reels etc cause a drop in voltage and can impede motor start-up. Do not use cables longer than 10m . Ferm advises to use a longer air hose instead.
It can be more difficult to start-up the motor during conditions of temperatures below 0^
3. USE

For household use only
Connecting the device to an outlet. Fig A
- Open the black cover and take out the electricity cable (4), air hose (5) and required accessories from the storage compartment (1).
- Make sure the ON/OFF switch (3) is in the position 'O' (switch off).
- Connect the electricity cable (4) to an outlet.
Before using he machine, make sure that the mains voltage complies with the specifications on the rating plate. Long supply cables, extensions, cable reels etc. cause a drop in voltage and can impede motor start up.

The appliance vibrates during operation. During operation, always put it down backwards on its rubber feet.
On/Off switch (3)
Fig A
- Move the ON/OFF switch (3) into the position 'I' to switch the appliance on.
- Move the ON/OFF switch (3) into the position 'O' to switch the appliance off.

The appliance is not designed for continuous operation. To prevent the motor from overheating, the appliance may only be used as follows: Within a period of 10 minutes, the appliance may only be operated for 15% of the period so 1,5 minute. During the rest of the period (8.5 minutes) the appliance needs to cool down again.
Connecting the air gun (6)
Fig A + B
- Insert the connector (6e) of the air gun (6) into the quick coupler (5a) on the air hose. When pushing, the connector clicks into place to secure the air gun.
Disconnecting the air gun (6) Fig A + B
- Pull back the sleeve on the quick coupler and remove the tool.

When releasing the quick coupler, be sure to hold the coupling to protect yourself from injury from the rebounding hose.
Using the air gun as blow-out pistol
Fig A+B+C
This way the air gun can be used for blowing air for several cleaning purposes and to clear hard-to-reach area's. The trigger (6f) on the gun allows exact dosing of the air volume.
- Unscrew the hose (6c) from the air gun (6)
- Replace it by the extension nozzle (7).
Using the air gun for inflating car tires Fig A + B
This way the air gun can be used for inflating tires, inflatable beds etc.
- In case the hose (6c) is not assembled, connect it to the air gun (6) by screwing.
-
Connect the air coupler (6d) directly to a air valve of the object to be inflated. To connect: press the clamp on the hose and push it onto the valve of the object.
-
First check the pressure of the object:
- Read the pressure on the gauge (6b):
- Pressure too high: press the button on the left side to release air (6a).
- Pressure too low: press the trigger to fill the object till required pressure (6f).
- Check pressure by releasing the trigger and read the pressure gauge.
- Disconnect the tyre inflating gun.
Average pressure
Object Pressure (psi) Pressure (bar)
Soccerball 13 0.8
Basketball 90.6
Volleyball 50.3
Lawn-tractor tyre 20 1.3
Bicycle tyre 75 5

Check the service-manual of your car for the correct tyre pressure of your car.

The manometer is not calibrated! After inflating tires always check the tire pressure with a calibrated device, for example at a petrol station.

Risk of injury! Do not pump any objects up to more than the intended pressure. They could burst and cause injury and/or material damage.
Using the adapters for inflating other items Fig A + B
The air gun comes with several adapter types for inflating all kinds of objects. These adapters can be connected directly to the air coupler (6d). To connect, press the clamp on the coupler (6d) and attach the adapter you want to use.
8. Valve adapter
The valve adapter (8) facilitates easy inflation of bicycle tires. And works well with 'Sclaverand' valves, race valves and universal 'Dunlop' valves. Push the adapter onto the valve and inflate as described above.
9. universal adapter
The universal adapter (9) facilitates easy inflation of air mattresses, swimming bands etc. Push the adapter onto the valve and inflate as described above.
10. Ball needle
The ball needle (10) can be used to inflate balls. Push the needle into a ball valve and inflate the ball as described above.
4. MAINTENANCE

Make sure that the plug is removed from the mains when carrying out maintenance work on the motor.
The machine has been designed to operate over a long period of time with a minimum of maintenance. Continuous satisfactory operation depends upon proper machine care and regular cleaning. Before interfering in any way whatsoever with the compressor, please make sure that:
- The switch button is in the "0" position and the power plug is removed from the power socket
Malfunction
Should the machine fail to function correctly, a number of possible causes and the appropriate solutions are given below:
The compressor will not start
If the compressor is difficult to start, check:
whether the voltage of the mains corresponds to that on the specification plate.
-
whether electrical extension cables are being used with a faulty core or length.
-
whether the operating environment is too cold (below 0^ ).
-
whether there is electricity supply (plug properly connected).

Repairs and servicing should only be carried out by a qualified technician or service firm.
Cleaning
Regularly clean the machine housing with a soft cloth, preferably after each use. Keep the ventilation slots free from dust and dirt. If the dirt does not come off use a soft cloth moistened with soapy water. Never use solvents such as petrol, alcohol, ammonia water, etc. These solvents may damage the plastic parts.
Faults
Should a fault occur, e.g. after wear of a part, please contact the service address on the warranty card. In the back of this manual you find an exploded view showing the parts that can be ordered.
ENVIRONMENT
To prevent damage during transport, the appliance is delivered in a solid packaging which consists largely of reusable material.
Therefore please make use of options for recycling the packaging.

Faulty and/or discarded electrical or electronic apparatus have to be collected at the appropriate recycling locations.
WARRANTY
The warranty conditions can be found on the separately enclosed warranty card.
TRAGBARER KOMPRESSOR - 1100W
Specifications techniques
2. BEZPEÇNOSTNL POKNY
Vyznam symbolu

Erlised ohutusjuhised
9. Universaaladapter
DECLARATION OF CONFORMITY CRM1049 - PORTABLE COMPRESSOR
(EN) We declare under our sole responsibility that this product is in conformity with directive 2011/65/EU of the European parliament and of the council of 9 June on the restriction of the use of certain hazardous substances in electrical and electronic equipment is in conformity and accordance with the following standards and regulations:
(DE) Der Hersteller erkrält eigenervertontlich, dass thiss Produkt der Direktive 2011/65/EU des Europäischen Parliaments und des Rats vom 8. Juni 2011 über die Einschränkung der Anwendung von bestimmten gefährlichen Stoffen in elektrischen und elektronischen Geräten entspricht. den folgenden Standards und Vorschriften entspricht:
(NL) Wij verwlaren onder onsone volledige verantwoordelijkeheid dat dit product voldoet aan de conform Richtlij 2011/65/EU van het Europees Parlement en de Raad van 8 Juni 2011 betreffende beperking van het gebruik van bepaalde gevaarlijke stoffen in elektrische en elektronische apparatusu er in overeenstemming is met de volgende standarden en reguleringen:
(FR) Nous déclarons sous notre seule responsabilité que ce produit est conforme aux standards et directives suivants: est conforme à la Directive 2011/65/EU du Parlement Européen et du Conseil du 8 juin 2011 concernant la limitation d'utilisation de certaines substances dangereuses dans l'equipement électrique et électronique.
(CS) Na xisi vaslnti zopodvostn prohlasujeme, ze je tento vyrobek v sociadu s nasludedjicmi standarda y normami: Je v sulade s normou 2011/65/EU europskheo parliamentu a Rady z 8. juna 2011 tykajucei sa obmedzania pouzivanta urcitych nebepeznych latok v elektrikcom e elektronickom vybaveni.
(PL) Deklarujemy na wlasna odopowiedzialnośc, ze ten produkt spohnia wymogi zawarte w nastepućych normach i przejisach: jest zgodny z Dyrktywa 2001/65/JE. Parmiatu Europejskiego i Rady z dnia 8 czerwa 2011 r. w sprawe ogricanzenia stosowania nektórchy niebeziepcznych substancj w sprȩcie elektrycznym i elektronicznym.
(LT) Prisidammi visa alsakomybe delekarujame, kad sisi gaminyi attilinka zemiau paminetius standartus arba nuostatus: attitika 20116/birzello 8 d. Europos Parliamento i Tarybos direktyva 2011/65/EB del tam tikuva pojovingu medziag naudojimo elektros ir elektroninje jrangejoe apraboijmo.
(LV) Ir abilstosa Eiropes Parliamenta un Padomes 2011. gada 8. jünja Direktivai 2011/65/ES par dazu bistamu vieu Izmantoanas ierobezoanu elektriskas un elektroniskas ekjartas.
(ET) Appalvojam ar visu abtilbdu, ka sis produits ir saskajun un atbilst sekoisiem standartiem un nolikummi:ir abilstosa Eiropas Parliamenta un Padomes 2011. gada 8. junja Direktiv 2011/65/ES par dazu bistamu viiu izmantoanas ierobezosanu elektriskas un elektroniskas ekartas.
EN1012-1, EN60204-1, EN55014-1, EN55014-2, EN61000-3-2, EN61000-3-3
2011/65/EU, 2006/42/EC, 2014/30/EU, 2012/19/EU
Zwolle, 01-04-2020
H.G.FRosberg CEO FERM
FERM - Lingenstraat 6 - 8028 PM - Zwolle - The Netherlands


- Contents
- Intended use
- MACHINE DETAILS
- Technical specifications
- Product information
- Fig. A + B
- SAFETY INSTRUCTIONS
- Explanation of symbols
- Special safety instructions
- Safety instructions for working with compressed air guns
- Electrical safety
- Earthing regulations
- Power supply
- USE
- Connecting the device to an outlet. Fig A
- On/Off switch (3)
- Fig A
- Connecting the air gun (6)
- Fig A + B
- Disconnecting the air gun (6) Fig A + B
- Using the air gun as blow-out pistol
- Fig A+B+C
- Using the air gun for inflating car tires Fig A + B
- Average pressure
- Object Pressure (psi) Pressure (bar)
- Using the adapters for inflating other items Fig A + B
- Valve adapter
- universal adapter
- Ball needle
- MAINTENANCE
- Malfunction
- The compressor will not start
- Cleaning
- Faults
- ENVIRONMENT
- WARRANTY
- TRAGBARER KOMPRESSOR - 1100W
- BEZPEÇNOSTNL POKNY
- Vyznam symbolu
- Erlised ohutusjuhised
- Universaaladapter
- DECLARATION OF CONFORMITY CRM1049 - PORTABLE COMPRESSOR
Brand : Ferm
Model : CRM1049
Category : Compressor