
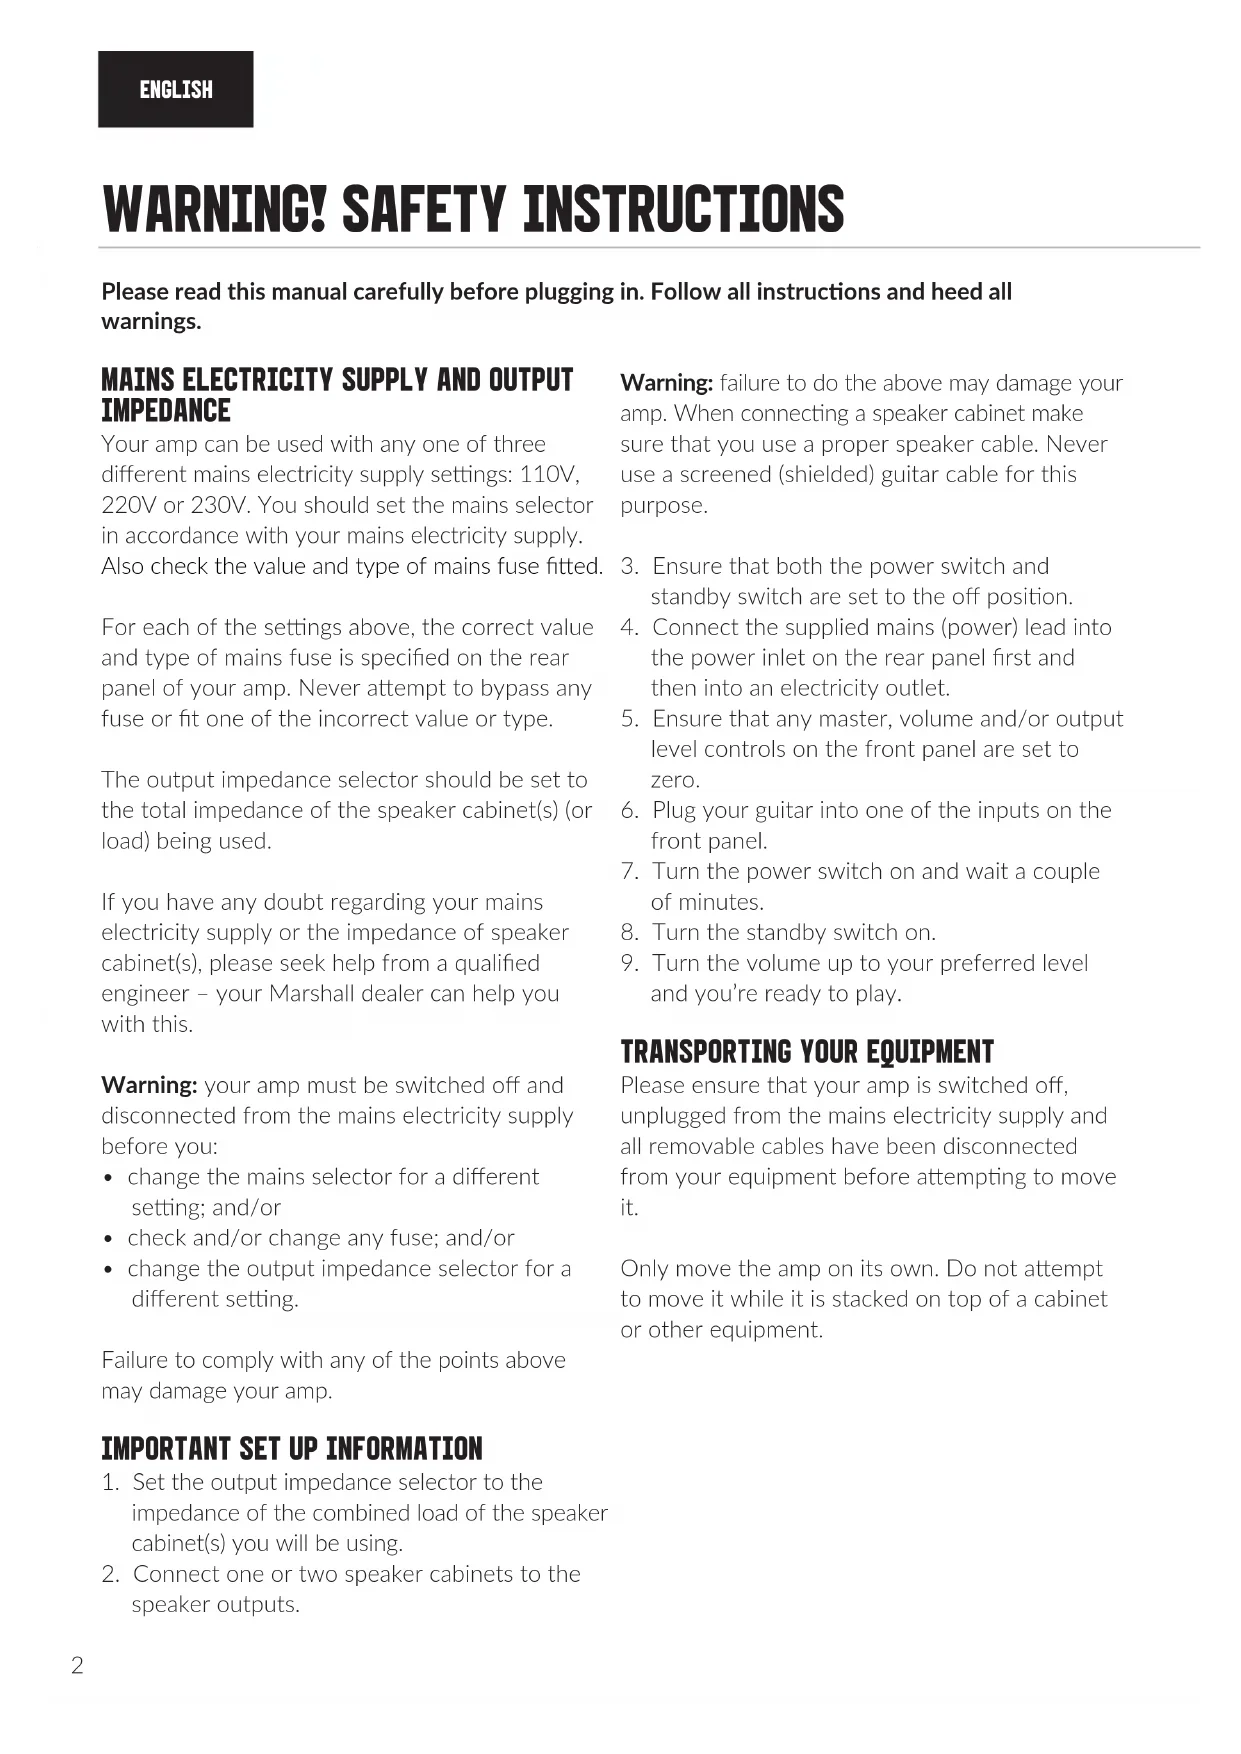
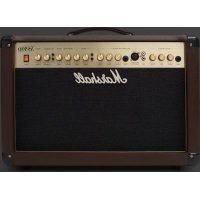
JCM800 2203 - Guitar amp MARSHALL - Free user manual and instructions
Find the device manual for free JCM800 2203 MARSHALL in PDF.
| Product Type | Guitar Amplifier |
| Brand | Marshall |
| Model | JCM800 2203 |
| Power | 100 W |
| Tubes | 2 x ECC83 (preamp), 1 x ECC83 (phase splitter), 4 x EL34 |
| Channels | Single channel with 2 separate inputs (high and low sensitivity) |
| Equalization | Treble, midrange, bass, and presence |
| Speaker outputs | 2 x 1/4" jacks, selectable impedances 16Ω / 8Ω / 4Ω |
| Effects loop | Series, switchable send/return with level selector (+4 dBu / -10 dBV) |
| Inputs | High sensitivity input (high gain) and low sensitivity input (low gain) |
| Power supply | 110V, 220V, or 230V (selectable via switch) |
| Mains fuse | Value indicated on rear panel, corresponding to selected voltage |
| H.T. fuse | Value indicated on rear panel |
| Weight | 20.5 kg |
| Width | 740 mm |
| Height | 315 mm |
| Depth | 210 mm |
| Maintenance and cleaning | Unplug the device before cleaning. Use a soft, dry cloth. Avoid abrasive products. |
| Safety | Turn off and unplug before changing the voltage selector, fuses, or output impedance. Use only speaker cables. |
| Spare parts and repairability | Consult a qualified technician for repairs. Tubes and fuses are user-replaceable as per instructions. |
Frequently Asked Questions - JCM800 2203 MARSHALL
User questions about JCM800 2203 MARSHALL
0 question about this device. Answer the ones you know or ask your own.
Ask a new question about this device
Download the instructions for your Guitar amp in PDF format for free! Find your manual JCM800 2203 - MARSHALL and take your electronic device back in hand. On this page are published all the documents necessary for the use of your device. JCM800 2203 by MARSHALL.
USER MANUAL JCM800 2203 MARSHALL
Download the full manual at www.marshall.com
QUICK START GUIDE
Warning! Safety instructions 2
Specification 3
Front panel functions 4
Rear panel functions 5
FÉLICITATIONS POUR L'ACHAT DE VOTRE AMPLIFICATEUR JCM800 2203.
WARNING! SAFETY INSTRUCTIONS
Please read this manual carefully before plugging in. Follow all instructions and heed all warnings.
MAINS ELECTRICITY SUPPLY AND OUTPUT IMPEDANCE
Your amp can be used with any one of three different mains electricity supply settings: 110V, 220V or 230V. You should set the mains selector in accordance with your mains electricity supply. Also check the value and type of mains fuse fitted.
For each of the settings above, the correct value and type of mains fuse is specified on the rear panel of your amp. Never attempt to bypass any fuse or fit one of the incorrect value or type.
The output impedance selector should be set to the total impedance of the speaker cabinet(s) (or load) being used.
If you have any doubt regarding your mains electricity supply or the impedance of speaker cabinet(s), please seek help from a qualified engineer – your Marshall dealer can help you with this.
Warning: your amp must be switched off and disconnected from the mains electricity supply before you:
- change the mains selector for a different setting; and/or
- check and/or change any fuse; and/or
- change the output impedance selector for a different setting.
Failure to comply with any of the points above may damage your amp.
IMPORTANT SET UP INFORMATION
- Set the output impedance selector to the impedance of the combined load of the speaker cabinet(s) you will be using.
- Connect one or two speaker cabinets to the speaker outputs.
Warning: failure to do the above may damage your amp. When connecting a speaker cabinet make sure that you use a proper speaker cable. Never use a screened (shielded) guitar cable for this purpose.
- Ensure that both the power switch and standby switch are set to the off position.
- Connect the supplied mains (power) lead into the power inlet on the rear panel first and then into an electricity outlet.
- Ensure that any master, volume and/or output level controls on the front panel are set to zero.
- Plug your guitar into one of the inputs on the front panel.
- Turn the power switch on and wait a couple of minutes.
- Turn the standby switch on.
- Turn the volume up to your preferred level and you're ready to play.
TRANSPORTING YOUR EQUIPMENT
Please ensure that your amp is switched off, unplugged from the mains electricity supply and all removable cables have been disconnected from your equipment before attempting to move it.
Only move the amp on its own. Do not attempt to move it while it is stacked on top of a cabinet or other equipment.
SPECIFICATION
The JCM 800 series is arguably one of the most successful ranges in Marshall's history. It is instantly recognisable with both full, rich cleans and driven, aggressive tones. It features a master volume, versatile EQ settings including presence control, and a preamp volume control. This reissue also features an added effects loop and DI out.
| Power 100W | |
| Valves | 2 x ECC83, 1 x ECC83 (phase splitter) and 4 x EL34 |
| Channels | Single channel with 2 separate inputs |
| Equalisation | Treble, middle, bass and presence |
| Outputs | 2 x 1/4" jack speaker outputs, selectable 16Ω / 8Ω / 4Ω load |
| Effects | Serial, switchable send/return |
| Unit weight 20.5kg | |
| Unit width 740mm | |
| Unit height 350mm | |
| Unit depth 210mm |
FRONT PANEL FUNCTIONS

1. POWER SWITCH
Turns the amp on and off.
2. STANDBY SWITCH
The standby switch is used in conjunction with the power switch to 'warm up' the amp before use.
Always turn the power on for two minutes before switching the standby switch to the '1' position.
The standby switch should be set to the 'O' position during breaks in performances instead of leaving the amp on full power.
3. PRESENCE
Adjusts the high frequencies of the power amp. Increasing the high frequencies adds more bite to your sound.
4. BASS
Adjusts the low frequencies of the amp. It will add bottom end and depth to your sound.
5. MIDDLE
Adjusts the mid frequencies of the amp, giving you anything from scooped mids to a fat and full sound.
6. TREBLE
Adjust the upper frequencies of the amp. Your tone will get brighter as it is turned up.
7. MASTER VOLUME
Adjust the amps output volume.
8. PREAMP VOLUME
This controls the input gain level of the preamp. This allows you to overdrive the amp to create distortion.
9. HIGH INPUT
High sensitivity guitar input socket. This input gives higher gain response (less headroom, more distortion).
10. LOW INPUT
Low sensitivity guitar input socket. This input gives lower gain response (more headroom, less distortion).
Note: you may want to choose which input channel you use to complement the output signal of your guitar. For example, high output ('hotter') guitars may benefit from the extra headroom in the low input. Conversely, lower output guitars may benefit from the extra gain in the high input channel.
REAR PANEL FUNCTIONS

1. EFFECTS LOOP LEVEL
Choose between the two different loop levels to match the type of effect(s) connected to the effects loop. The higher level (+4dBu: switch 'out') suits rack processors and the lower level (-10dBV: switch 'in') suits floor pedals.
2. EFFECTS LOOP BYPASS
Engages/disengages the effects loop. The effects loop is engaged when the switch is pressed inwards.
3. EFFECTS LOOP RETURN
Returns signal from effects loop or outboard equipment.
4. EFFECTS LOOP SEND
Sends signal to effects loop/outboard equipment.
5 & 6. SPEAKER OUTPUTS
Connect one or two speaker cabinets here using 1/4" jack speaker cables.
Warning: always ensure the output impedance selector is set to the appropriate impedance for the load of your setup (speaker cabinets). Never use this amp without a speaker or load.
7. OUTPUT IMPEDANCE SELECTOR
Matches the amp's output to the load impedance. Ensure the amp is completely powered down before turning the selector.
The impedance selected on the amp must match the total impedance of the speaker cabinet(s) being used. Common setups include:
- If the amp is running into a single 16 cab,
the selector should be set to 16 .
- If running into two 16Ω cabs, the selector should be set to 8Ω.
- If running into two 8Ω cabs, the selector should be set to 4Ω.
Warning: failure to comply with these points will result in damage to the amp.
8. MAINS SELECTOR
Matches the amp mains transformer voltage to the incoming mains voltage.
The mains selector must be set to the voltage of the mains supply.
Your amp should be completely powered down before the selector is turned.
Note: adjustment from 230/220V to 110V or vice versa will require the mains fuse to be changed to the corresponding value as detailed on the rear panel.
9. POWER INLET
The supplied mains power lead is connected here.
10. MAINS FUSE
The correct value of mains fuse is specified on the rear panel.
11. H.T. FUSE
The correct value of H.T. fuse is specified on the rear panel.
AVERTISSEMENT ! CONSIGNES DE SÉCURITÉ
1. NIVEAU DE LA BOUCLE D'EFFETS
654321 8 9 1071
1. NIVEL DE BUCLE DE EFECTOS
Whilst the information contained herein is correct at the time of publication, due to its policy of constant improvement and development, Marshall Amplification Plc reserves the right to alter specifications without prior notice.
MARSHALL AMPLIFICATION PLC, DENBIGH ROAD, BLETCHLEY, MILTON KEYNES, MK1 1DQ, ENGLAND.
T: +44 (0) 1908 375411
MARSHALL AMPLIFICATION PLC REGISTERED IN ENGLAND REGISTERED NUMBER: 805676
M3311.402 | CATS-00258-02
MARSHALL.COM


- QUICK START GUIDE
- FÉLICITATIONS POUR L'ACHAT DE VOTRE AMPLIFICATEUR JCM800 2203.
- WARNING! SAFETY INSTRUCTIONS
- MAINS ELECTRICITY SUPPLY AND OUTPUT IMPEDANCE
- IMPORTANT SET UP INFORMATION
- TRANSPORTING YOUR EQUIPMENT
- SPECIFICATION
- FRONT PANEL FUNCTIONS
- POWER SWITCH
- STANDBY SWITCH
- PRESENCE
- BASS
- MIDDLE
- TREBLE
- MASTER VOLUME
- PREAMP VOLUME
- HIGH INPUT
- LOW INPUT
- REAR PANEL FUNCTIONS
- EFFECTS LOOP LEVEL
- EFFECTS LOOP BYPASS
- EFFECTS LOOP RETURN
- EFFECTS LOOP SEND
- & 6. SPEAKER OUTPUTS
- OUTPUT IMPEDANCE SELECTOR
- MAINS SELECTOR
- POWER INLET
- MAINS FUSE
- H.T. FUSE
- AVERTISSEMENT ! CONSIGNES DE SÉCURITÉ
- NIVEAU DE LA BOUCLE D'EFFETS
- NIVEL DE BUCLE DE EFECTOS
Brand : MARSHALL
Model : JCM800 2203
Category : Guitar amp