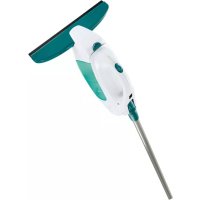
51114 - Window vacuum Leifheit - Free user manual and instructions
Find the device manual for free 51114 Leifheit in PDF.



Frequently Asked Questions - 51114 Leifheit
User questions about 51114 Leifheit
0 question about this device. Answer the ones you know or ask your own.
Ask a new question about this device
Download the instructions for your Window vacuum in PDF format for free! Find your manual 51114 - Leifheit and take your electronic device back in hand. On this page are published all the documents necessary for the use of your device. 51114 by Leifheit.
USER MANUAL 51114 Leifheit
When using an electrical device, basic safety measures should always be observed:
- Only use the window cleaner as described in these instructions.
- Do not store or charge the window cleaner outdoors.
- Do not operate the charger with moist or wet hands.
- Do not insert any objects into the ventilation slots.
- This appliance can be used by children aged from 8 years and above and persons with reduced physical, sensory or mental capabilities or lack of experience and knowledge if they have been given supervision or instruction concerning use of the appliance in a safe way and understand the hazards involved. Children shall not play with the appliance. Cleaning and user maintenance shall not be made by children without supervision.
- The window cleaner may only be operated with the supplied charger.
- Fully charge the window cleaner prior to the first use (see start-up / charging the battery).
- Always remove the charger from the socket and window cleaner after charging.
- Repairs may only be performed by authorised customer service technicians. Never open the basic device by yourself. The individual components of the basic device may not be disassembled, repaired or modified.
- Unplug the device before cleaning or maintenance. When cleaning, ensure that no liquids make their way into the switches and buttons.
HCHTPyKlI IN TEXHnKn BE3ONACHOCTN
Pn 3KcNpyatau nn 3JeKtpo np6opa Heo6xOIMO co6IIOaTb OCHOBHbIe npabnla texnkn 6e3OpacHOCTn:
-
ИспόлььзуйTe OKOHьи NBİNEcOC TOЛьКВ ZeJIЯx, ONИСаHHыX B INHCTpyKци NO ЭКПлУаТaци.
-
3aPpeSeHoxpaHeHne nn 3apJka aKKymyIaTOpHbIX 6aTapei Ha OTKpbITOM B03dyXe.
- 3aIpeucaetcpa6oTaTb c np6opom,ecn y Bac BnaXhble nn Mokpbie pykn.
- 3anpeuaeTcBCTaBnAeKne-NIO6o PpeMTeB B BeHTnIaHHOHHbIE OTBepCTnI.
- HactoJee yctpoiCTBO npedHa3HaeHo TOnbKO dTeB BO3pacte 8 let n CTapwe, a TaKke, pni HaJIuHn DoJXHO rAd3Opa IIN npoxOxJeHn IHCTpyKTaxa, IInC C fN3UeCKIMN, NcNXUeCKIMN IIN CEHCOPHbIMn HeIOCTaTKAMn, pni ycIobHn HaJIeXaUeRO HaD3Opa IIN IHCTpyKTaxa B OTHOWeHn 6e3OpanCHOr PpIMHeHn HAcTOrIeO yCTPOIcTBa, a TaKke npn IN X IOHNMaHn, CBraHHbIX C Hm ONaCHOCTeJ. DeTAM 3aPpeSeHO nRpaTb C yCTpoiCTBOM. DeTAM 3aPpeSeHO OcyIeCTBnTb YnCTKy IN TEXHnueCKoe ObcIyXnBaHne yCTpoiCTBO 6e3 HAd3Opa.
- OkonHbI nbineCoc pa3peSeHo 3KcNpyaTnpoBaTb TOnbKO BmecTe C NOCTabJIeHHbIM B KOMnJIeKTe 3apAHybIM yCTpOICTBOM.
- Перд посын спосьзовим пою зараздente OKOHьи nbilecoc (см. Ротовka к ekрлуataци / заразда akкулгогоь батар).
- После заBERшеня зapадк OTКLOHTe 3apdHoe yctpoiCTBO n3 pO3eTKI N BbIHbTe erO n3 OKOHOrO nbIneCoca.
- PemOHThbI pa6ObI DOJXHbI pOBoDHTb TOJbKO IMeOuNe COOTBETCTBeHHbI DOyCK TexHnueCKne CneuaJIInCTb KJIneHTcKo CNJx6bI. HnkOrda camocToTeJbHO He OTkpBaIte Kopnyc OCHOBHO np6opa. 3anpeSeHo pa3bpaTb, pON3BODHTb peMOHT NJI IN BHOCHTb N3MeHeHNA B KOHCTpyKcNIO OTDeJbHbIX KOMNOHETOB.
- BbIKIIOuAte np6op n3 cTe npeed YnCTKOJ IIN TexHnueCKIM 06cnyXnBaHNem. Pn YnCTke o6paaate BnMaHne Ha To, UTO6bl XnIDKoCTb He nonaHa Na nepeKnOuaTeNb IN KHOKN.
IPEyCMOTPEHO NcNoJIb3OBAHNE NCKJIouHTeJIbHO B DOMAunHX CEJAX!
PL WSKAZOWKI BEZPIECZEÑSTWA!
VHODNÉ IBA NA POUŽITIE V DOMÁCNOSTI!

GUVENLIK UYARILARI
Chere cliente, cher client,
You can also find the operating instructions on the Leifheit homepage at www.leifheit.de
Contents:
1. TECHNICAL DATA
2. DELIVERY SCOPE
3.PROPER USE
4. START-UP / CHARGING THE BATTERIES
5. USE
6. SPECIAL ACCESSORIES
7. DISPOSAL / BATTERY REMOVAL
8.COMPLIANCE/DECLARATION OF CONFORMITY
9.TROUBLESHOOTING
Dear customer,
Congratulations on your purchase of the Leifheit window cleaner.
Please read the operating instructions carefully before using the window cleaner. They will help you to efficiently and properly operate the device from the start and to avoid misuse. Please especially note the safety instructions in these operating instructions.
We hope that you are satisfied with the window cleaner. Please call us if you have questions or suggestions regarding our product. The Leifheit team will be happy to help.
German Tel.: (08 00) 5 34 34 34 (free of charge)
International Tel.: +49 26 04 97 70
Monday to Friday 8:30 am to 12:00 pm MET
If you would like to contact us in writing, our contact form is available to you on the LEIFHEIT home page www.Leifheit.de or you can choose to use the postal service.
Regards,
your Leifheit team
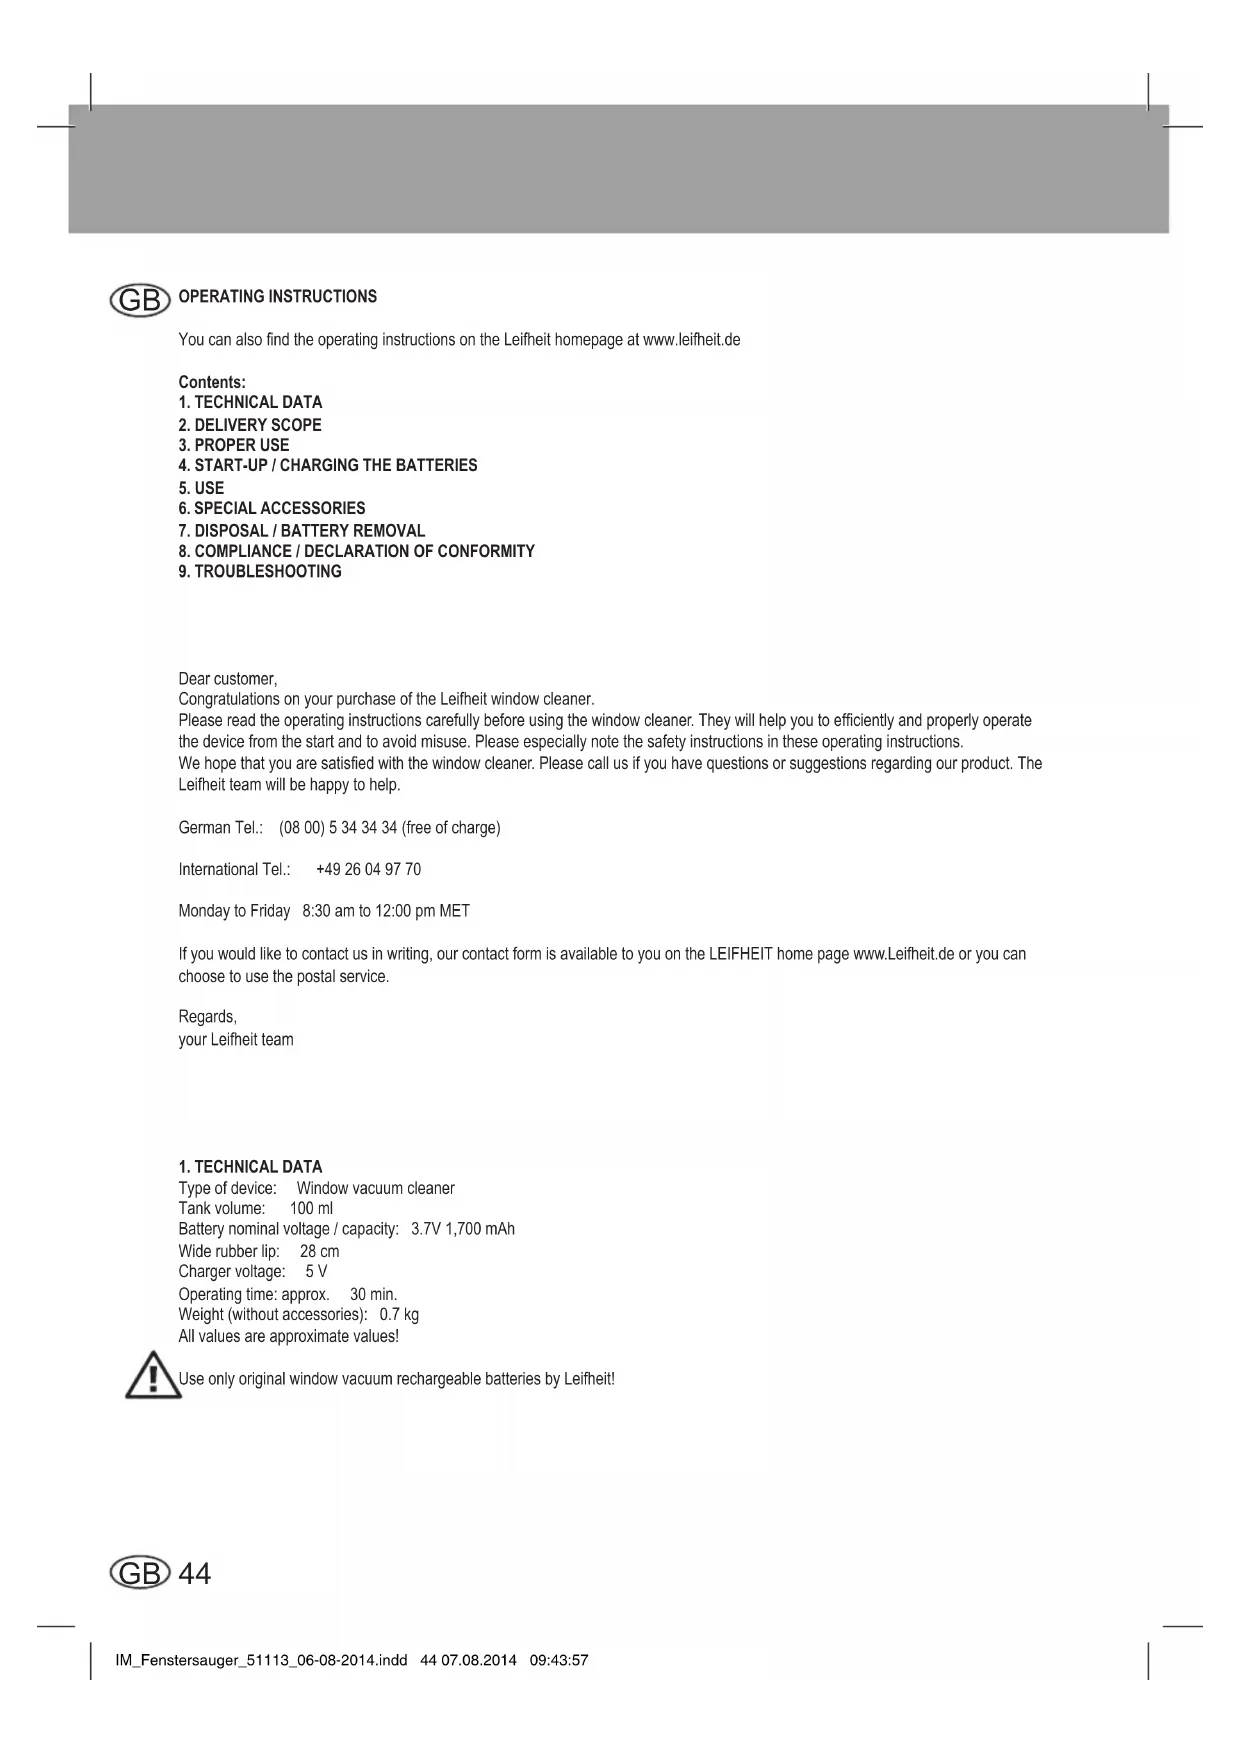
- TECHNICAL DATA
Type of device: Window vacuum cleaner
Tank volume: 100 ml
Battery nominal voltage / capacity: 3.7V 1,700 mAh
Wide rubber lip: 28 cm
Charger voltage: 5 V
Operating time: approx. 30 min.
Weight (without accessories): 0.7kg
All values are approximate values!
Use only original window vacuum rechargeable batteries by Leifheit!

2. DELIVERY SCOPE
When unpacking the package contents, check for completeness and any damages from transit. In these cases, please contact your dealer or Leifheit Service. Contents: Window cleaner (2 parts), charging cable, operating manual.

3. PROPER USE
- Please note that this product is only intended for household use. Leifheit does not provide a manufacturer's warranty for commercial use.
- Only use this device for cleaning wet, smooth surfaces, such as windows, mirrors and tiles.
No dust may be sucked in. - Do not use the window cleaner on rough surfaces so as to avoid damage to the rubber lip.
The device is not suited to vacuum more liquids than 100ml
Only use this device in connection with conventional window cleaning agents (no spirits, no foam cleaner). We recommend: Leifheit glass cleaner. - Only use this device with the accessories and spare parts approved by Leifheit.
Any other use is considered to be improper. The manufacturer is not liable for damages resulting from improper use. The user alone shall bear the risk for this.

Figure 2: Window cleaner operating controls
4. START-UP / CHARGING THE BATTERIES
The window cleaner is not delivered with a fully charged battery. Therefore, please fully charge the battery prior to the first use.
- Push the functional part (rubber lip and tank) onto the base unit from above, until the connection locks audibly.
Before you charge the device, please ensure that the device is switched off (see figure 3). - Connect the charger to the charging connector.
- Plug the charger into the socket.
The LED display will flash red while the charging is taking place. The LED will be solid green once the battery is fully charged.
The battery may only be charged by using the supplied charger.
- The charger is only to be used in connection with the Leifheit window cleaner.
- Always charge the rechargeable battery after work and always store the device fully charged.

Figure 3: Appliance switch in the off position
5. USE
- Suction clean the surface
- Clean the window as usual with water and a cleaning agent.
- Switch the window vacuum on by pushing the main power switch; the indicator light will be a steady green.
- Place the rubber lip of the device on the surface to be vacuumed and use light pressure to pull it from top to bottom across the surface.
- Hard-to-reach surfaces can be suctioned either from top to bottom, sideways or upside down.
- If a windowsill or very wide window frames prevent or hinder a vacuuming to the bottom edge of the window pane, vacuum across the pane once at the end of the vacuuming process.
NOTE: The powered-on device operates quietly in stand-by mode. The window cleaner generates its full power once the rubber lip of the window cleaner is placed on the glass pane or is lightly pressed. The battery charge lasts longer due to this automatic power control.
After suction cleaning the window, power off the device by pressing the appliance switch.
2. Interrupting work
- Place the device on its base (see fi gure 2) and power it off while it is not in use.
NOTE: If the window vacuum is not used for 2 minutes while it is switched on (no contact between rubber lip and a hard surface), the device will switch into sleep mode; the LED will flash in red. The vacuum function will be activated automatically once the rubber lip comes into contact with a window pane. To interrupt or stop work for a long period of time, always use the main power switch to shut the device off.
Attention: do not continuously switch the device on and off as this can damage electronic components.
3. Emptying the container during work
If the maximum fi II level (marked "MAX") of the dirty water tank has been reached, the tank must be emptied.
NOTE: If the maximum fill level is exceeded, small amounts of water may leak out of the ventilation slots if the device is tilted too far. In order to avoid this, empty the tank before the maximum fill level is exceeded.
To do this, power off the device, open the side closure on the dirty water tank and pour the water into a container or drain (see figure 4.) Then close the tank again.
4. Ending work / cleaning the device
Power off the device.
- Unlock the tank via the release button and remove it.
NOTE: The device cannot be powered on when the tank is unlocked.
- Remove the bottom cap from the tank and empty it through the opening in the base.
- Rinse the tank out with clean water (see figure 5).
- Do not put any hard objects, such as a washing-up brush, into the tank as this may cause damage.
- Allow the tank to dry before reassembly.
Clean the rubber lip under running water. - Re-charge the battery when you are done with the work.
CAUTION: The basic unit contains electrical components.
Therefore, do not clean the basic unit under running water!

NOTES
- Do not use the window cleaner on rough surfaces.
- Clean the device with a damp cloth.
- Never submerge the device in water.
- If your product does not work properly under normal conditions, please contact your dealer with your proof of purchase.
WARNING:
NEVER OPERATE THE DEVICE IN A PARTIALLY ASSEMBLED CONDITION!
6. SPECIAL ACCESSORIES
The window cleaner can be attached to all Leifheit telescope handles thanks to the Click System function. This allows you to also reach hard-to-reach / high surfaces:
Steel telescope handle (65 - 110 cm)
Steel telescope handle with an articulated joint (65 - 190 cm)
Aluminium telescope handle (145 - 400 cm)
7. DISPOSAL / BATTERY REMOVAL

The battery must be removed before disposing of the device. To do so, unplug the device and open the battery compartment by removing the screw. Disconnect the cable connection and dispose of the battery properly.
The symbol on the product or its packaging indicates that this product is not to be treated as normal household waste, but rather must be taken to a collection point for recycling electrical and electronic equipment. The battery is to be removed before disposing of the device and taken separately to corresponding collection points. You can obtain additional information from your local authorities, the municipal waste disposal service or the shop where you purchased the product.
Attention: always observe the following information when handling lithium-ion rechargeable batteries:
- Do not damage the rechargeable battery or open it as this can cause a short circuit. Risk of fire! Risk of hazardous or poisonous substances.
- Do not place the rechargeable batteries in open flames; do not subject them to direct sunlight or heat.
8.COMPLIANCE/DECLARATION OF CONFORMITY
Leifheit herewith declares that this device is in compliance with the basic requirements and the other pertinent regulations of the Directive 2004/108/EC, 2006/95/EC, 2011/65/EU (RoHS) and Directive 1907/2006/EU (REACH).
You can view the EU declaration of conformity at www.Leifheit.de


- TROUBLESHOOTING
| Error Note | |
| LED flashes red | 1. The rechargeable battery is empty. Recharge the device. 2. If the device was not used for 2 minutes while it was switched on, sleep mode is activated and the LED will flash red. Upon contact between the rubber lip and e.g. a window pane, full power is automatically reactivated; shut the device off to finish operation. 3. If the device is partially or fully charged ► Use the main power switch to shut the device off and immediately on again - up to three times - to exclude a short-term error. ► If the flashing continues ► Let the device stand at room temperature for a few minutes while it is switched off. Low temperatures of the device can cause short-term errors. ► If the flashing continues ► Contact your seller where you purchased the device. |
| Streaks on window | - Results can be optimized by slight pressure on the window vacuum toward the direction of the window pane. - Inspect the rubber lip for damage. The rubber lip can be replaced if required, please contact the manufacturer for more information. |
| Water exits from the ventilation opening | 1. The tank has reached the maximum limit of 100 ml and must be emptied. 2. Fitful movements while using the device overhead can cause water to leak through the fan. Empty the tank regularly and avoid very fitful movements of the device. |

BRUKSANVISNING
- NOMOUIB BYCTPAHEHIN HENCIPABHOCTEIN