Chipper 100 E - Mechanical chipper GARLAND - Free user manual and instructions
Find the device manual for free Chipper 100 E GARLAND in PDF.
Document temporarily unavailable
The manual is currently being transferred to our new server. It will be accessible again in a few hours. Thank you for your patience.
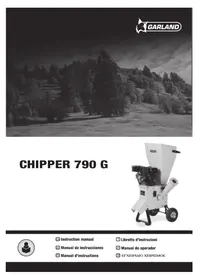
| Product type | Electric garden shredder |
| Brand | Garland |
| Model | Chipper 100 E |
| Use | Domestic |
| Power | 2500 W (S6 40%) |
| Voltage / Frequency | 230 V ~ 50 Hz |
| Protection class | II |
| Protection rating | IP24 |
| Rotation speed | 4500 rpm |
| Max shredding diameter | 45 mm |
| Sound pressure level | 96.7 dB(A) (k=3) |
| Guaranteed sound power level | 106 dB(A) |
| Weight | 10.04 kg |
| Power supply | Electric cable |
| Cutting system | Blade carrier disc |
| Maintenance | Clean after use, sharpen or replace blades |
| Safety | Safety switch on cover, automatic stop in case of overload |
| Main functions | Shredding branches, leaves, woody waste |
| Transport | Wheels and handle |
| Warranty | 2 years |
| Included accessories | Pusher, base, wheels |
| Recycling | Compliant with environmental standards |
| Compliance | CE, directives 2006/42/EC, 2004/108/EC, 2000/14/EC, 2006/95/EC |
Frequently Asked Questions - Chipper 100 E GARLAND
User questions about Chipper 100 E GARLAND
0 question about this device. Answer the ones you know or ask your own.
Ask a new question about this device
Download the instructions for your Mechanical chipper in PDF format for free! Find your manual Chipper 100 E - GARLAND and take your electronic device back in hand. On this page are published all the documents necessary for the use of your device. Chipper 100 E by GARLAND.