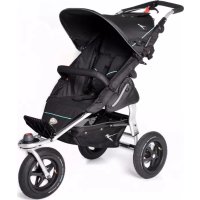
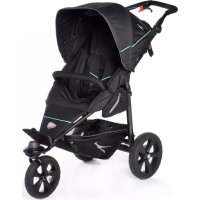
Twin Adventure - Stroller TfK - Free user manual and instructions
Find the device manual for free Twin Adventure TfK in PDF.

| Product type | Double stroller |
| Brand | TfK |
| Model | Twin Adventure |
| Recommended age | From 6 months |
| Maximum weight per child | 15 kg |
| Number of children | 2 |
| Brake type | Hand brake (service and parking) |
| Harness | 5-point harness with crotch strap |
| Adjustable handle | Yes, height adjustable |
| Swivel front wheels | Yes, lockable |
| Folding | Yes, compact fold |
| Canopy | Included, with zipper and Velcro closures |
| Lap bar | Yes, adjustable |
| Maximum basket load | 5 kg |
| Chassis maintenance | Clean with a damp cloth; avoid harsh detergents |
| Cover maintenance | Hand wash at 30 °C, do not machine wash or dry |
| Lubrication | Lubricating spray for joints and bearings |
| Spare parts | Use only original TFK parts |
| Warranty | 2-year legal warranty (excluding normal wear) |
| Prohibited use | Jogging, rollerblading, escalators |
Frequently Asked Questions - Twin Adventure TfK
User questions about Twin Adventure TfK
0 question about this device. Answer the ones you know or ask your own.
Ask a new question about this device
Download the instructions for your Stroller in PDF format for free! Find your manual Twin Adventure - TfK and take your electronic device back in hand. On this page are published all the documents necessary for the use of your device. Twin Adventure by TfK.
USER MANUAL Twin Adventure TfK
natural_image
Stylized logo featuring a white dinosaur-like figure and the text 'tfk' inside a gray rounded shape (no additional text or symbols)TWIN adventure
2
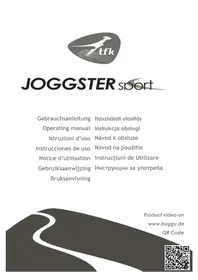
| DE | Gebrauchsanleitung und Garantiebestimmungen 4 | |
| GB | operating manual and warranty conditions | 8 |
| ES | Instrucciones de uso y condiciones de garantía | 12 |
| IT | Istruzioni d’uso e condizioni di garanzia | 16 |
| FR | Notice d’utilisation et dispositions de garantie | 20 |
| NO | Bruksanvisning og garantibestemmelser | 24 |
| SE | Bruksanvisning och Garantipolicy 28 | |
| NL | Gebruiksaanwijzing en garantiebepalingen | 32 |
| HU | Használati útmutató és garanciával kapcsolatos rendelkezések | 36 |
| PL | Instrukcja obstugi oraz warunki gwarancji | 40 |
| CZ | Návod k obsluze a zàruční podmínky | 44 |
| SK | Návod na použitie a podmienky záruky | 48 |
| SL | Pripročnik in garancijski pogoji | 52 |
| RO | Instrucțiuni de Utilizare și Condiții de acordare a Garanției | 56 |
| BG | Инструкции за употреба и гаранция | 60 |
Instructions for Use and Warranty Conditions
Welcome in the world of TFK
Please take some time and carefully read the following instructions before application and carefully store them. If you do not consider these instructions, the security of your child can be impaired!
SAFETY INSTRUCTIONS + WARNINGS
- WARNING: Do not leave your child unsupervised!
-
WARNING: This car is intended for children starting from an age of 6 months and with a weight up to 15 kg! Maximal two children can be carried!
-WARNING: Before application assure yourself that all bolting devices are closed!
-WARNING: This product is not suitable for going to jog or skating!
-WARNING: Fixing heavy things at the slider impairs the stability of the product!
-WARNING: Always fasten your child with the 5-point-belt, also when using the foot-bag!
-WARNING: Always use the step belt together with the lap belt! -
Never park the vehicle without putting the parking brakes on!
- Never uplift the vehicle while your child is sitting in it!
- Do not use (moving) stairs, while a child is in the vehicle!
- When carrying the vehicle over stairs and other obstacles absolutely check the locking and uplift the vehicle only at firm frame parts!
- Do not install TFK-external accessories!
- The maximum loading in the basket is 5 kg!
Please regularly check the connections for their function! In case of repair please use only original spare parts!
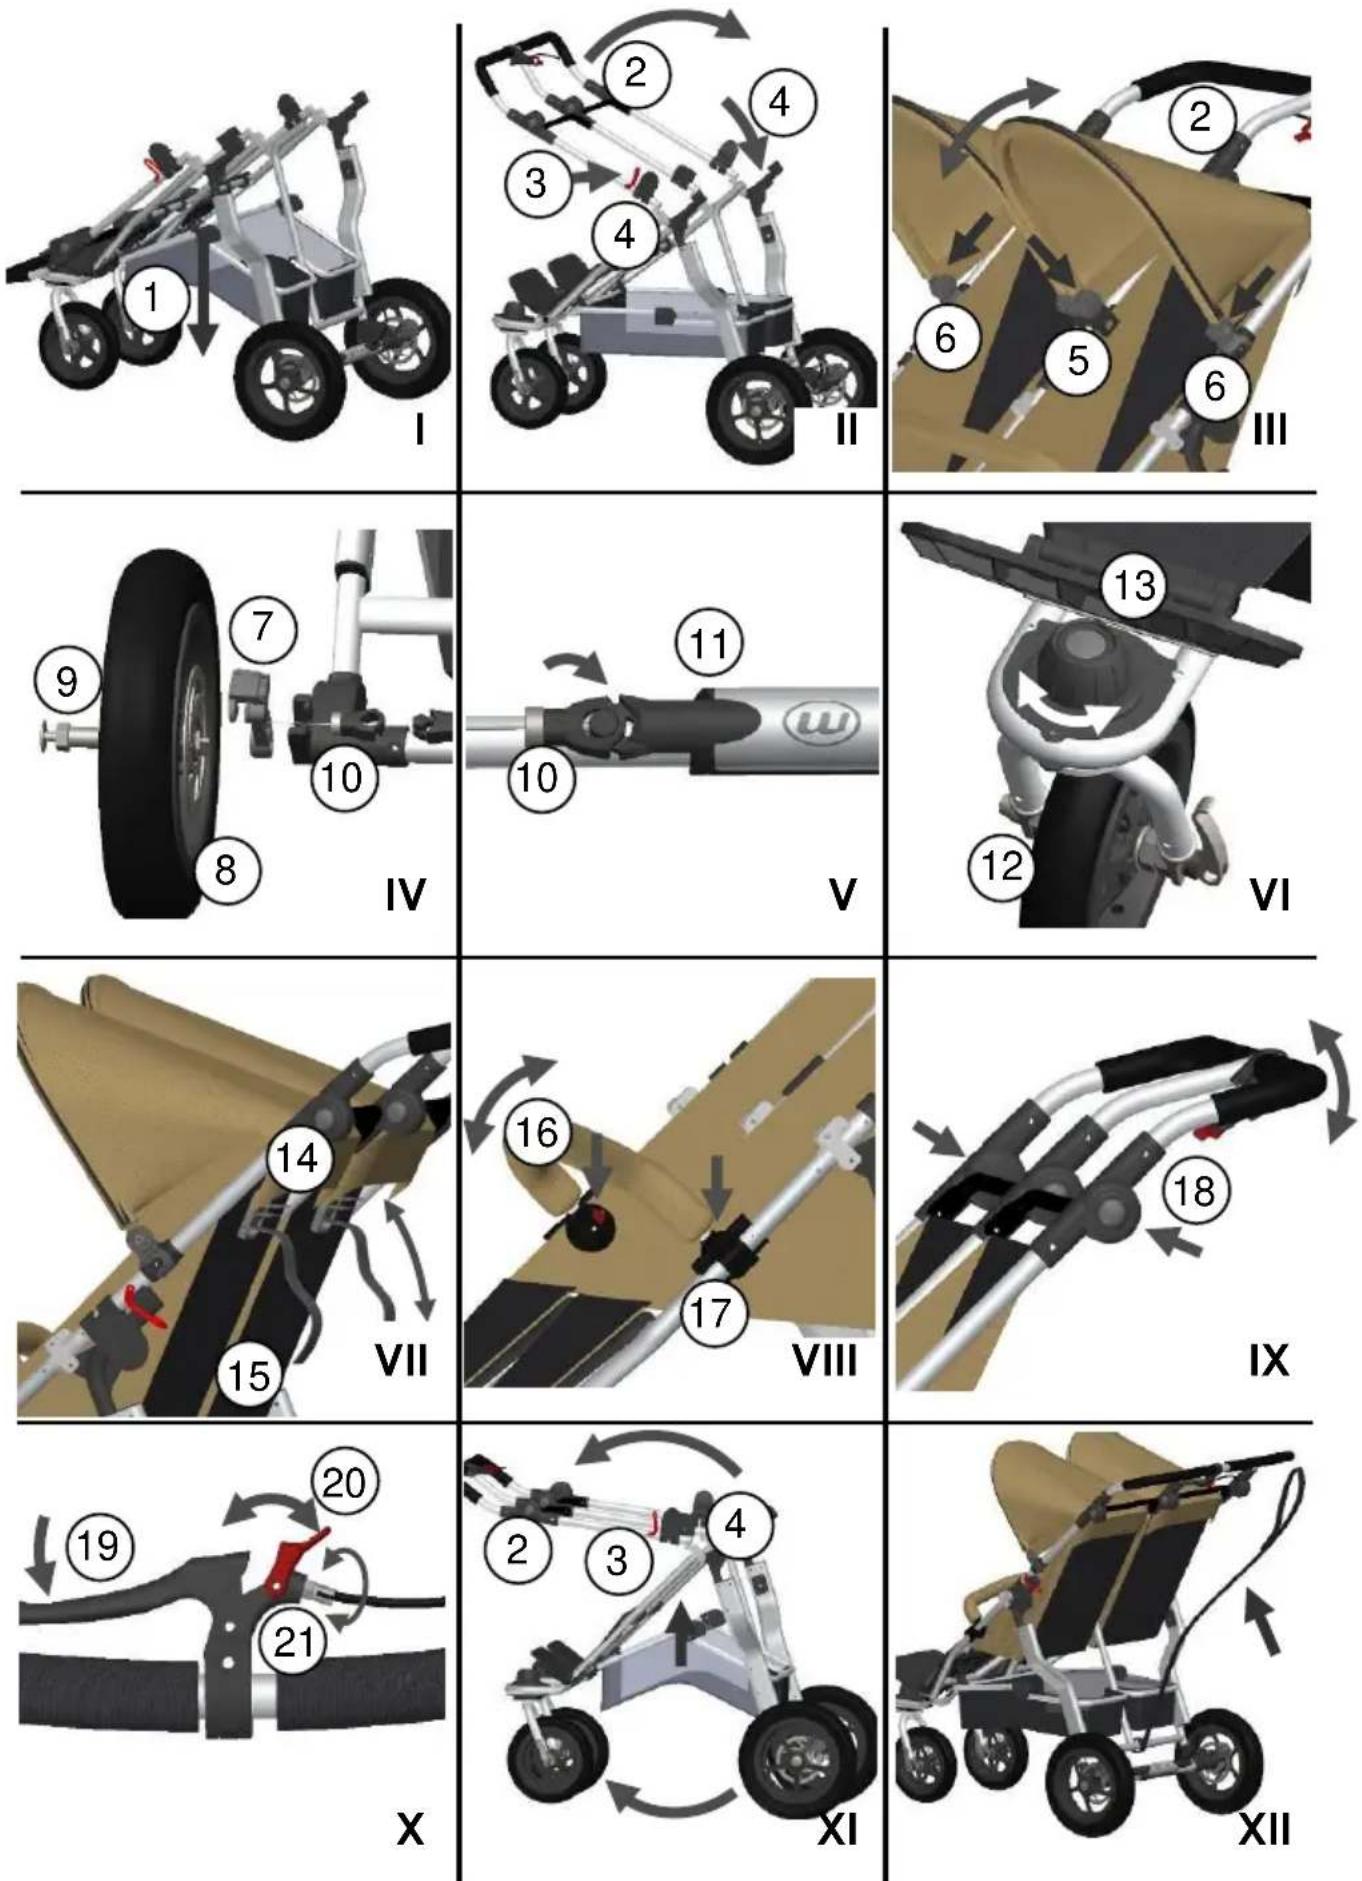
Instruction manual and assembly instruction
- (fig. 1)
In order to be able to use the Twin Adventure, at first always unfold the lower part of the frame. With the hand or the foot you press the basket frame (1) laterally to the left and to the right, until it engages audibly. This is very important for the stability.
- (fig. II)
Afterwards swivel the push bar (2) upwards, until the red double safety device (3) engages. Now close the black bolting devices (4) on the left and on the right side above the folding joint.
- (fig. III)
Put the covers on the left and on the right into the mounting plates (5) at the middle push bar (2). Then slide them in the mounting plate at the left and right push bar. Afterwards it will be fixed with a zipper and a Velcro® fastener on the left and the right side and finally fasten it with press buttons at the backrest.
6
- (fig. IV)
During the initial assembly of the rear wheels, you first put the brake calliper (7) on the brake disk (8). Then you insert the axle (9) into the wheel hub and then into the specified drilling of the rear axle, until it engages.
- (fig. V)
Afterwards you hang the brake cable (10) into the admission at the central brake cylinder (11) and control the function of the brake through operate the hand brake lever (19) at the handle bar (2). If you like to remove the wheels, loosen the brake cable (10) from the brake cylinder (11) and press the TFK button (9) in the centre of the wheel. Now you can take the wheels off.
- (fig. VI)
Put the front wheel (12) into the provided opening until it audibly engages. On position 1 the front wheel (12) can turn freely and on position 2 it is fixed. If you press the red button (13), you can remove the wheel downwards.
- (fig. VII)
The backrest can be adjusted by pulling the two levers (14) and regulation by the strap (15). So, the angle of the seat can be adjusted stepless.
- (fig. VIII)
For the attachment of the belly frame (16), you open the material rags at the covering and put the attachment over the crossbar. By moving the locking levers (17) you can fix it. By pressing the red buttons on the left and right side you can turn them into different positions.
- (fig. IX)
By pressing the two adjusting hinges (18) the height of the push bar can be adjusted.
- (fig. X)
The emergency brake (19) is running and parking brake at the same time. In order to activate the parking brake, you must tighten the brake lever (19) completely and turn the red park lever (20) completely, so that the brake lever (19) remains maximally tightened and the brake durably blocked. For release you must tighten the brake lever (19) and unlock the park lever (20) again. If the braking action diminishes, you can make a micro-adjustment. For that purpose turn the adjusting screw (21) at the brake lever contraclockwise and check the braking action.
- (fig. XI)
In order to fold the Twin Adventure together, you fold the foot rest, release the two bolting devices (4) above the folding joint and the double safety device (3) and swivel the push bar (2) forward. Press behind the basket (1) until it unlocked and club it coaxial together. Now you can fold the frame downwards (in front). Close the transport lock at the frame, so that the Twin Adventure does not open accidentally.
- (fig. XII)
If you are outside with the Twin Adventure, please fasten the provided catch loop at the rear axle. Then you slip the elastic strip over your wrist.
CARE INSTRUCTIONS
- Clean all parts with a damp cloth.
- Do not use aggressive cleaning agents or lubricants!
- Use a spray lubricant to keep folding joints working smoothly.
- The covers can be hand-washed at 30°. Do not machine-wash or tumble-dry!
- The tires can cause eventually a discoloration of the floor surfacing.
Foreign bodies in the tires (such as small stones) have to be removed in order to prevent a possible damage of the floor surfacing.
WARRANTY CONDITIONS
In the event of legitimate complaints, the statutory provisions apply. Please retain your receipt as proof of purchase for the duration of the statutory period of limitation. This lasts for 2 years *) from the date the buggy is handed over to you. Legitimate complaints are limited to material and manufacturing defects present when the product was first handed over. No claims will be accepted relating to:
- Natural wear and tear or damage caused by excessive load.
- Damage caused by inappropriate or improper use.
- Damage caused by incorrect assembly or commissioning.
- Damage caused by negligent handling or maintenance.
- Damage caused by improper modifications to the product.
Defects must be reported immediately in order to prevent consequential damages!
Do I have justified reasons for complaint?
Most TFK products are predominantly made from aluminium and are therefore rust-proof. However, some components may be painted or galvanised or have some other protective coating. These parts may rust depending on how they are maintained and how much use they are subjected to. This does not constitute a defect.
- Scratches are the result of normal wear and tear, and are not a defect.
- Mildew may form if damp textiles are not dried or aired adequately, this does not constitute a manufacturing fault.
- Fading may result from sunlight, perspiration, cleaning agents, abrasion and excessive washing and does not constitute a defect.
- All products should be checked when they are handed over to avoid future complaints.
If you do notice a defect later on, please contact your stockist immediately, who will consult us regarding further procedures. TFK does not accept unsolicited or freight collect deliveries.