Twin Trail - Stroller TfK - Free user manual and instructions
Find the device manual for free Twin Trail TfK in PDF.

Frequently Asked Questions - Twin Trail TfK
User questions about Twin Trail TfK
0 question about this device. Answer the ones you know or ask your own.
Ask a new question about this device
Download the instructions for your Stroller in PDF format for free! Find your manual Twin Trail - TfK and take your electronic device back in hand. On this page are published all the documents necessary for the use of your device. Twin Trail by TfK.
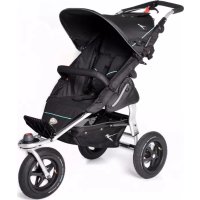
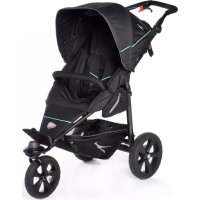
USER MANUAL Twin Trail TfK
natural_image
Logo featuring a stylized dinosaur silhouette and the text 'tfk' (no additional symbols or text)TWIN trail
Gebrauchsanleitung
Operating manual
Istruzioni d'uso
2
| DE | Gebrauchsanleitung und Garantiebestimmungen 4 | |
| GB | operating manual and warranty conditions | 8 |
| IT | Instruzioni d'uso e condizioni di garanzia | 12 |
| ES | Instrucciones de uso y condiciones de garantía | 16 |
| FR | Notice d'utilisation et dispositions de garantie | 20 |
| NL | Gebruiksaanwijzing en garantiebepalingen | 24 |
| NO | Bruksanvisning og garantibestemmelser 28 | |
| SE | Bruksanvisning och Garantipolicy 32 | |
| HU | Használati útmutató és garanciával kapcsolatos rendelkezések | 36 |
| PL | Instrukcja obsługi oraz warunki gwarancji | 40 |
| CZ | Návod k obsluze a zàruční podmínky | 44 |
| SK | Návod na použitie a podmienky záruky | 48 |
| BG | Инструкции за употреба и гаранция | 52 |
Operating Manual and Warranty Conditions
Welcome to the world of TFK.
Please take a few moments to read the following instructions carefully before use. IMPORTANT: Please keep these instructions for future questions. If you do not comply with the instructions, the safety of your child could be compromised!
SAFETY INSTRUCTIONS + WARNINGS
WARNING: Do not leave your child unsupervised.
WARNING: This pushchair is not suitable for children aged under 6 months. Maximum weight: 15 kg! Do not carry more than two children!
WARNING: If provided with a twin tray, this pushchair is intended for children from 0 months.
WARNING: Before use, make sure that all the locks are properly engaged!
WARNING: In order to avoid injury, make sure that your child is out of reach when you open up or close the pushchair.
WARNING: Do not allow your child to play with the pushchair.
WARNING: This product is not suitable for jogging or inline skating!
WARNING: Loads attached to the push bar may impair the balance of the pushchair!
WARNING: Always secure your child with the 5-point harness, even when using the foot muff!
WARNING: Make sure that the pushchair seat or the seat unit or the child car seat is correctly locked into place before use.
- Child car seats which are used in connection with a carriage do not replace a cradle or a crib. If your child needs sleep, you should lie it down in a suitable pushchair seat, a suitable cradle or a suitable bed.
-Never park the pushchair without engaging the parking brake!
-Never lift the pushchair when the child is sitting in it!
-Never use stairs (escalators) while the child is sitting in the pushchair!
-When carrying the pushchair on stairs or over other obstacles, always check that the locks are secure! Lift the pushchair only at the fixed frame parts!
-The maximum load in the basket is 5 kg! Any other bag or hook on the hood may be loaded with max. 0,5 kg.
-Tyre pressure: 1.2 bar
Please regularly check the connections for their proper function! In case of repair, only use original spare parts!
OPERATING AND ASSEMBLY MANUAL
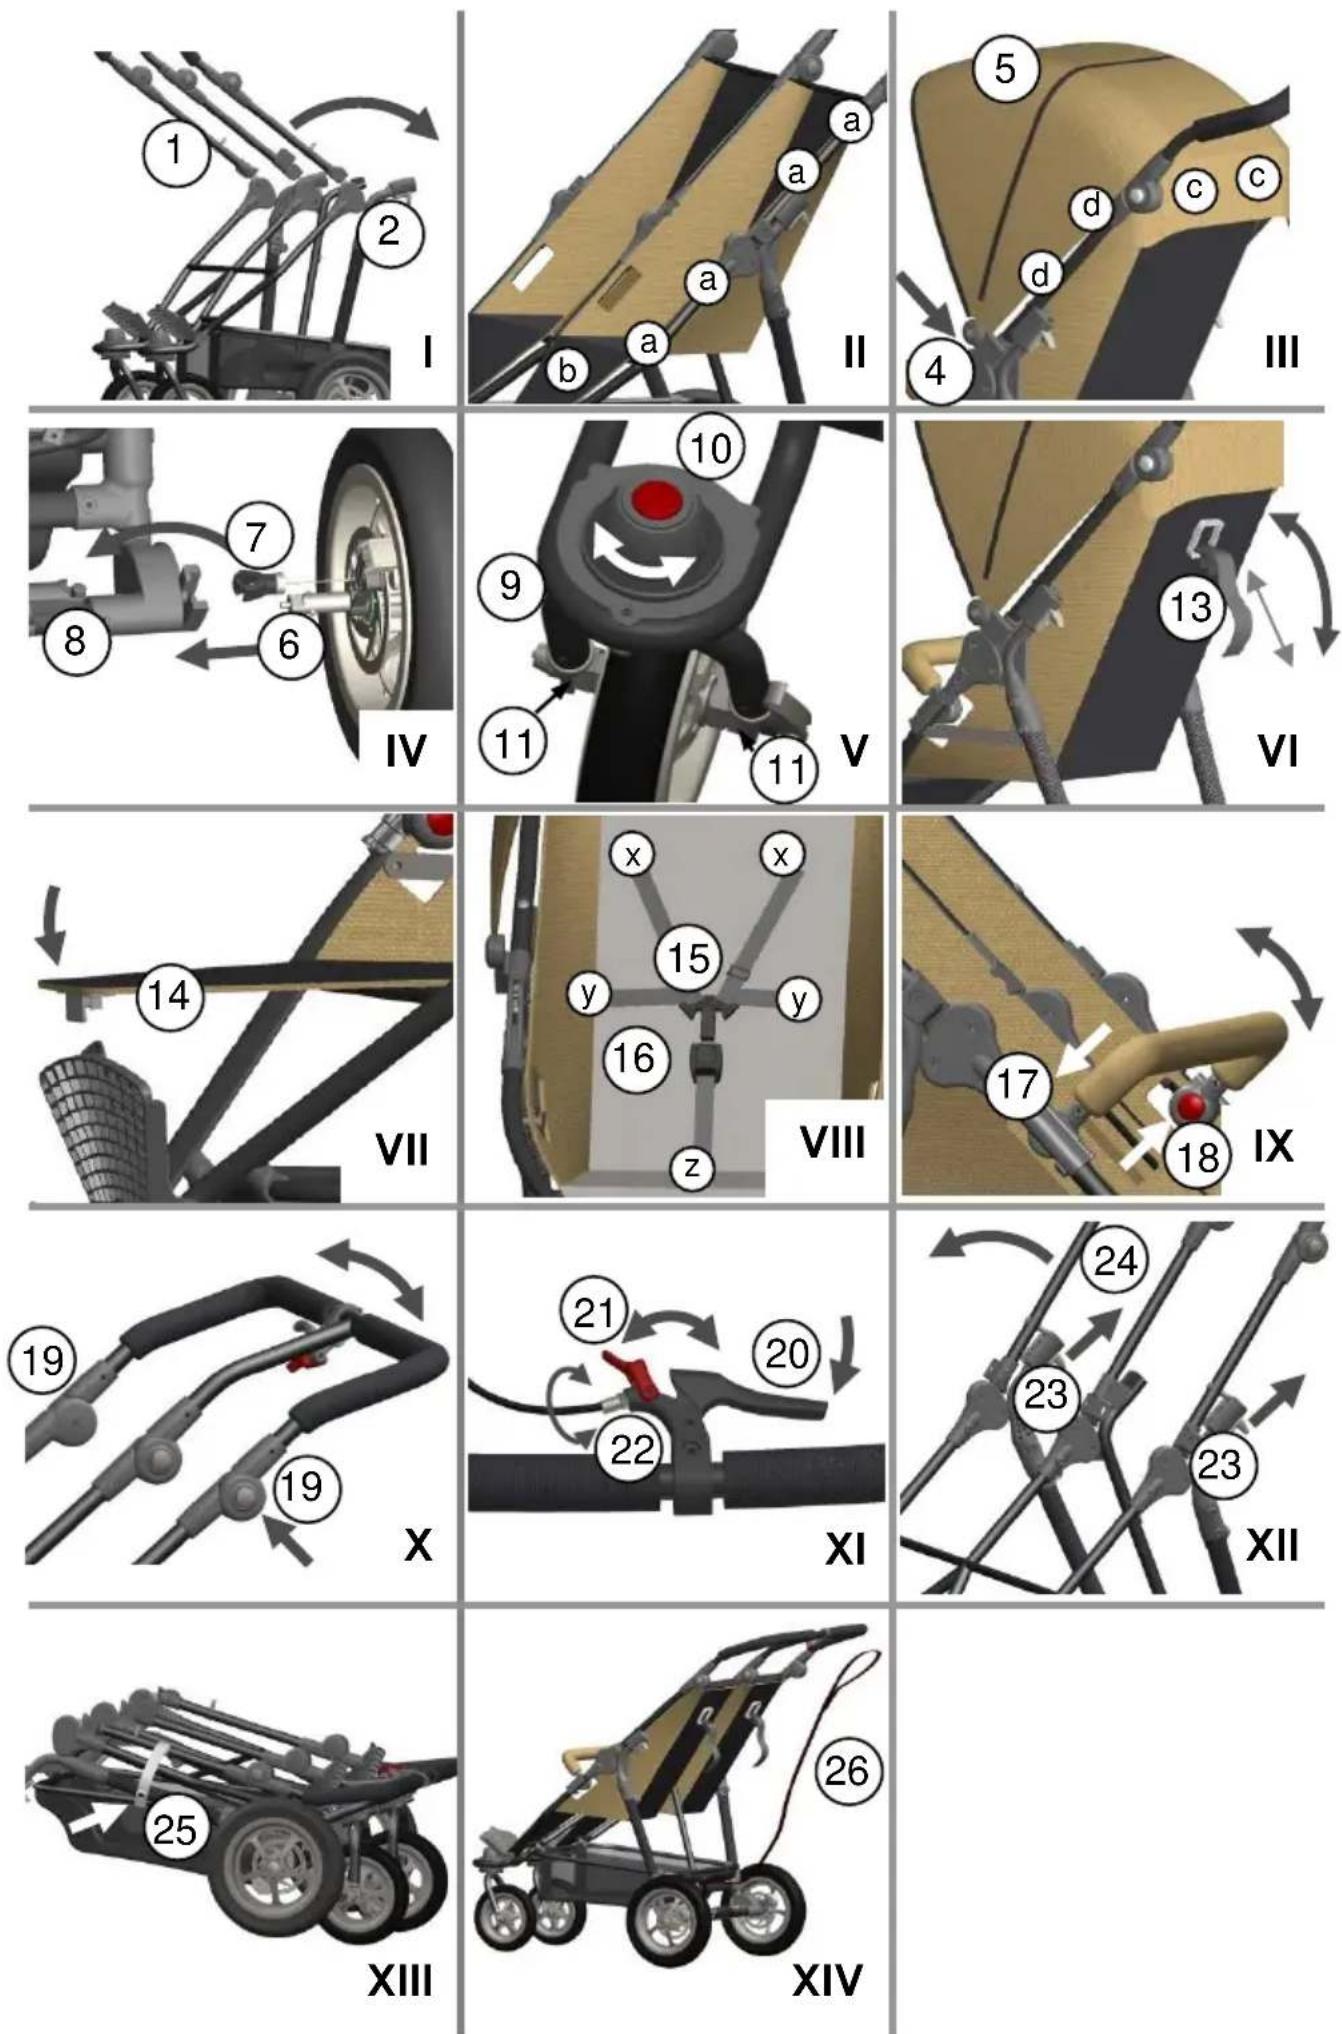
- (Fig.1) In order to be able to use Twin Trail, fold the push bar (1) upwards. The complete pushcar is folded open. Make sure that the pins are audibly engaged in the lock (2).
- (Fig.II) The seat is mounted to the frame with 4 push buttons (a) on each side of the frame. Additionally, it is fixed to the foot board with 2 push buttons (b). At first, you must mount the seat at the left side in direction of driving.
- (Fig.III) Insert the hood into the holders (4) on the outer push bar and into the holder on the centre push bar. Then it is secured to the seat and the frame (d) with two push buttons (c). It can be additionally secured to the centre bar with a belt. If you open the zipper (5), you can extend the hood further forwards.
- (Fig.IV) For the assembly of the rear wheels, insert the axle (6) in the frame so that the brake is also located in the holder. Mount the brake calliper (7) in the M-brake (8). If you want to remove the wheels, release the brake cable (7) and press the kangaroo button in the centre of the wheel. Now you can remove the wheels.
- (Fig.V) Insert the front wheel (9) into the provided opening until it audibly locks into place. At position 1, the front wheel (9) can turn freely and at position 2, it is jammed. If you press the red button with the arrow (10), you can remove the wheel downwards. Inside of the wheel mount there are 2 set screws (11), with which you can adjust the straight running of the Joggster Twist when necessary.
- (Fig.VI) Both backrests can be continuously adjusted with the belt. To this end, you must press both plastic parts (13) together and adjust the seat angle with the belt.
- (Fig.VII) The foot rest can be folded upwards. To this end, it must be locked in place with the foot board (14).
- (Fig.VIII) Close the belt buckle by audibly engaging both plugs (15) in the belt buckle (16). If you want to open the harness, simply press the button in the centre of the buckle (16). The harnesses can be adjusted to the size of your child using the tensioning system x, y and z. The harness is located at the 5 points x, y, z.
- (Fig.IX) Insert the belly bar from above into the frame tubes. Secure it by moving the clamping lever (17). By pressing the red buttons (18) at the left and right side you can swivel it to different positions.
- (Fig.X) You can set the height of the push bar by pressing the two adjustment joints (23).
- (Fig.XI) The handbrake is a walking and parking brake at the same time. To activate the parking brake, you must pull the brake lever (20) fully tight and completely close the red parking lever (21), so that the brake lever (20) remains tightened to the maximum and the brake is permanently blocked. If the braking effect starts to weaken, you can carry out a fine adjustment. To do so, turn the adjusting screw (22) on the brake grip anti-clockwise and check the braking effect again.
- (Fig.XII) To close the Twin Trail, you must push both locks (23) upwards. They remain automatically open. Then you can move the push bar (24) in forward direction. The frame construction automatically closes.
- (Fig.XIII) Close the transport lock (25) on the frame to ensure that the Joggster Trail does not accidentally open up again.
- (Fig.XIV) If you are using the Twin Trail in cross-country terrain, please fasten the enclosed retention strap on the rear axle. Then pull the side with the elastic band over your wrist.
CARE INSTRUCTIONS
- Clean all parts with a damp cloth.
- Do not use any caustic cleaning or lubricating agents!
- An oil spray on the folding joints and the wheel bearings will guarantee smooth running.
- You can wash the seat cover by hand at 30^ . Not suitable for a washing machine or tumble dryer!
- The tires can cause eventually a discoloration of the floor surfacing.
Foreign bodies in the tires (such as small stones) have to be removed in order to prevent a possible damage of the floor surfacing.
WARRANTY CONDITIONS
The statutory provisions shall apply for justified complaints. As proof of purchase, please keep the till receipt for the duration of the statutory period of limitation. This term is 2 years *) and starts with the handover of the product to you. Should any faults arise in relation to this product, they shall involve any faults of material and manufacture that exist at the date of transfer. Any claims shall be excluded for:
- Natural wear and damage due to excessive stress
- Damage due to unsuitable or improper use
- Damage due to faulty assembly and commissioning
- Damage due to negligent handling or maintenance
- Damage due to improper modifications to the pushchair
Faults must be notified immediately, so that no subsequent damage can be caused!
A case for complaint or not?
- Most TFK products are produced to a large extent from aluminium and so are rust-proof. However, some parts are also painted, galvanized or have other surface protection. These parts may rust, depending on the level of maintenance and stress. This can therefore not be regarded as a fault.
- Scratches are normal signs of wear and are not a fault.
- Moist textiles that are not dried can moulder and so can not be considered as a production-related fault.
- The fading of colours due to sunshine, perspiration, cleaning agents, abrasion or excessively frequent washing cannot be ruled out and so does not represent a fault.
- Please check carefully at the time of purchase whether all the fabric parts, seams, press studs and zips are sewn and function properly.
- Worn-down wheels are of course a sign of wear. Damage due to external influences is not a fault. STrail imbalances are inevitable and do not represent a fault. The handover check must always be carried out to prevent inconvenient problems right at the outset. If you find a fault at a later date, please notify your authorised dealer immediately. He will then contact us to discuss the subsequent procedure. Any deliveries to TFK that are unnotified or not prepaid will not be accepted.